
All-Clad D3 3-Ply Stainless Steel 3 Quart Sauce Pan
Buy Now →Recipe by Jenn Giam Smith
Soft, pillowy marshmallows made from scratch with honey and real vanilla. Surprisingly simple, endlessly versatile, and so much better than anything from a bag.
5 Stars 4 Stars 3 Stars 2 Stars 1 Star
No reviews
Pour 1/2 cup cold water into the bowl of your stand mixer. Sprinkle all 3 envelopes of gelatin over the surface and let it sit undisturbed for 10 minutes. It will absorb the water and thicken into something almost jelly-like — that’s exactly what you want.
Line a 9×9-inch baking pan with oiled plastic wrap, making sure it covers the bottom and sides. Set it right next to your mixer so you’re not scrambling when the mixture is ready.
In a saucepan, combine the granulated sugar, honey, and 1/4 cup water. Bring to a boil, stirring until the sugar dissolves. Once boiling, cook for 1 minute. For best results, use a thermometer — you’re aiming for 240-245 degrees F. See the notes below for climate adjustments.
Pour the boiling syrup into the bloomed gelatin and immediately beat on high speed with an electric mixer. Add the salt. Beat for a full 12 minutes — the mixture will go from thin and watery to thick, glossy, and brilliantly white. In the last 30 seconds, add the vanilla flavoring.
Lightly oil your hands and use them (or an oiled spatula) to scrape the marshmallow mixture into the prepared pan and spread evenly. Press another piece of oiled plastic wrap directly onto the surface. Let it sit at room temperature for at least 2 hours.
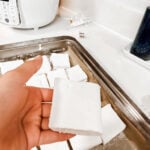
Dust a cutting board with powdered sugar. Turn the marshmallow slab out onto the board and peel away the plastic wrap. Dust the top generously with more powdered sugar. Use scissors or a greased knife to cut into 12 equal pieces. Dredge each marshmallow on all sides in powdered sugar so they don’t stick. Store in an airtight container at room temperature.
All-Clad D3 3-Ply Stainless Steel 3 Quart Sauce Pan
Buy Now →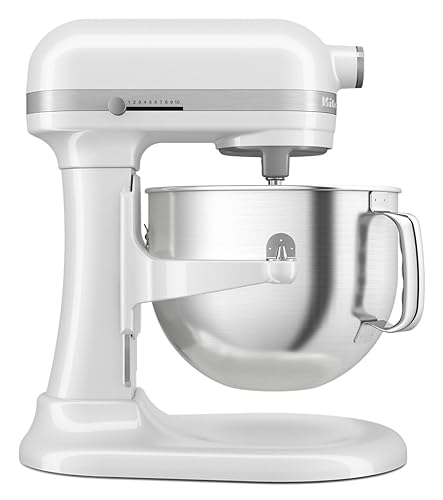
KitchenAid® 7 Quart Bowl-Lift Stand Mixer, White
Buy Now →
ThermoWorks Hi-Temp Silicone Spatula
Buy Now → Buy Now →
  Buy Now →
 Find it online: https://www.jenn-smith.com/homemade-marshmallows/

We use cookies to improve your experience on our site. By using our site, you consent to cookies.
Manage your cookie preferences below:
Essential cookies enable basic functions and are necessary for the proper function of the website.
CloudFlare provides web performance and security solutions, enhancing site speed and protecting against threats.
Service URL: developers.cloudflare.com (opens in a new window)
These cookies are needed for adding comments on this website.
Statistics cookies collect information anonymously. This information helps us understand how visitors use our website.
Google Analytics is a powerful tool that tracks and analyzes website traffic for informed marketing decisions.
Service URL: policies.google.com (opens in a new window)
Marketing cookies are used to follow visitors to websites. The intention is to show ads that are relevant and engaging to the individual user.
A video-sharing platform for users to upload, view, and share videos across various genres and topics.
Service URL: www.youtube.com (opens in a new window)
You can find more information in our Cookie Policy (EU) and Privacy Policy.