Homemade Marshmallows from Scratch
Soft, pillowy, and made with real honey and vanilla — no corn syrup required.
This post may contain affiliate links, which means that I make a small commission off items you purchase at no additional cost to you. Please read my Affiliate Disclosure
I grew up on homemade marshmallows. My dad was big on “it’s easy, and so much better than store-bought” — and honestly, I couldn’t agree more. My first batch completely on my own was for a camping trip, about 15 years ago, and everyone loved them. They’ve been a staple ever since.
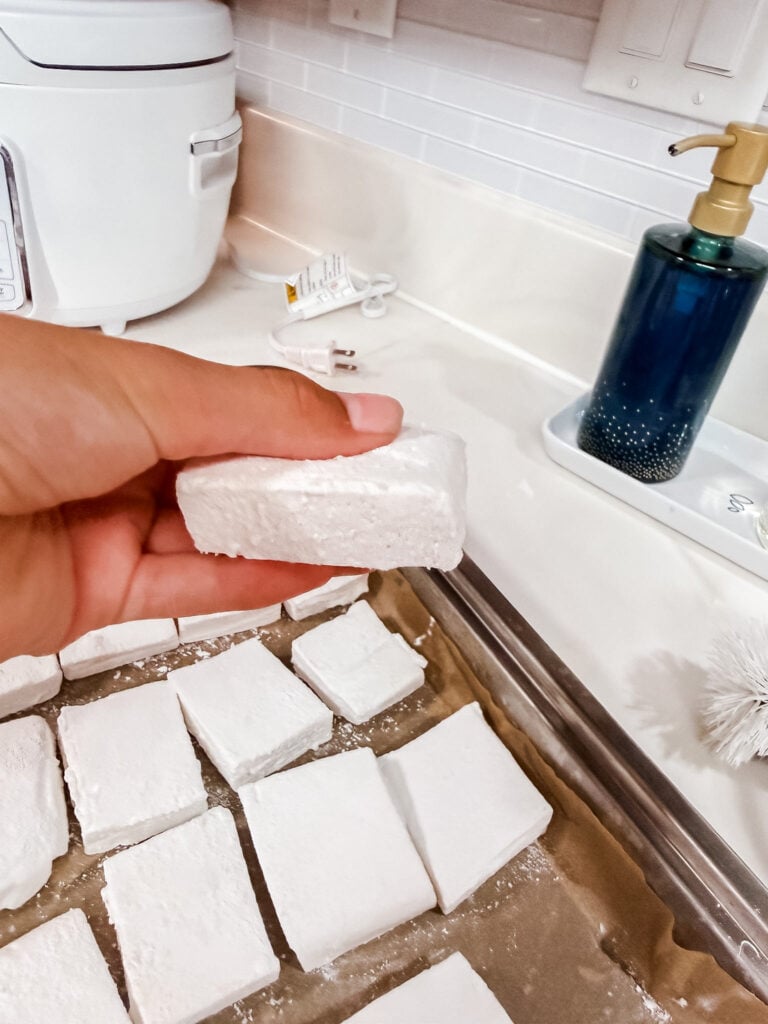
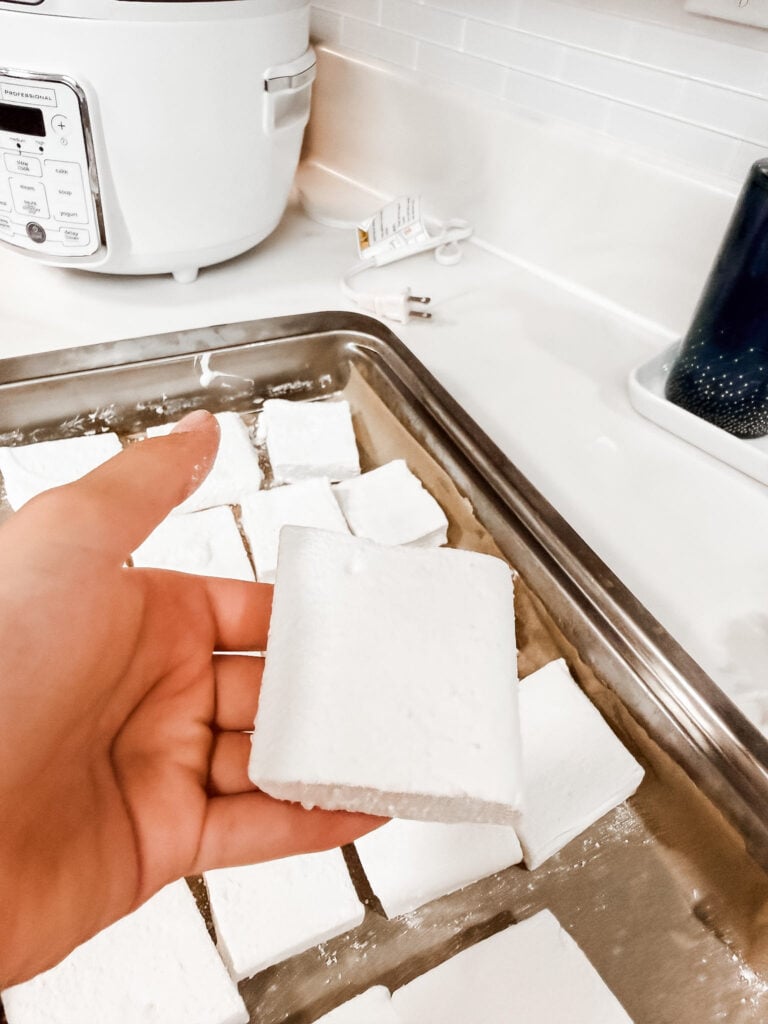
Marshmallows seem like they’d be difficult, and some recipes really do make them out to be a science experiment. But these are not that. They’re soft, bouncy, and melt beautifully into hot cocoa. They cut into perfect little pillows, coated in powdered sugar, and store well for weeks. Once you have them, you’ll never want store-bought again.
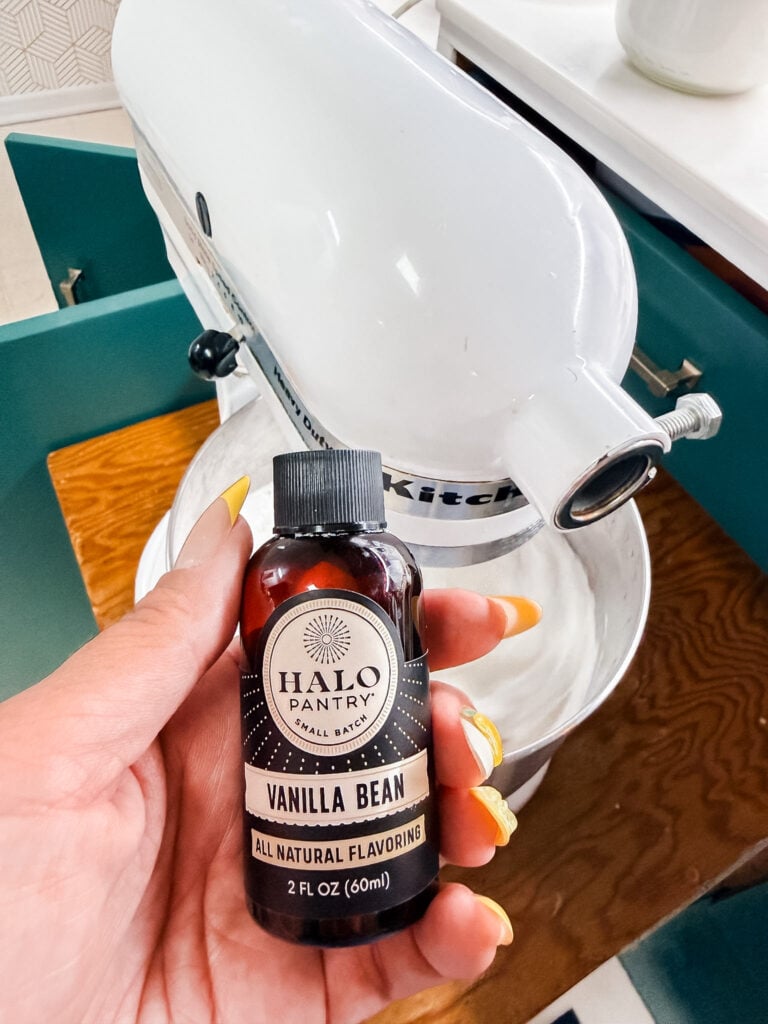
This is my dad’s recipe with a couple of small changes. I use honey instead of corn syrup, which gives the marshmallows a subtle warmth without tasting obviously like honey. And I use Halo Pantry’s Vanilla Bean Natural Flavoring — it’s completely clear and dye-free, so your marshmallows stay a gorgeous bright white instead of cream-colored. It’s a small detail that makes a noticeable difference, especially if you’re gifting them.
This is the kind of recipe that looks impressive but is mostly just patience and a good stand mixer doing all the work.
Why You’ll Love This Recipe
- No corn syrup needed — honey gives these a subtle, complex sweetness.
- Surprisingly few ingredients, all pantry staples.
- The texture is worlds better than store-bought: soft, springy, and light.
- They melt perfectly into hot cocoa, float beautifully in coffee, and make killer s’mores.
- Stores well at room temperature for up to two weeks — great for gifting.
- The whole process is genuinely fun, especially with kids helping at the cutting stage.
About the Ingredients
Gelatin
Three envelopes of plain unflavored gelatin — Knox is the standard and easy to find anywhere. This is the backbone of the marshmallow, giving it that soft, springy chew. Don’t substitute agar-agar; the texture will be completely different.
Granulated Sugar + Honey
The base is regular granulated sugar, cooked into a syrup with honey and water. Honey adds a gentle warmth I really love — it doesn’t taste strongly of honey, it just tastes like a better marshmallow. If you want something more neutral, light corn syrup is a direct swap at the same amount.

Vanilla Bean Flavoring
I specifically use Halo Pantry’s Vanilla Bean Natural Flavoring for this. It’s clear and completely dye-free, which means your marshmallows stay brilliant white — not the slight cream or tan you’d get from regular vanilla extract. The flavor is clean and genuinely vanilla-forward. If you’re making marshmallows to gift or float in white hot cocoa, this detail matters.
The Temperature Window
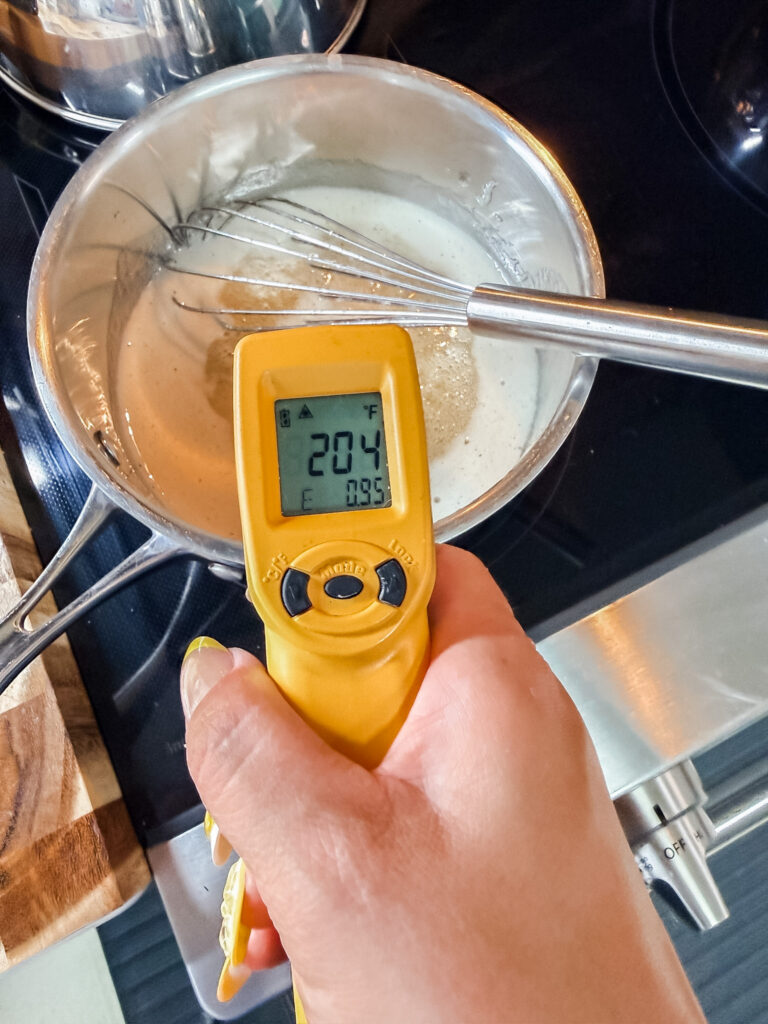
Cooking the sugar syrup to the right temperature is really the only technical part of this recipe. The target is 240-245 degrees F — the soft ball stage. Climate actually affects this: in most conditions, 242-243 is the sweet spot. Cold and dry? Pull it at 240. Hot and humid? Go to 245. I use a ThermoWorks thermometer for this and it makes the whole thing effortless.
How to Make Homemade Marshmallows
The process has a few stages, but each one is straightforward. The most important thing is to move quickly once your marshmallow is mixed — it firms up fast. Have your pan oiled and parchment-lined before you even start the syrup.
Step 1: Bloom the gelatin
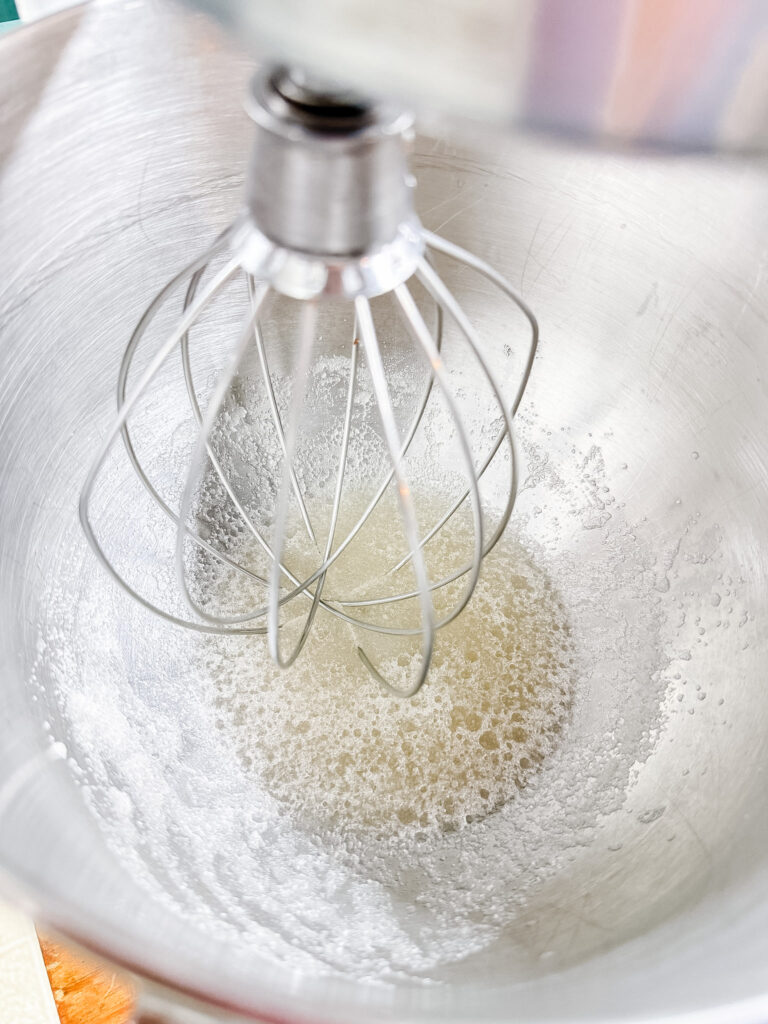
Add ½ cup of cold water to your stand mixer bowl and sprinkle the gelatin over the top. Give it a quick whisk to distribute and then just let it sit for 10 minutes. You’ll see it absorb the water and thicken into something almost jelly-like. That’s exactly what you want — this is what gives the marshmallow its bounce.
Step 2: Prep your pan while you wait
Line a 9×9-inch baking pan with parchment paper and brush the entire surface — bottom and sides — with neutral oil. This is your window to get organized before things move quickly. Set it right next to your stand mixer so you’re not scrambling.
Jenn’s Kitchen Tip
Have your pan ready before you start the syrup. The marshmallow mixture firms up faster than you’d expect. If you’re still lining your pan when it comes off the mixer, you’ll be fighting it the whole way.
Step 3: Make the sugar syrup
In a small saucepan, combine the powdered sugar, honey, salt, and ¼ cup of water. Stir over medium-high heat until the sugar dissolves, then let it come to a boil without stirring. Cook until your thermometer reads 240–245°F (see the ingredient notes above for climate guidance). The syrup will smell like caramel and look glossy. Pull it off the heat the moment it hits your target temperature.
Jenn’s Kitchen Tip
Use a thermometer — don’t guess. The syrup temperature is genuinely the most important variable here. A few degrees off and your marshmallows will either be too soft or too firm. A ThermoWorks instant-read thermometer makes this easy and removes all the guesswork.
Step 4: Beat on high for 12 minutes
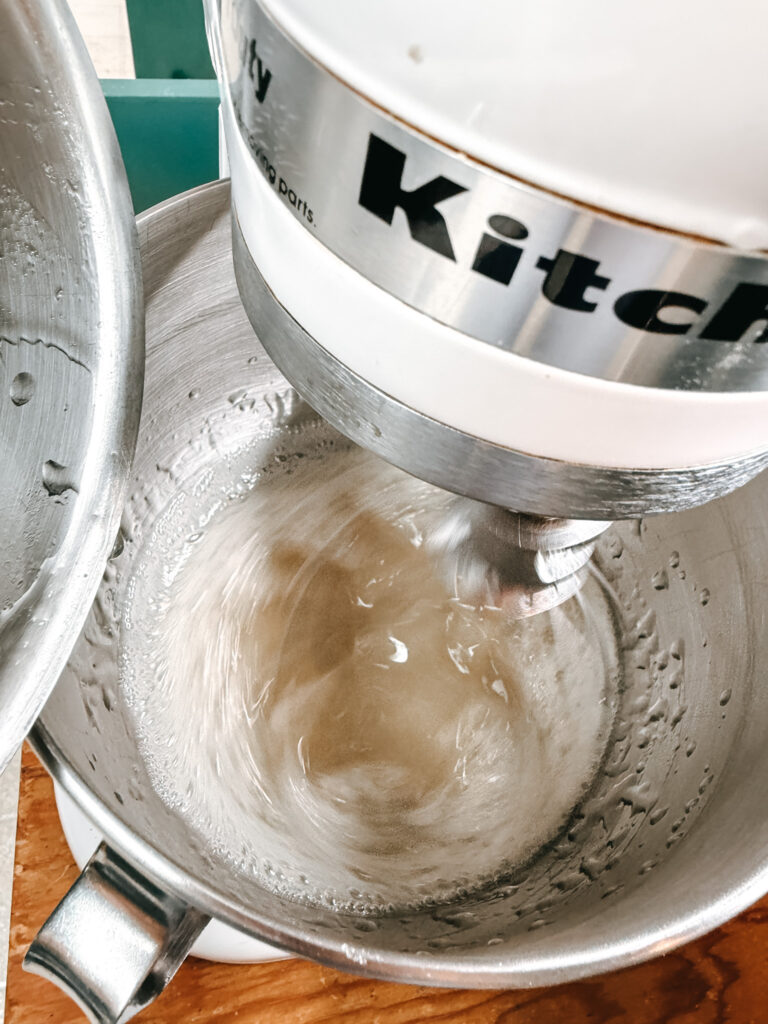
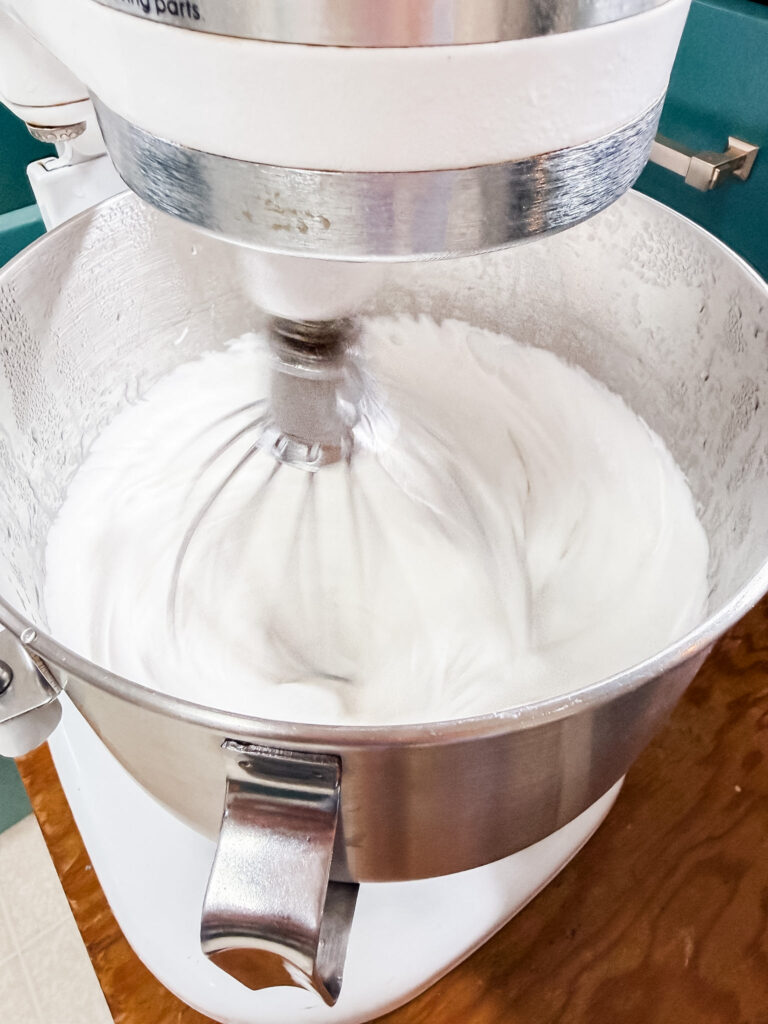
With the mixer running on low, pour the hot syrup into the bloomed gelatin in a slow, steady stream — aim for the side of the bowl to avoid splashing. Once it’s all in, crank the mixer to high and beat for 12 full minutes. The mixture will go from thin and almost watery to thick, glossy, and brilliantly white. It’ll look like a fluffy cloud by the end. In the last 30 seconds, add your vanilla flavoring and let it incorporate.
Step 5: Into the pan, then rest
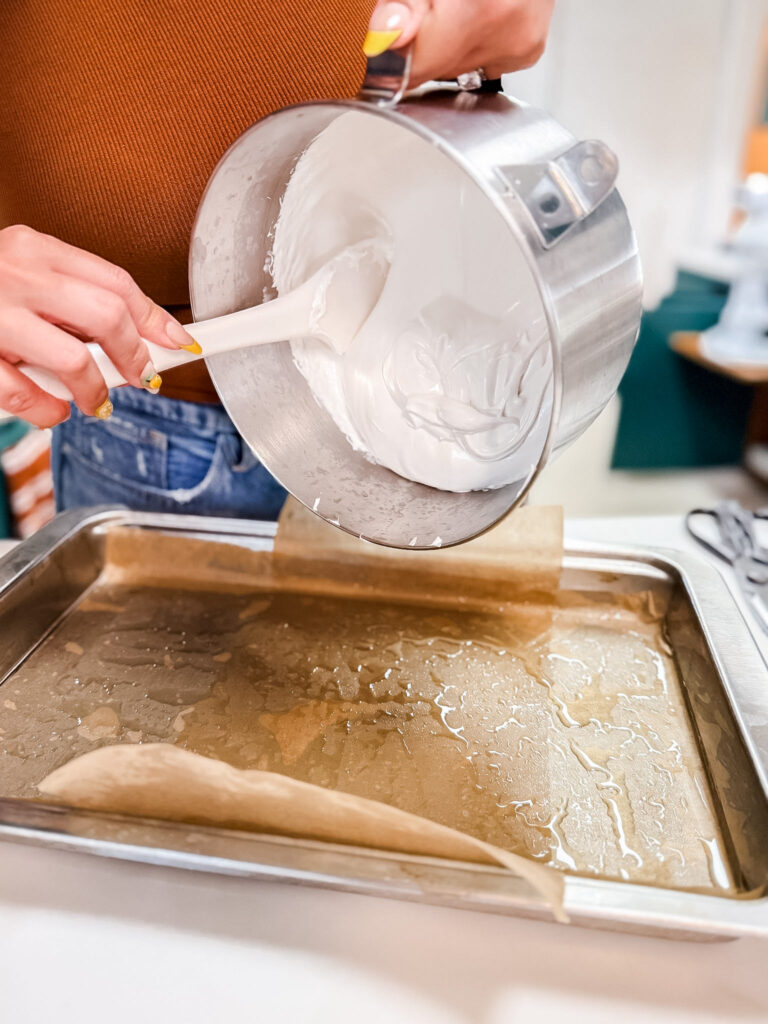
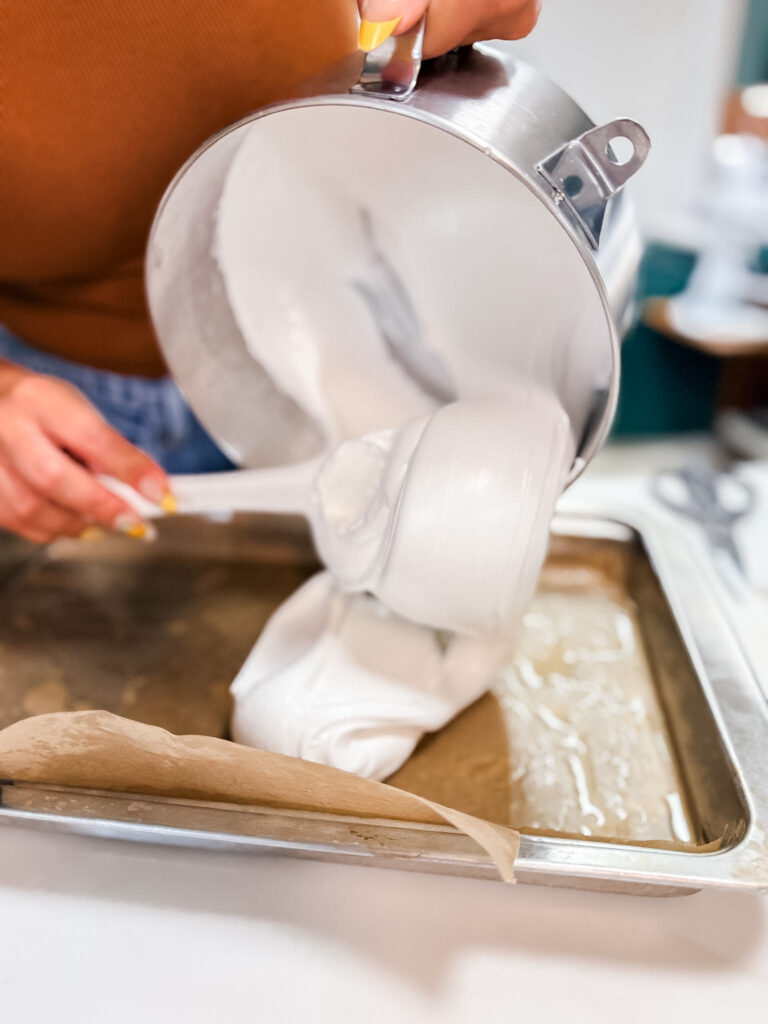
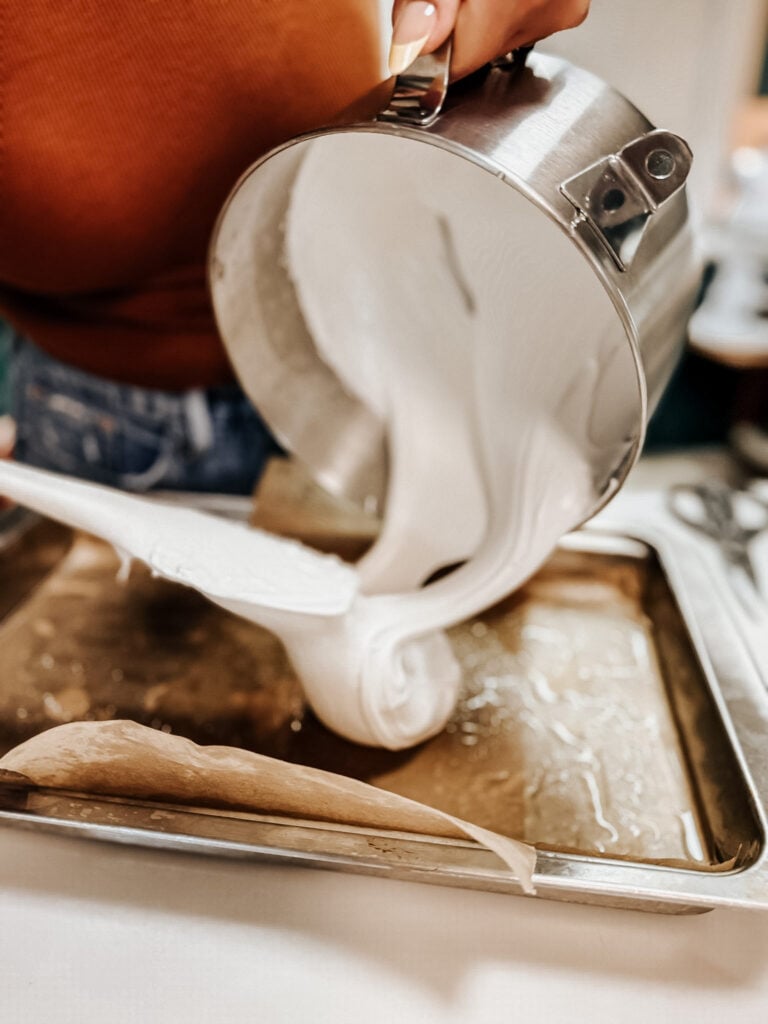
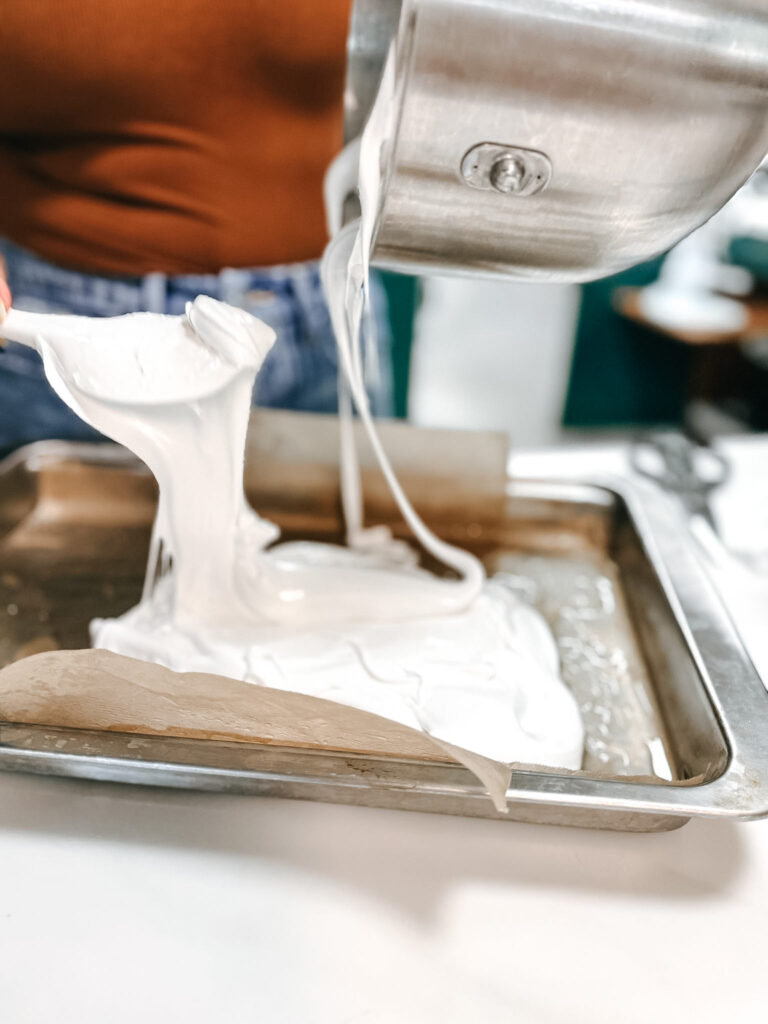
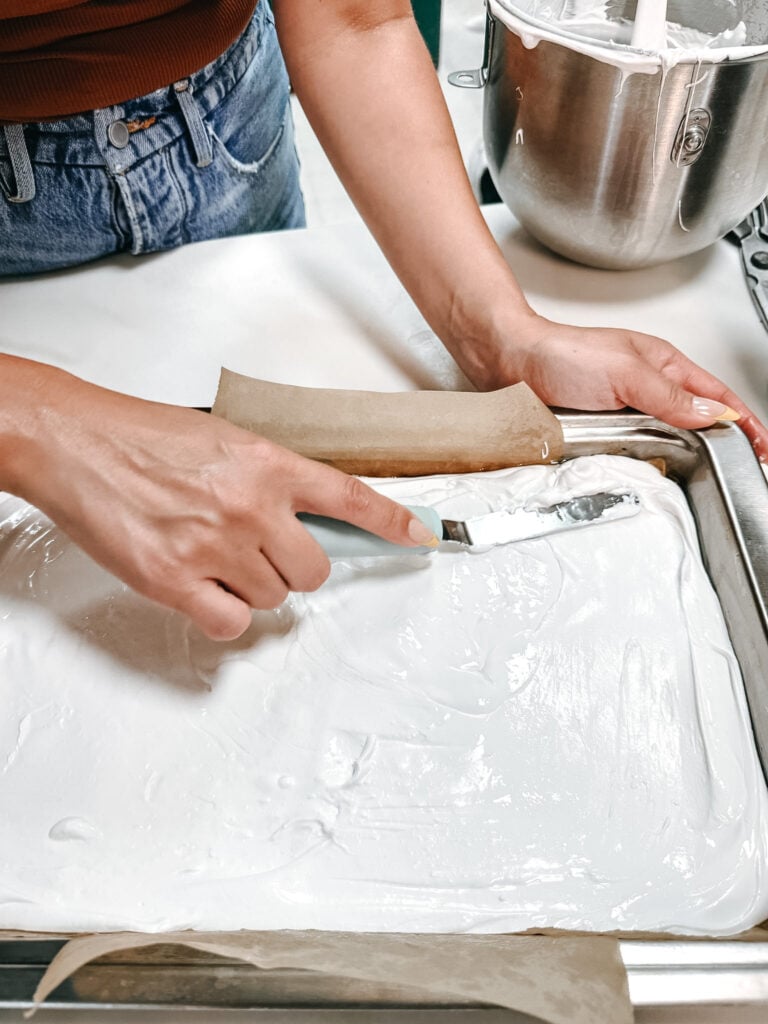
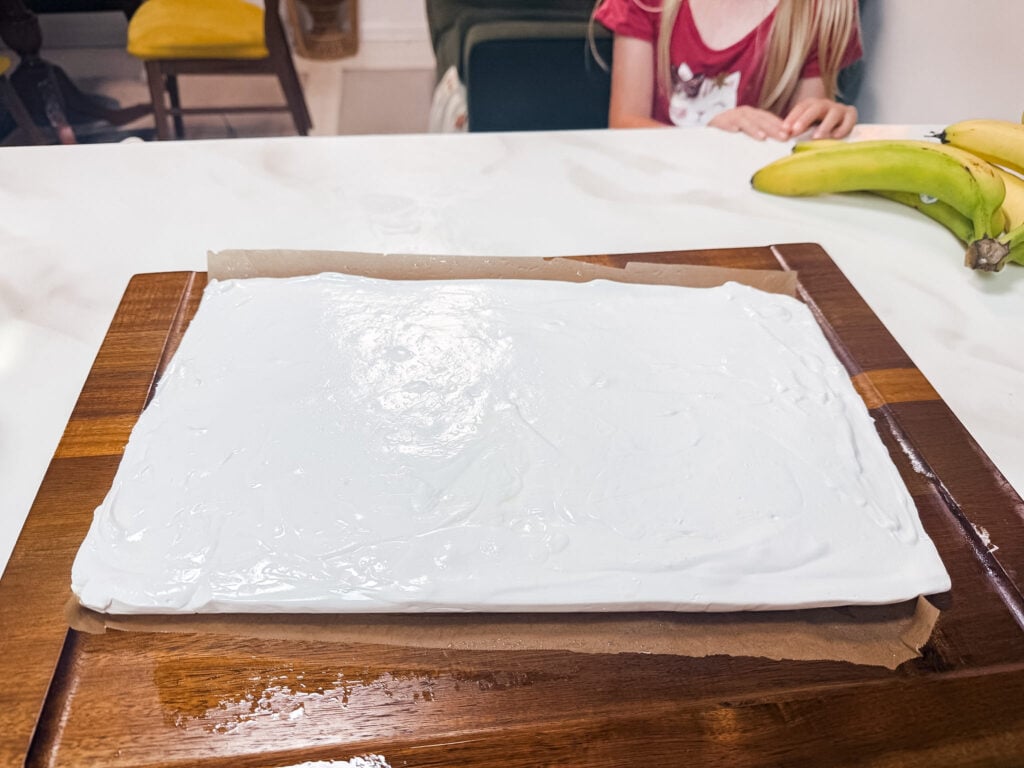
Using an oiled spatula, scrape the marshmallow mixture into your prepared pan and spread it as evenly as you can. It’ll be sticky and a little resistant — work quickly. Lightly oil a sheet of plastic wrap and press it directly onto the surface to smooth everything out. Let the pan sit uncovered at room temperature for at least 2 hours. Overnight works too.
Jenn’s Kitchen Tip
Don’t refrigerate to speed up the process. Cold makes marshmallows sticky and sweaty. Be patient, let them come to room temperature, and let them harden on their own time.
Step 6: Cut and coat
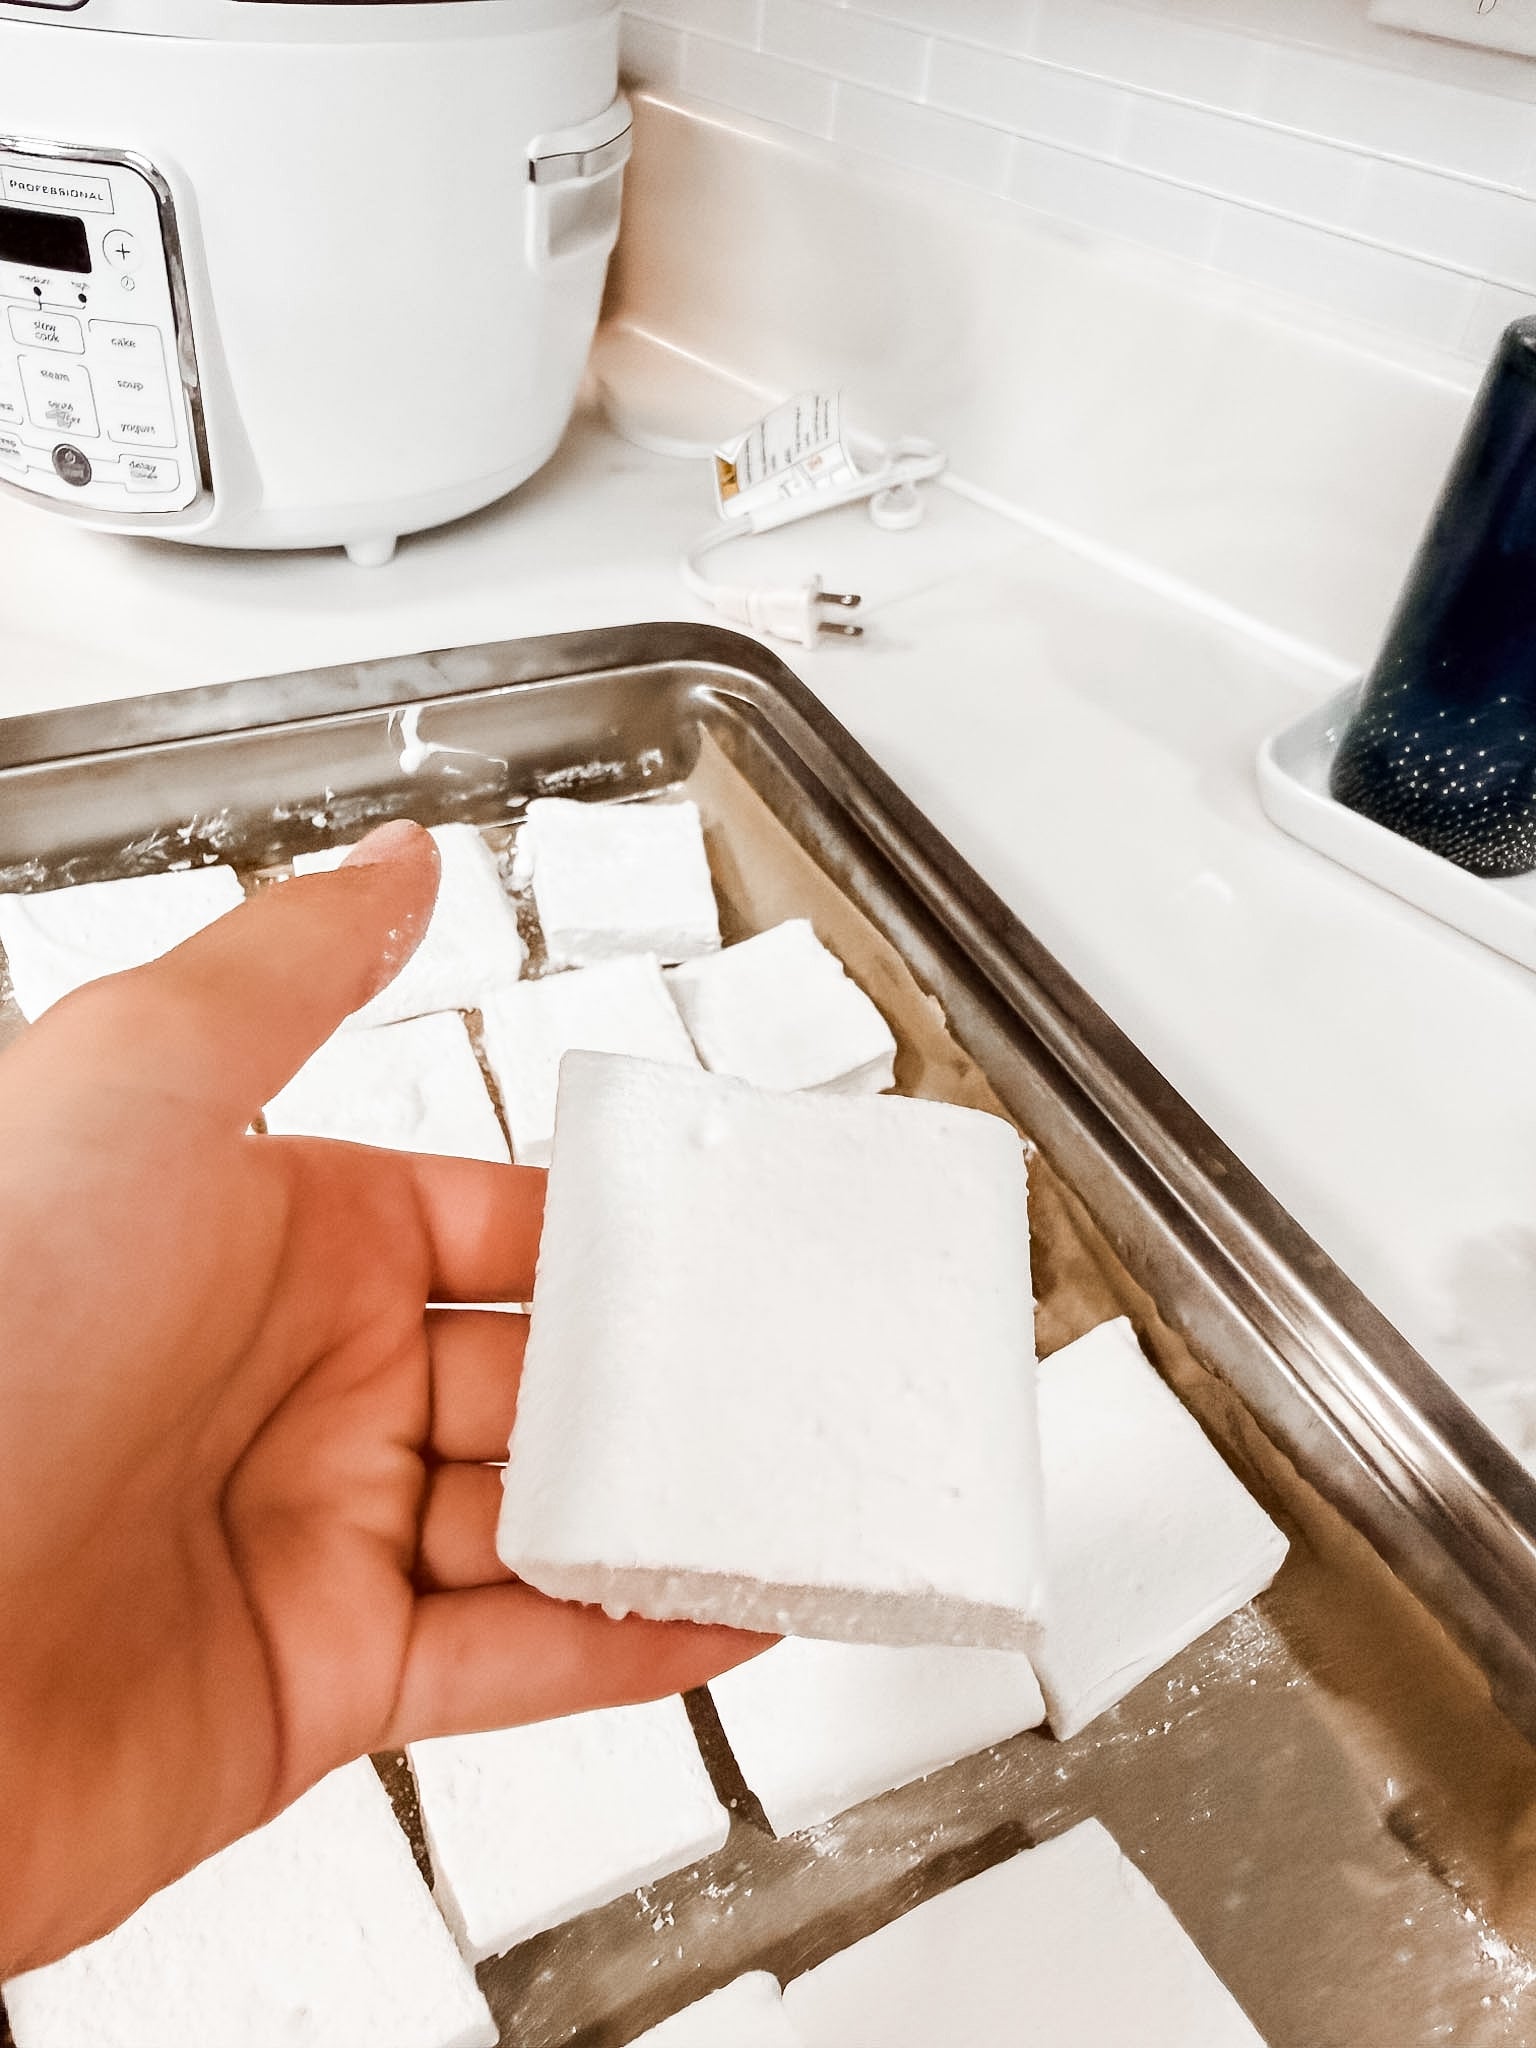
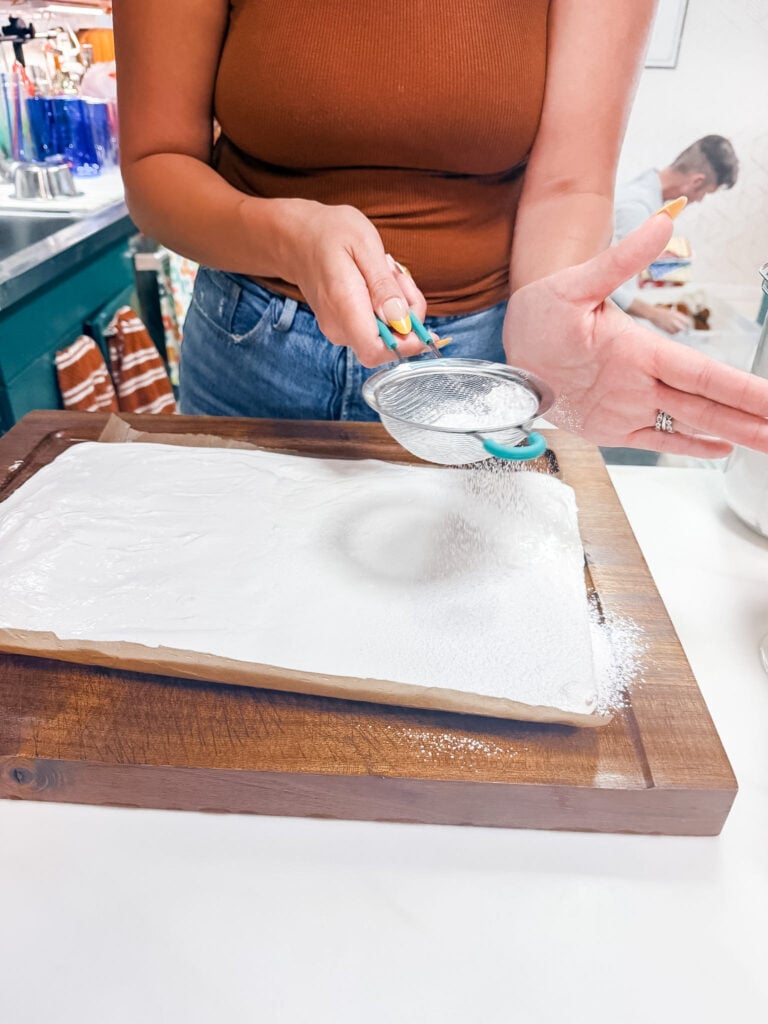
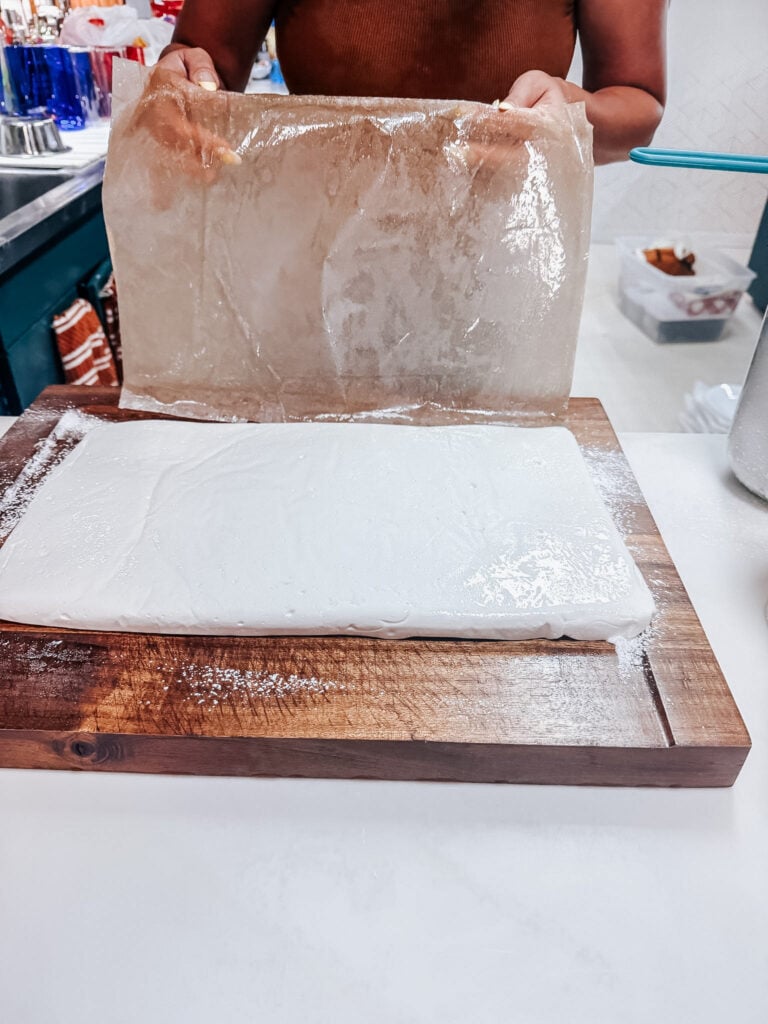
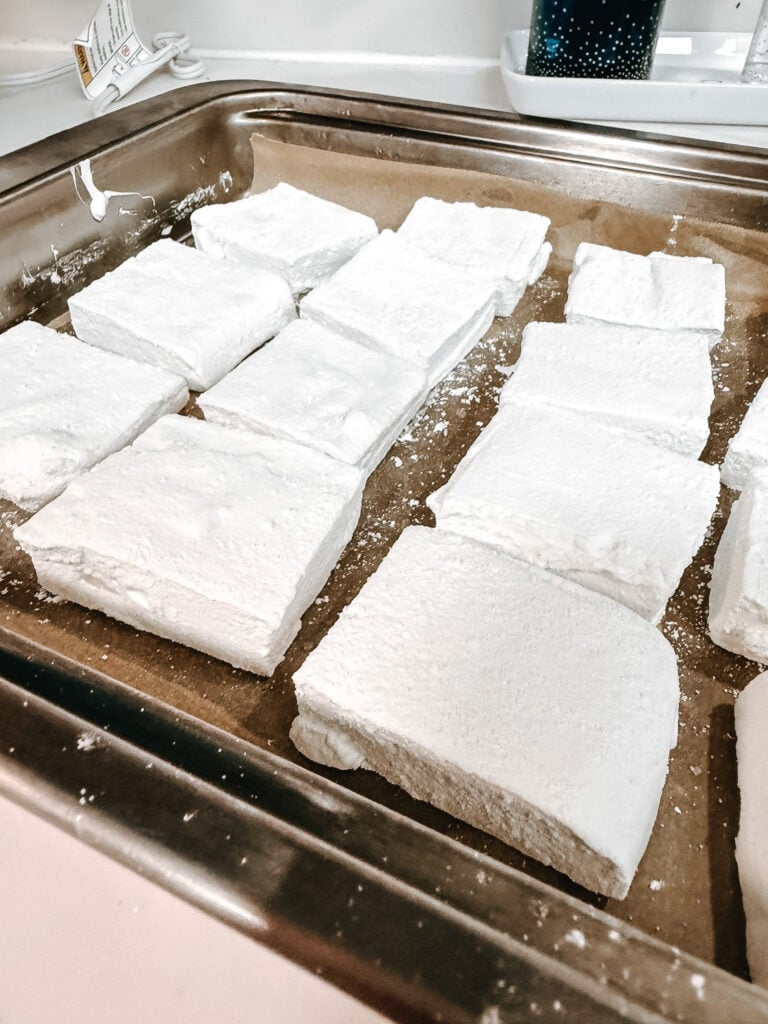
Dust a cutting board liberally with powdered sugar. Turn the marshmallow slab out onto the board, peel off the parchment, and dust the top. Using a greased knife or pizza wheel (re-grease between cuts if needed), slice the marshmallow into squares. Dredge every cut side in powdered sugar so they don’t stick to each other. And try not to eat half of them while you work.
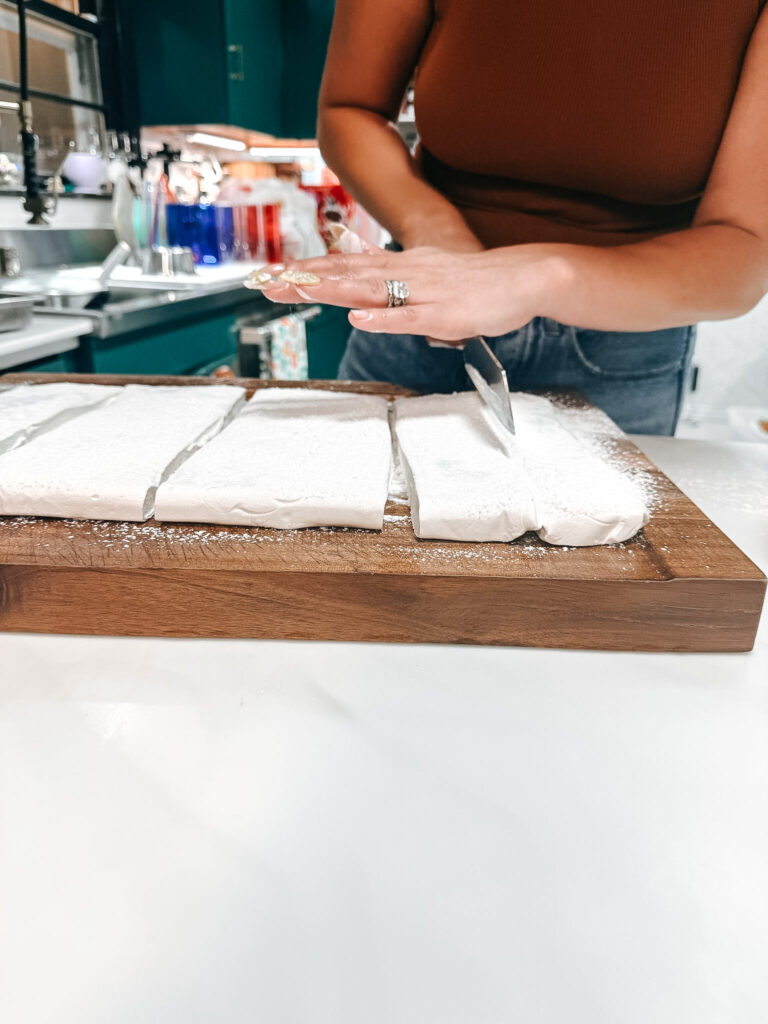
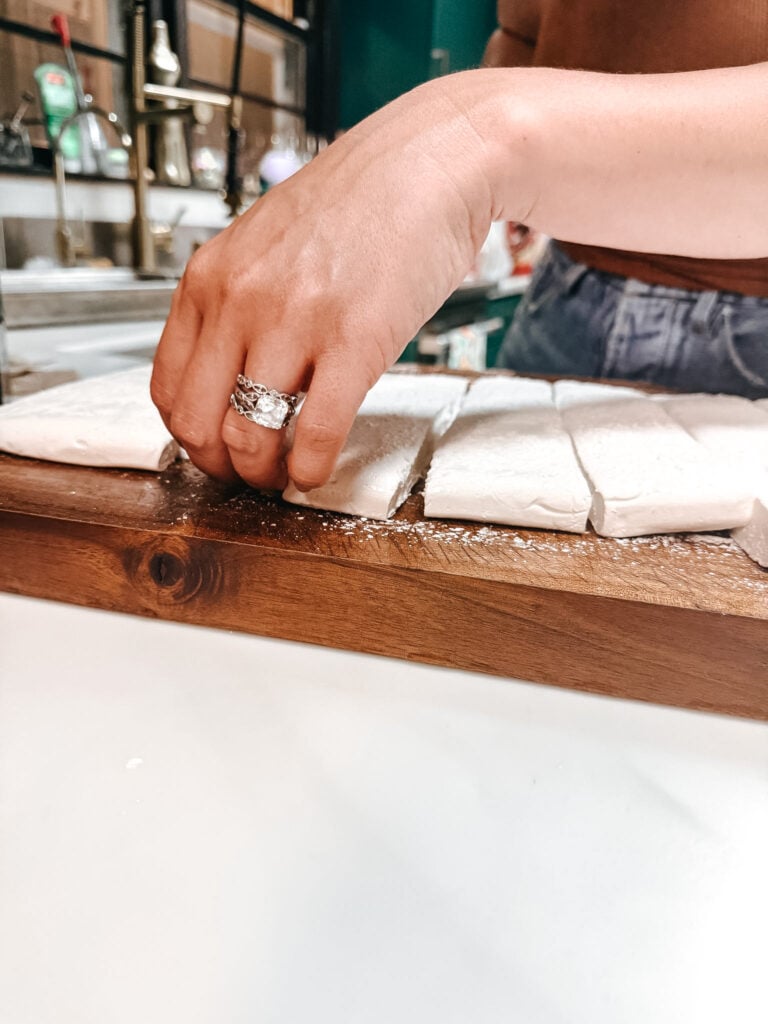
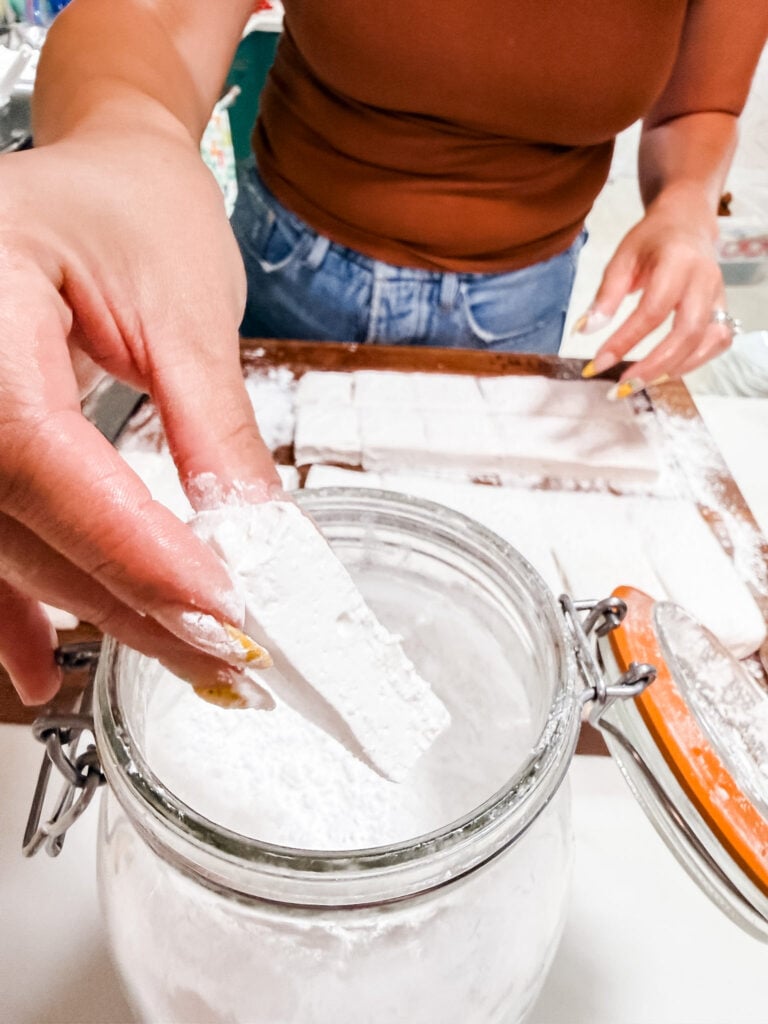
Jenn’s Kitchen Tip
Keep the powdered sugar generous on the cutting board. If your slab sticks when you flip it out, the knife tip is your best friend for gently loosening the edges first.
Storage details
Don’t refrigerate. Cold makes marshmallows sticky and sweaty. Keep them at room temperature in an airtight container, layered between sheets of parchment if needed.
They freeze beautifully. Layer between parchment in an airtight container and freeze up to 3 months. Thaw at room temperature, still sealed in the container, and they come back almost exactly as they started.
Cooking With Kids
The cutting and dredging stage is genuinely wonderful with kids. Turn the slab out onto the board, hand them a butter knife or pizza wheel, and let them go at it. They don’t have to be even — mismatched marshmallows are part of the charm.
The powdered sugar dredging is also great for little hands — just set up a shallow bowl and let them roll the marshmallows around. Fair warning: there will be powdered sugar everywhere, and it will be entirely worth it.
For older kids who want more involvement, they can help watch the sugar syrup temperature and call out when it hits the target — it’s a real hands-on introduction to candy-making basics. Keep them back from the stove, but let them be part of the process.
Frequently Asked Questions
You can, but it’s not ideal. The mixture needs to beat on high for a full 12 minutes, and a hand mixer will work hard the whole time. If you go this route, make sure your bowl is deep and stable — the mixture climbs. A stand mixer is genuinely worth it here if you have access to one.
A few things can cause stickiness. The most common culprit is humidity — marshmallows are sensitive to moisture in the air, which is why storing them at room temperature in an airtight container (never the fridge) matters so much. If your sugar syrup didn’t quite reach the right temperature, that can also leave them softer and stickier than they should be. Make sure your powdered sugar coating is thorough on every cut side.
Almost always a temperature issue. If the sugar syrup didn’t reach 240°F, the structure won’t be strong enough to hold. Double-check your thermometer calibration (a quick ice water test works — it should read 32°F), and make sure you’re hitting the right temperature range for your climate. See the ingredient notes above for guidance.
You can use the cold water test — drop a small amount of syrup into a glass of cold water. At the soft ball stage (240–245°F), it will form a soft, pliable ball that flattens when you take it out. It works, but a thermometer is faster and more reliable. If you make candy with any regularity, it’s worth having one.
Absolutely. Peppermint extract is wonderful around the holidays — start with ½ teaspoon and adjust to taste, since it’s strong. Strawberry, lemon, and almond all work well too. Just swap out the vanilla flavoring at the same amount and go from there. If you want to keep them white, stick to clear flavorings like the Halo Pantry vanilla.
The honey (or corn syrup) plays an important role — it keeps the sugar from crystallizing as it cooks. You really do need one or the other. Honey is my preference for the subtle flavor it adds, but light corn syrup works just as well for a neutral result. I haven’t tested this with other liquid sweeteners, so I can’t vouch for maple syrup or agave here.
The Bottom Line
Once you make marshmallows from scratch, it’s really hard to go back to the bag. They’re better in cocoa, better in s’mores, and honestly better just eaten straight off the cutting board dusted in powdered sugar. The process takes a couple of hours (mostly hands-off setting time), and the result is something you’ll feel genuinely proud of.
Make a batch, tuck them into a little tin or jar, and give them to someone you love. Or keep them all for yourself. No judgment here.
If you make these, I’d love to see them — tag me so I can see your pillowy squares. And if you have questions about the process, drop them in the comments. I’m always happy to troubleshoot.
Cheers 🥂

Homemade Marshmallows
Soft, pillowy marshmallows made from scratch with honey and real vanilla. Surprisingly simple, endlessly versatile, and so much better than anything from a bag.
- Total Time: 2 hours 30 minutes
- Yield: About 24–36 marshmallows (depending on cut size) 1x
Ingredients
- 3 envelopes unflavored gelatin (such as Knox)
- 1/2 cup cold water (for blooming the gelatin)
- 2 cups granulated sugar
- 2/3 cup honey (or light corn syrup)
- 1/4 cup water (for the sugar syrup)
- 1/4 teaspoon salt
- 1 tablespoon Halo Pantry Vanilla Bean Natural Flavoring (clear and dye-free — see notes)
- Powdered sugar (for dredging, a generous amount)
- Neutral oil (for oiling pan and hands)
Instructions
Pour 1/2 cup cold water into the bowl of your stand mixer. Sprinkle all 3 envelopes of gelatin over the surface and let it sit undisturbed for 10 minutes. It will absorb the water and thicken into something almost jelly-like — that’s exactly what you want.
Line a 9×9-inch baking pan with oiled plastic wrap, making sure it covers the bottom and sides. Set it right next to your mixer so you’re not scrambling when the mixture is ready.
In a saucepan, combine the granulated sugar, honey, and 1/4 cup water. Bring to a boil, stirring until the sugar dissolves. Once boiling, cook for 1 minute. For best results, use a thermometer — you’re aiming for 240-245 degrees F. See the notes below for climate adjustments.
Pour the boiling syrup into the bloomed gelatin and immediately beat on high speed with an electric mixer. Add the salt. Beat for a full 12 minutes — the mixture will go from thin and watery to thick, glossy, and brilliantly white. In the last 30 seconds, add the vanilla flavoring.
Lightly oil your hands and use them (or an oiled spatula) to scrape the marshmallow mixture into the prepared pan and spread evenly. Press another piece of oiled plastic wrap directly onto the surface. Let it sit at room temperature for at least 2 hours.
Dust a cutting board with powdered sugar. Turn the marshmallow slab out onto the board and peel away the plastic wrap. Dust the top generously with more powdered sugar. Use scissors or a greased knife to cut into 12 equal pieces. Dredge each marshmallow on all sides in powdered sugar so they don’t stick. Store in an airtight container at room temperature.
Equipment

All-Clad D3 3-Ply Stainless Steel 3 Quart Sauce Pan
Buy Now →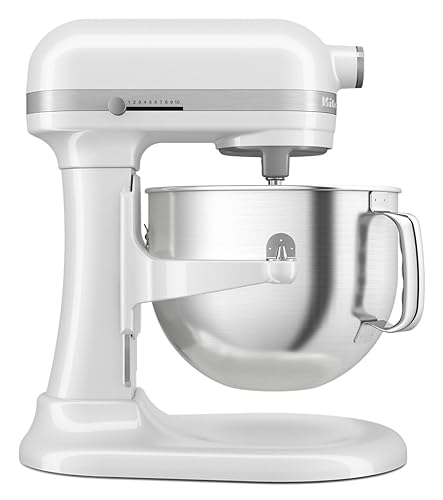
KitchenAid® 7 Quart Bowl-Lift Stand Mixer, White
Buy Now →
ThermoWorks Hi-Temp Silicone Spatula
Buy Now → Buy Now →
  Buy Now →
 Notes
- Vanilla: I use Halo Pantry Vanilla Bean Natural Flavoring because it’s clear and completely dye-free — your marshmallows stay a beautiful bright white. Pure vanilla extract will also work but may tint them a light cream color.
- Sweetener swap: Honey adds a subtle warmth and depth that I love, but light corn syrup works just as well for a more neutral flavor. Either way, the texture is the same.
- Temperature guide: Climate matters here. For most places: 242-243 degrees F. Cold, dry climates: 240 degrees F. Hot, humid climates: 245 degrees F. A ThermoWorks instant-read thermometer makes this easy and accurate.
- Storage: Store coated marshmallows in an airtight container at room temperature for up to 2 weeks. Do not refrigerate — they’ll become sticky.
- Freezing: Marshmallows freeze beautifully. Layer between sheets of parchment in an airtight container and freeze up to 3 months. Thaw at room temperature, still sealed in the container.
- Equipment: A stand mixer is strongly recommended. A hand mixer can work but the mixture needs to beat on high for a full 12 minutes — make sure your bowl is deep and stable.
- Cutting tip: Scissors work really well for cutting marshmallows and give you clean edges. A greased knife works too — just re-grease between cuts.
- Prep Time: 15 minutes
- Setting Time: 2 hours
- Cook Time: 15 minutes
- Category: Candy, Dessert, Snack
- Method: stand mixer, stove-top
- Cuisine: American
- Diet: Dairy-Free, Gluten-Free
Recipe & Photo Credit
This recipe and all images are original content created by Jenn Giam Smith for Cheers, Jenn.
You’re welcome to link to this recipe using one photo with proper credit. Please do not copy, republish, or redistribute this recipe or images without permission.
Have a question or want to share how it turned out?
Leave a comment below — I love hearing from you. 💛
MAKE MID-WEEK A LITTLE EASIER
Sign up below, and I’ll send you a FREE E-BOOK featuring six of my all-time favorite mid-week recipes!