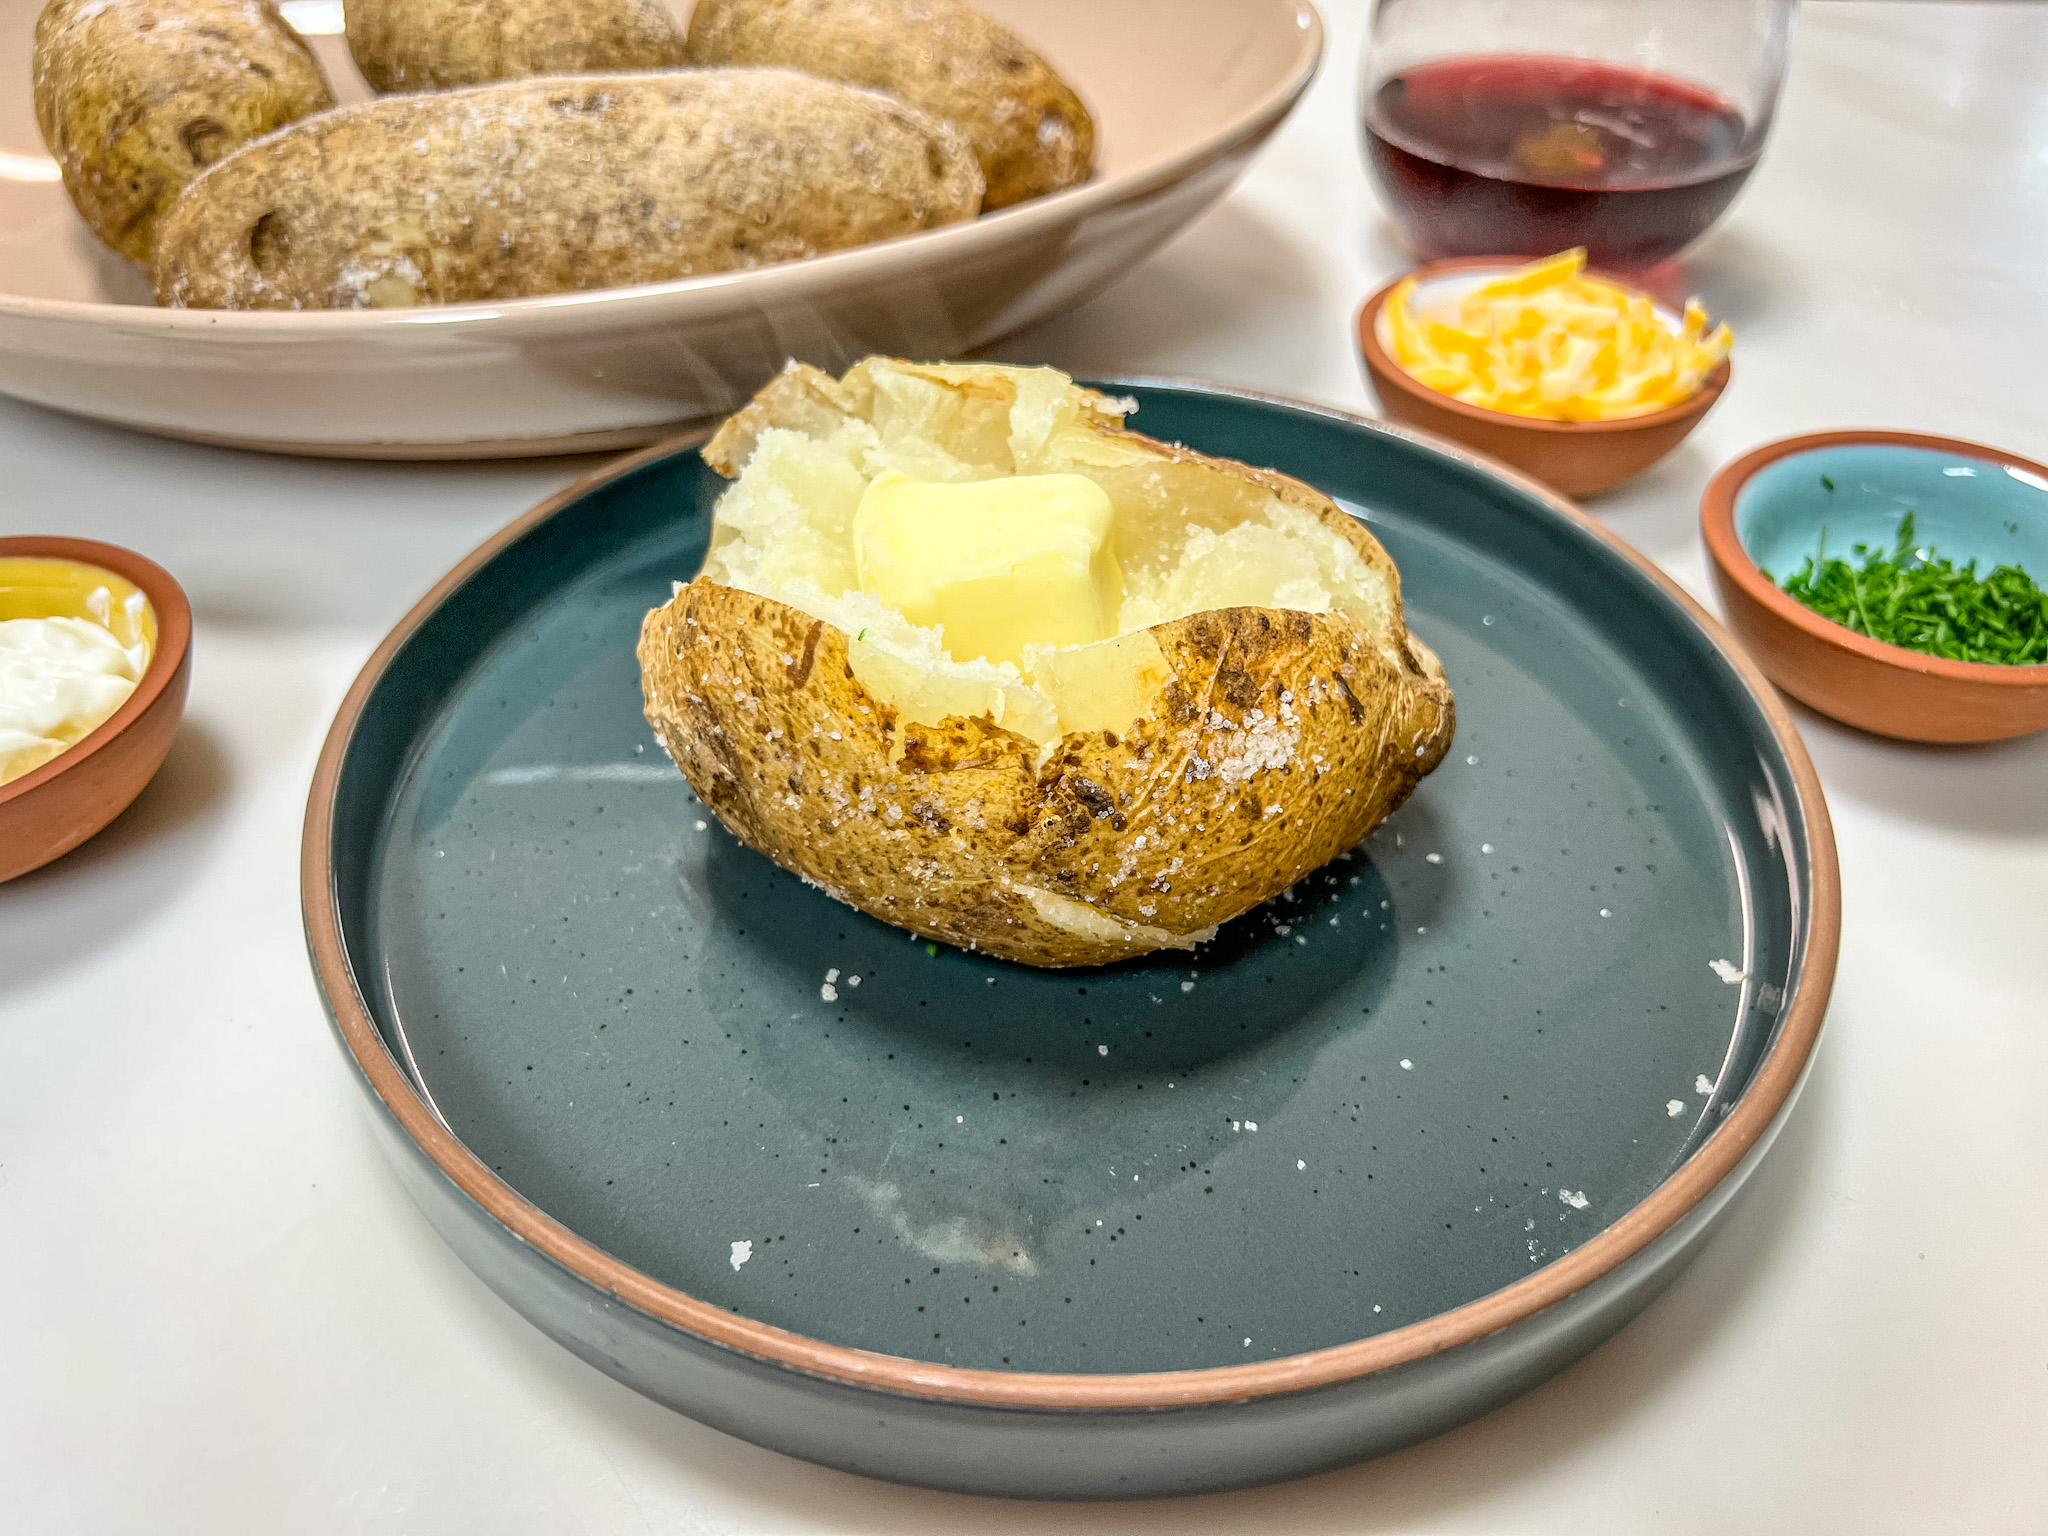
How to Make the Best Baked Potato (Crispy Skin + Fluffy Inside)
Discover the secrets to baking a restaurant-style baked potato at home. Get that perfect balance of crispy skin and fluffy interior.
This post may contain affiliate links, which means that I make a small commission off items you purchase at no additional cost to you. Please read my Affiliate Disclosure
If your baked potatoes come out soft-skinned, bland, or just… fine, I have an easy, foolproof method for you.
This is how you get that crispy, salty, restaurant-style baked potato with a fluffy inside every single time. It’s simple, reliable, and exactly how I learned growing up, watching my dad work in professional kitchens.
These days, it’s one of those back-pocket recipes I come back to again and again, easy enough for a weeknight, but still feels like something a little special.
Once you know how to bake a potato this way, you won’t go back.
Part of My Cooking School Series
This baked potato recipe is part of my Cooking School series—where I break down simple techniques that make everyday cooking feel a little more intentional.
Because sometimes it’s not about learning something complicated… it’s about learning how to do the basics really well.
Why You’ll Love This Baked Potato Recipe
What You Need to Make a Baked Potato
- Russet potatoes
- Olive oil (or your favorite neutral oil)
- Kosher salt
That’s it. Simple, wholesome ingredients you likely already have on hand.
What Type of Potato Is Best for Baking?
If you’ve ever made a baked potato and found it to be dense or waxy, it was likely the wrong type of potato.
Russet potatoes are the best choice here—they’re high in starch and low in moisture, which gives you that fluffy interior and perfectly crisp skin.
How to Bake the Best Potato
To bake a potato, preheat your oven to 425°F. Scrub and dry the potato, then rub it with oil and salt. Place it directly on the oven rack and bake for 45–60 minutes, until the inside is tender and the skin is crispy.
How to Bake a Potato (Step-by-Step)
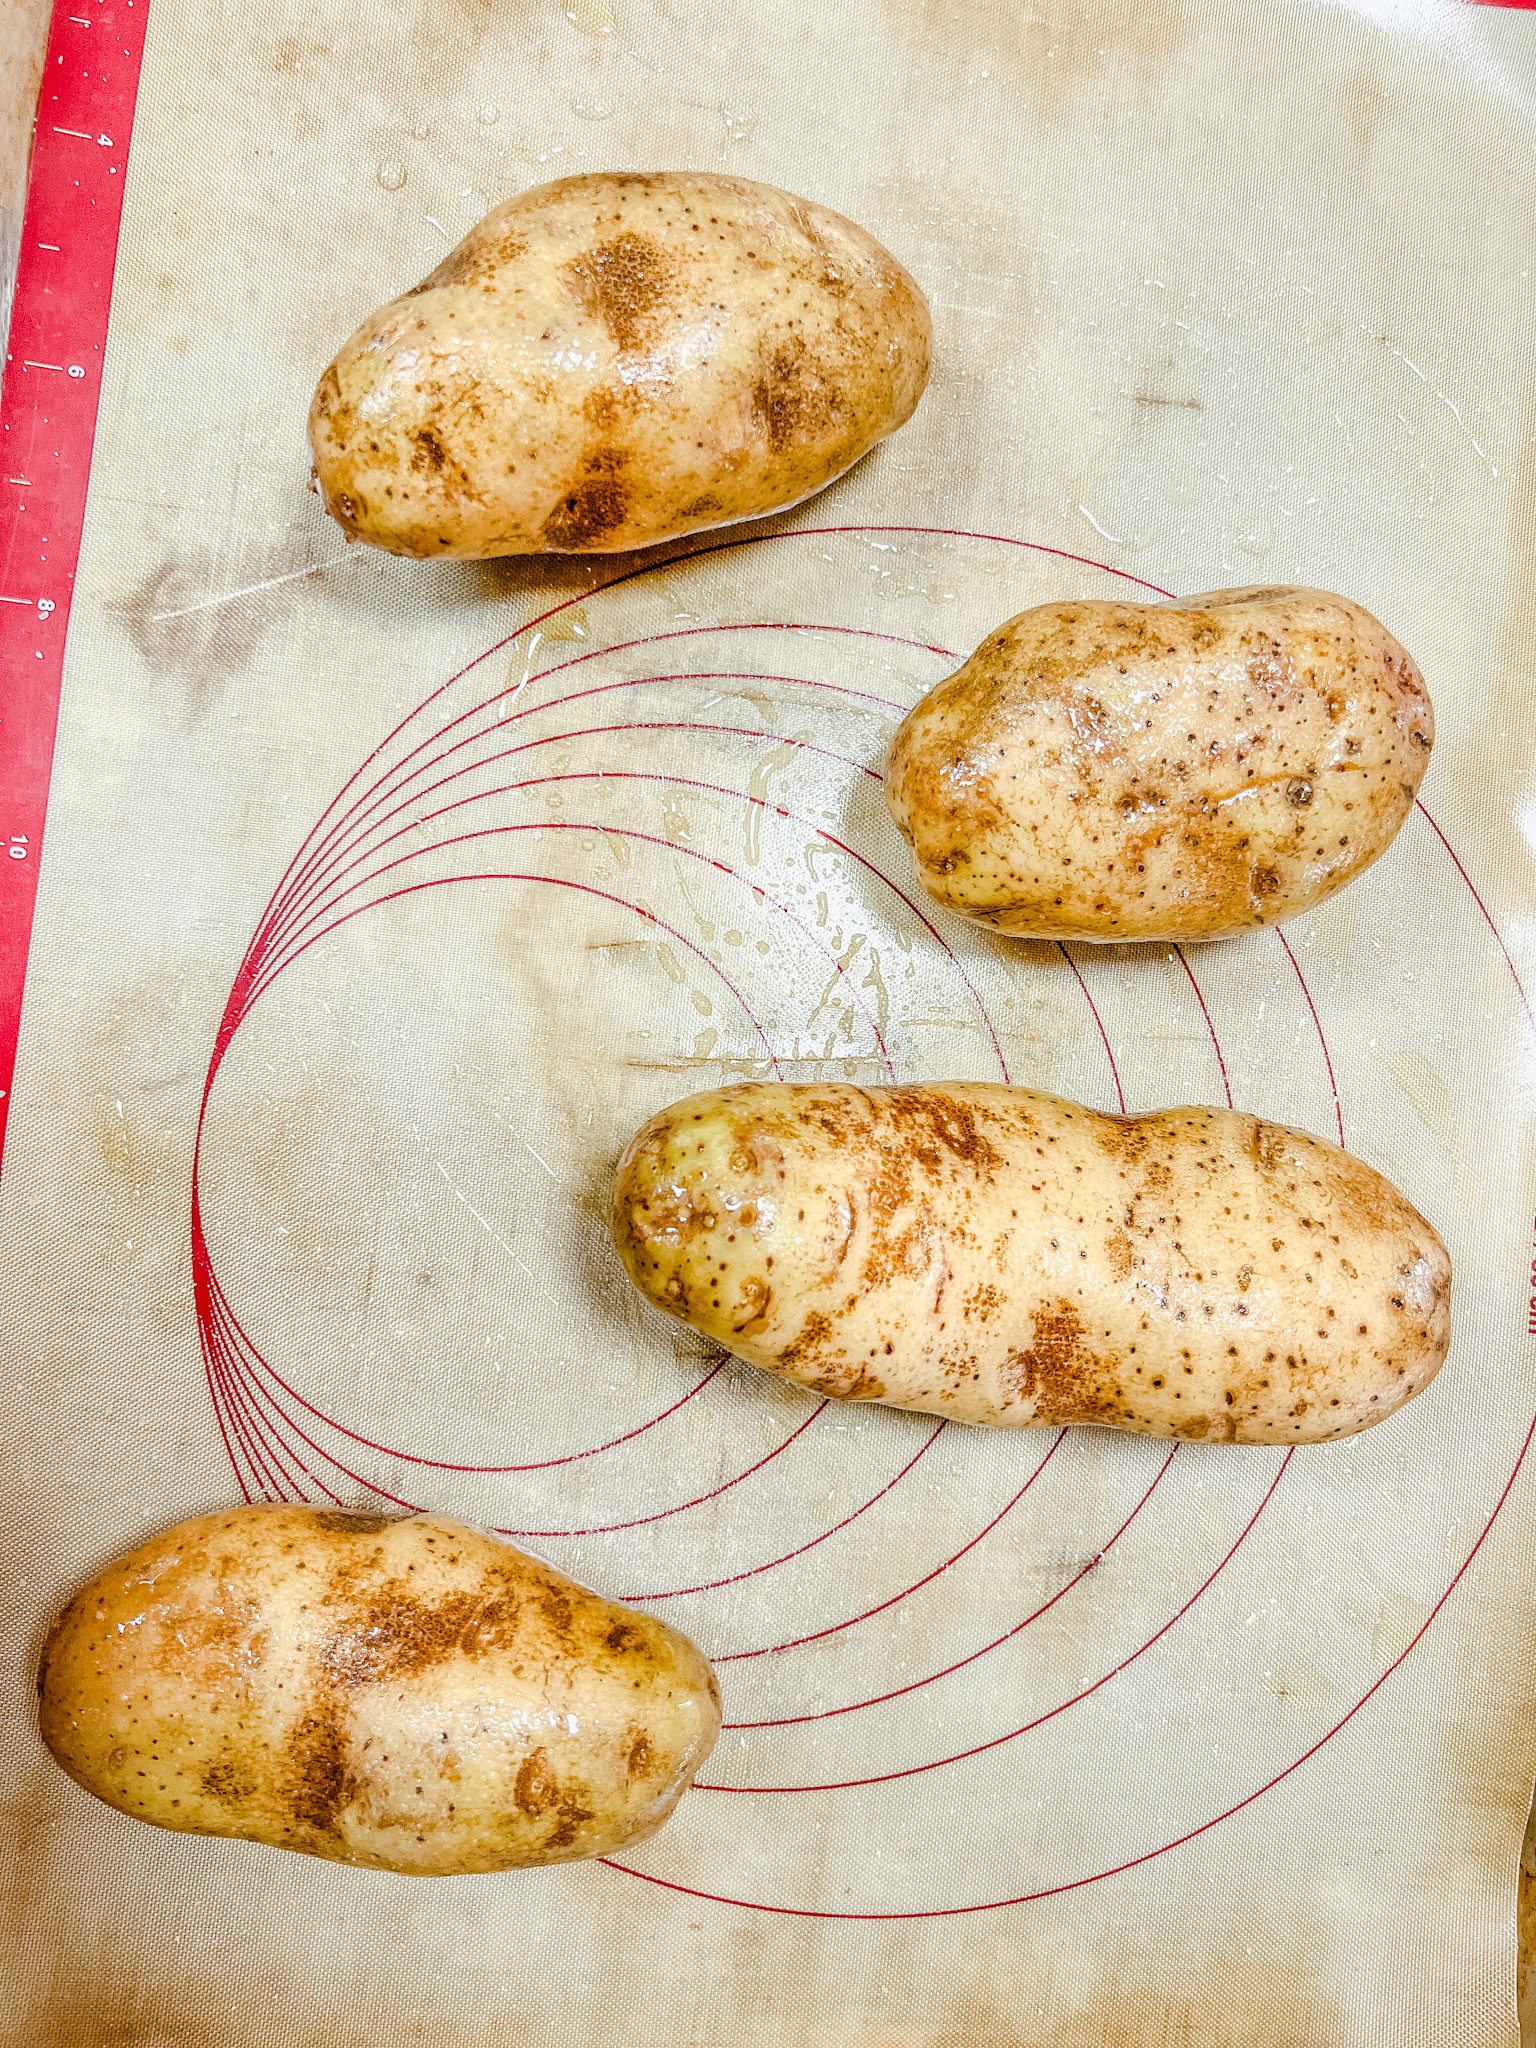
Step 1: Prep the Potatoes
Scrub the potatoes clean and dry them completely. Moisture is the enemy of crispy skin.

Step 2: Oil and Salt the Skin
Rub each potato with oil, then generously coat with kosher salt.
This is what creates that signature crispy, flavorful skin.
Step 3: Bake Until Tender
Place the potatoes directly on the oven rack (no foil!) and bake at 425°F for 45–60 minutes.
You’ll know they’re done when:
- the skin is crisp
- a knife slides in easily
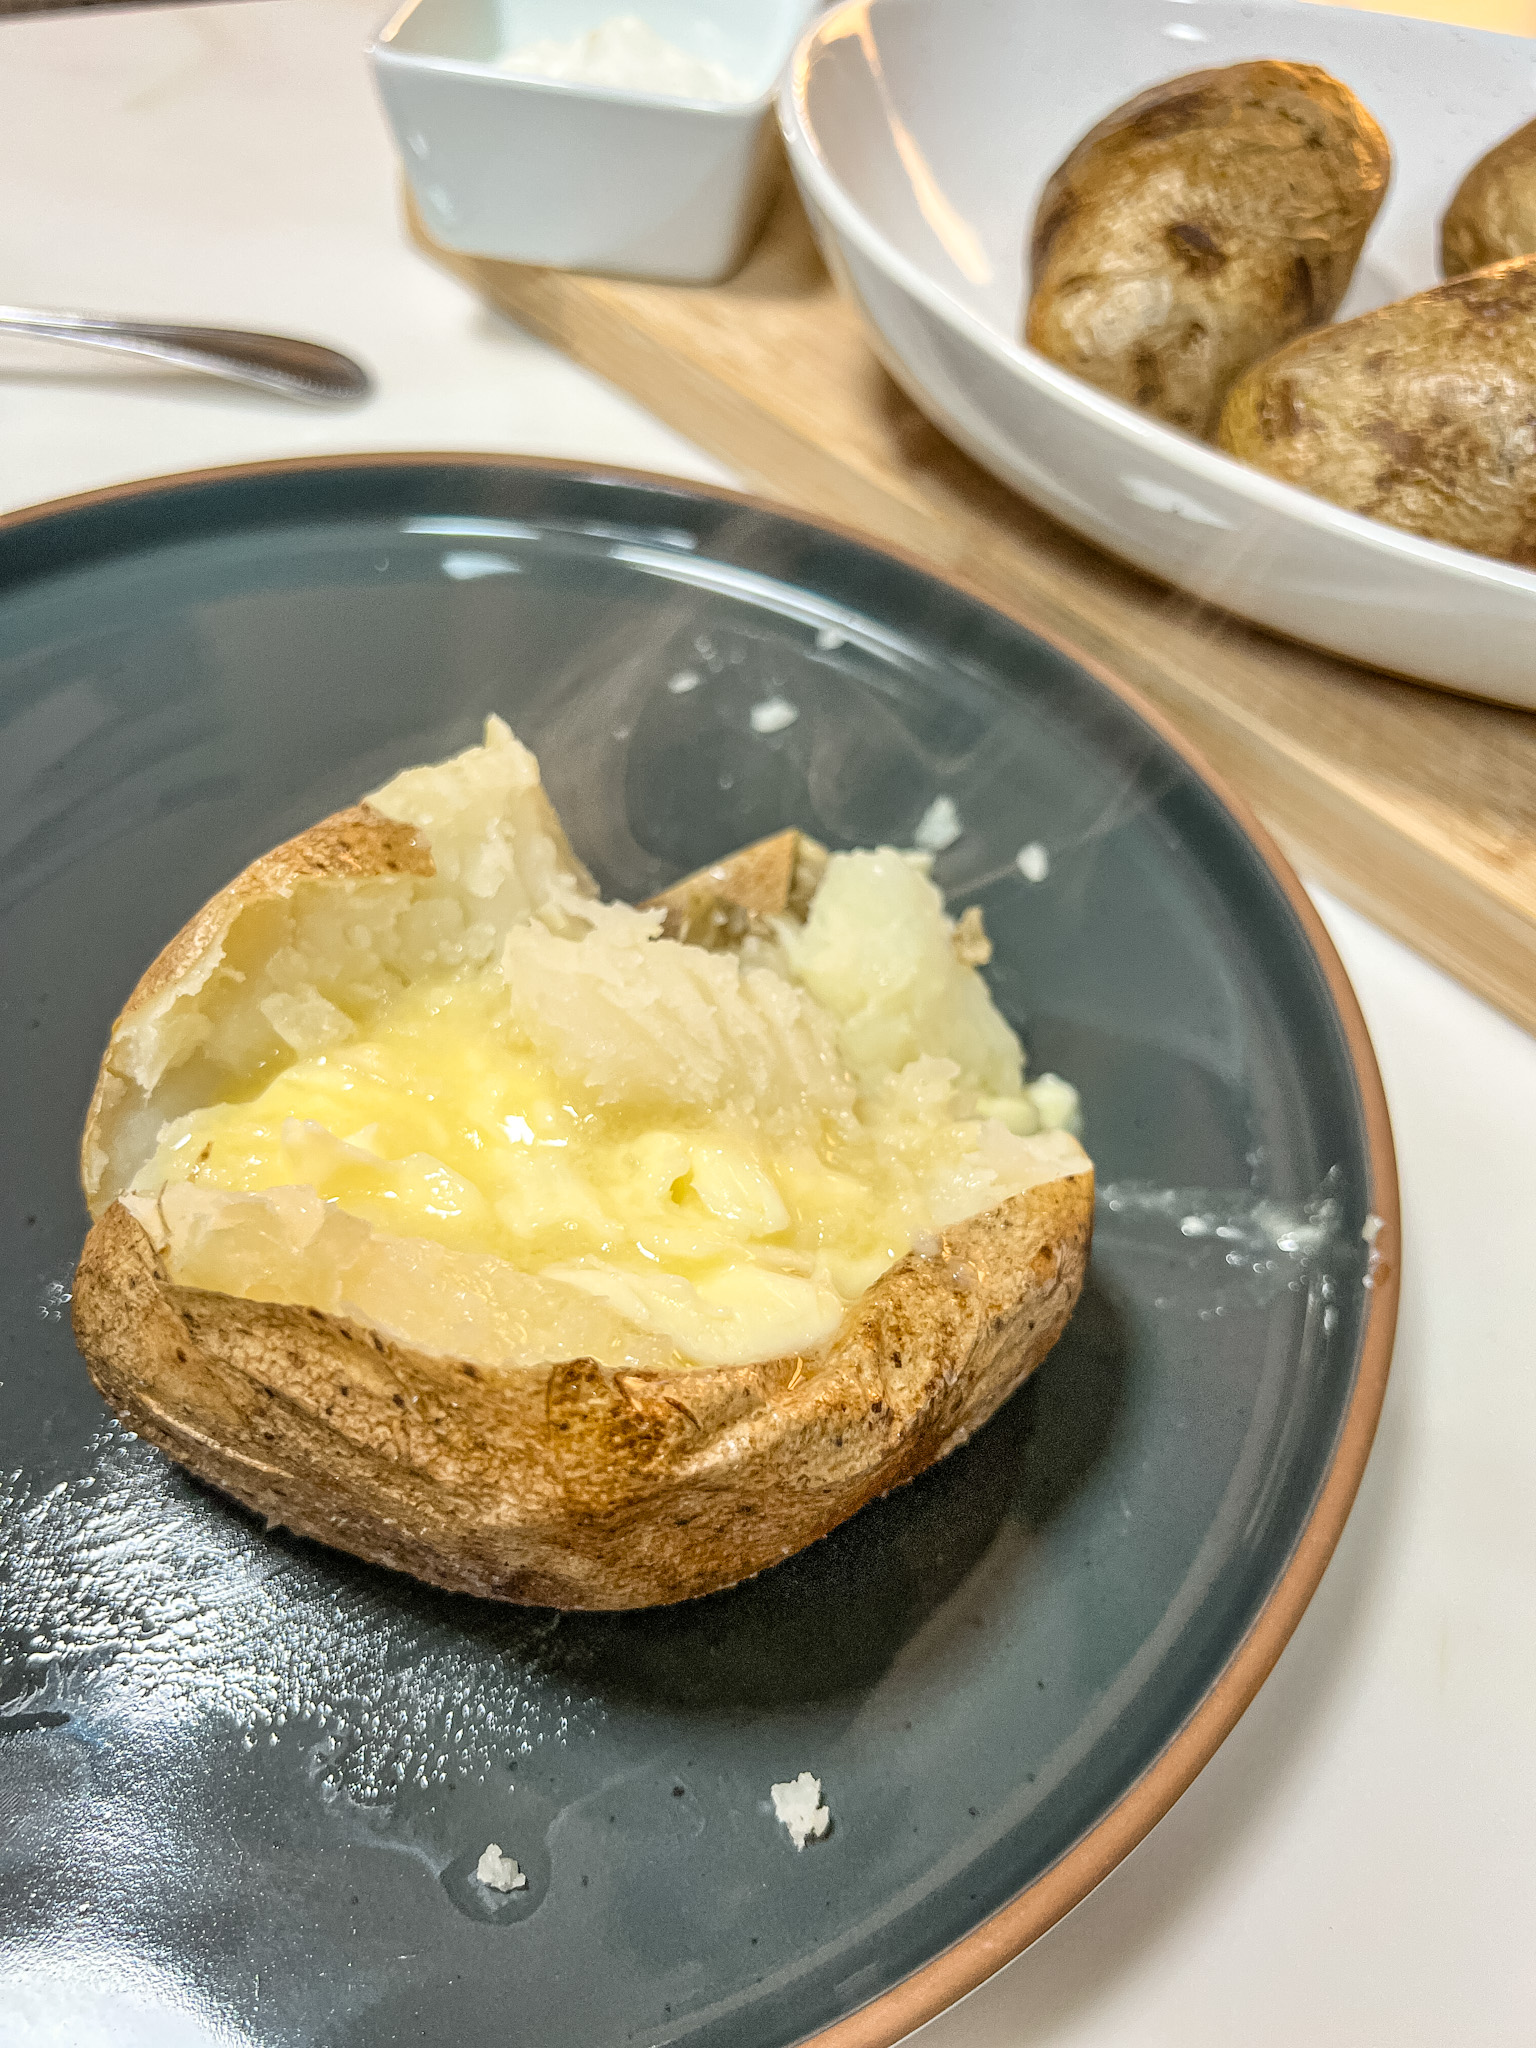
Step 4: How to Open a Baked Potato
Use a knife to make a slit across the top, then gently press the ends inward to open it up. Fluff the inside with a fork before adding toppings.
That little step makes all the difference; it keeps the inside light instead of being packed down.
Why This Method Works
- No foil → prevents steaming and keeps the skin crispy
- Oil + salt → creates that restaurant-style texture and flavor
- High heat → gives you a fluffy interior without drying it out
Simple steps, but they completely change the result.
How Long to Bake a Potato
At 425°F:
- Medium potatoes: 45–50 minutes
- Large potatoes: 55–60 minutes
If you’re unsure, give the potato a gentle squeeze (with a towel)—it should feel soft inside.
Tips for the Best Baked Potato
- Use russet potatoes for the best texture
Russets are high in starch and low in moisture, which gives you that fluffy inside and crispy skin. You can use other potatoes (even sweet potatoes or golds), but russets will give you the most classic baked potato result. - Choose potatoes that are similar in size
Aim for medium potatoes (about ½ pound each) so they bake evenly. If one is much larger than the others, it will take longer to cook through. - Skip the foil
Wrapping potatoes in foil traps moisture, which leads to soft, soggy skin. Baking them uncovered allows the skin to crisp up and the flavor to concentrate. - Bake at a higher temperature
Around 425–450°F is ideal for crispy skin. Lower temperatures will still work, but they’ll take longer and won’t give you the same texture. - Know when they’re done
The potatoes are ready when a fork or skewer slides in easily with little resistance. If you want to be precise, the internal temperature should be around 205°F. - Don’t skip the oil and salt
Lightly coat the potatoes with a high-heat oil (like avocado oil or regular olive oil), then sprinkle generously with kosher salt. This is what gives you that flavorful, slightly crunchy skin.
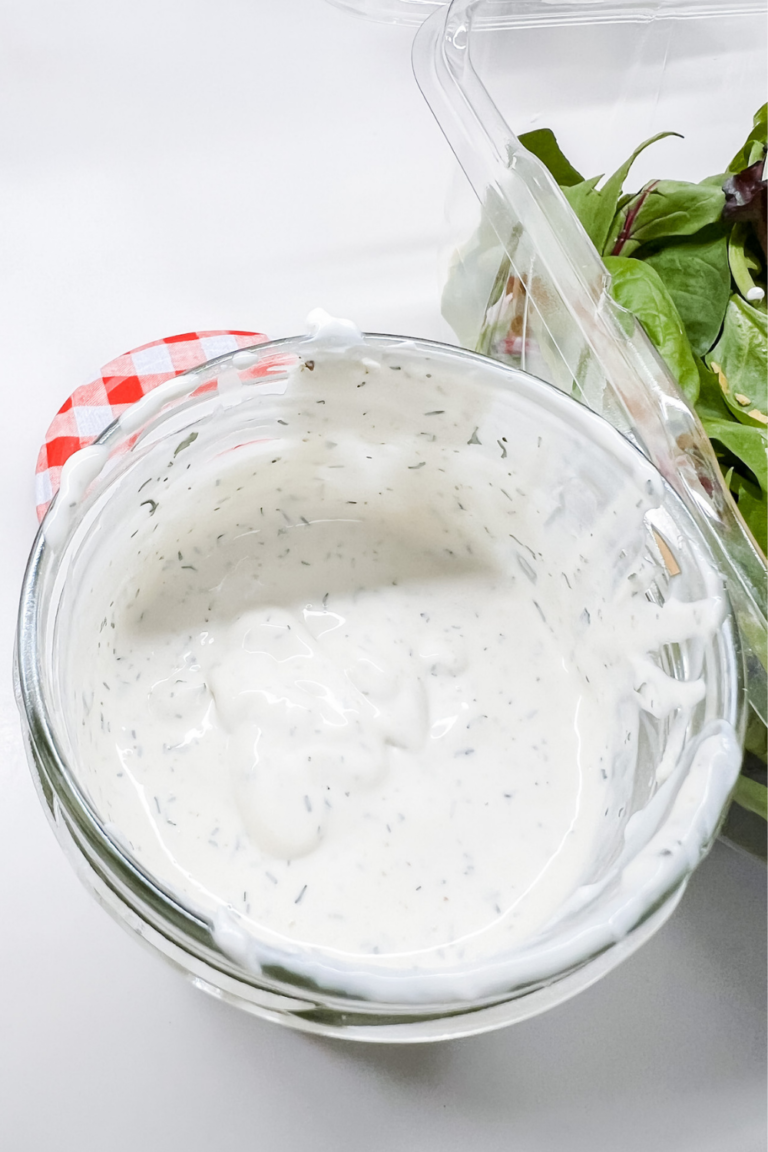
Toppings for Baked Potatoes
This is where you can make it your own.
Classic options:
- Butter
- Sour cream
- Shredded cheese
- Bacon
- Chives
Or turn it into a full meal with chili, pulled chicken, or roasted vegetables.

Cooking With Kids
Baked potatoes are one of the easiest ways to bring kids into the kitchen.
It’s simple, hands-on, and a great way to let kids feel part of the process.
FAQs
This one is completely up to you.
I’ll be honest—I rarely poke mine, and I’ve never had any issues. But technically, poking holes in the skin allows steam to escape as the potato bakes.
If that steam builds up enough pressure, it can cause the skin to pop.
So while it’s not something I personally worry about, if you want to play it safe, you can give your potatoes a few light pricks (about ¼-inch deep). No need to go overboard.
I don’t recommend it—and here’s why.
Baked potatoes cook at a high temperature, and butter has a lower smoke point than most oils. That means it can burn before the potato is fully cooked.
Instead, use a high-heat oil (like avocado oil or regular olive oil) for the skin, then add butter at the end once the potato is open and fluffy.
Trust me—this is where butter really shines.
Recommended Kitchen Tools
- Veggie Brush: Potatoes are dirty (they do come out from the ground), so just running cold water on them doesn’t do much at all to get the dirt off. Scrub them well with a veggie scrubber.
- Baking sheet with a wall and silicone Mat: It’s important that the pan has a wall or your potatoes are going to rolll and fall off your pan. The silicone mat helps prevent the potatoes from sticking. You could use parchment paper, but I have had it stick to the paper, even with me rotating them, so just keep that in mind.
Shop This Post
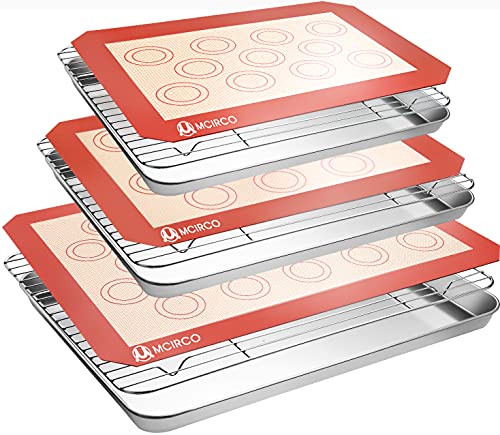
Stainless Steel Baking Sheet Set with Silicone Mats and Cooling Racks (Set of 9)
Buy Now → Buy Now →
Baked Potato Serving Suggestions
If you are serving classic baked potatoes as a side dish, try rounding out your meal with any of these:
Did You Make This Recipe?
I’d love to hear how it turned out for you! Leave a comment below and give it a ⭐⭐⭐⭐⭐ rating if you loved it.
If you share on Instagram, tag me @cheersjennsmith—I’ll feature your creations in my stories!
Share or save it:

Baked Potato (Crispy Skin + Fluffy Inside)
- Total Time: 50–55 minutes
- Yield: 1 baked potato 1x
- Diet: Could be Vegan, Vegetarian
Description
Learn how to make the best baked potato with crispy, salty skin and a soft, fluffy inside. This easy oven baked potato recipe is simple, reliable, and delivers restaurant-style results every time.
Ingredients
- 1 medium-to-large russet potato, scrubbed clean and dried
- 2 teaspoons neutral oil (see Notes for options)
- Pinch of coarse kosher salt
Instructions
- Preheat the oven
Preheat your oven to 425°F. (You can go up to 450°F for slightly crispier skin.) - Prep the potato
Scrub the potato clean and dry it completely. If desired, use a fork to lightly prick the potato a few times to allow steam to escape. - Oil and salt
Drizzle the potato with oil and rub it until fully coated on all sides. Sprinkle generously with kosher salt, rolling it to coat evenly. - Bake
Place the potato directly on the oven rack (for best airflow) or on a lined baking sheet. Bake for 45–60 minutes, depending on size. - Check for doneness
The potato is done when a fork slides easily into the center with little to no resistance. For precision, the internal temperature should reach about 205°F. - Open and fluff
Using a knife, slice halfway through the potato lengthwise. Gently press the ends inward to open, then fluff the inside with a fork. - Serve
Serve immediately with butter, salt, and your favorite toppings.
Equipment
Stainless Steel Baking Sheet Set with Silicone Mats and Cooling Racks (Set of 9)
Buy Now →Notes
- Oil options: Avocado oil, vegetable oil, peanut oil, or regular olive oil all work well.
- Avoid extra-virgin olive oil at high heat, as it can burn.
Storage & Reheating
- Store leftovers in an airtight container in the refrigerator for up to 3 days
- Reheat in the oven at 350°F until warmed through for best texture
- Microwave reheating works, but the skin will soften
- Prep Time: 5 minutes
- Cook Time: 45–50 minutes
- Category: Side Dish
- Method: Baking, oven baked
- Cuisine: American
Nutrition
- Serving Size: 1 potato
- Calories: 239
- Sugar: 1
- Sodium: 11
- Fat: 8
- Saturated Fat: 1
- Carbohydrates: 38
- Fiber: 3
- Protein: 5
Recipe & Photo Credit
This recipe and all images are original content created by Jenn Giam Smith for Cheers, Jenn.
You’re welcome to link to this recipe using one photo with proper credit. Please do not copy, republish, or redistribute this recipe or images without permission.
Have a question or want to share how it turned out?
Leave a comment below — I love hearing from you. 💛
MAKE MID-WEEK A LITTLE EASIER
Sign up below, and I’ll send you a FREE E-BOOK featuring six of my all-time favorite mid-week recipes!
Recipe & Photo Credit
This recipe and all images are original content created by Jenn Giam Smith for Cheers, Jenn.
You’re welcome to link to this recipe using one photo with proper credit. Please do not copy, republish, or redistribute this recipe or images without permission.
Have a question or want to share how it turned out?
Leave a comment below — I love hearing from you. 💛