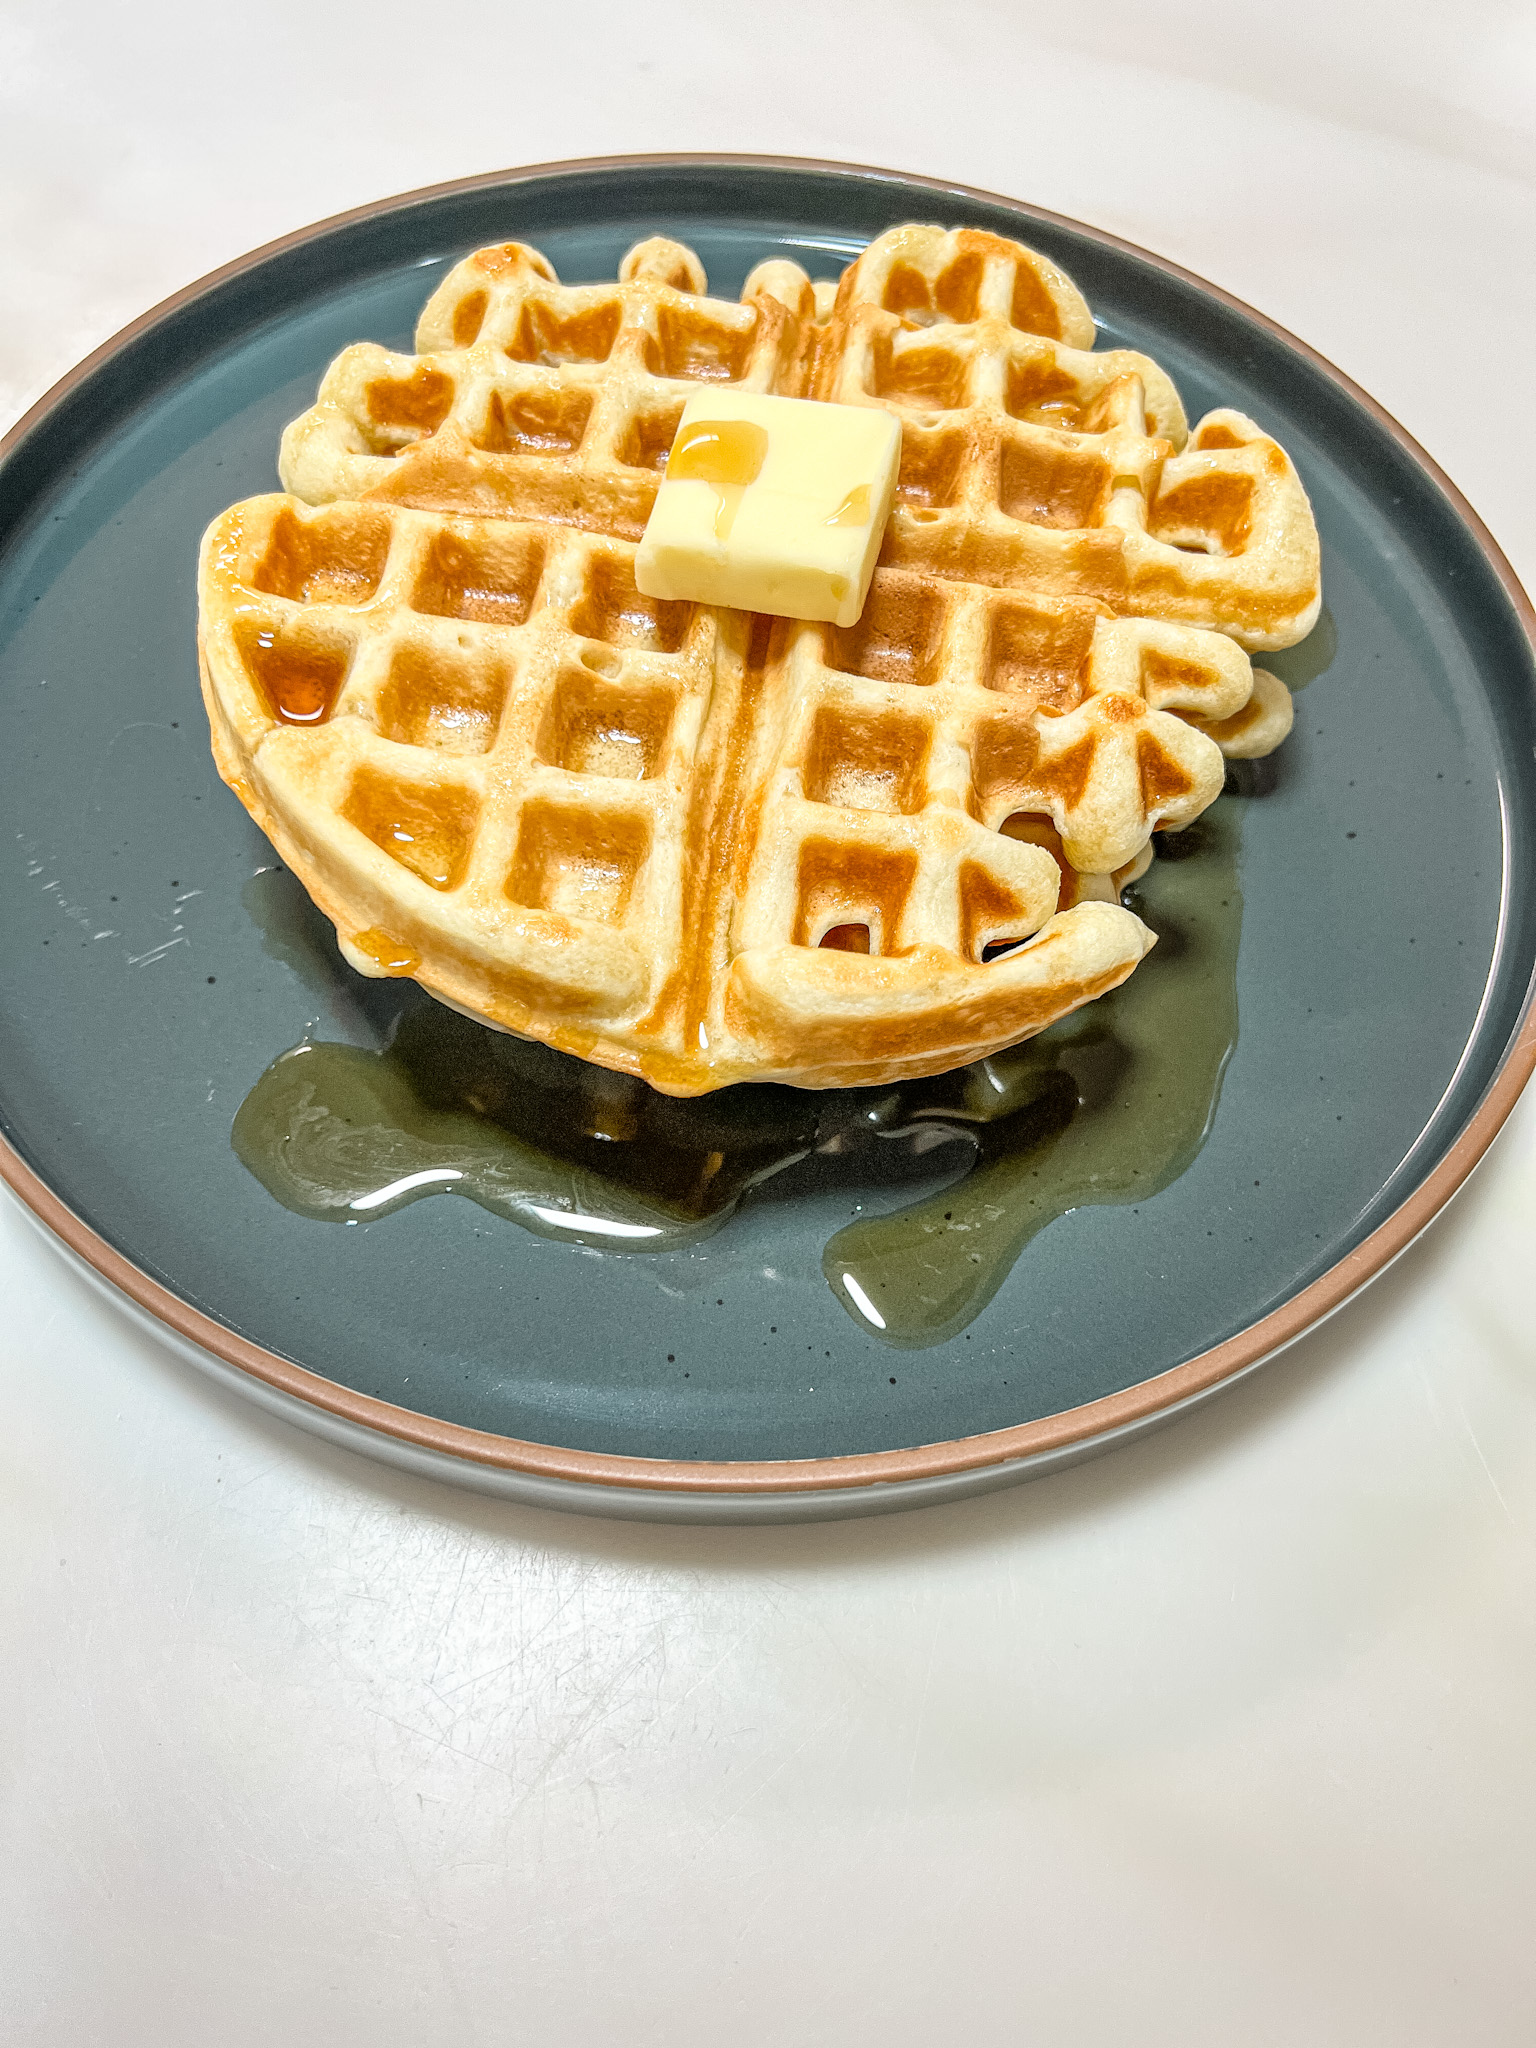
One-Bowl Buttermilk Waffles
Consider this your new, go-to waffle recipe. When you want to start your day off on a sweet note, this is the perfect recipe to use! It all gets mixed in one bowl, and still yields a crisp outside, but fluffy inside!
Bonus! These buttermilk waffles are freezer friendly!
This post may contain affiliate links, which means that I make a small commission off items you purchase at no additional cost to you. Please read my Affiliate Disclosure

Consider this your new, go-to waffle recipe. When you want to start your day off on a sweet note, this is the perfect recipe to use! It all gets mixed in one bowl, and still yields a crisp outside, but fluffy inside!
Bonus! These buttermilk pancakes are freezer-friendly!
My Latest Food Videos

Cooking Utensils
Everything on this list I have and do use to make buttermilk waffles.
- Waffle Iron – I have the Oster DuraCeramic Double Flip Waffle Maker but I believe they no longer make that one. Quite honestly… whenever mine goes out, I’m eyeing this Cuisinart Belgian Waffle Maker.
- Whisk – I like the OXO 11″ Balloon Whisk or a fork, I’ve also been known to use a fork.
- Ice Cream/Cookie Scoop (I find this is much easier than a spoon, but you can use a spoon as well)
The Order and Technique are Key
The secret to the soft and fluffy inside of these buttermilk waffles is in this technique. It starts by scrambling up the eggs and then adding the baking powder and then mixing the two together until it’s a nice light yellow mixture (there may be clumps of baking powder and that’s ok. A chemical reaction occurs immediately upon adding the baking powder to the eggs and produces carbon dioxide bubbles (this works with pretty much any liquid ingredient including water and milk).
Start with the eggs and baking soda
Now, if you let it sit for 5 minutes before adding the rest of the ingredients, the reaction is more profound and a little more stable. This chemical reaction is what creates this amazing fluff.


Another key to the tenderness of these is not to keep the air in the liquid mixture as long as possible. I start by adding the sugar, mixing vigorously until combined (keeping as much air as I can in tacked. Then I add the vanilla and do the same. Next is the buttermilk, you want to add this as you’re whisking vigorously. This is a great opportunity for you kids to help. In the pictures below you’ll see my 5-year-old JJ helping me by slowly pouring the buttermilk in. Again, the key is to continue whisking vigorously to keep as many bubbles as possible until you add the flour and salt.


Add the flour a cup at a time to ensure it mixes in well (at the 4th cup, I recommend switching to a rubber spatula and folding in the last cup of flour) until you no longer see flour. Then STOP or they will be tough!


Lastly, we add and fold in the butter. I found to get that perfect crunch on the outside, you add the butter last. You also need to gently fold in the butter, versus whisking it in. This keeps the batter, light and fluffy. You only want to mix until the butter disappears into the batter.


The other important part of this recipe is letting the batter rest for about 20 minutes. The ‘resting’ allows the gluten in the flour to relax and the starch grains to swell, yielding that light and fluffy inside you’re going for.

Jenn’s Note:
One more “secret”: to keep them crisp on the outside.
Lay finished waffles on a cooling rack as you are cooking the rest of your batter. Waffles are hot, so when you sit them on a plate (or even on top of each other), they steam up and get soggy. You can always err on the side of caution, and cook them a little lighter. That way if they cool, you can stick them in the toaster for a couple of seconds to get some heat on them. Just me.

Storing and Eating later.
If by some chance you have extras, you can store waffles for 3 days in the fridge and up to 3 months in the freezer. I actually prefer to make large batches and freeze them so the kids can have waffles anytime they want.
To refrigerate your waffles, simply transfer them from your cooling rack to a storage bag/container and put them in the fridge. They will keep for up to 3 days this way.
To freeze your waffles, lay them on a sheet pan or cooling rack and sit in the freezer until completely frozen (30-60 minutes). Take them out and immediately put them in a freezer-safe bag (don’t forget to label and date the bag). They will keep for up to 3 months this way.

No matter the storage technique you chose… When you are ready to enjoy some waffles, just stick them in the toaster!
*If you plan on freezing them, make sure you cook them on the lighter side so when they toast they are a nice golden brown, and not burnt.
ENJOY and Share!
Enjoy this recipe with maple, fresh fruit, and whipped cream, or try my cinnamon whipped cream for a little added fun.
Tag me on Instagram or Facebook, @jenngiamsmith #JennGiamSmith, and let me know what you think! I love seeing friends and family come together over a special meal and fun food.
Please let me know how you like this buttermilk waffle recipe in the comments! Your star ratings with your comments are tremendously helpful, too.
One-Bowl Buttermilk Waffles
- Total Time1 hour 10 minutes
- Yield12 waffles 1x
My recipe for buttermilk waffles is crispy on the outside and light, fluffy, and tender inside. You use one bowl for the entire process that’s it. Minimizing dishes and work.
Ingredients
- 4 large eggs
- 2 Tablespoon baking powder
- 4 cups all-purpose flour
- 1/2 teaspoon salt
- 1/2 cup sugar
- 1/2 cup unsalted butter (melted)
- 2 cups full-fat buttermilk (see notes 1 for substitutes)
- 2 teaspoon vanilla extract
Instructions
- Whisk up the eggs. Add the baking powder and whisk again until completely mixed together; set aside for minutes.
- After 5 minutes, add the sugar and mix vigorously until combined (keeping/creating as many air bubbles as possible).
- Then add the vanilla and, mix vigorously until combined (keeping/creating as many air bubbles as possible).
- Add the buttermilk and salt as you’re still whisking vigorously.
- Add the flour a cup at a time to ensure it mixes well (at the 4th cup, I recommend switching to a rubber spatula and folding in the last cup of flour) until you no longer see flour. Then STOP or they will be tough!
- Add and fold in the butter gently until the butter disappears into the batter.
- Let the batter rest for about 20 minutes (this should be just long enough for the waffle iron to heat up nicely).
- Drop about ⅓ cup of batter into your waffle iron -this will vary depending on your waffle iron- (I use a 3-Tablespoon cookie scoop to achieve the right amount) and cook until it reaches your choice color of doneness.
- Lay finished waffles on a cooling rack to help keep the crisp outside.
- Enjoy this recipe with maple, fresh fruit, and whipped cream, or try my cinnamon whipped cream for a little added fun.
Equipment

OXO Good Grips 11-Inch Balloon Whisk
Buy Now →
Mora Ceramics Large Mixing Bowls Set of 2 – 5.5 & 3.6 Qt (white)
Buy Now →
ThermoWorks Hi-Temp Silicone Spatula
Buy Now →Notes
Ingredient details and Substitute Options:
1. Buttermilk: You can make buttermilk by using 2 cups whole milk and 2 Tablespoon white vinegar (or lemon juice). Whisk together and let sit for 5 minutes (you’ll see the milk start to curdle). Or just use heavy cream.
Storing and Eating later.
If by some chance you have extras, you can store waffles for 3 days in the fridge and up to 3 months in the freezer. I actually prefer to make large batches and freeze them so the kids can have waffles anytime they want.
To refrigerate your waffles, simply transfer them from your cooling rack to a storage bag/container and put them in the fridge. They will keep for up to 3 days this way.
To freeze your waffles, lay them on a sheet pan or cooling rack and sit in the freezer until completely frozen (30-60 minutes). Take them out and immediately put them in a freezer-safe bag (don’t forget to label and date the bag). They will keep for up to 3 months this way.
No matter the storage technique you chose… When you are ready to enjoy some waffles, just stick them in the toaster!
*If you plan on freezing them, make sure you cook them on the lighter side so when they toast they are a nice golden brown, and not burnt.
Nutritional Facts:
These numbers are based on the serving size stated. All are estimates and you should not rely on this information as a substitute for, nor does it replace professional medical advice, diagnosis, or treatment. If you have any concerns or questions about your health, you should always consult with a physician or other healthcare professional.
Nutrition
- Calories: 300
- Sugar: 11
- Sodium: 374
- Fat: 11
- Saturated Fat: 6
- Carbohydrates: 43
- Fiber: 1
- Protein: 8
- Cholesterol: 79
Want to remember this post? Pin it to your favorite Pinterest Board!


Photo, Prop Styling, and Food Styling by Jenn Smith © 2022 Always Jenn Smith; Jenn Smith, LLC