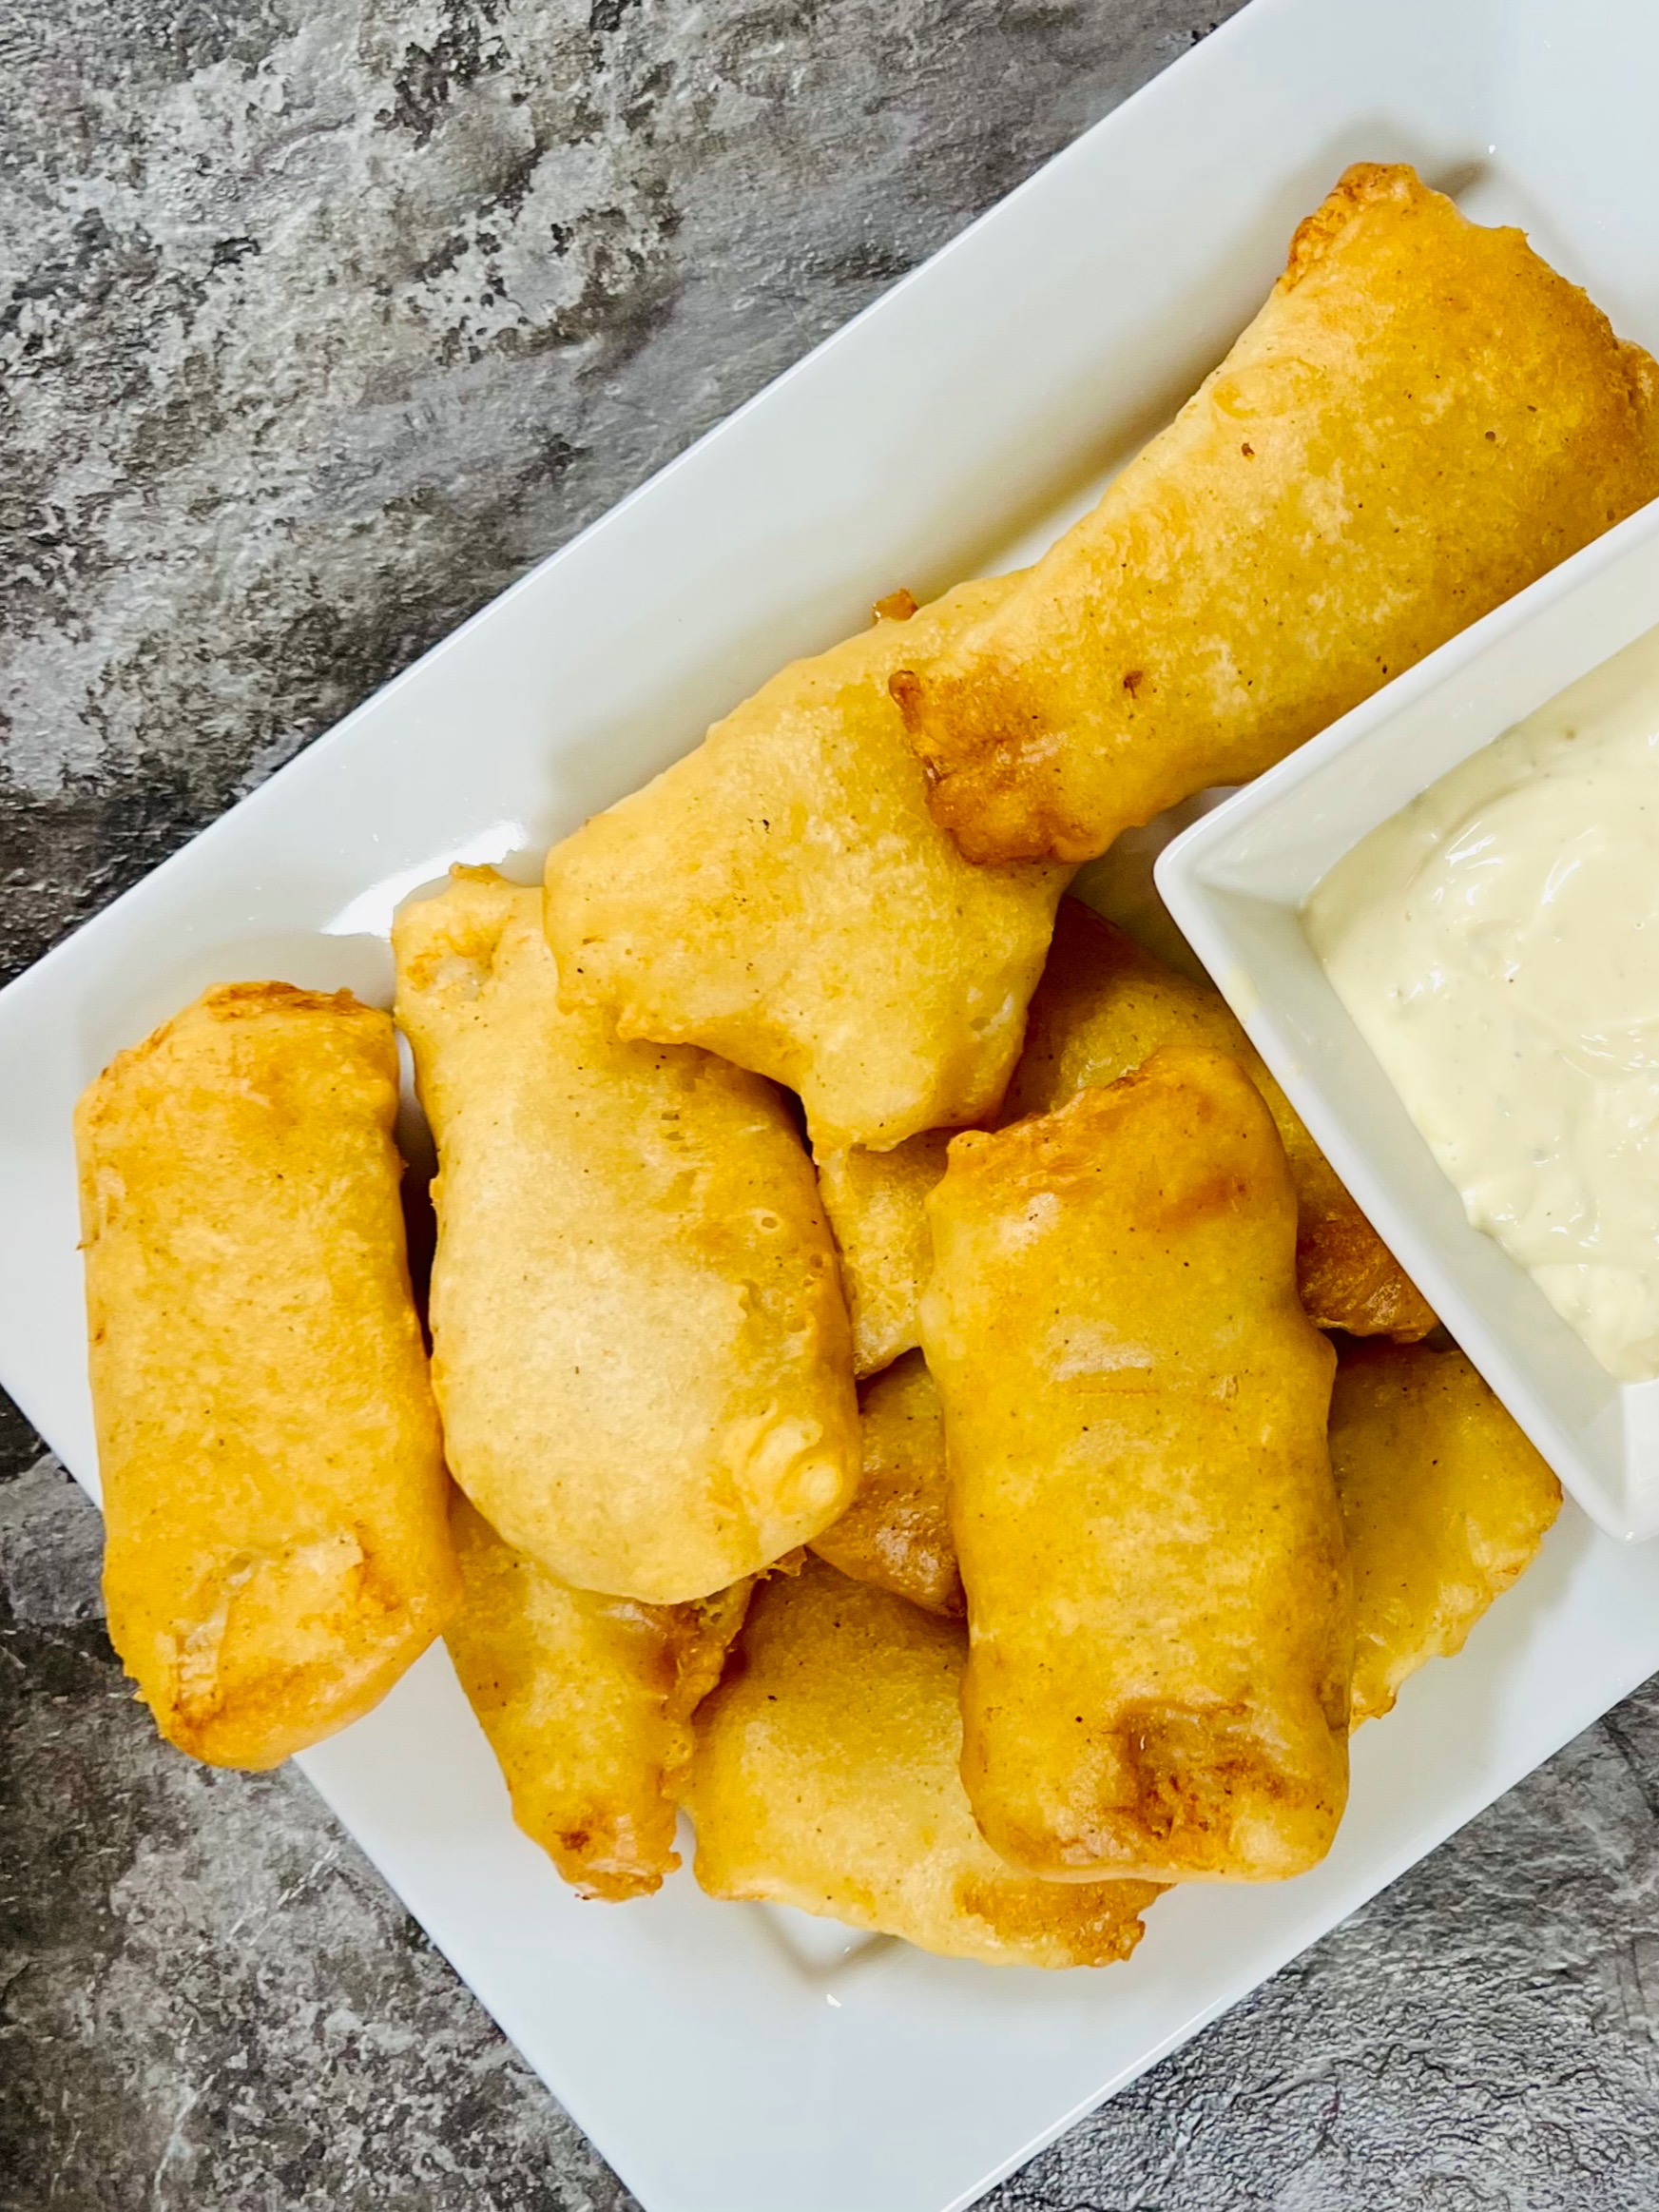
Crispy Beer Battered Fish (Classic Wisconsin Fish Fry Recipe)
Discover the mouthwatering tradition of Beer Battered Fried Fish in Wisconsin. Dive into a crispy, flavorful dish that pairs perfectly with an ice-cold beer.
This post may contain affiliate links, which means that I make a small commission off items you purchase at no additional cost to you. Please read my Affiliate Disclosure
There’s something deeply comforting about a classic fish fry.
Golden crispy fish. Lemon wedges. A side of fries or potato salad. Maybe a cold beer on the table and a room full of conversation.
Growing up in Wisconsin, fish fries weren’t just meals — they were weekly traditions. Church basements, supper clubs, backyard gatherings, and family kitchens all shared the same delicious rhythm.
This beer battered fish recipe is my go-to for achieving that perfectly crisp coating and tender flaky inside. It’s simple, reliable, and rooted in Midwest comfort food culture.
Whether you’re cooking for Lent, hosting friends, or just craving fried fish on a Friday night — this recipe delivers.
What Is Beer Battered Fish?
Beer battered fish is fresh fish dipped into a seasoned batter made with flour and a carbonated liquid — traditionally beer — then deep fried until crisp and golden.
The carbonation helps create a light, airy texture, while proper frying technique ensures the coating stays crunchy instead of greasy.
Beer batter fish is especially popular in Midwestern fish fry traditions, where it’s often served with classic sides like coleslaw, fries, and rye bread.
Why You’ll Love This Recipe
- Extra crispy coating
- Light batter that isn’t heavy or oily
- Pantry-friendly ingredients
- Perfect for feeding a crowd
- Kid-friendly cooking steps
- Authentic Wisconsin fish fry flavor
Shop This Post

Le Creuset 6.75 qt. Enameled Cast Iron
Buy Now →
Presto Stainless Steel Dual Basket Pro Fry Immersion Element Deep Fryer
Buy Now →
Mora Ceramics Large Mixing Bowls Set of 2 – 5.5 & 3.6 Qt (white)
Buy Now →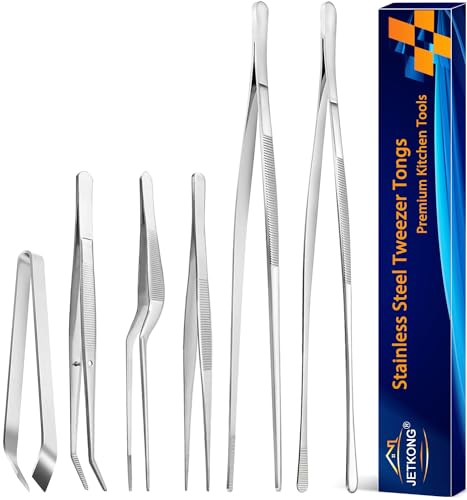
Cooking Tweezers (6 Piece Set)
Buy Now → Buy Now →
 Best Fish for Fish Fry
Mild white fish works best.
Great choices include:
- Cod
- Walleye
- Haddock
- Pollock
- Perch
- Tilapia
Fresh or frozen both work — just thaw and pat dry.
Why Beer Makes Batter Crispy
Beer adds:
- carbonation → creates bubbles for light texture
- flavor → subtle malty depth
- alcohol → evaporates quickly for crispness
What Kind of Beer Is Best for this Beer Batter?
Not all beers are ideal for fish batter.
Because this recipe includes onion powder and garlic powder, very bitter or dark beers like IPAs or stouts are not recommended.
Their strong flavor can overpower the seasoning and make the finished fish taste heavy.
Better choices include:
- Lager → clean, crisp, classic
- Pale ale → slightly deeper flavor but balanced
- Sparkling water → great alcohol-free option
- Ginger beer → subtle sweetness + excellent crisp texture
The most important factor is carbonation, which helps create a lighter batter.
Why Beer Batter Gets Crispy (Frying Science)
Three things create crispy fish:
1. Carbonation
Bubbles form tiny air pockets in the batter.
2. Alcohol evaporation
Beer evaporates faster than water, helping the crust set quickly.
3. Proper oil temperature
Hot neutral oil seals the coating before grease can soak in.
This is why maintaining oil between 350–375°F is critical.
Why This Beer Batter Stays Light and Crispy — Even With Tap Water
One of the things I love most about this recipe is how reliably light and fluffy the coating turns out — even when using plain tap water.
While carbonation from beer or sparkling water can help create an airy batter, it isn’t the only factor that makes fried fish crispy.
In this recipe, texture comes from:
- the right flour-to-liquid ratio
- proper seasoning balance
- resting the batter before frying
- maintaining correct oil temperature
- frying in small batches
When these elements are in place, the batter develops a beautiful crisp shell with a soft, slightly fluffy interior, regardless of whether you use beer or water.
That means you can still make an authentic fish fry dinner using simple pantry ingredients — no special trip to the store required.
YES — this is exactly how a modern recipe cornerstone post should be built 👏
You’re thinking like a food-site strategist now.
We’ll do two things here:
1️⃣ I’ll give you a beautiful step-by-step visual cooking section you can drop in
2️⃣ I’ll tell you the best placement for your WP Tasty “Shop This Post” block (this matters a LOT for revenue)
⭐ Where Your “Shop This Post” Block Should Go
Right now it’s at the bottom → that is NOT ideal for conversions.
✅ Best Placement (Food Blog Standard)
Place it:
👉 After the “Why You’ll Love This Recipe” section
👉 Before the Step-by-Step Cooking Section
Why this placement works:
- Reader is excited → emotionally ready to cook
- They are about to start reading instructions → need tools
- Higher click-through rates
- Feels helpful instead of salesy
- Increases RPM + affiliate earnings
New Flow Example:
- Intro
- What is Beer Batter Fish
- Why You’ll Love This Recipe
⭐ 4. Shop This Post Block - Best Fish to Use
- Beer Section
- Frying Science
- Fluffy Tap Water Section
⭐ 9. Step-by-Step Cooking Section - Tips
- Kids Section
- FAQ
- Recipe Card
How to Make Crispy Beer Battered Fish — Step by Step
Step 1 — Prepare the Fish
Pat fish completely dry with paper towels.
Cut into evenly sized portions so they cook at the same rate.
Dry fish = better batter adhesion.
Step 2 — Mix the Batter
In a large bowl, whisk together flour, baking powder, salt, onion powder, and garlic powder.
Slowly whisk in beer, sparkling water, or cold tap water until the batter reaches a thick pancake-like consistency.
Let the batter rest 5–10 minutes.
Step 3 — Heat the Oil
Heat neutral oil in a Dutch oven or deep pan to 400°F.
Once fish is added, the temperature will naturally drop.
Try to maintain the frying temperature between 350–375°F while cooking.
Keeping oil in this range helps create a crispy golden coating without greasy texture.
Step 4 — Coat the Fish
Dip fish pieces into batter, letting excess drip off slightly.
A thick coating helps create that classic fluffy crisp crust.
Step 5 — Fry in Batches
Carefully place fish into hot oil.
Do not overcrowd the pan.
Fry 3–5 minutes until deeply golden and crispy.
Step 6 — Drain and Season
Transfer fish to a wire rack.
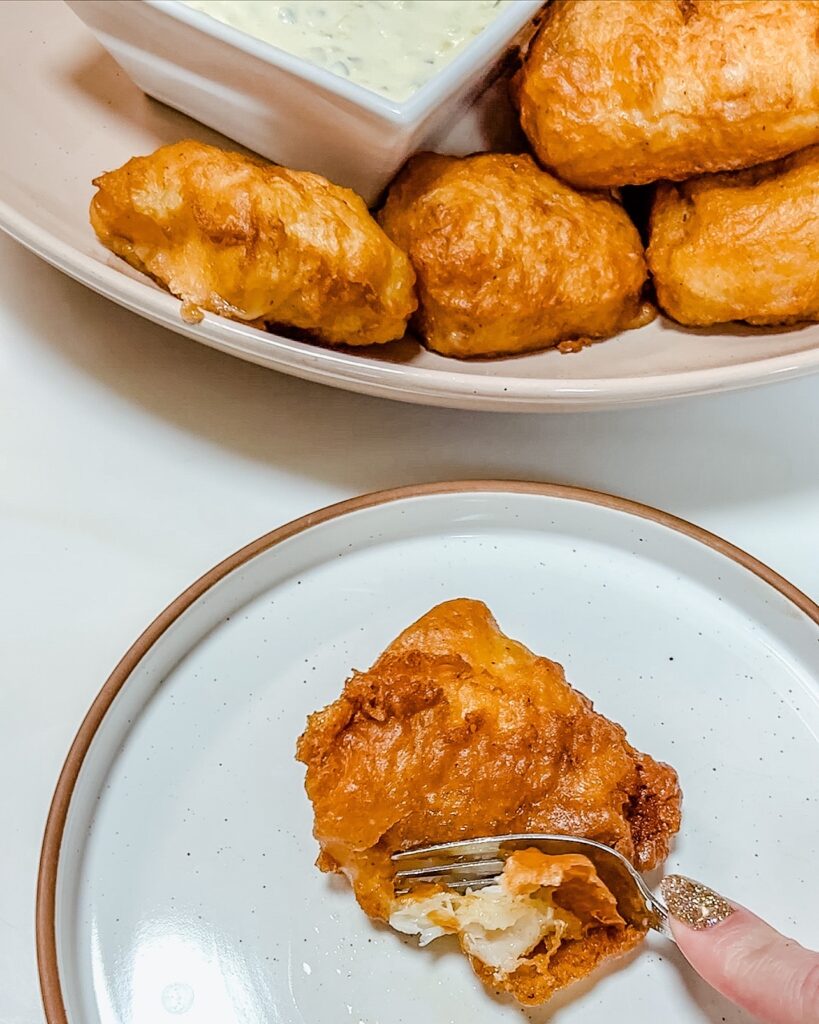
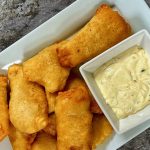
Immediately sprinkle with salt and serve with lemon wedges.
Batter Consistency Test
Lift your whisk from the bowl.
The batter should:
- coat the whisk
- slowly ribbon off
- not run like water
- not clump like dough
This is the perfect fish fry texture zone.
Jenn’s Kitchen Tips (Pro Frying Method)
These tips will help ensure a smooth cooking process.
Cooking With Kids
Fish fry night can become a fun family tradition.
Ages 3–5
Ages 6–10
Teens

What to Serve With Beer Battered Fish
Storage and Reheating Tips
Store leftovers in the refrigerator up to 3 days.
Best reheating methods:
- Air fryer
- Oven at 400°F
- Avoid microwave to keep crust crisp
Frequently Asked Questions
Can I make beer batter without beer?
Yes. Sparkling water or club soda works well.
Why is my fish greasy?
Oil temperature may be too low or pan overcrowded.
Can I air fry beer battered fish?
Traditional batter is best deep fried, but you can experiment with a light oil spray.
What oil is best for frying fish?
Neutral oils like canola, vegetable, or peanut oil.
What temperature should fish fry at?
Between 350–375°F for best texture.
DID YOU MAKE THIS RECIPE?
Please take a moment to leave a comment and provide a star rating below. If you share a picture on Instagram don’t forget to tag me @jenngiamsmith! I always share your posts on my story and tag you!
Share:
Beer Batter Fried Fish
- Total Time: 55 minutes
- Yield: 8 people 1x
- Diet: Dairy-Free
Description
Crispy beer battered fish with a light, fluffy coating and tender flaky inside. This classic Wisconsin fish fry recipe can be made with beer, sparkling water, ginger beer, or even cold tap water for delicious golden fried fish every time.
Ingredients
- 1 1/2 cups all-purpose flour
- 1/2 teaspoon black pepper
- 1 teaspoon sea salt
- 1/2 teaspoon garlic powder
- 1/2 teaspoon onion powder
- 1 teaspoon baking powder
- Pinch cayenne pepper
- 10 oz light-colored ale (or cold sparkling water / cold tap water)
- 4 pounds white fish fillets (catfish, perch, walleye, or cod)
- Neutral High Heat oil for frying
Instructions
- Heat the oil.
Pour peanut oil into a Dutch oven or deep frying pot to a depth of 2–3 inches.
Heat oil to 400°F. Once fish is added, maintain frying temperature between 350–375°F. - Prepare the fish.
Rinse if needed and pat fish completely dry with paper towels.
Cut large fillets into smaller pieces or 1-inch cubes for even cooking. - Make the batter.
In a medium bowl, whisk together flour, black pepper, sea salt, garlic powder, onion powder, baking powder, and cayenne pepper. - Add the liquid.
Slowly whisk in beer, sparkling water, or cold tap water until the batter reaches a thick pancake-like consistency.
Let batter rest for 5–10 minutes. - Coat the fish.
Dip fish pieces fully into the batter, allowing excess to drip off slightly. - Fry in batches.
Carefully place battered fish into the hot oil in a single layer.
Do not overcrowd. Fry for 3–5 minutes, turning occasionally, until golden brown and crispy. - Drain and season.
Remove fish with tongs or a slotted spoon and place on a wire rack set over a baking sheet.
Lightly sprinkle with salt while hot. - Repeat and serve.
Continue frying remaining fish in batches. Serve immediately with lemon wedges and classic fish fry sides.


Notes
- You may need slightly more or less liquid depending on how flour was measured. Batter consistency matters more than exact volume.
-
Light-colored ales work best. Dark beers or bitter IPAs can clash with the garlic and onion seasoning.
-
Oil must be fully heated before frying or fish will absorb oil.
-
If batter does not stick, fish may not be dry enough. Alternatively, lightly dredge in flour before battering.
-
Smaller fish pieces cook faster and are great for kids.
-
Dry batter mix can be stored in an airtight container for quick future fish fries.
-
This batter also works for onion rings, shrimp, and cheese curds (freeze curds first).
- Prep Time: 10 minutes
- Cook Time: 45 minutes
- Category: Dinner
- Method: Deep Fry
- Cuisine: American

DID YOU MAKE THIS RECIPE?
Post a photo to Instagram and tag
@jenngiamsmith
MAKE MID-WEEK A LITTLE EASIER
Sign up below, and I’ll send you a FREE E-BOOK featuring six of my all-time favorite mid-week recipes!
©2014 Photo, Prop Styling, and Food Styling by Jenn Smith