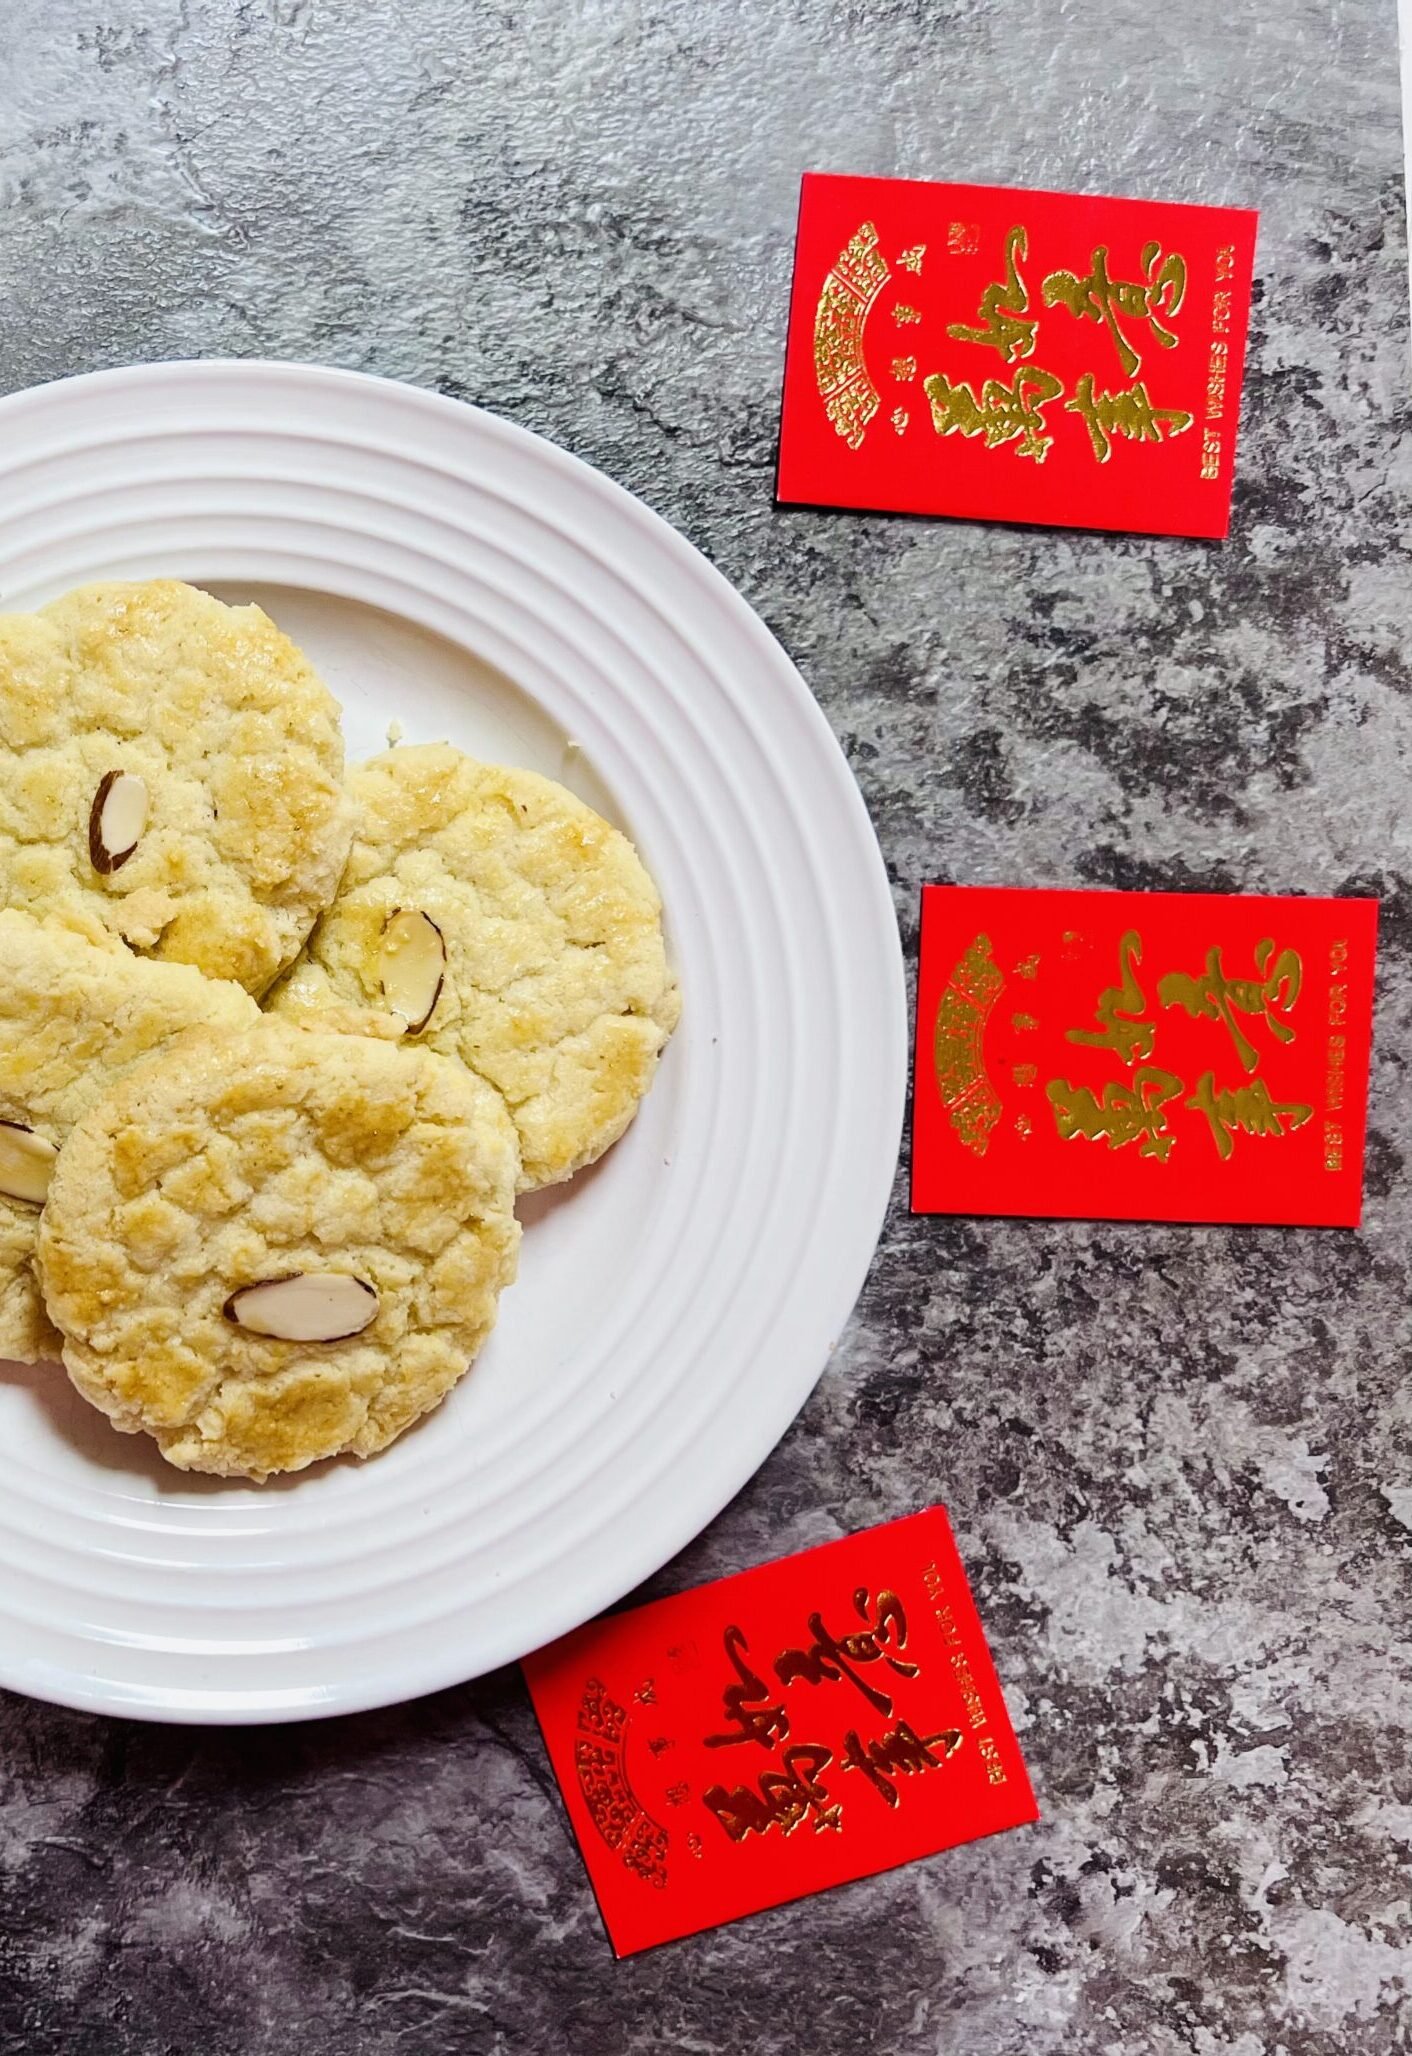
Classic Chinese Almond Cookies – Buttery, Nutty & Perfect for Baking with Kids
Celebrate Lunar New Year or any special occasion with these crunchy, buttery Chinese almond cookies—fun to bake and even better to eat!
This post may contain affiliate links, which means that I make a small commission off items you purchase at no additional cost to you. Please read my Affiliate Disclosure
Chinese almond cookies have always held a special place at our table—not just during Lunar New Year. My version is a more Americanized take on the traditional cookies, which often use lard and are hand-mixed. But my dad tried these on one of our last visits before he passed away and gave them his seal of approval. He even said they reminded him of my Grammy’s (Nǎinai 奶奶) cookies from his youth. So, I’m keeping this recipe just as it is!
These cookies are buttery, slightly sweet, and have a light nutty flavor—perfect for enjoying any time of year!
Why Chinese Almond Cookies Are Special
Chinese almond cookies are a treat many Americans recognize from buffets and restaurants. While the exact history isn’t clear, they are generally thought to have been created by Chinese immigrants in the U.S. before 1900. Today, they’re a beloved Lunar New Year staple, often given as gifts symbolizing coins and good fortune.
Quick Overview: Baking Instructions
If you just want the recipe, scroll down to the recipe card. But if you love tips for success (and a peek behind the kitchen curtain), here’s how I make them:
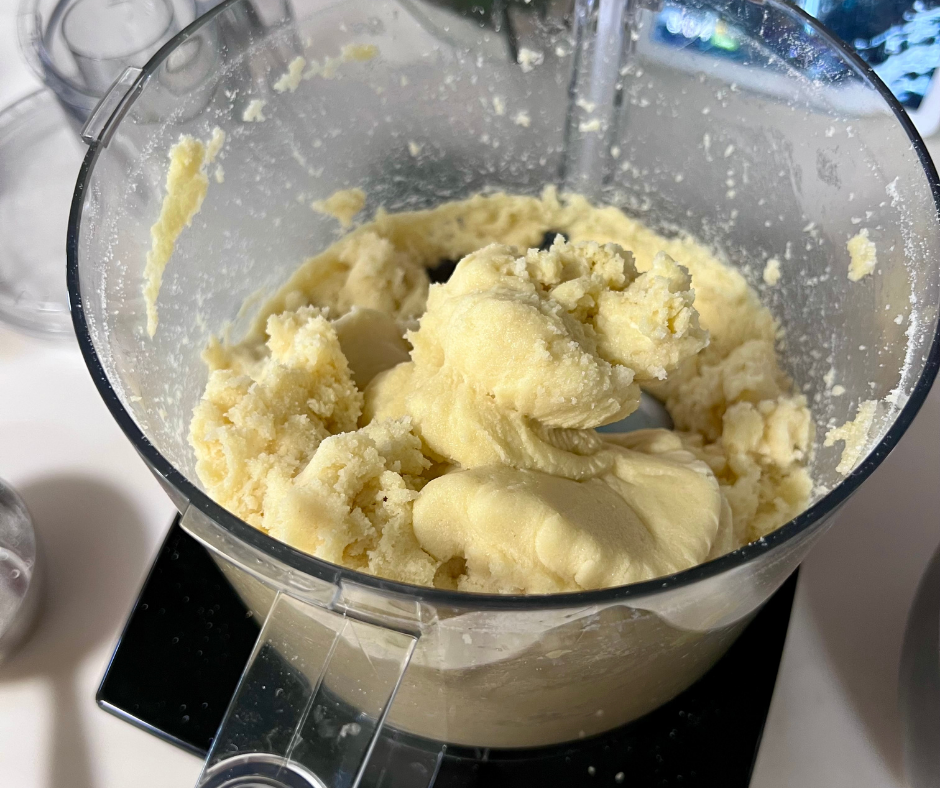
- Mix Dry Ingredients: Blend almond and all-purpose flour, sugar, baking powder, and salt in a food processor or stand mixer.
- Add Butter: Cube the butter, then pulse until the mixture looks like wet sand.
- Incorporate Eggs & Extract: Add the eggs and almond extract, mixing until it has a peanut-butter cookie-like consistency.
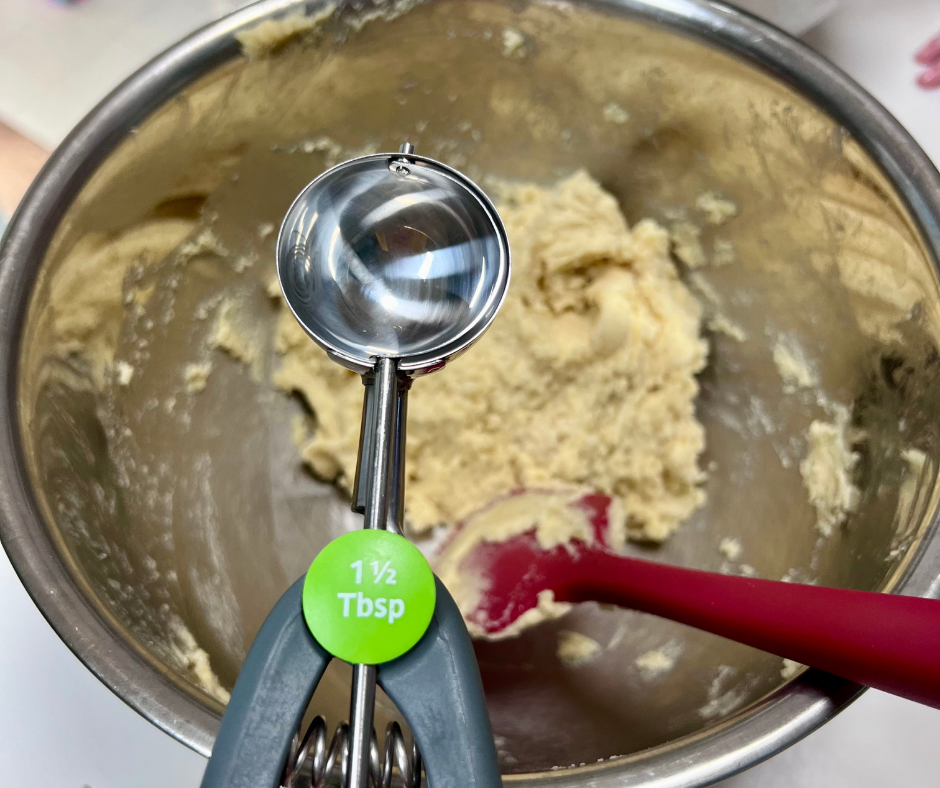
- Chill Dough: Scoop cookies onto lined baking sheets, then freeze 10–20 minutes.
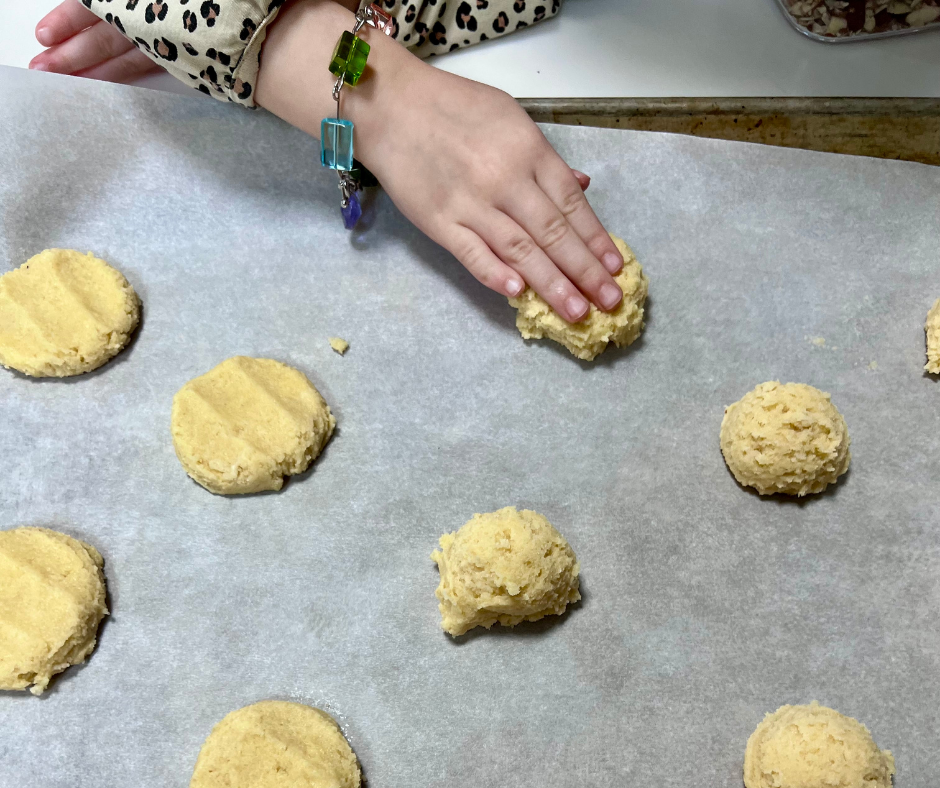
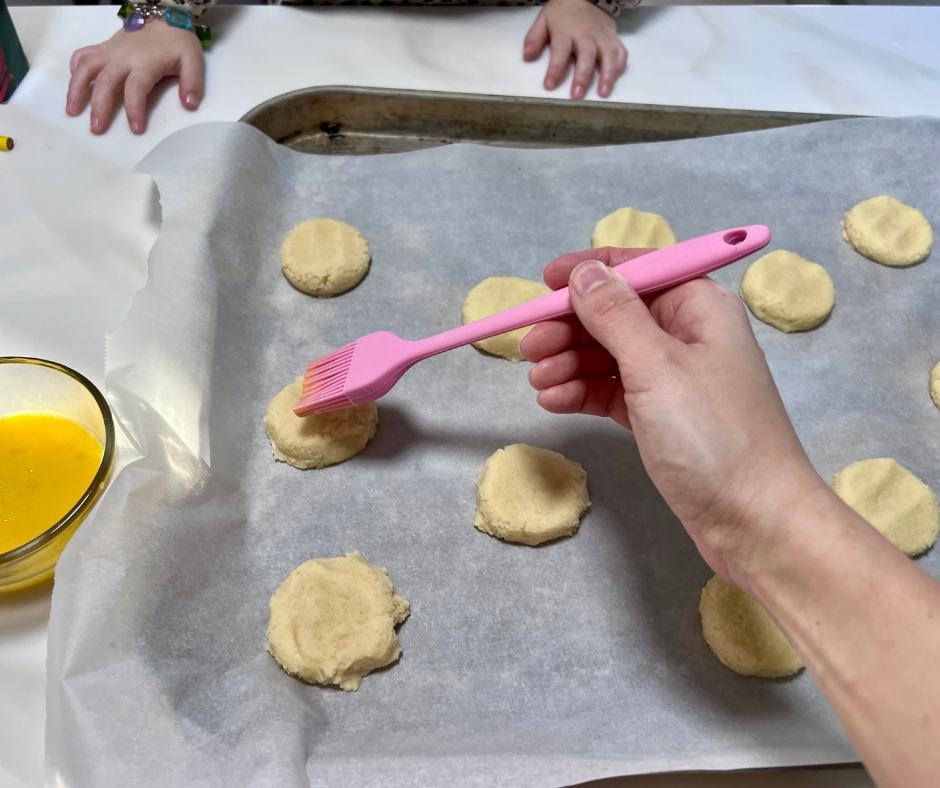
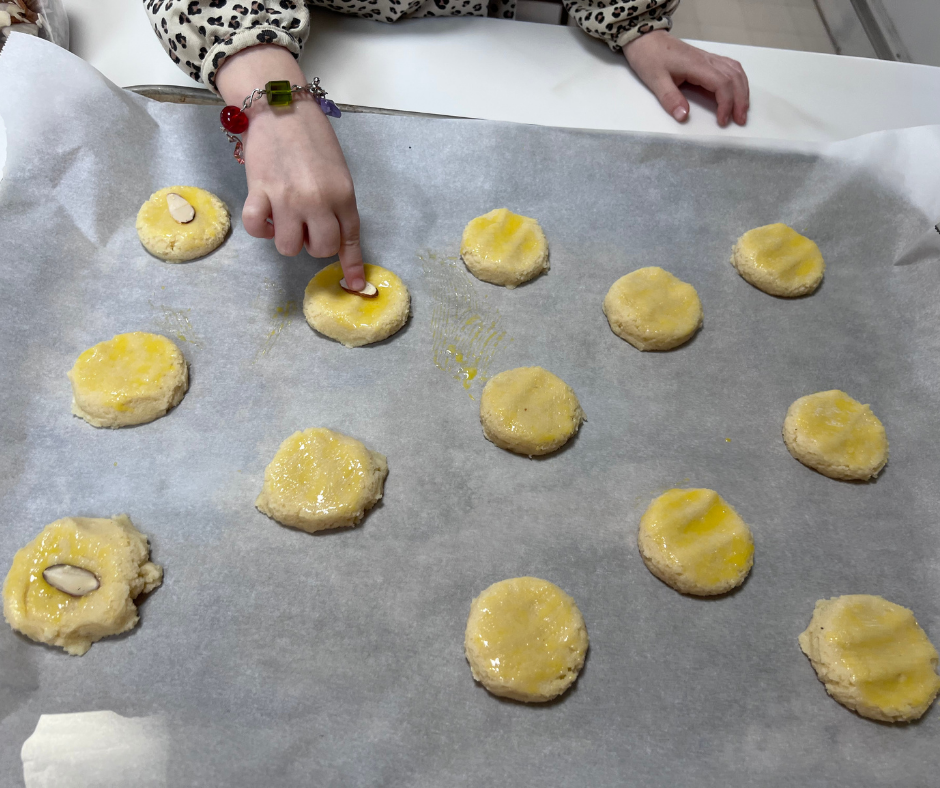
- Shape & Bake: Press cookies slightly, brush with egg wash, top with an almond sliver, and bake at 325°F for about 20 minutes.
Jenn’s Kitchen Tips:
If using a food processor, transfer dough to a bowl and gently fold it a couple of times to ensure even mixing.

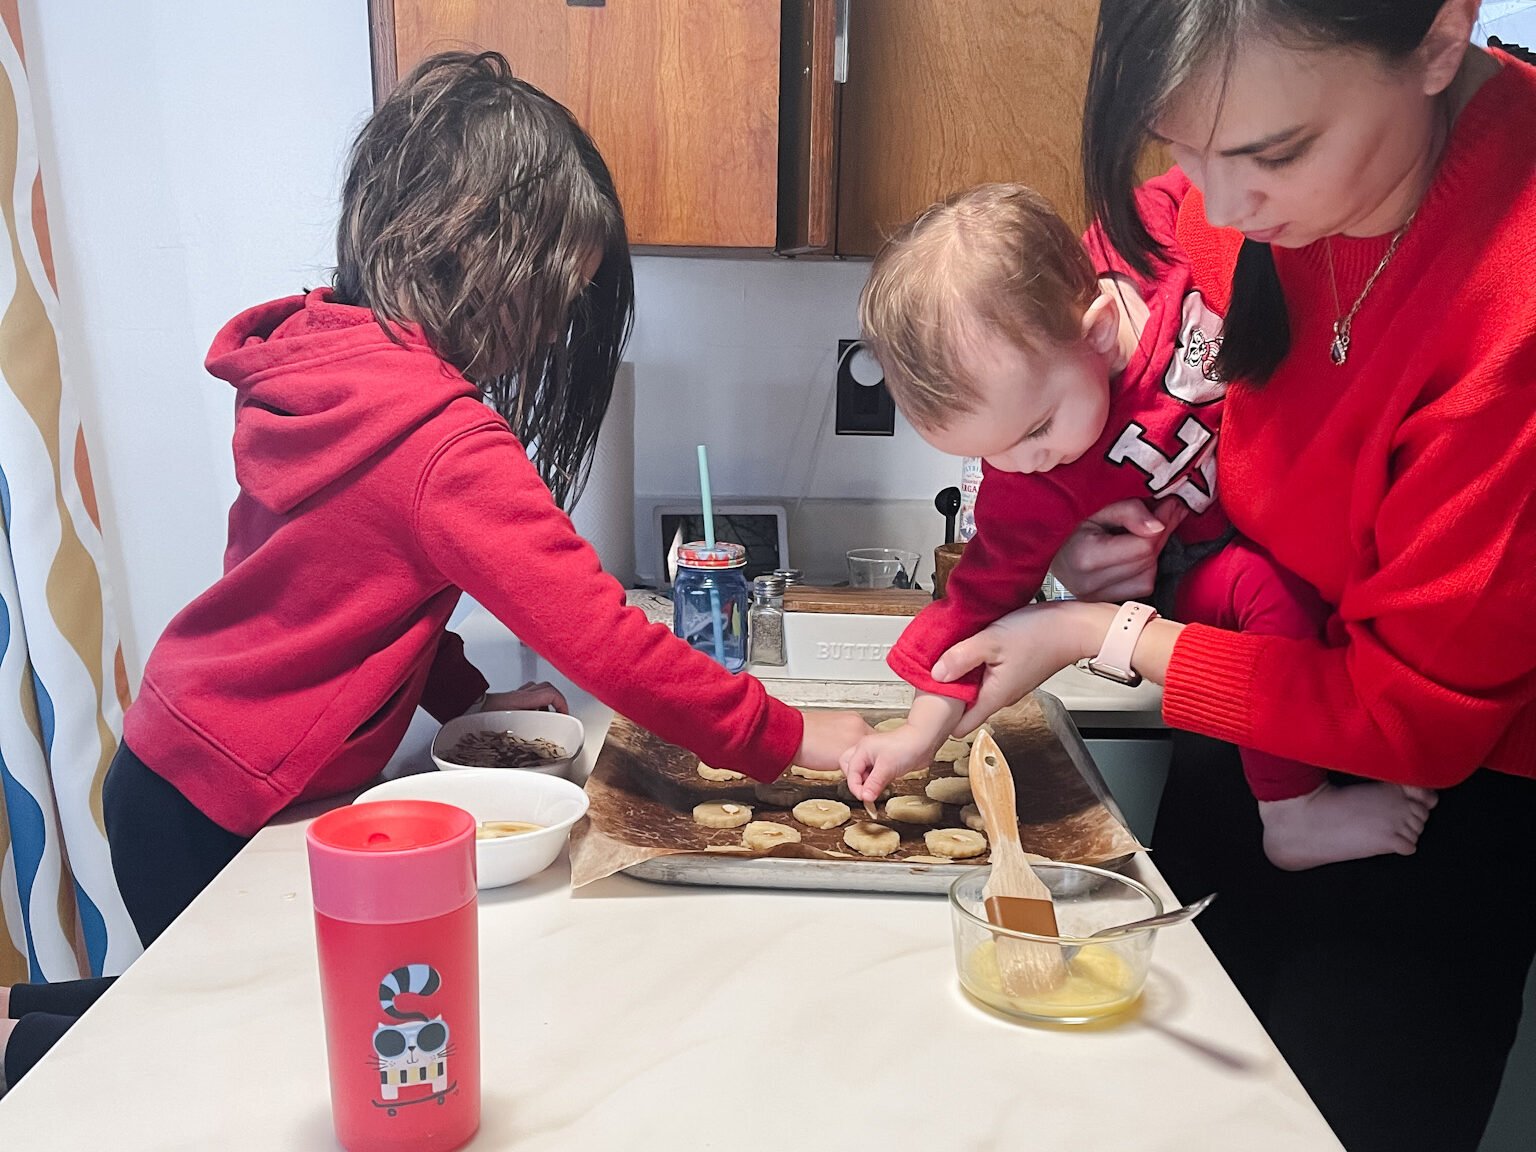
Cooking with Kids – A Fun Family Activity
One of my favorite parts of this recipe is how easy it is to involve kids of all ages. Even my youngest has helped (with supervision, of course!), and it’s always full of giggles, flour-covered faces, and little “secret taste tests.”
Here’s how kids can safely join in:
Every child is different, so adjust based on age, attention span, and how much mess you’re up for. Don’t worry if it gets a little messy—that’s part of the magic of baking together!
Baking these almond cookies with your kids is about more than just dessert—it’s a little family tradition, full of memories, laughter, and the smell of something buttery and nutty filling your home.
Tips for Success
- Butter: Keep it cold. Cube it first, then freeze until ready to use.
- Almond Flour: Use almond flour, not almond meal, for the right texture.
- Freezing Dough: Don’t skip freezing the dough before baking. It keeps cookies from spreading too much.
- Optional Substitutions: Lard works as a substitute for butter (180g = 1 cup), but skip the freezing step if using lard.
Storage & Freezing
I love using Stasher Silicone Bags for freezing both dough and cookies—they make cleanup and storage a breeze!
Did You Make This Recipe?
I’d love to hear how it turned out for you! Leave a comment below and give it a ⭐⭐⭐⭐⭐ rating if you loved it.
If you share on Instagram, tag me @cheersjennsmith—I’ll feature your creations in my stories!
Share or save it:
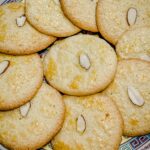
Chinese Almond Cookies – Buttery, Nutty & Crunchy
- Total Time: 1 hour
- Yield: 26 cookies 1x
- Diet: Vegetarian
Description
These classic Chinese Almond Cookies are buttery, nutty, and perfectly crisp around the edges with a melt-in-your-mouth center. A beloved family recipe inspired by my dad’s restaurant days, these cookies are simple to make and even more fun to bake with kids. Whether you’re celebrating Lunar New Year, gifting homemade treats, or just craving something a little nostalgic, these cookies bring the perfect blend of tradition and sweetness to your kitchen.
Ingredients
- 1 1/4 cups of almond flour (lightly packed)
- 1/4 tsp of kosher salt
- 1 3/4 cups of all-purpose flour
- 1 1/8 cups of cane sugar
- 1/2 teaspoon of baking soda
- 1 cup unsalted butter (cubed & chilled)
- 3 eggs (2 for dough, 1 for egg wash)
- 1 teaspoon of almond extract
- Thinly sliced almonds for topping
Instructions
If you’ve never made these cookies before, go to the notes and see the “Tips for Success”
- In a food processor or stand mixer with the paddle attachment, blend almond flour, all-purpose flour, cane sugar, baking powder, and kosher salt.
- Add the butter cubes, a few at a time, and pulse (or mix) until mixture resembles wet sand.
- Mix in eggs and almond extract until fully incorporated (it will be a peanut butter cookie-like consistency).
- Transfer the cookie dough to a bowl.
- Using a 1.5 tablespoon cookie scoop, scoop onto lined baking sheets.
- Freeze dough 10–20 minutes and preheat the oven to 325°F.
- Lightly press cookies, brush with egg wash, and top with one almond slice.
- Bake at 325°F for ~20 minutes until edges are lightly golden.
- Cool on pan 5–10 min, then transfer to a cooling rack.
Equipment

Cuisinart 14-Cup Food Processor
Buy Now →
Mora Ceramics Large Mixing Bowls Set of 2 – 5.5 & 3.6 Qt (white)
Buy Now →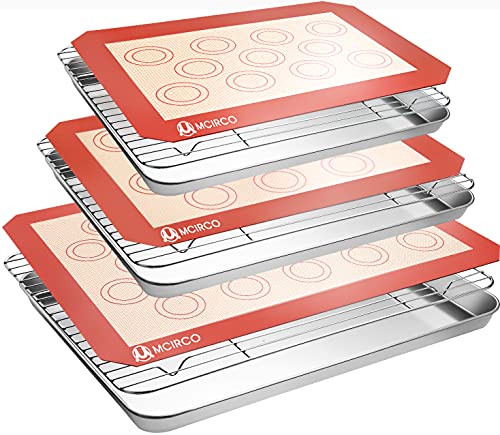
Stainless Steel Baking Sheet Set with Silicone Mats and Cooling Racks (Set of 9)
Buy Now →
ThermoWorks Hi-Temp Silicone Spatula
Buy Now →Notes
Tips for Success:
- Keep butter cold for proper texture.
- Use almond flour, not almond meal, for best results.
- Don’t skip freezing the dough before baking.
- Optional: Substitute lard for butter (180g = 1 cup) but skip freezing if using lard.
Storage:
- Counter: Up to 5 days in airtight container
- Refrigerator: 3–4 weeks
- Freezer: Up to 4 months
- Prep Time: 20 minutes
- Cook Time: 20 minutes
- Category: Dessert / Snack
- Method: Baking
- Cuisine: Chinese, Chinese-American
Nutrition
- Calories: 172
- Sugar: 8
- Sodium: 45
- Fat: 12
- Saturated Fat: 4
- Carbohydrates: 15
- Fiber: 1
- Protein: 3
- Cholesterol: 33
Photo, Prop Styling, and Food Styling by Jenn Smith © 2022 Always Jenn Smith; Jenn Smith, LLC
This Blog Post is © 2022 Always Jenn Smith™; Jenn Smith, LLC (FKA Smith Country, LLC) See below for details
Please Be Respectful
All rights reserved. You may NOT sell, trade, share or redistribute this Chinese almond cookies recipe in any way or use any of my photographs for your site. If you are linking back to this post to a list of recipes, giving credit for the recipe to myself and my site, you may use ONE photo. You must site me and my blog as the creators of the recipe and give credit for the photo. ©2023 Always Jenn Smith; Jenn Smith, LLC
Jenn Smith of Always Jenn Smith™; Jenn Smith, LLC participates in the Amazon Services LLC Associates Program, an affiliate advertising program designed to provide a means for sites to earn advertising fees by advertising and linking to amazon.com. As well as the Apple affiliate program now called the Performance Partners Program.
This site displays third-party ads and contains affiliate links, See terms and conditions for ALL affiliates.
If you have any questions feel free to comment below or e-mail me directly.
Thank you for visiting!