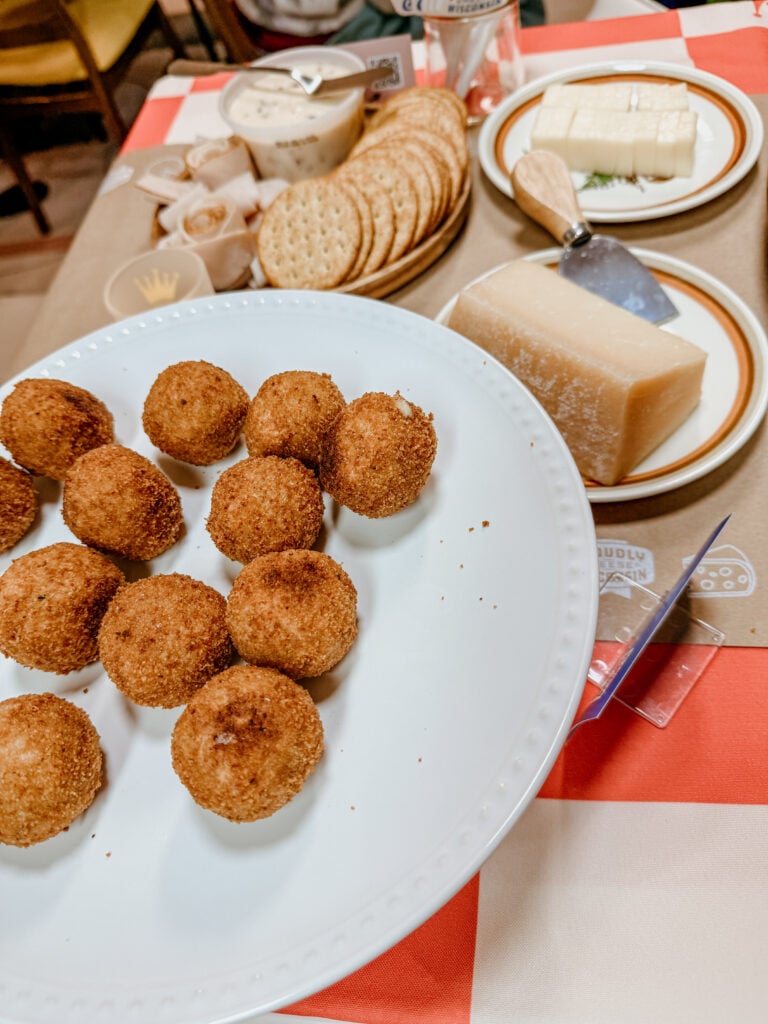
Irresistible Mozzarella-Stuffed Arancini (Easy & Crispy!)
Golden, crispy, and stuffed with gooey mozzarella… arancini are the ultimate Italian comfort bite. Perfect for using up leftover risotto, these little golden balls fry up into cheesy, crunchy magic that disappears fast. Easy to make, fun to assemble, and irresistible for both kids and adults, they’re the perfect appetizer for any gathering — or just a cozy night at home.

This post may contain affiliate links, which means that I make a small commission off items you purchase at no additional cost to you. Please read my Affiliate Disclosure
There are few things in life more satisfying than golden, crispy arancini stuffed with gooey mozzarella. Imagine: gooey, savory risotto hugging a molten center of mozzarella… all tucked inside a golden, crackly crust. That’s what I call a perfect bite-sized, crunchy little bundle of joy. They’re basically fried mozzarella sticks with an upgrade — fancy enough for entertaining, but surprisingly easy to make at home.
Whether you’re whipping up a party appetizer, using up leftover risotto, or just craving cheesy comfort, these arancini are guaranteed to impress. Bonus: they’re a fun kitchen project for the whole family.
Why You’ll Love This Recipe
These beauties make the perfect appetizer when you want something that looks fancy but is secretly simple. Truly, if you can roll a ball and dunk it in breadcrumbs, you’re in business.
Directions to make the arancini
Arancini aren’t tricky to make! The only real waiting game is letting the risotto chill overnight. After that, it’s all about shaping, stuffing, and frying these golden little bites to perfection.
- Shape the Base:
Scoop cold leftover Easy and Cheesy Risotto into 1½-tablespoon portions. (A cookie scoop makes you feel like you’ve got your life together — highly recommend.) Roll into balls and set them on a silicone-lined baking sheet. - Chill Time:
Refrigerate for a couple of hours, or freeze for 30 minutes if you’re in “I forgot I was supposed to bring an appetizer” mode. - Add the Cheese:
Press one cube of low-fat mozzarella into each chilled risotto ball. Wrap and roll until sealed and smooth. - Prep for Frying:
Heat oil to 350°F. While it comes up to temp, whisk the eggs and milk together in a shallow bowl. Add bread crumbs to another bowl. - Coat the Arancini:
Dip each ball in the egg mixture, then roll in bread crumbs. Place back on the silicone mat in a neat little army. - Fry to Perfection:
Fry a few at a time until deeply golden and hot throughout. Transfer to a paper towel and sprinkle lightly with salt while they’re still glistening. - Serve:
Enjoy warm — either as-is (iconic) or dipped into marinara.
Cooking with Kids
Arancini are surprisingly kid-friendly to assemble — and yes, it will get messy, but that’s half the fun.

Storage & Reheating
To Store:
Place cooked arancini in an airtight container and refrigerate for up to 3 days. Make sure they’ve cooled completely before storing so they stay crisp longer.
To Freeze:
You can freeze them before or after frying.
Before Frying:
After breading, place them on a baking sheet, freeze solid, then transfer to a freezer bag.
After Frying:
Cool completely, freeze on a tray, then bag. *Use within 2 months for the best texture.
To Reheat:
Before Frying:
Simply deep fry at 350°F until golden brown and the center has reached 165°F
After Frying:
- Air Fryer: 375°F for 5–7 minutes (best method — keeps them crispy!).
- Oven: 400°F for 10–12 minutes.
- Skillet: A quick shallow re-fry is heavenly for restoring that crunchy exterior.
- Microwave: Only in emergencies. They’ll lose their crunch, but they’ll still taste good.
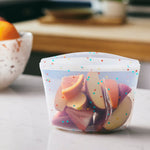 Buy Now →
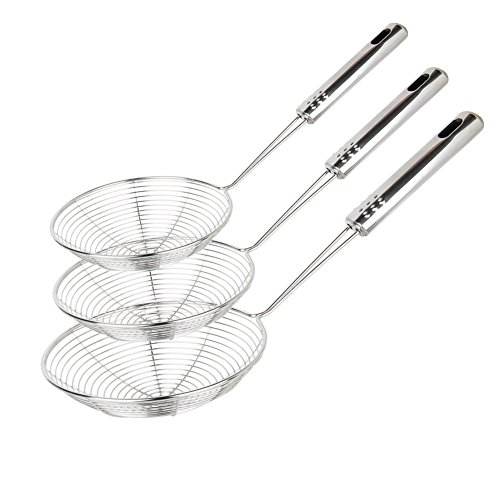
Ello Duraglass 3.4 Cup Meal Prep Sets 10Pc
Buy Now →Did You Make This Recipe?
I’d love to hear how it turned out for you! Leave a comment below and give it a ⭐⭐⭐⭐⭐ rating if you loved it.
If you share on Instagram, tag me @cheersjennsmith—I’ll feature your creations in my stories!
Share or save it:

Arancini (Cheesy Risotto Balls)
- Total Time: 27–29 minutes active + chilling
- Yield: 12 arancini 1x
- Diet: Vegetarian
Description
Crispy, golden arancini stuffed with melty mozzarella — the kind of appetizer that makes everyone hover near the kitchen waiting for “just one more.” Made from chilled risotto, each little ball fries up into a cheesy, crunchy bite of comfort that’s surprisingly easy to pull off. Serve with marinara or enjoy them on their own… they never last long.
This recipe uses half a batch of my Easy and Cheesy Risotto, making it perfect for leftover risotto or smaller gatherings. Easy, cheesy, and totally irresistible.
Ingredients
- 1/2 batch cooked Easy and Cheesy Risotto, chilled overnight
- 2 large eggs
- 1/8 cup milk (any fat content is fine)
- 2 cups bread crumbs
- 6 oz low-moisture mozzarella, cut into 1/4-inch cubes
- Kosher salt, to finish
Instructions
- Scoop cold risotto into 1½-tablespoon portions and roll into balls. Place on a silicone-lined baking sheet.
- Chill in the refrigerator for a couple of hours, or freeze for 30 minutes if short on time.
- Press one cube of low-moisture mozzarella into each risotto ball. Re-roll to seal.
- Heat oil to 350°F.
- Whisk eggs and milk in a shallow bowl. Add bread crumbs to another.
- Dip each ball in the egg mixture, then roll in bread crumbs. Return to the baking sheet.
- Fry a few at a time until golden brown and heated through, about 2–3 minutes per batch.
- Transfer to a paper towel and sprinkle lightly with kosher salt.
- Serve warm, with or without marinara sauce.


Notes
To keep this recipe fully vegetarian, be sure to make the risotto using vegetable stock instead of chicken stock.
- Prep Time: 15 minutes
- Cook Time: 10–12 minutes
- Category: Appetizer
- Method: Deep Frying
- Cuisine: Italian
©Photo, Prop Styling, and Food Styling by Jenn Smith
©2025 Cheers, Jenn™ | Cheers, Jenn Smith™ | Jenn Smith, LLC (FKA Smith Country, LLC)
Please Be Respectful
All rights reserved. You may not sell, trade, share, or redistribute this recipe in any way, or use any of my photographs on your site. If you would like to link back to this post in a list of recipes, you may use one photo—with proper credit. You must cite me and my blog as the creator of both the recipe and the photo. ©2025 Jenn Giam Smith; Jenn Smith, LLC
Affiliate & Advertising Disclosure
Jenn Giam Smith™ | Jenn Smith, LLC is a participant in the Amazon Services LLC Associates Program, an affiliate advertising program designed to provide a means for sites to earn advertising fees by advertising and linking to amazon.com, as well as the Apple Performance Partners Program. This site may also display third-party ads and contains affiliate links. Please see our terms and conditions for details on all affiliates.
Connect With Me
Feel free to comment below or e-mail me directly with any questions.
Thank you so much for visiting!