How to: Crochet and Knitting Gauge
A gauge swatch can save you from stress and disappointment when knitting or crocheting. It’s important to create one to ensure accuracy.

This post may contain affiliate links. That means I may make a small commission on items purchased through links in this post at no extra cost to you! Affiliate Disclaimer
Let’s talk about gauge…
Oh, Gauge. It’s something some people absolutely have to have, others would rather go for it with reckless abandon. Some love it, some hate it, and some just flat-out ignore it as if it isn’t even there.
In the past, I was definitely the latter. I can’t be the only one, right? Have you ever found yourself just kinda skipping over that part so that you can start your project? Sometimes, we just get so excited to begin with our new yarn and shiny new projects, that we just don’t want to take that 5-10min to do a gauge. Am I right? But gauge can actually be super important for many projects (but fear not, we don’t have to do it for all of them. Hehe 😉).
My Latest Crafting Videos

Ok, maybe you have read the part about gauge in your patterns but never really understood why it’s there or how to use it. Have you ever skipped the gauge, but followed a pattern exactly, using the yarn they used and the tools only to find that your finished piece isn’t quite the size you anticipated or isn’t fitting the way you imagined? Well, making a gauge swatch will fix that issue nearly 100% of the time and if you do the gauge first, it will save you the time of frogging the project halfway through because you realize it’s going to be way too big.
It also gives you a chance to get comfortable with the yarn before starting a new and exciting project. The most useful part, I would say, of making a swatch is that your garment or project will be sized correctly. I’ll go so far as to say it might be the most important thing you do specifically when making a garment!
While many of us don’t want to deal with measuring and making a swatch before starting a fun project, the truth is that it’s your best insurance to avoid finishing an unwanted, ill-fitting sweater that will likely end up being donated because it was not what you thought it would be or doesn’t look like the pictures.
Ready to get started on how to do this oh-so-important process?
What is Gauge?
Gauge, in its simplest explanation, is the number of stitches per measurement unit on the horizontal and the number of rows per measurement unit on the vertical of any project you work on.
Most patterns will list the gauge in the instructions (usually at the beginning) of the pattern. Gauge measurements (including units) can vary by the location of the pattern author, and how they decided to do their gauge.
If you’re not using a written pattern, a sample gauge can often be found on the label of the yarn you are using.
Mine tend to vary (in both size and units used) but for a basic idea… Below is the gauge for the Speckled Heart Cup Sleeve Pattern
- The gauge is 11 stitches in 12 rounds in a 4X4 cm square
This means that you should have 11 stitches across 4 cm and 12 stitches up (rows/rounds) 4 cm or a square 4X4 cm should measure 11 stitches by 12 rows/rounds.
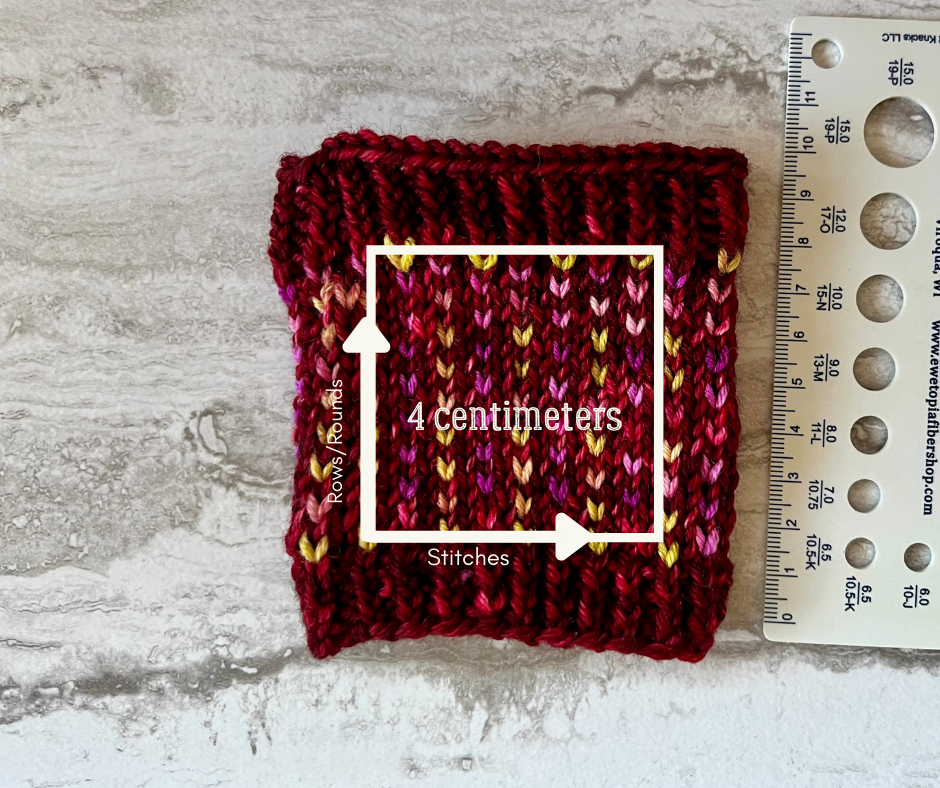
Something else to note, usually gauge is done in a flat square, but if something is done in the round, like my Speckled Heart Cup Sleeve Pattern, your gauge might tell you in the round, like the example above, you will want to do that gauge in the round.
Above: A swatch showing how to measure gauge. This swatch uses Dye Monkey Yarns, both are DK weight yarns. Both of these are also used in my Speckled Heart Cup Sleeve Pattern below. If you’re concerned about getting the size right on this cute little cup sleeve, it’s smart to make this gauge swatch first!
If you don’t check your gauge, your Speckled Heart Cup Sleeve (Here) might not fight your coffee cup correctly.
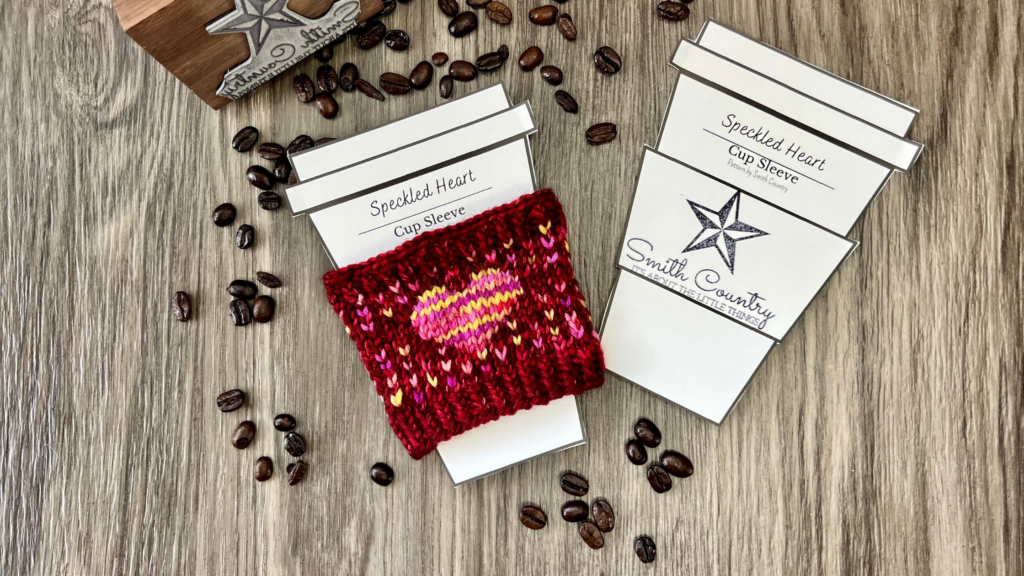
Mind you, yes, it is a cup sleeve, so it would be more forgiving than a clothing pattern, this particular pattern has knitting color work. There won’t be as much stretch (especially if you’re a tight knitter), then a typical pattern would.
Is gauge really that important?
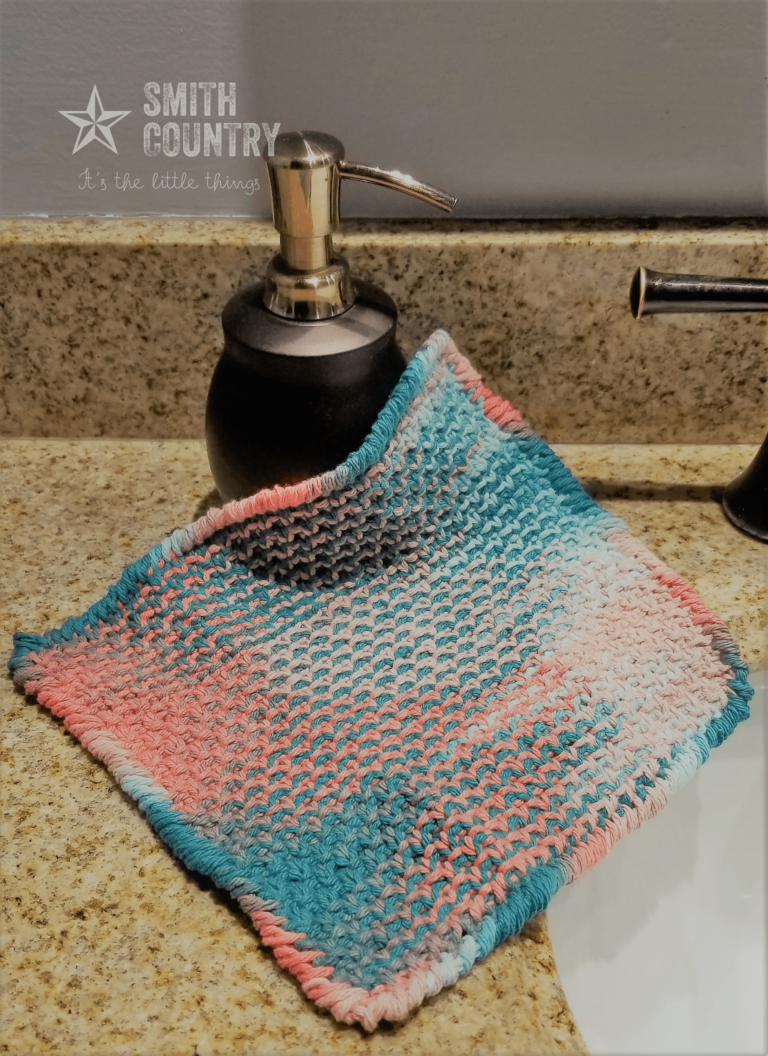
In the grand scheme of things… I would say it depends. If you’re making a washcloth and not too worried about if it’s too big or too small… then no. However, if you’re making a sweater or other kinds of wearables where the size is going to matter, I would say yes, yes it is.
We are all unique, period, and that includes our style of knitting and/or crocheting. Some of us are naturally loose knitters, others may crochet with more tension. Some of us sit while knitting, others crochet standing, and some only fiber craft at night lying in bed. Different types of stitches can also have an effect on tension and sizing.
Yarn size, hook size, and our own individuality with tension and techniques can affect the sizing. I personally tend to knit and crochet tightly.
So if you’re making one of my patterns and you crochet/knit loosely, you might find that the finished size is bigger. If you first do a gauge swatch, you can adjust your hook/needle size down to match my gauge. Voilà!
“Knit on with confidence and hope through all crises.”
– Elizabeth Zimmermann
So, do I ALWAYS have to make a gauge swatch?
Honestly… No, you don’t have to. I actually have patterns that I don’t have a gauge because it’s not that important (see washcloth patterns), but I recommend doing it if sizing is important to you.
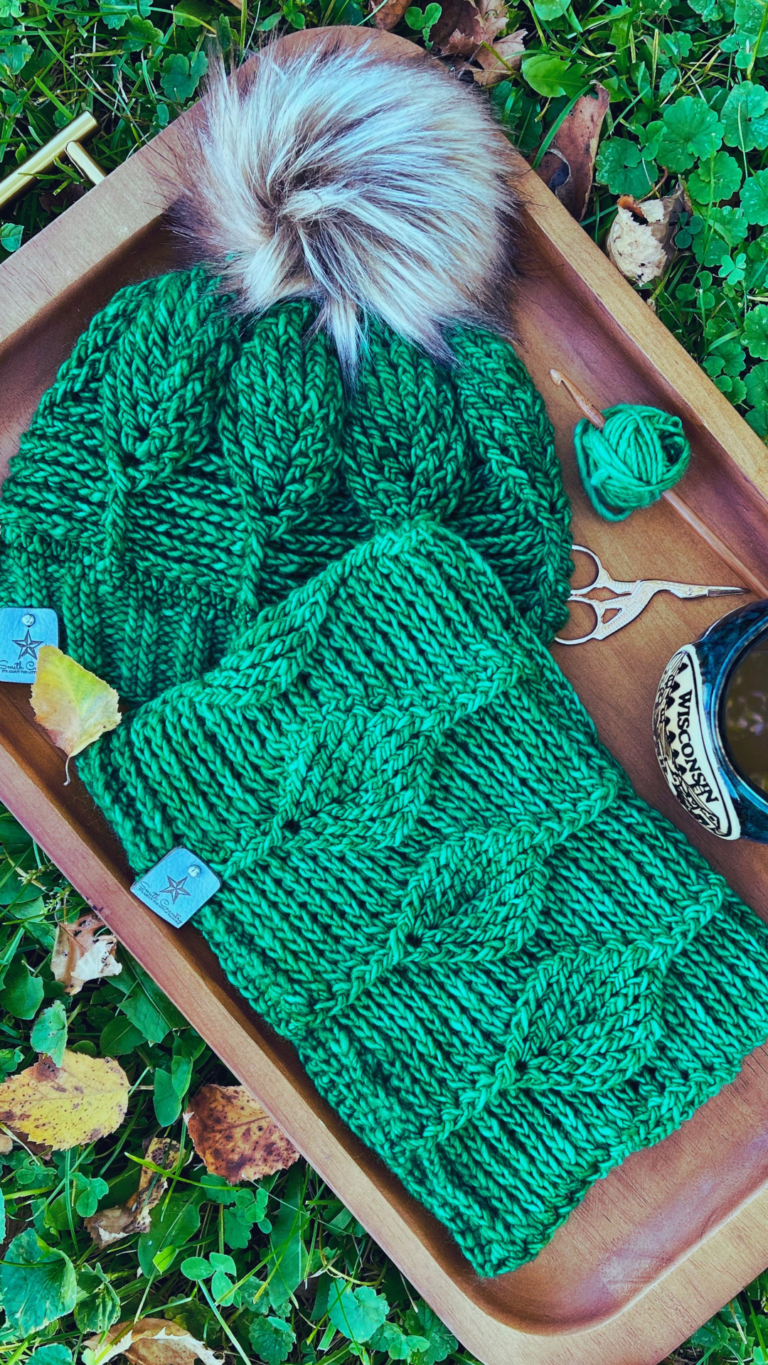
If nothing else, the MOST important time to make a gauge swatch is before beginning any pattern that needs to be a specific size, like clothing. Even hats can turn out too small or large if the gauge doesn’t match, so just be careful when deciding if you don’t want to do a gauge.
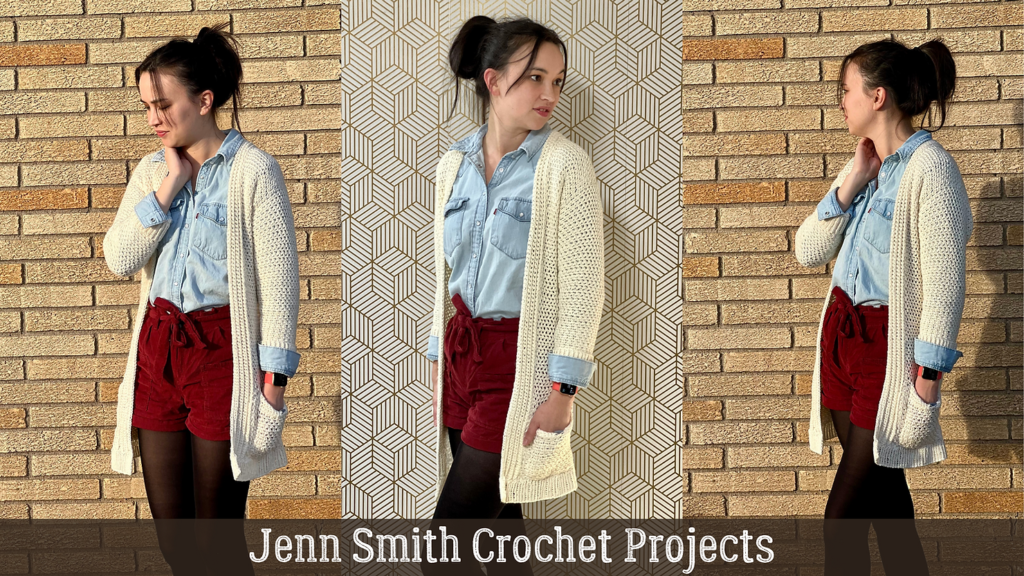
When I made the Granite Cardigan by Stephanie of All About Ami I actually did several Gauge Swatches. I was usually completely different yarn than she used (it was even a different weight) so I need to make sure that it matched in size. If I hadn’t done my gauge swatches, It would not have fit.
For projects like blankets, towels/washcloths, and coasters where size isn’t going to make you cry later because it doesn’t fit at all, I personally say that a gauge swatch isn’t mandatory. As I said earlier, I have patterns where I don’t even list a gauge, because you’ll still end up with a perfectly usable blanket or washcloth, even if it turns out a bit longer or thinner than mine.
In my later patterns, I include gauge more often than not, because even though I may not think it important, I know others that really want that gauge (I usually note that the gauge isn’t a big deal).
I know, especially for beginners, the gauge can be super intimidating, but it doesn’t have to be. That’s why I decided to write this post. I also want you to know, if you’re still unsure unless it’s a wearable, you can just skip the gauge and be OK.
Making a Gauge Swatch
Most gauge instructions in a pattern are listed near hook size and yarn weight and generally tend to be at the beginning before the pattern even starts. You can also find a gauge on a ball or skein of yarn. It’s often listed near the bottom of the label next to the hook/needle size. Again, it can look something like this:
11 stitches in 12 rounds in a 4X4 cm square
or…
8 hdc by 6 rows equals a four-inch (10.16 cm) square using a 9mm hook.
# stitches and # rows = 4 inches in stated stitch (sc, had, dc, knit)
Gauge: # stitches and # rows = 4 inches (10.16 centimeters)
Just a reminder, not all gauge swatches measure 4 inches, they’ll vary by the creator, so just make sure you are paying attention to what the author says the gauge swatch measurement is.
Always make your swatch square larger than the size of the gauge square so that you can accurately measure. You’ll measure in the middle of the square you make. Edges, turning and tension can play with the middle stitches which is why you make it a bigger size swatch. If you stitch a 7″ x 7″ inch square, you can measure a 4″ x 4″ part in the middle with ease and better accuracy.
*Use the stitch indicated in the pattern for your swatch. If it’s not listed, always use stockinette stitch for your knit gauge swatches (knit 1 row, purl 1 row if a flat lay and continually knit around if in the round) and single crochet (sc) for your crochet swatches (flat or round are the same)
KNIT GAUGE
Grab the needle size and yard size/weight listed on your pattern (always start with what the pattern says first). Next, start to knit your sample swatch by casting on enough stitches for a nice-sized swatch. Some patterns actually have a Gauge Swatch pattern. If they do just follow that. Otherwise, use the stitch listed in the pattern, or you may choose to use the stockinette stitch (knit 1 row, purl 1 row if a flat lay, and continually knit around if in the round), which I recommend as it’s easier to count the stitches. Knit away until you’ve made a square that measures large enough to measure your gauge.
Lay your square on a flat surface and take a hard ruler, measuring tape, or a gauge ruler and lay it horizontally across your square. In the middle section of your square (not from the edge, remember, we made it bigger so we could measure in the middle), count the number of stitches within the measurement size your pattern stated on one row. These are your ‘stitches per inch’ measurements. Turn your measuring tool vertical (unless you’re using a gauge ruler) and again, in the middle of your square, not on the edges, measure the number of stitches up the measurement size your pattern stated. These are your “rows per inch” measurements. Now compare your numbers (stitches per inch and rows per inch) to the stitches per inch and rows per inch listed in your pattern.
If it’s the same number – you’re good to go! If you’re off, it’s time to make some simple adjustments. You can either adjust the needle size until you’ve reached the correct gauge, or you can adjust your tension (how tightly/loosely you knit). It’s usually easier to adjust needle size, especially if you’re a beginner.
Once you’ve made adjustments
According to the little changes listed above, make another gauge to verify you’re measurements work. Once everything matches up, you’re now done and can start the pattern as indicated. Woo-hoo!
CROCHET GAUGE
Grab the hook size and yard size/weight listed on your pattern (always start with what the pattern says first). Some patterns actually have a Gauge Swatch pattern. If they do just follow that. Otherwise, using the stitch indicated on the pattern, make a chain a good size longer than the gauge swatch size. If there is no stitch for measuring gauge listed on the pattern, usually that means measuring using a single crochet. After making your chain, begin crocheting with the appropriate stitch until you’ve made a square that measures your desired size.
Lay your square on a flat surface and take a hard ruler, measuring tape, or a gauge ruler and lay it horizontally across your square. In the middle section of your square (not from the edge, remember, we made it bigger so we could measure in the middle), count the number of stitches within the measurement size your pattern stated on one row. These are your ‘stitches per inch’ measurements. Turn your measuring tool vertical (unless you’re using a gauge ruler) and again, in the middle of your square, not on the edges, measure the number of stitches up the measurement size your pattern stated. These are your “rows per inch” measurements. Now compare your numbers (stitches per inch and rows per inch) to the stitches per inch and rows per inch listed in your pattern.
If it’s the same number – you’re good to go! If you’re off, it’s time to make some simple adjustments. You can either adjust the hook size until you’ve reached the correct gauge, or you can adjust your tension (how tightly/loosely you crochet). It’s usually easier to adjust hook size, especially if you’re a beginner.
Once you’ve made adjustments
According to the little changes listed above, make another gauge to verify you’re measurements work. Once everything matches up, you’re now done and can start the pattern as indicated. Woo-hoo!
Again, do not worry if it’s not exactly right; try it again after making some adjustments.
If your swatch has turned out too small (there are more stitches per inch than indicated in the gauge listed), you might want to go up a hook/needle size or two. Visa-versa, if you have too few stitches per inch, you might need to go down a hook size or two. As mentioned before, you can also adjust your tension. I know for me, it’s easiest to adjust the hook size, and especially when I was a beginner, my tension didn’t really vary much, no matter how hard I tried.
Some Final Tips and Tricks
As you move along on your project, you may notice your stitches aren’t always consistent with your swatch. Ugh! No! Why? I followed everything! Regrettably, the tension in our knitting and crochet can be impacted by factors such as our work environment and posture.
But fear not! You’re going to be fine, I promise. Honestly, the change shouldn’t be a huge difference, and blocking your piece at the end will usually help iron out any of these slight inconsistencies.
A few more helpful tips…
- Take note as to whether the swatch is in rows or rounds and plan accordingly when you make your swatch. I know, I said this above. However, it really does matter. So if your gauge says “in the round” your swatch needs to be “in the round”.
- Sometimes rows aren’t listed. Check the comments section of the pattern, sometimes someone has already asked this. If it’s not, ask. Most designers are great at answering questions. If this was one of their first patterns, they may not have thought to put that. I know my first few patterns we ruff 🙈.
- Don’t ever stretch your swatch. If you’re off a bit, it’s tempting to just stretch that pesky swatch so that the stitch and row measurement fits. However, even a little stretching and pulling can throw your whole pattern off. That being said, some swatch gauges actually say the measurements are AFTER BLOCKING. If that’s so, you need to block your swatch before measuring. Also, if you know you need to block your finished piece at the end, then block your swatch as well! Just don’t go stretching out your swatch willy-nilly.
- Check your hooks. Hooks are labeled differently in different places of the world and even in my own craft store. Ugh, I know, so annoying right? Just be sure to double-check your hook size in mm and the pattern to make sure they correspond. MM is the most accurate, always.
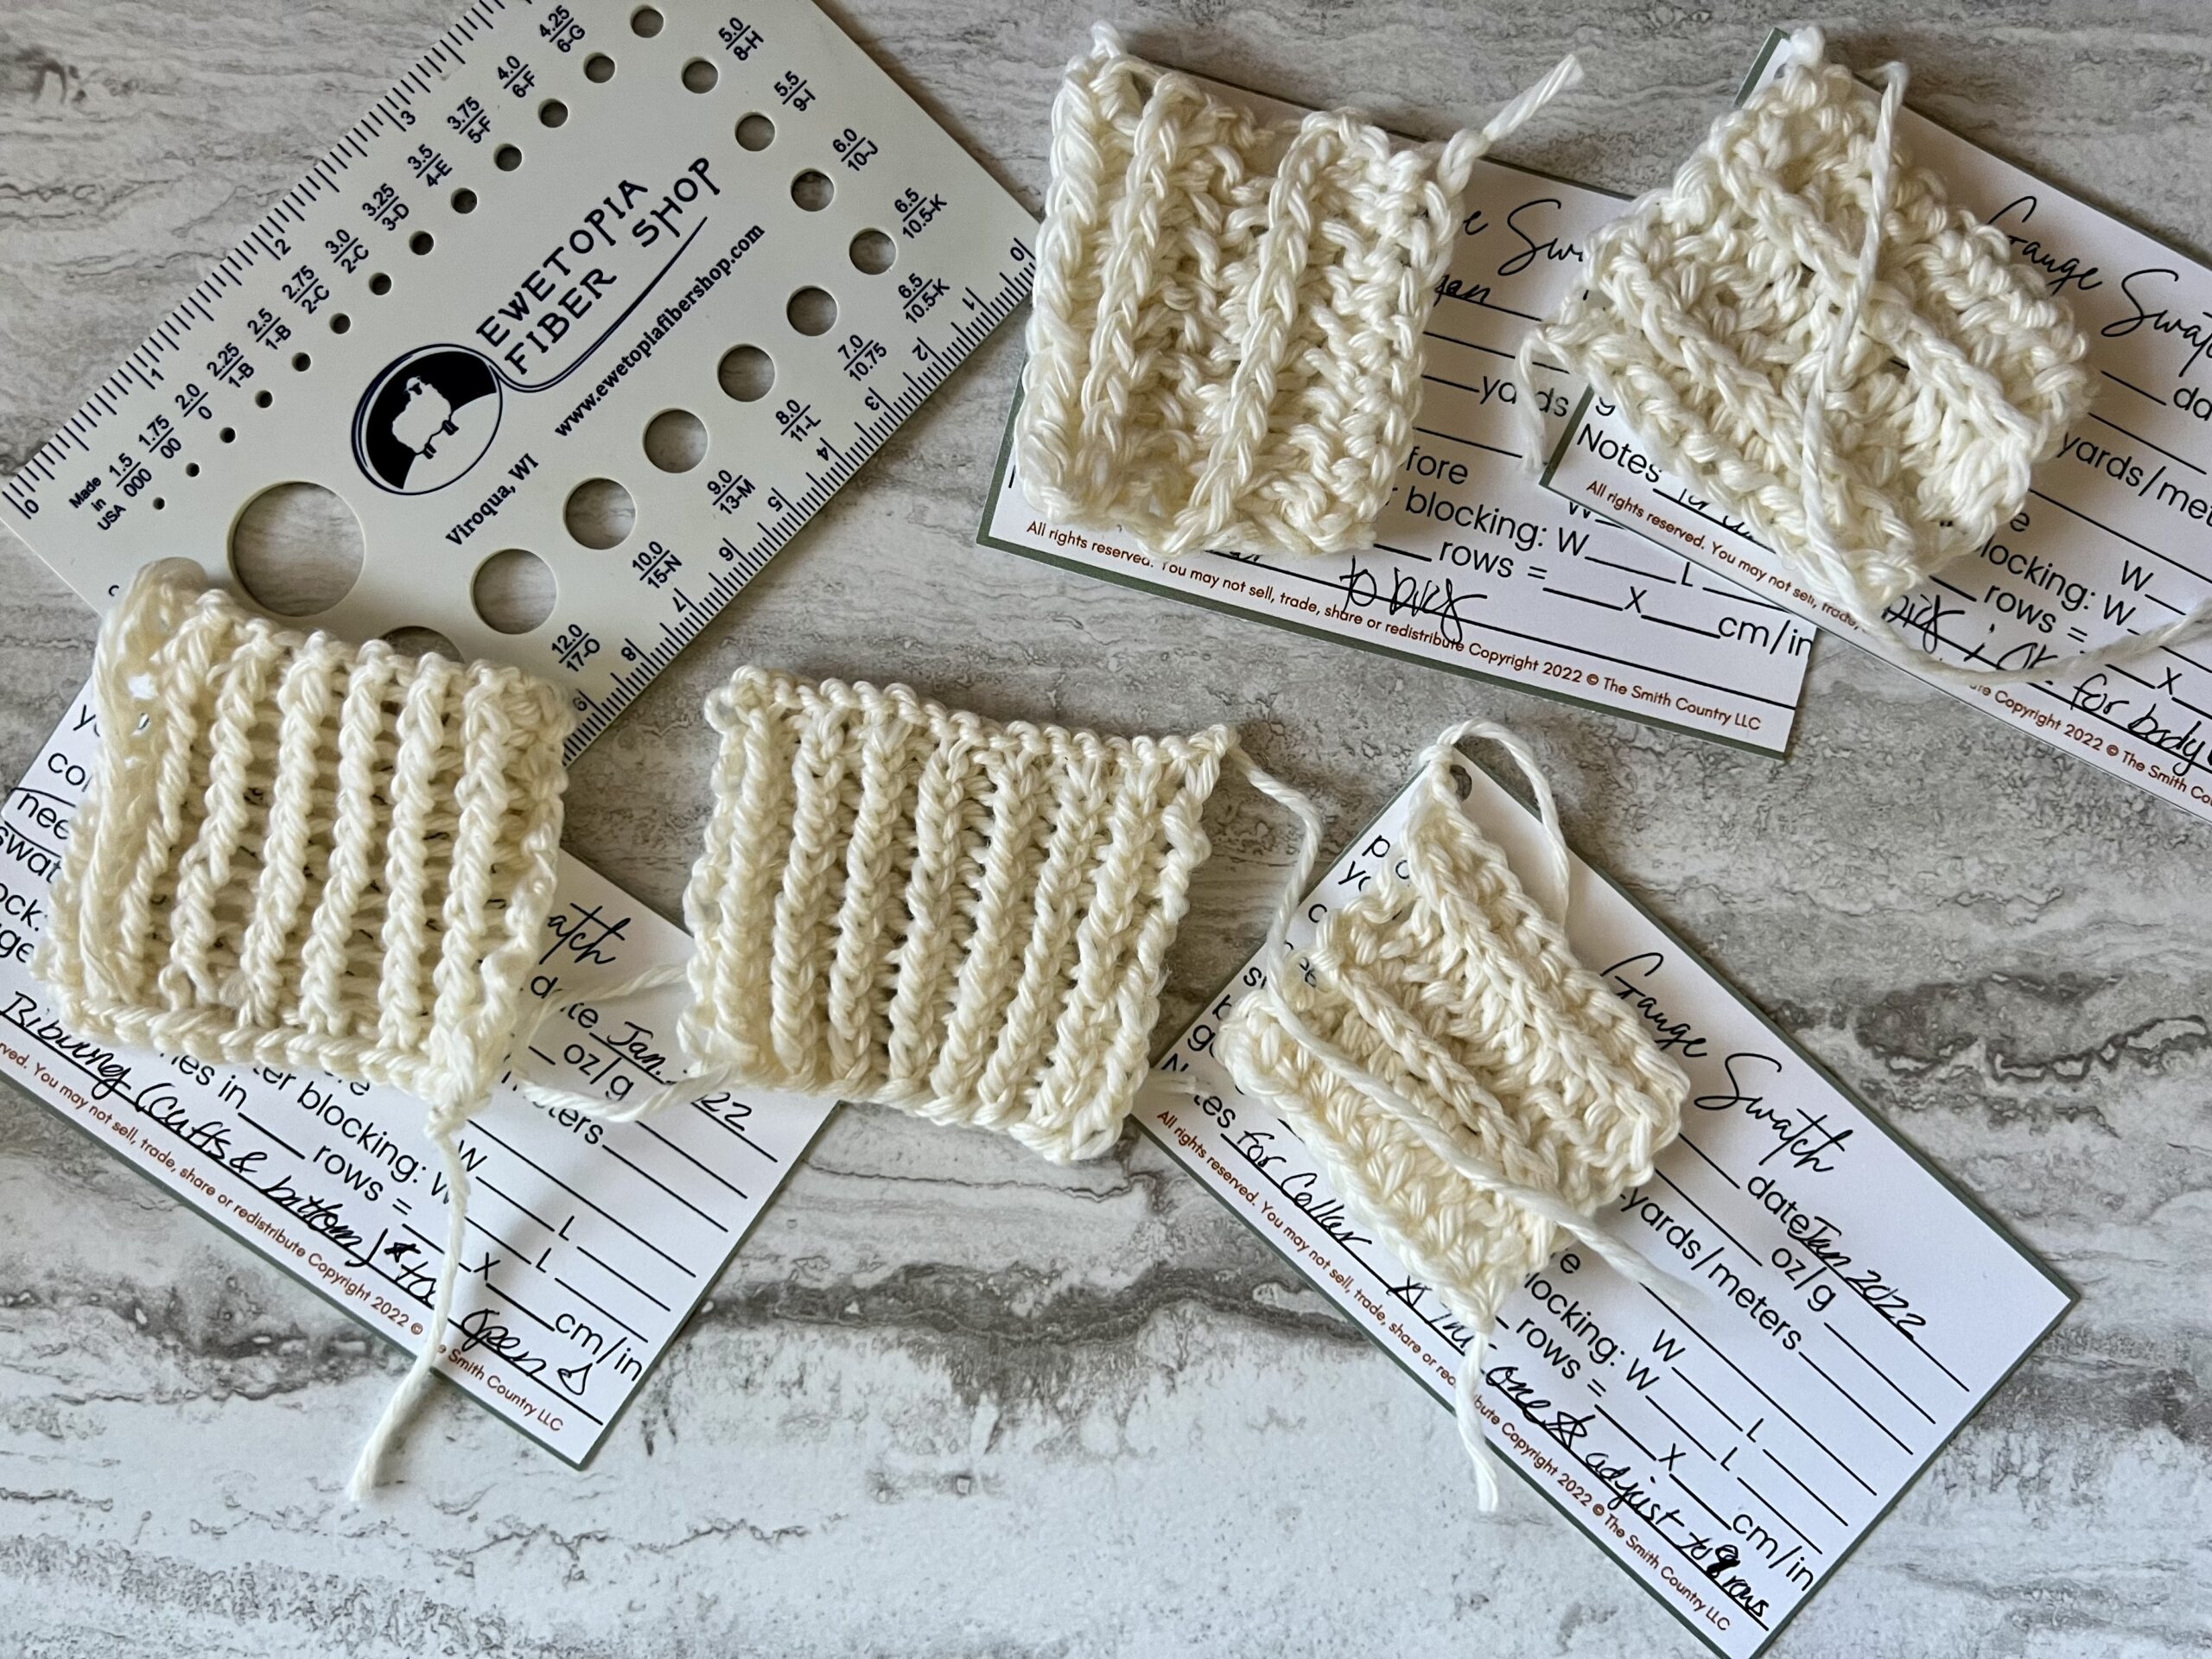
- Swatch Gauge Cards. These little cards can help you keep track of your old swatches and the yarn/project it was previously used for. This is especially true if you can’t remember how your gauge on an older project. YOu know, the one you made 6 months ago for your niece’s birthday. Or you plan on making a project more than once, but not one after the other. I mean, crafting fatigue is a thing. You can really use anything as a swatch card and simply label everything that you find important to know. Yarn Name, color, weight, gauge, swatch measurement, etc. If you’re not sure where to start I offer free business card size ones.
I also offer an inexpensive 2-size pack. This pack comes with that business card size as well as ones the size of index cards.
Developing a habit of creating a gauge swatch prior to starting your project, can significantly enhance the consistency and fit of your work. If you’re going to put hours of heart and soul into your project, you want it to turn out correctly. Let’s begrudgingly do that gauge swatch so we can have perfectly sized-finished pieces!
What are your thoughts on doing a gauge?
Do you always gauge or do you knit/crochet with reckless abandon? hahaha. Maybe you have some great tips/tricks to share! Comment below and share them!

Want to remember this post? Pin it to your favorite Pinterest Board!


Copyright © Always Jenn Smith; Jenn Smith, LLC formerly known as Smith Country, LLC. You are welcome to share this post with others who are on their knitting or crocheting journey. All rights reserved.
Buying from my affiliates, shop, or Lovecraft’s/Ravelry designs helps support my business and keep me creating!