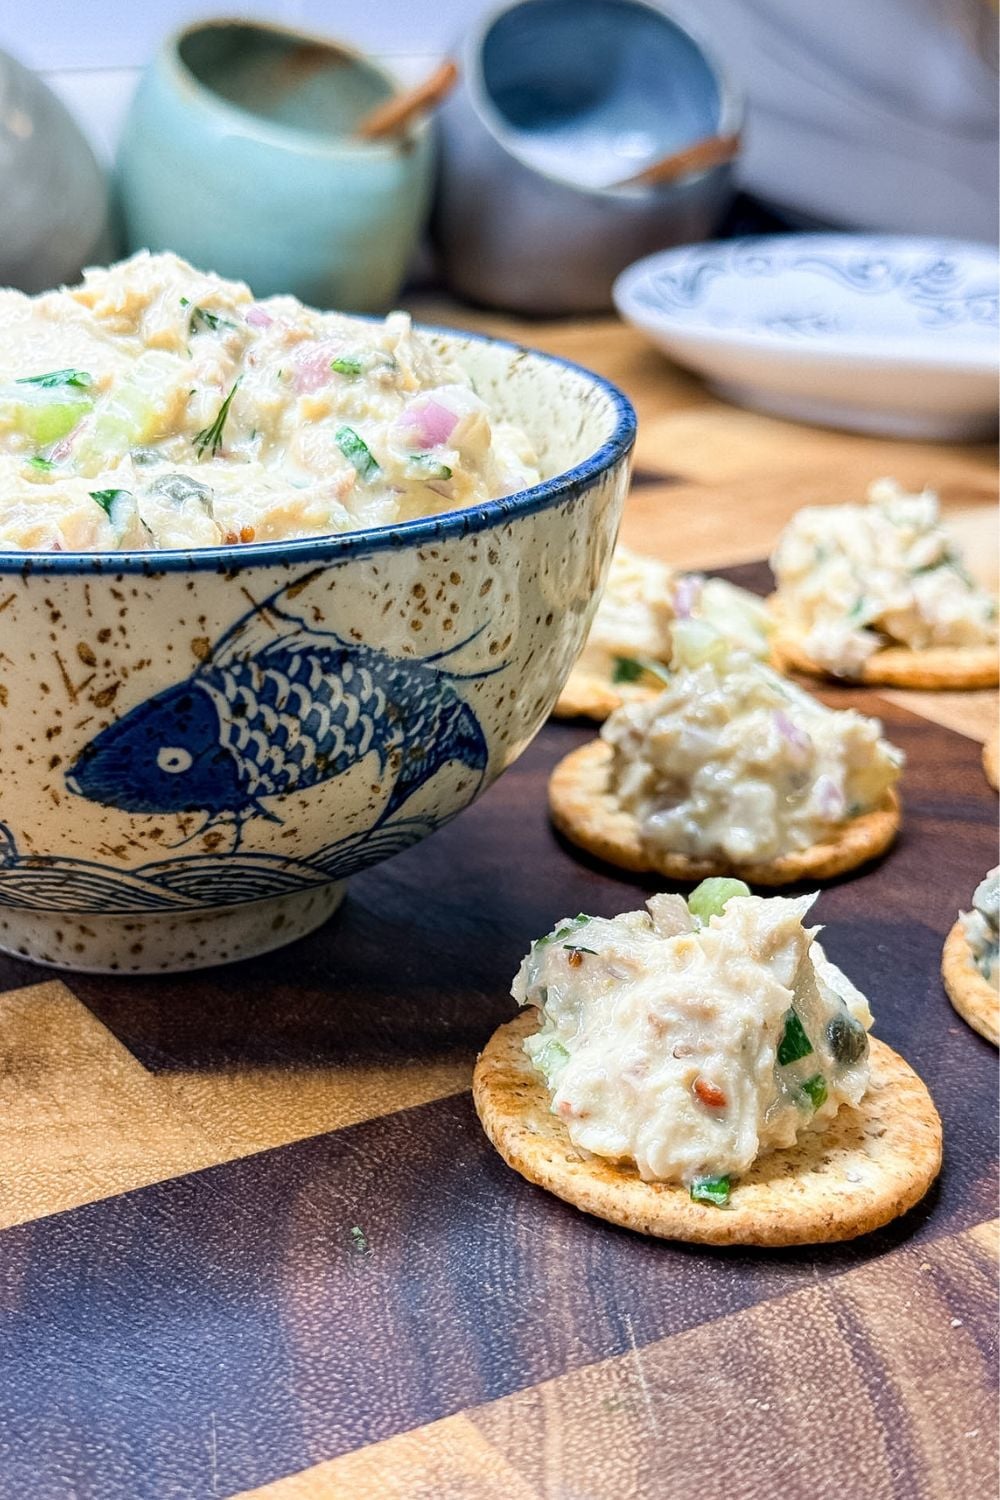
No-Waste Tuna Salad (Using the Oil for Homemade Mayo)
This no-waste tuna salad uses oil-packed tuna to create a rich, flavorful homemade mayonnaise—keeping every bit of flavor while building a protein-packed, satisfying meal.
This post may contain affiliate links, which means that I make a small commission off items you purchase at no additional cost to you. Please read my Affiliate Disclosure
We’re not dumping out that oil for this recipe… we’re using it.
This tuna salad is built to keep all that rich, savory flavor right where it belongs. Nothing watered down, nothing hidden—just good tuna, front and center.
And the best part? That oil turns into a quick homemade mayonnaise that pulls everything together. It’s simple, a little unexpected, and honestly… it just makes sense.
Why You’ll Love This Recipe
About Ingredients
Oil-Packed Tuna
This is the star of the recipe. Using tuna packed in olive oil gives you more flavor and creates the base for the homemade mayonnaise.
Instead of pouring that flavorful oil down the drain, we’re turning it into a rich, creamy mayo that makes this tuna salad extra delicious.
I personally love using tuna from TinCanFish for this recipe. Their products are packed with flavor and work beautifully in simple recipes like this, where the tuna really gets to shine.
Egg + Oil = Mayo
You’re essentially making a quick immersion blender mayo using the reserved oil—rich, creamy, and done in seconds.
Rice Wine Vinegar + Honey
Balances the richness with just enough brightness and a hint of sweetness.
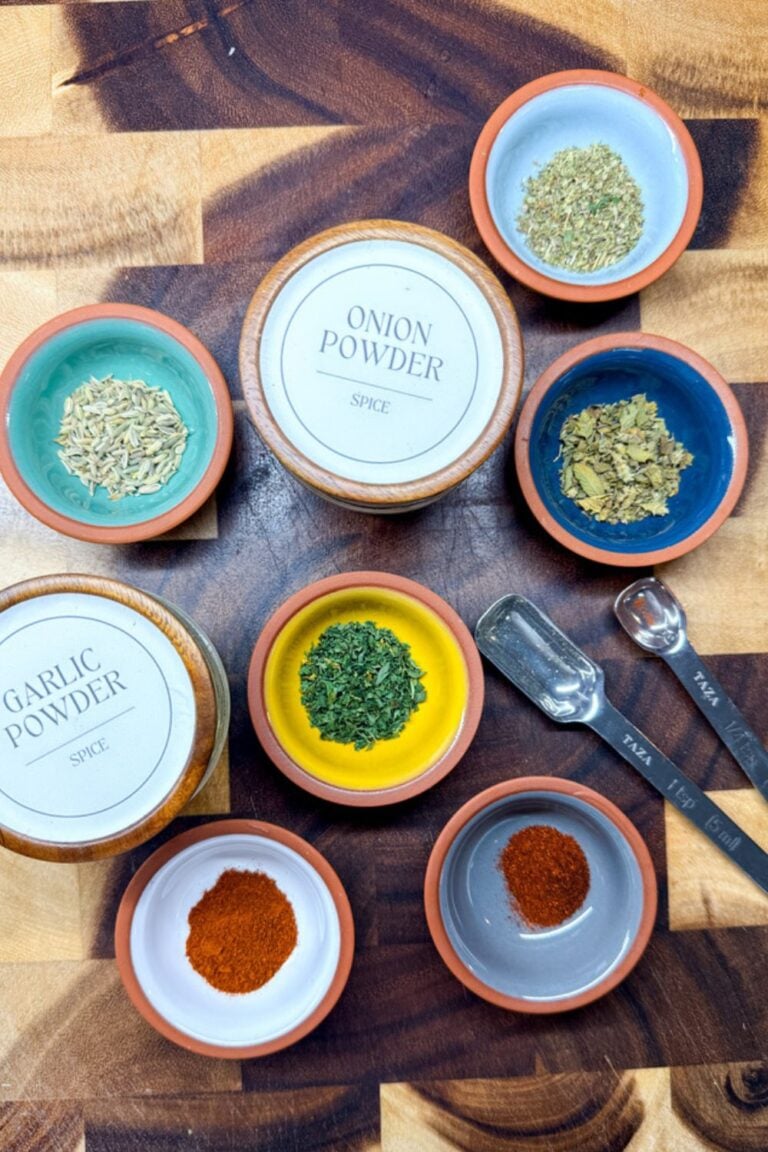
Chinese Mustard + Chili Garlic Sauce
This is where your personality comes in. A little heat, a little sharpness—nothing overwhelming, just layered flavor.
Fresh Herbs
Parsley, chives, and dill keep everything fresh and balanced.
How to Make No-Waste Tuna Salad (Step-by-Step)
1. Start with the tuna (don’t toss that oil!)
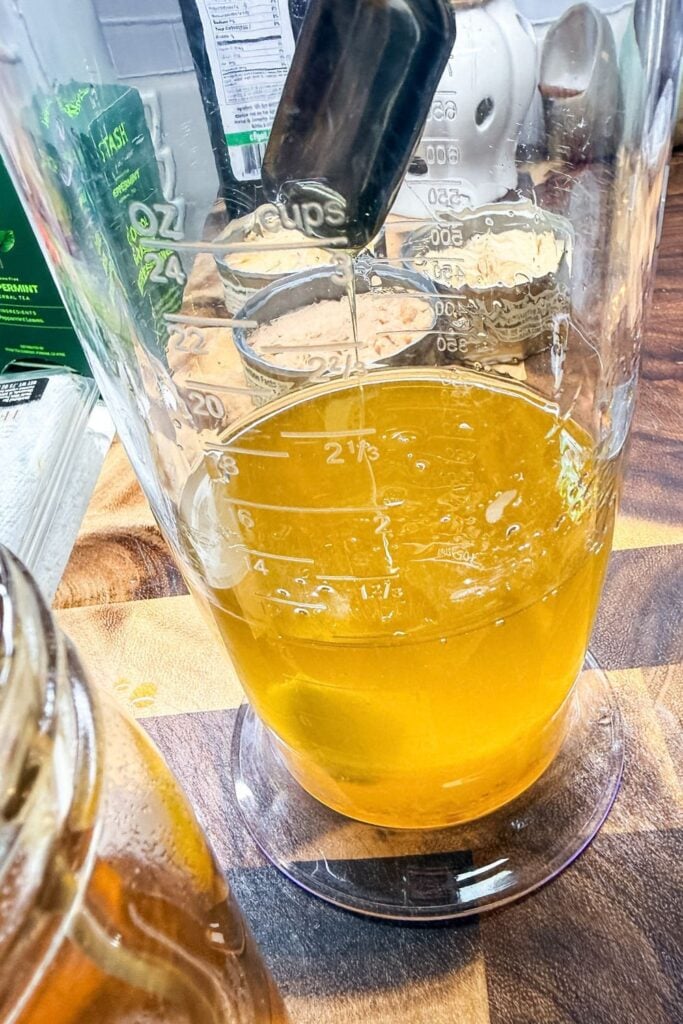
Drain the oil from your tuna directly into a jar or container that fits your immersion blender.
This is the base of your homemade mayo—and where all that flavor lives.

Jenn’s Kitchen Tip
If making homemade mayo isn’t your thing—or you just need this done fast—you can absolutely take a shortcut.
Use the full can of tuna (oil included), add your mayonnaise, and mix everything together as written.
You’ll still get great flavor, and it keeps this recipe flexible for real-life cooking.
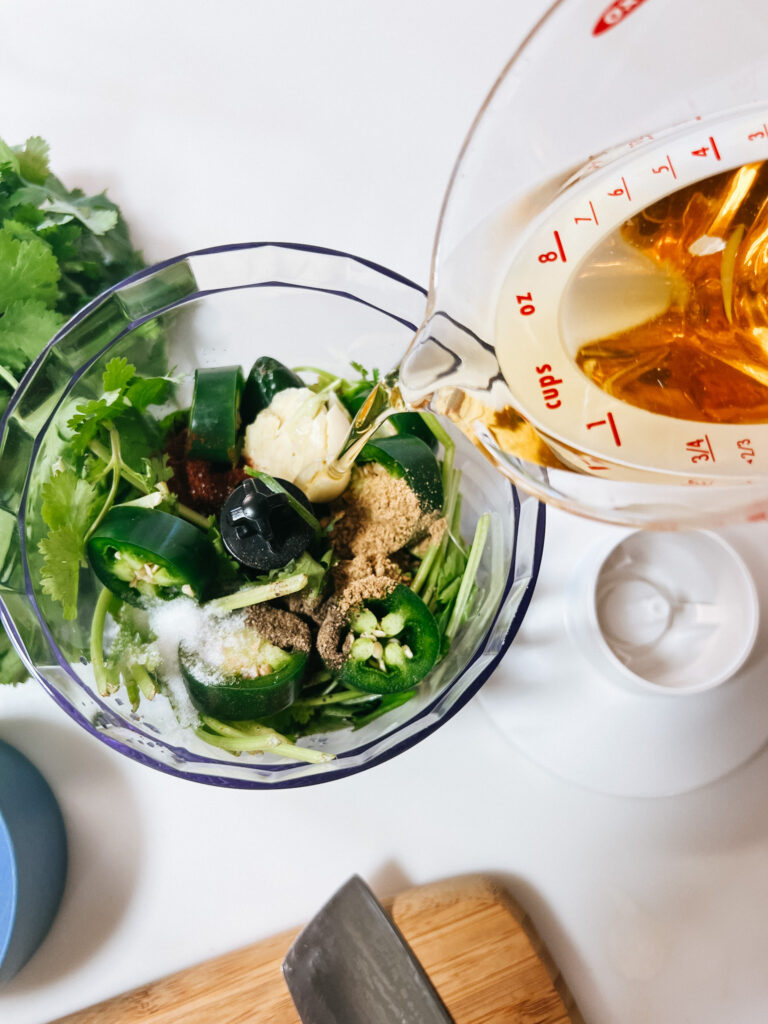
2. Build your quick homemade mayo
Add enough olive oil to reach 1 cup total, then add:
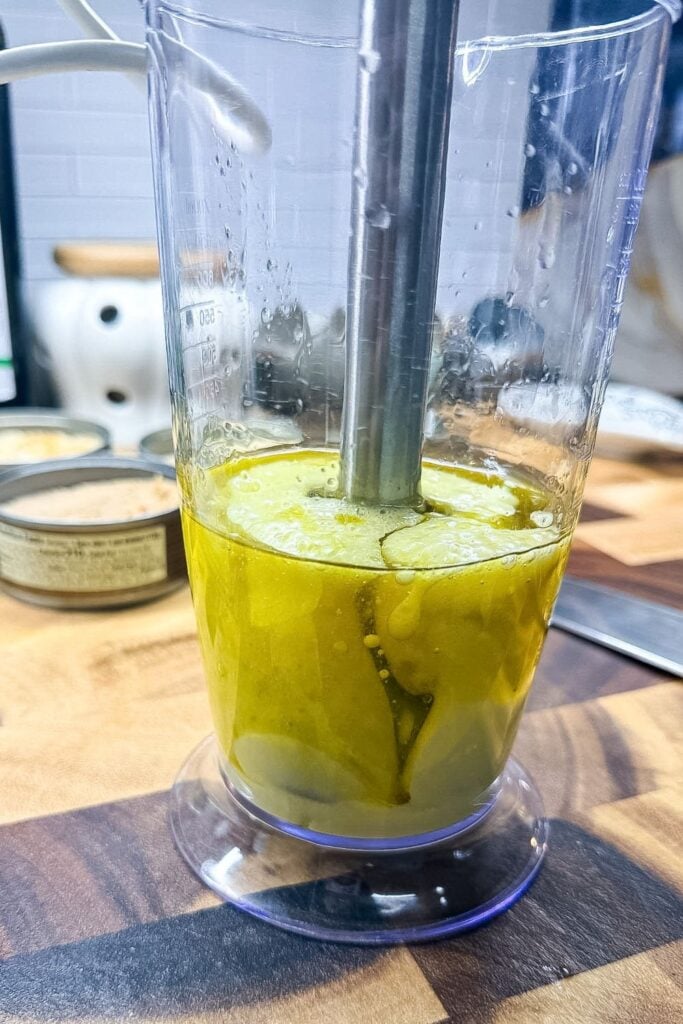
egg
rice wine vinegar
honey
garlic
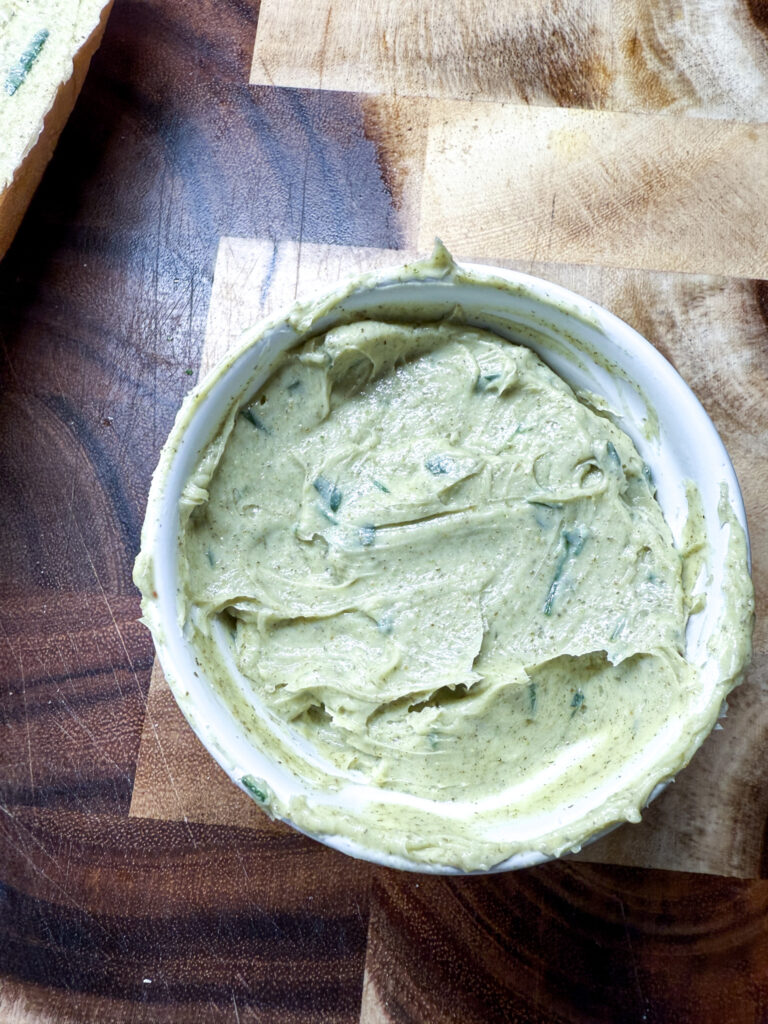
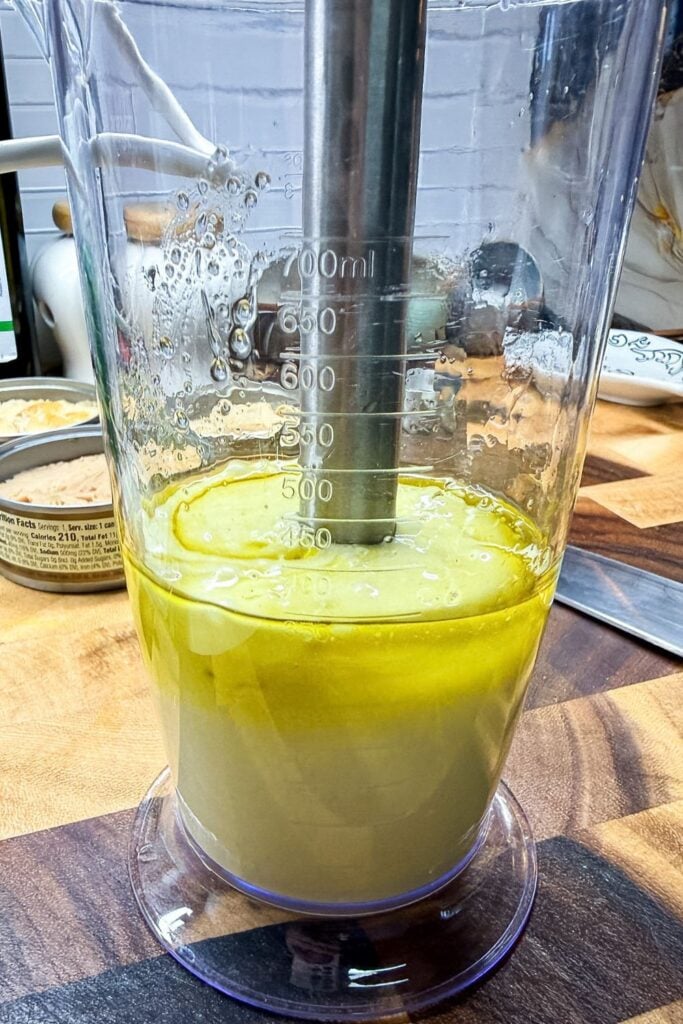
Blend until thick and creamy.
You’re looking for a smooth, spreadable consistency—not runny, not stiff.
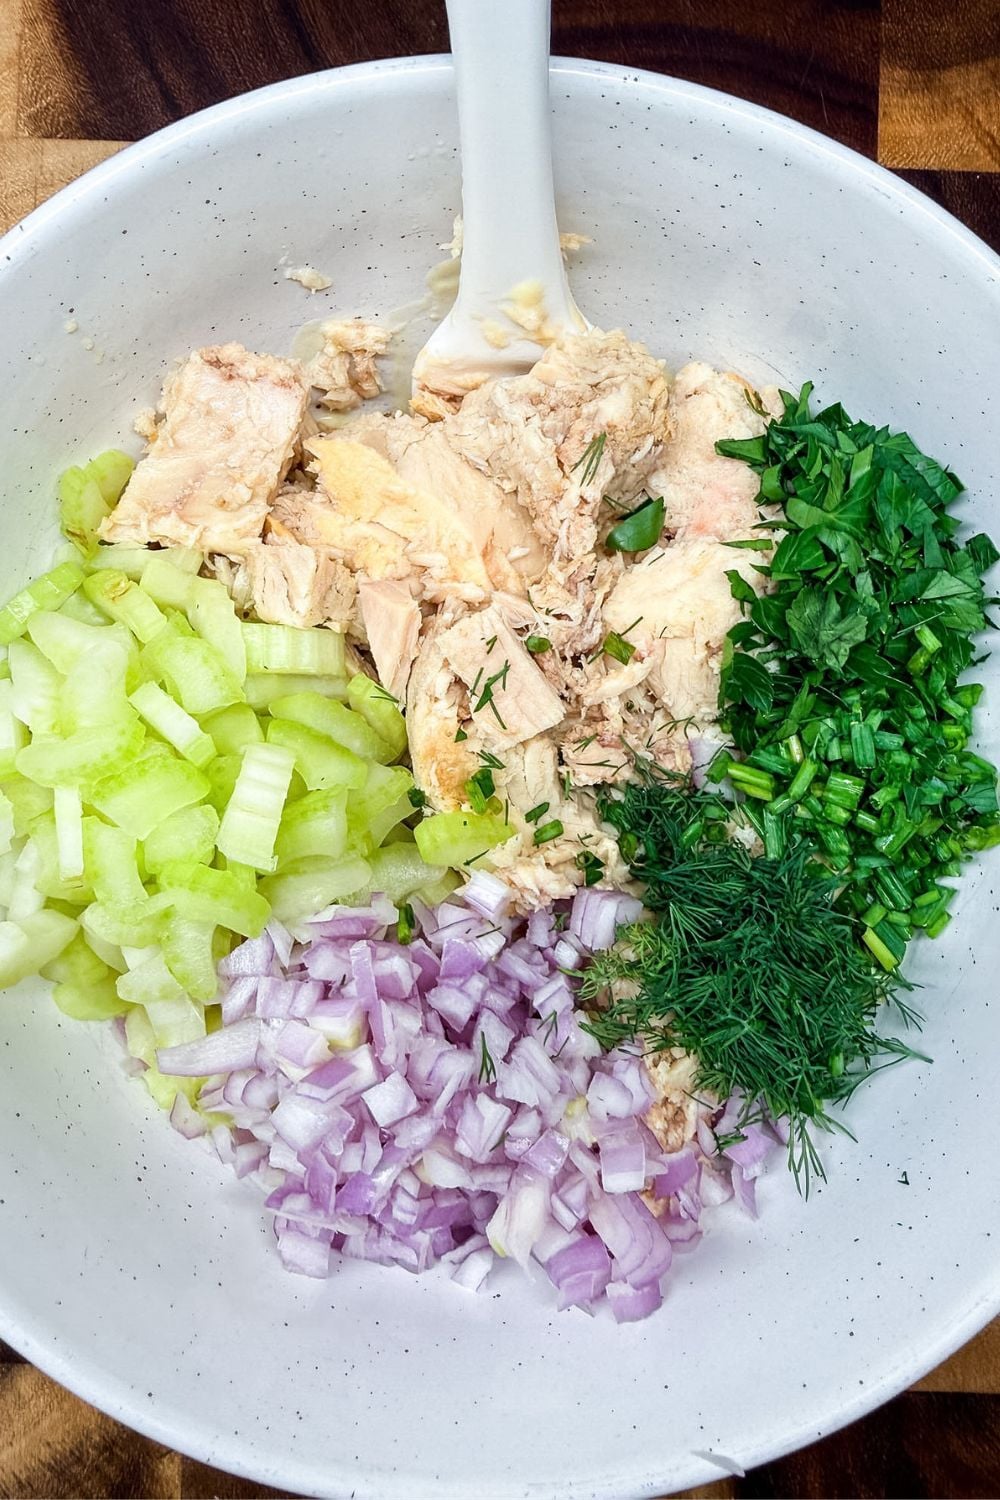
3. Prep your mix-ins
Dice your celery and shallot, and roughly chop your herbs.
Smaller pieces = better texture in every bite.
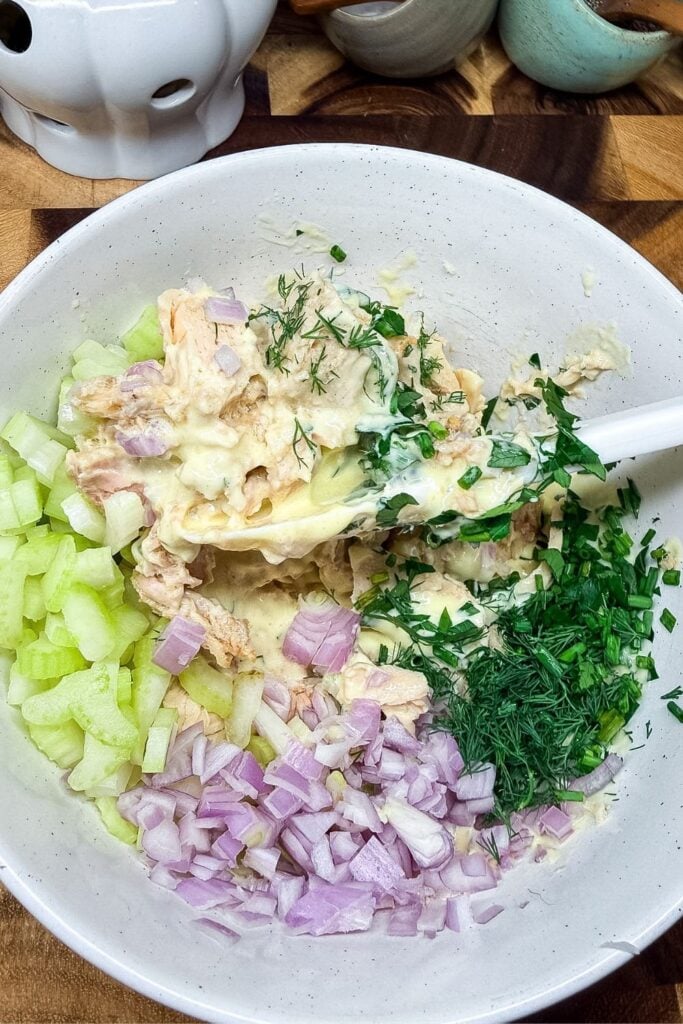
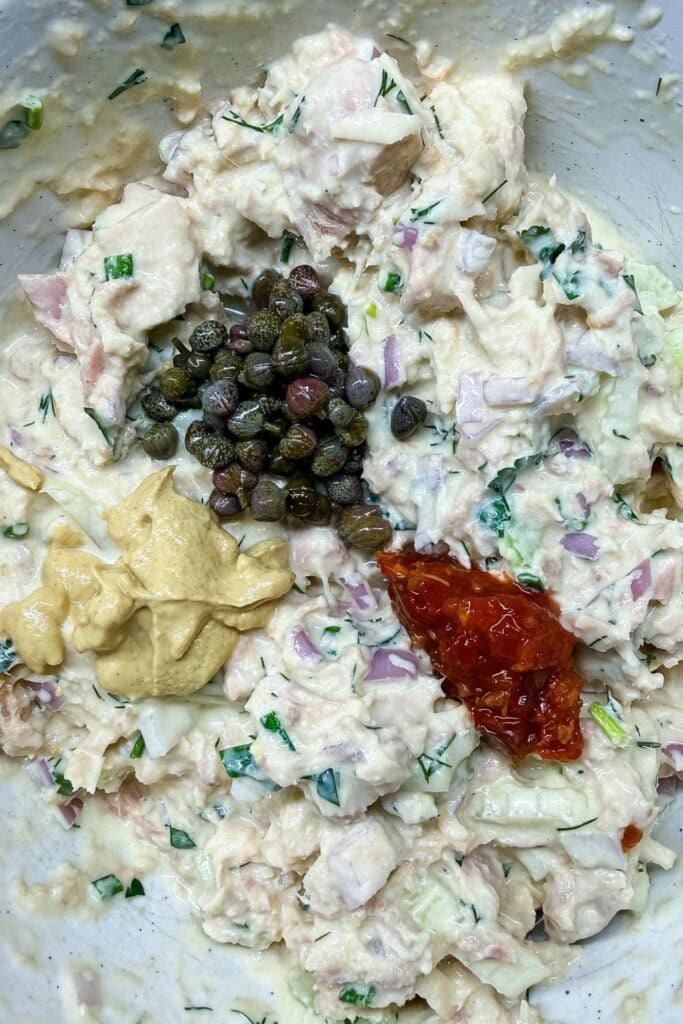
4. Bring it all together
In a bowl, combine:
- tuna
- homemade mayo
- celery + shallot
- herbs
- Chinese mustard + chili garlic sauce
- sea salt + black pepper
Mix until everything is evenly coated.
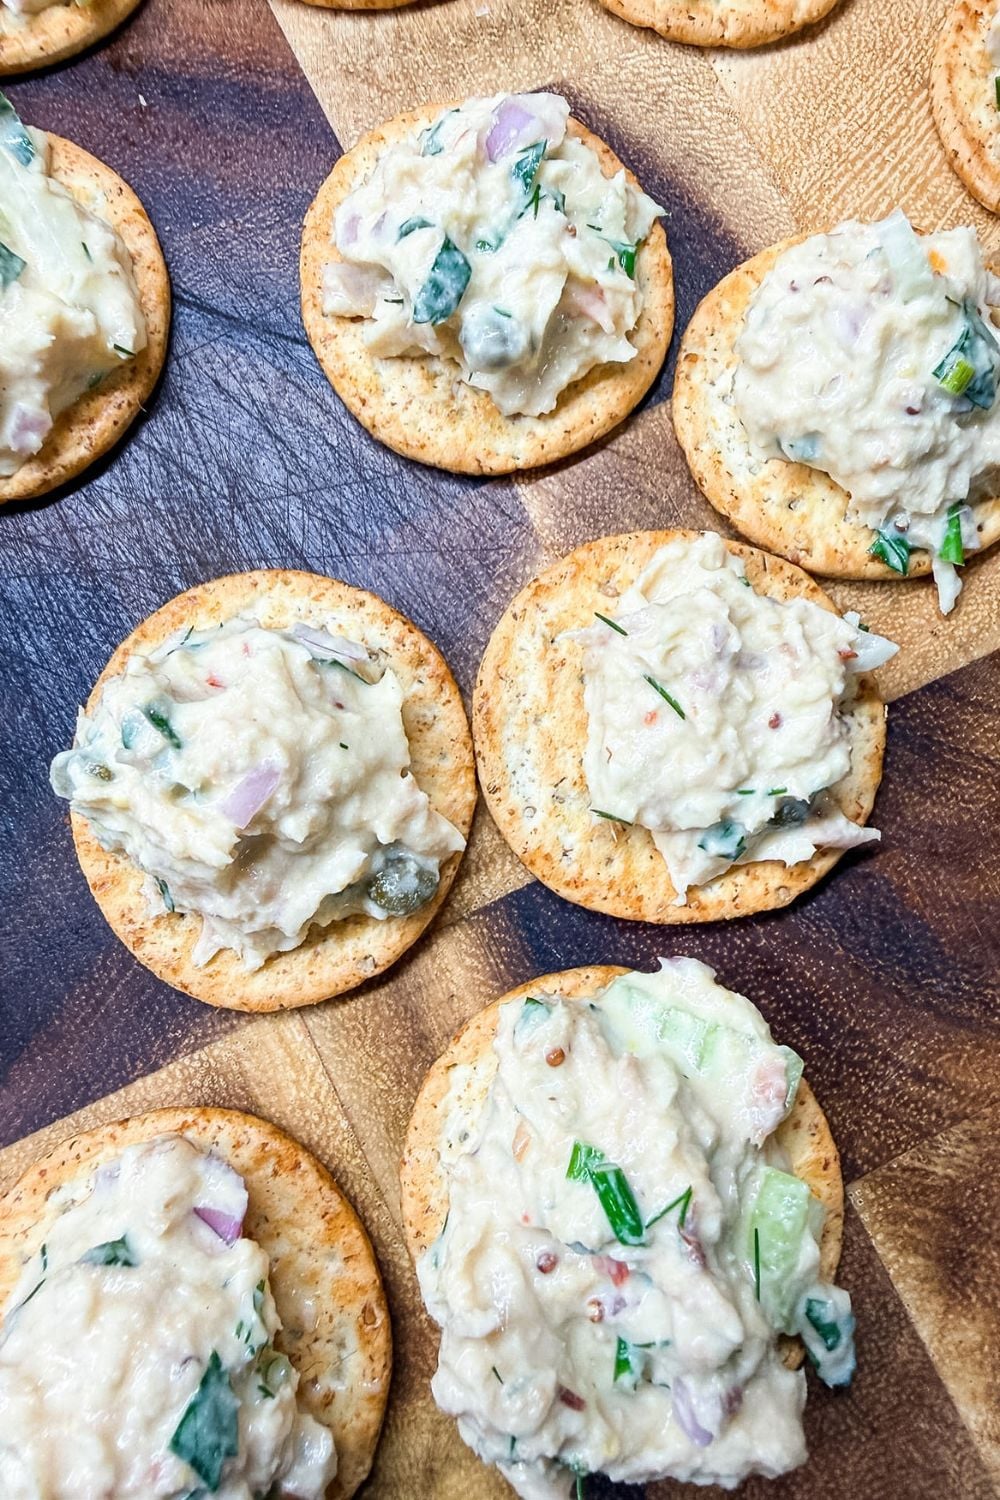
5. Serve it your way
Serve:
- in a sandwich
- wrapped in lettuce
- with crackers
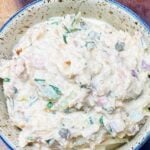
- or straight from the bowl
Cooking With Kids
This is a great recipe for getting kids involved because it has a mix of simple prep and a little “kitchen magic” moment.
Younger Kids (with help):
- Add ingredients to the bowl
- Help stir the tuna salad
- Tear herbs (they don’t have to be perfect!)
Elementary Age:
- Dice softer ingredients like herbs (with supervision)
- Measure ingredients
- Help operate the immersion blender (with hands-on guidance)
Older Kids / Teens:
- Make the homemade mayo start to finish
- Chop all ingredients
- Adjust seasoning to taste
Real-life bonus:
This is a great way to show kids that not everything in the kitchen has to be thrown away. It’s a small habit that builds confidence and awareness over time.
Tuna Salad FAQ
Yes. Skip the homemade mayo and use about ¾ cup store-bought mayonnaise instead.
Store in an airtight container for up to 3 days. Stir before serving if it separates slightly.
You can, but you’ll lose the flavor and won’t be able to make the homemade mayo. If using water-packed tuna, use store-bought mayo instead.
Yes. It actually gets better after a few hours in the fridge as the flavors meld together.
No-Waste Tuna Salad with Homemade Mayo
- Total Time15 minutes
- YieldAbout 3 cups 1x
- DietDairy-Free, High Protein, Pescatarian
This no-waste tuna salad uses oil-packed tuna to create a rich, flavorful homemade mayonnaise—keeping every bit of flavor while building a protein-packed, satisfying meal. Made with celery, fresh herbs, capers, and a little heat, this tuna salad is perfect for sandwiches, crackers, or lettuce wraps.
Ingredients
- 3 (4-ounce) cans tuna in olive oil
- Additional extra virgin olive oil (enough to reach 1 cup total with reserved tuna oil) (see note 1)
- 1 egg, room temperature (see note 1)
- 1 tablespoon rice wine vinegar (see note 2)
- 1 teaspoon honey
- 1 garlic clove, smashed
- 1 stalk celery, diced
- 1 shallot, diced
- 1 tablespoon capers
- 1 tablespoon fresh parsley, roughly chopped (see note 3)
- 1 tablespoon fresh chives, roughly chopped (see note 3)
- 1 tablespoon fresh dill, roughly chopped (see note 3)
- 1 tablespoon Chinese mustard (see note 4)
- 1/2 tablespoon chili garlic sauce (see note 5)
- sea salt and black pepper, to taste
Instructions
Drain the oil from the tuna cans into a jar or container that fits an immersion blender. Add additional olive oil until the total amount reaches 1 cup.
Add the egg, rice wine vinegar, honey, and smashed garlic clove.
Place the immersion blender at the bottom of the jar and blend until the mayonnaise starts to form. Slowly move the blender upward until the mixture becomes thick and creamy.
2. Prep the tuna salad ingredientsAdd the tuna, diced celery, diced shallot, capers, parsley, chives, and dill to a large mixing bowl.
3. Add flavor and mixAdd the homemade mayonnaise, Chinese mustard, chili garlic sauce, salt, and pepper.
Stir everything together until evenly combined.
4. ServeServe immediately with crackers, in sandwiches, wrapped in lettuce, or enjoy straight from the bowl.
Equipment
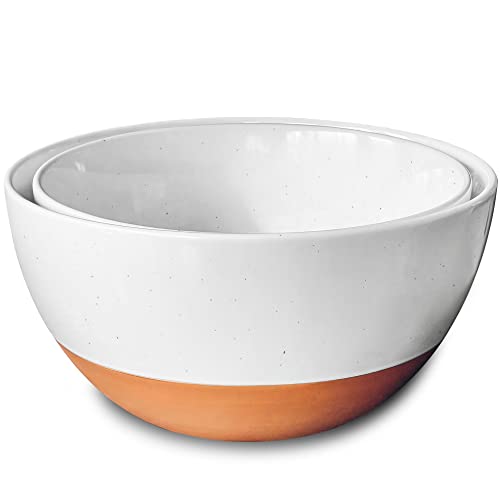
Mora Ceramics Small Mixing Bowls Set of 2 – 2.5 & 1.6 Qt (Vanilla White)
Buy Now →
ThermoWorks Mini Spatula/Spoonula Set
Buy Now →Notes
1. No raw egg option
If you prefer not to use a raw egg, skip both the olive oil and egg and use about ¾ cup mayonnaise instead.
2. Vinegar substitute
White vinegar can be used instead of rice vinegar.
3. Dried herb substitute
Use about 2 teaspoons total dried herbs in place of the fresh parsley, chives, and dill.
4. Mustard substitute
Dijon mustard can be used instead of Chinese mustard.
5. Chili garlic sauce substitute
Replace with:
- ½ teaspoon vinegar
- ¼ teaspoon garlic powder (or garlic scape powder)
- ¼ teaspoon crushed red pepper flakes
Jenn’s Kitchen Tip
If making homemade mayo isn’t your thing—or you just need this done fast—you can absolutely take a shortcut.
Use the full can of tuna (oil included), add your mayonnaise, and mix everything together as written.
You’ll still get great flavor, and it keeps this recipe flexible for real-life cooking.
Recipe & Photo Credit
This recipe and all images are original content created by Jenn Giam Smith for Cheers, Jenn.
You’re welcome to link to this recipe using one photo with proper credit. Please do not copy, republish, or redistribute this recipe or images without permission.
Have a question or want to share how it turned out?
Leave a comment below — I love hearing from you. 💛
MAKE MID-WEEK A LITTLE EASIER
Sign up below, and I’ll send you a FREE E-BOOK featuring six of my all-time favorite mid-week recipes!