Mint Chip “Milkshake” Cupcakes
I am a huge Mint Chip Ice Cream fan (as is my oldest whom I made these cupcakes for). My oldest just had a birthday party recently and wanted some kind of fun cupcake for the party. Enter…. mint chip milkshake cupcakes. A fun play on basic cupcakes with a milkshake flair.
Last year, I made a cake that looked like a dragon (yes this kid is also really into dragons). But that was a lot. I had to bake the cake, freeze it, cut it, “glue it” and then frost and decorate it.

This post may contain affiliate links, which means that I make a small commission off items you purchase at no additional cost to you. Please read my Affiliate Disclosure
I’ve always adored mint chip ice cream—and so does my oldest! For her recent birthday, she dreamed of cupcakes that tasted like Thin Mints but felt like a milkshake. With a little creativity, we transformed that dream into these Mint Chip “Milkshake” Cupcakes—made entirely from scratch and finished with edible “straws.” It’s a sweet, nostalgic twist that feels just right for our kitchen table.
My Latest Food Videos

WHY ARE THESE SO FUN
Yes, they look bakery-worthy—but the magic is in the simple touches: soft mint buttercream, a sprinkle of chocolate chips, and a straw-shaped wafer. It’s the kind of cupcake that’s playful, family-tested, and easy enough for everyday celebrations.
WHY YOU’LL LOVE THESE
These cupcakes are lighthearted and homemade, yet feel special. They’re perfect for birthdays, summer nights on the porch, or Saturday morning baking with kids. They bring everyone together—with a little kitchen fun and a lot of mint-chocolate joy.

ABOUT THE INGREDIENTS
Here’s what you need to make the recipe.
Cupcakes
Softened butter, cane sugar, and a touch of light brown sugar give these cupcakes a rich, soft base.
We add eggs for structure and flavor it with vanilla and mint extract for that cool, nostalgic twist.
Cake flour keeps the texture light, while unsweetened cocoa powder brings a deep chocolate flavor.
Just the right amount of baking soda, baking powder, and sea salt helps everything rise and balance beautifully.
We finish with 2% milk to smooth the batter and semi-sweet chocolate chips for melty pockets in every bite.
Mint Frosting
A fresh layer made with soft unsalted butter whipped with powdered sugar and mint extract.
Optional: a few drops of green food coloring give it that ice cream–shop look.
Heavy cream makes it extra smooth and pipeable.
Vanilla Swirl
The “milkshake” moment comes from this swirl:
Fluffy vanilla buttercream is made with unsalted butter, powdered sugar, a splash of vanilla extract, and heavy cream to create that soft, creamy finish.
SUBSTITUTIONS/SUGGESTIONS
Here are a couple of simple switches you can make.
MAKING THE RECIPE
1. Bake the Cupcakes
Preheat your oven to 375°F and line a cupcake tin with paper liners (this recipe makes about 24).
In a large bowl, cream together the butter, cane sugar, and brown sugar until fluffy and light. Add the eggs, vanilla, and mint extract, and mix until smooth and well combined.
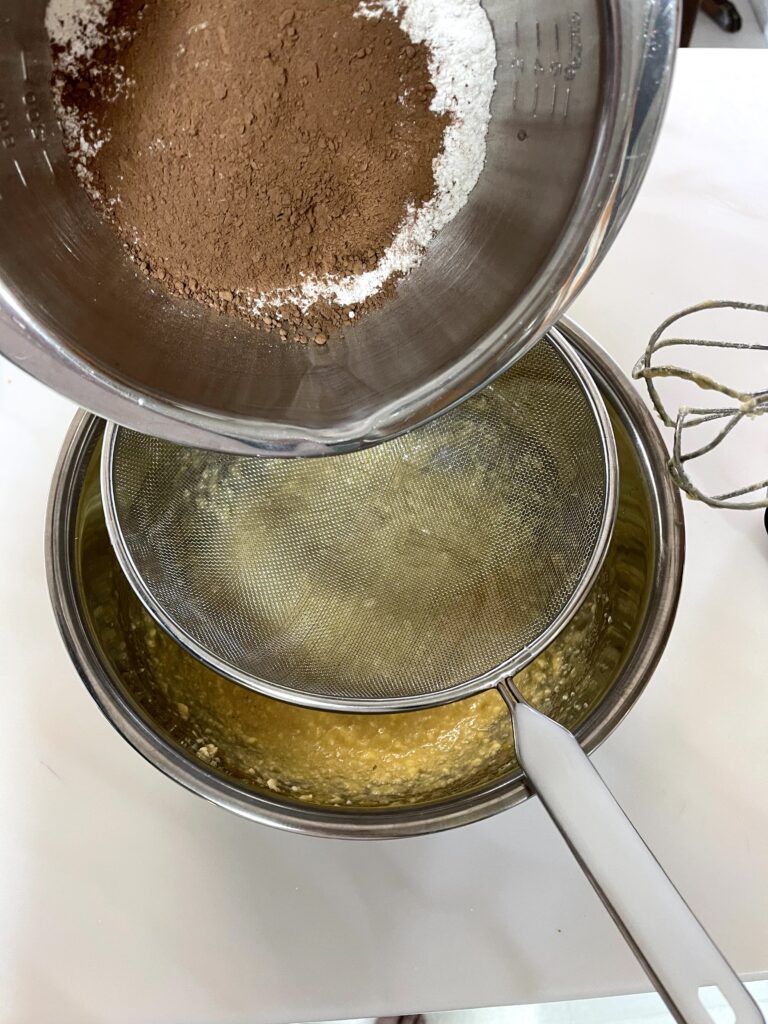
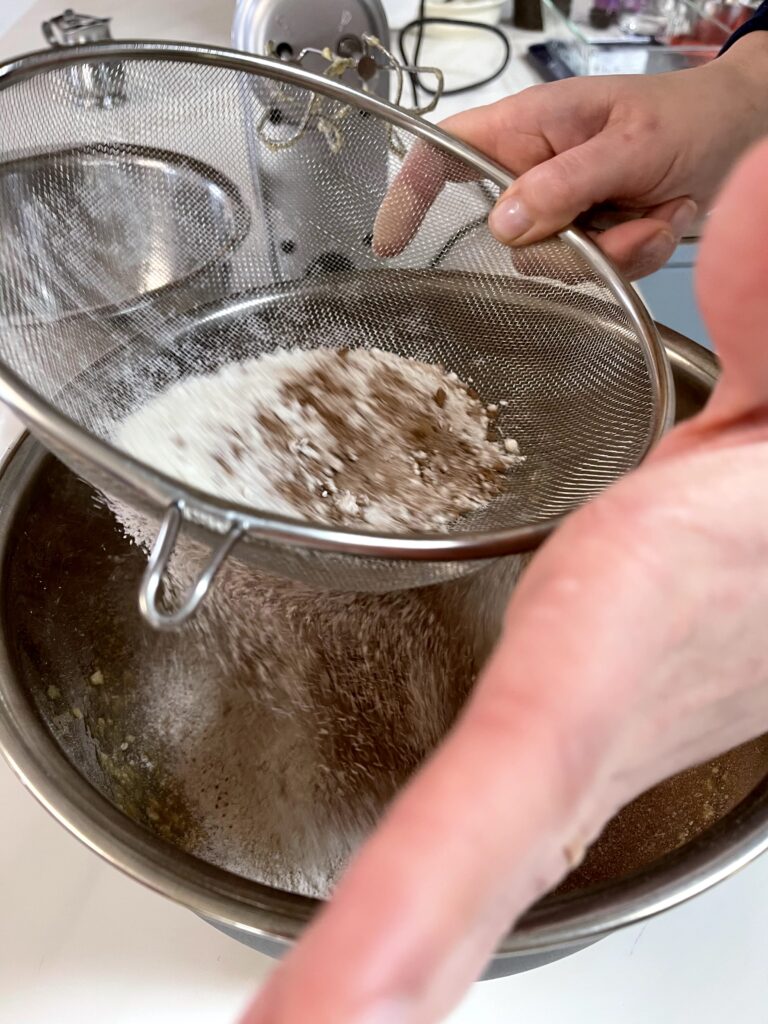
In a separate bowl, sift together the cake flour, cocoa powder, baking soda, baking powder, and salt.
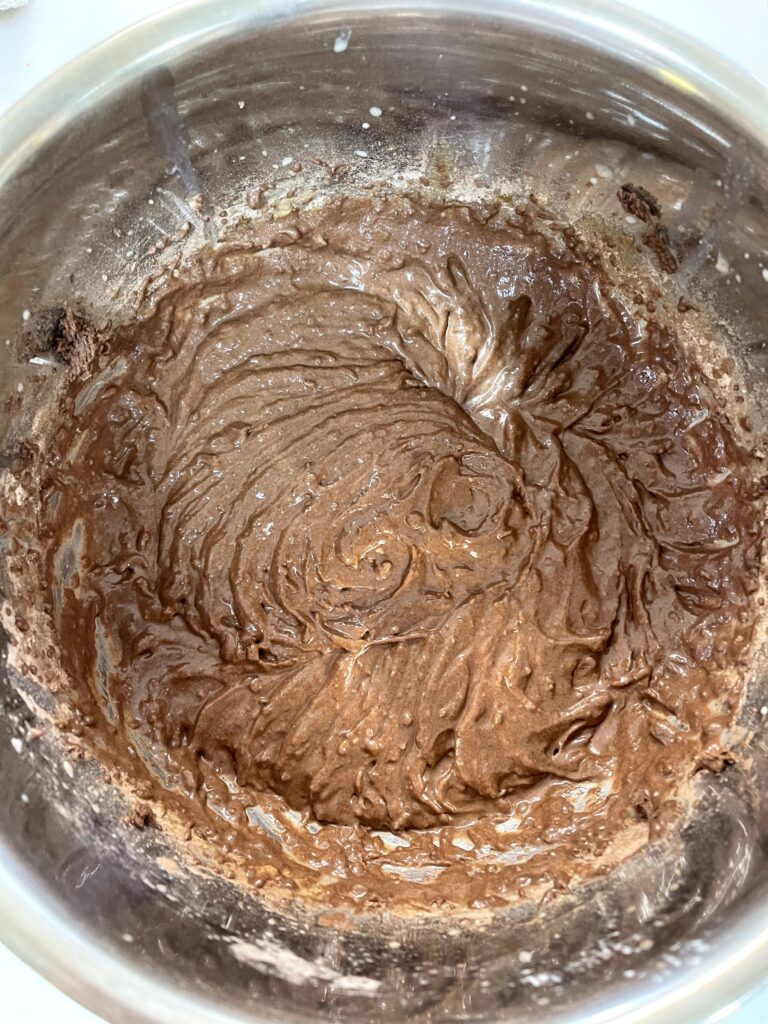
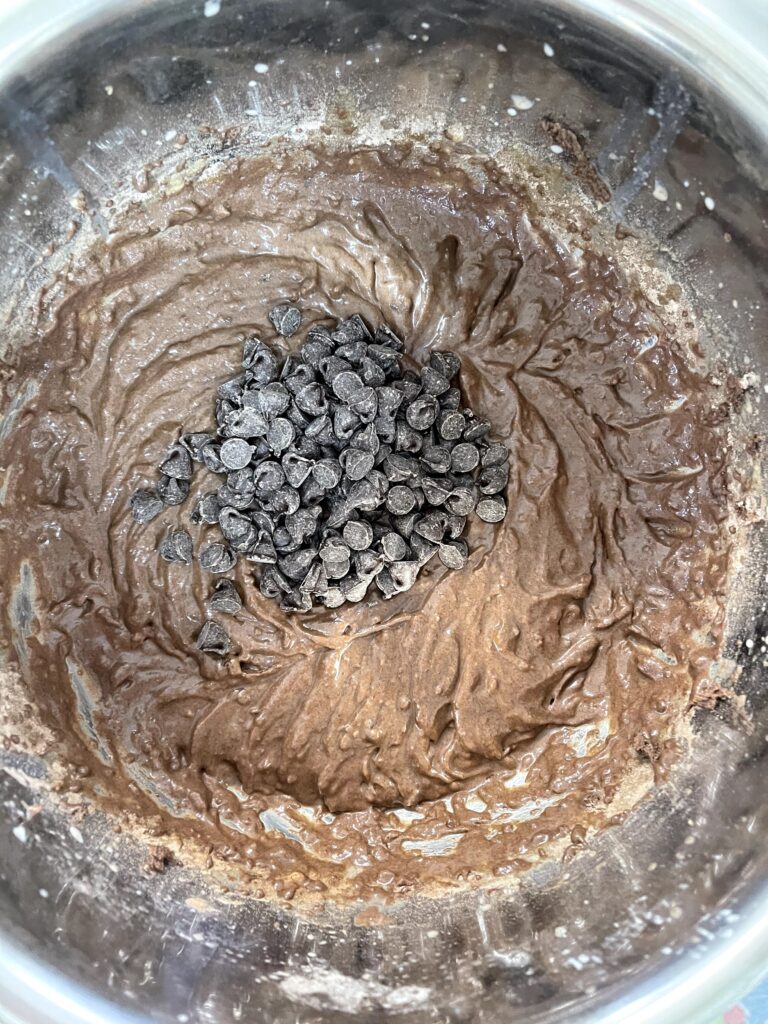
Now alternate adding the dry ingredients and the milk into the wet mixture—start and end with the dry. Mix until just smooth. Fold in the chocolate chips gently so they’re evenly spread throughout the batter.
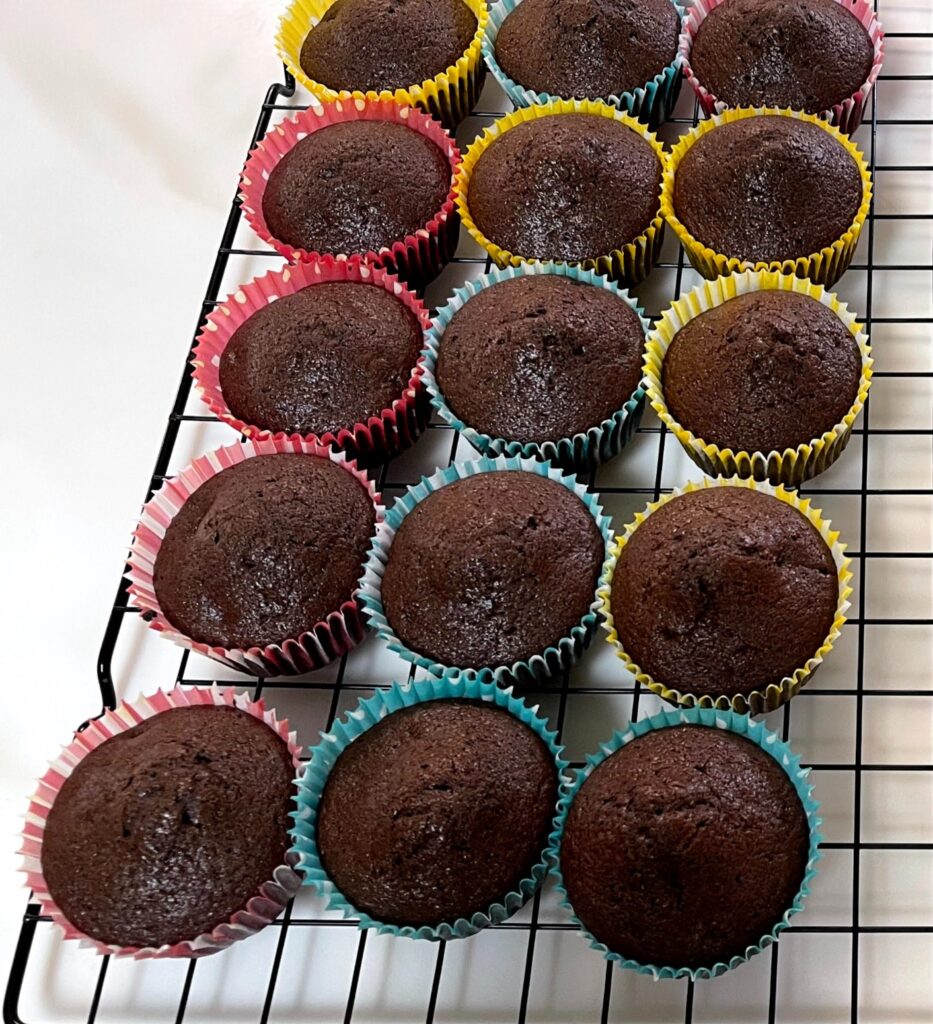
Scoop the batter into your cupcake tins, about ¾ full. Bake for 10–15 minutes, or until a toothpick comes out clean.
Let the cupcakes cool completely. For that classic milkshake look, you can level off the tops with a serrated knife once they’ve cooled.
2. Make the Frostings
Start with the mint frosting:
Beat the butter until smooth. Add the powdered sugar, mint extract, and a couple drops of green food coloring (optional). Slowly pour in heavy cream, 1 tablespoon at a time, until the texture is fluffy and pipeable.
Then make the vanilla frosting the same way—just swap the mint for vanilla extract, and skip the food coloring for that creamy swirl-on-top look.
3. Decorate Like a Milkshake
Once the cupcakes are cool, it’s time for the fun part:
– Spread a thin layer of mint frosting on each cupcake.
– Gently press 5–6 chocolate chips around the edge—this gives them that dipped-in-chocolate feel.
– Pipe a swirl of vanilla frosting on top (a 1M tip works great for that classic swirl).
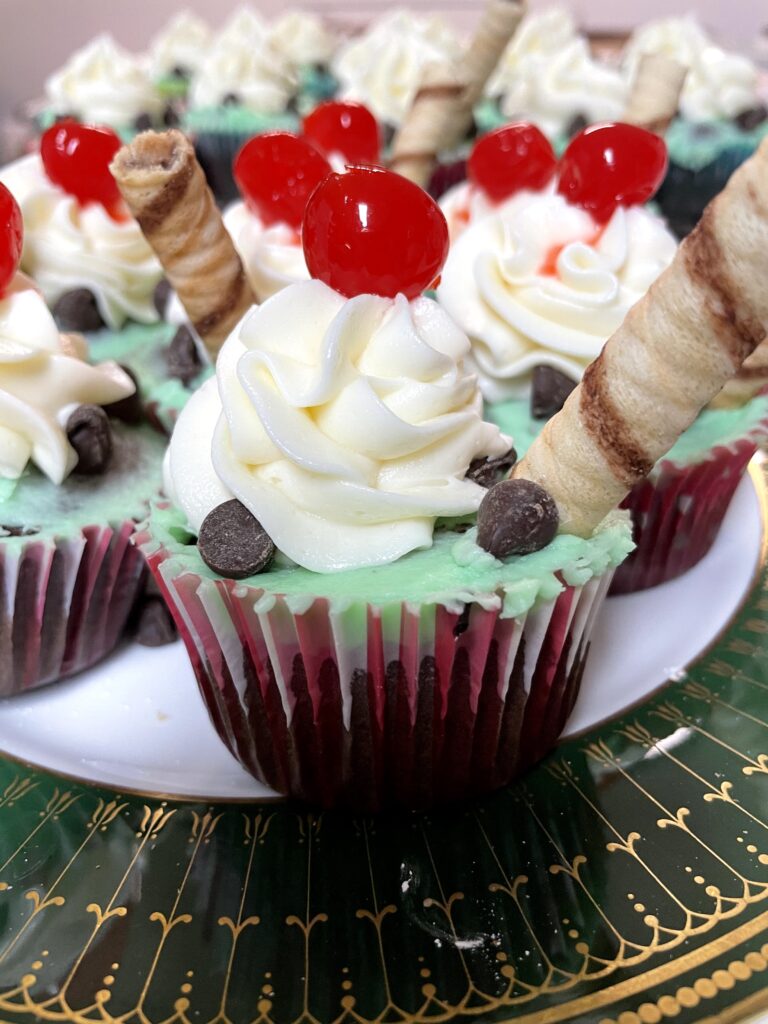
– Finish with a rolled wafer “straw” and a cherry on top just before serving.
They’re playful, nostalgic, and such a sweet little showstopper—just like your favorite mint chip milkshake, in cupcake form.
COOKING WITH KIDS
DISCLOSURE: Please keep in mind that the following tips are general and are meant to be suggestive. I personally use these strategies with my own kids, who are all unique even within my own family of five. Therefore, please regard these as suggestions or ideas. If you feel that your child requires more or less assistance, then go with what you and your child are comfortable with. Ultimately, you know your child best.
These cupcakes are a perfect family project. My own kids love:
STORAGE DETAILS
Store these cupcakes in the refrigerator in a food storage container for up to 6 days.

Ello Duraglass Meal Prep Container, 7 cup- Glass Food Storage Container
Buy Now → Buy Now →
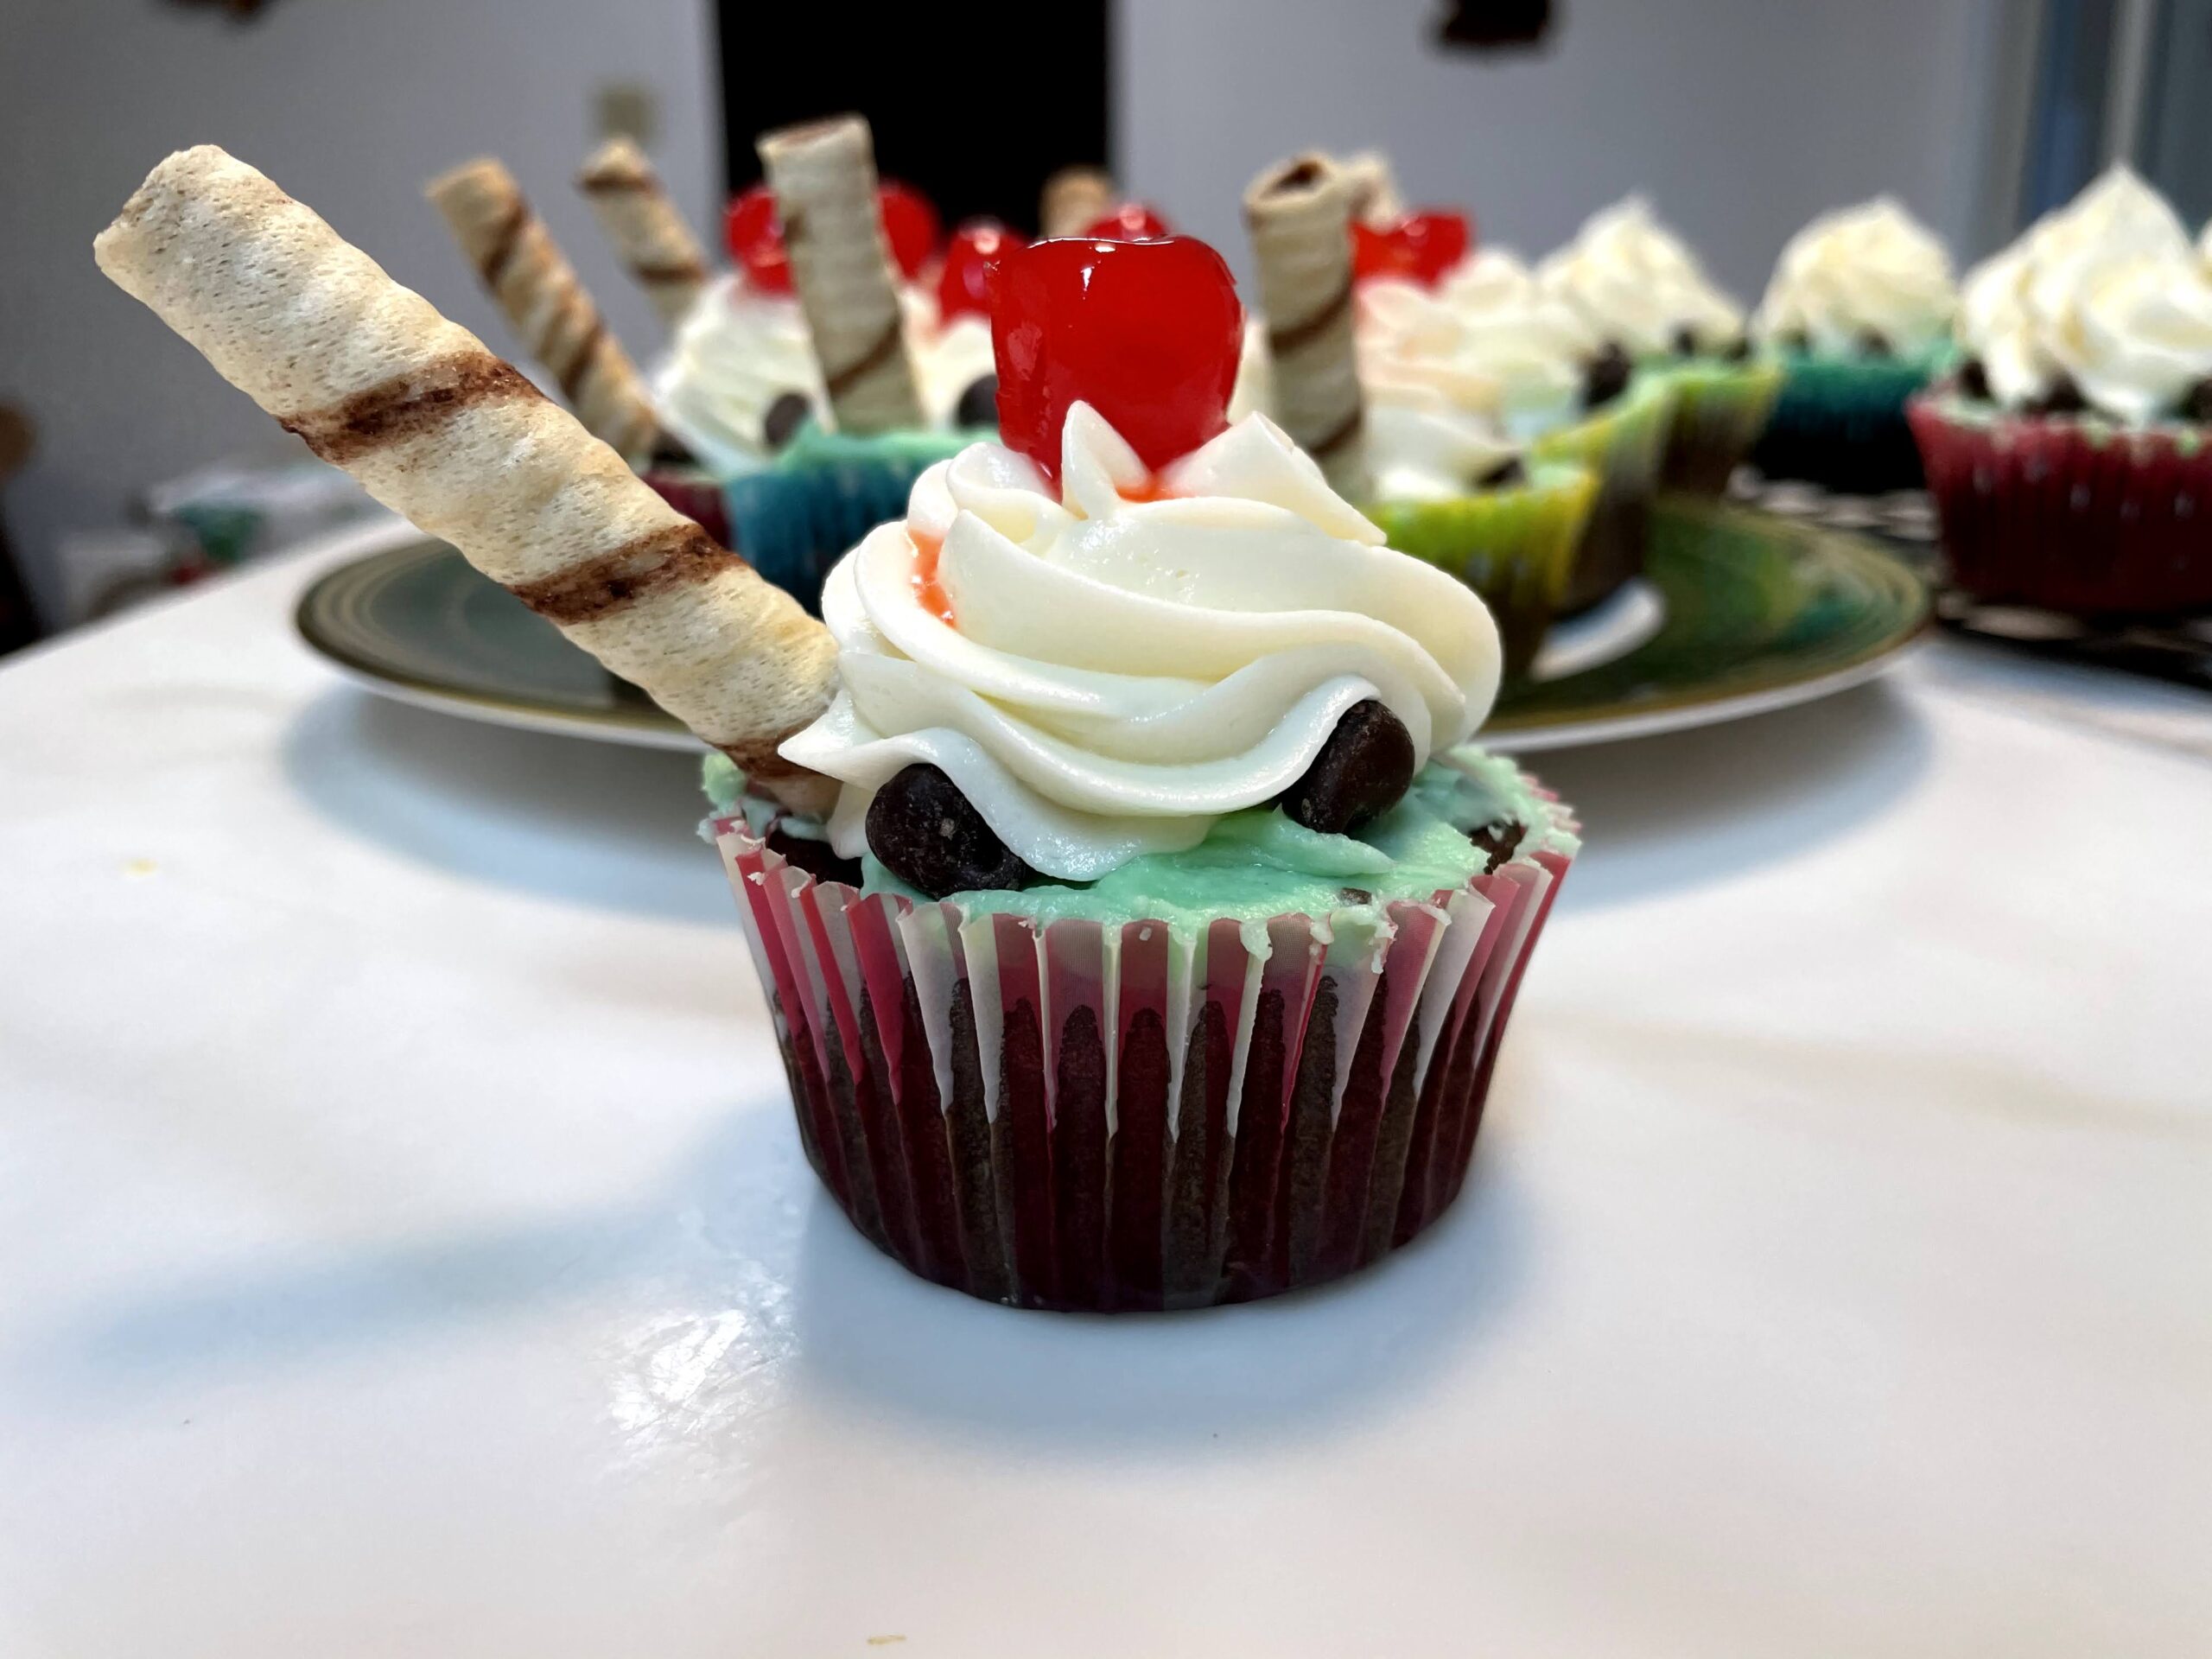
MORE RECIPES YOU CAN’T MISS
DID YOU MAKE THIS RECIPE?
Please take a moment to leave a comment and provide a star rating below. If you share a picture on Instagram don’t forget to tag me @jenngiamsmith! I always share your posts on my story and tag you!
Share or save it:

Mint Chip “Milkshake” Cupcakes
- Total Time: 1 hour
- Yield: 24 cupcakes 1x
Description
These Mint Chip “Milkshake” Cupcakes are a fun play on the soda shop classic. Made with edible “straws” and tastes like thin mint cookies. Everyone is going to love these!
Ingredients
Cupcakes
- 1/2 cup unsalted butter (softened )
- 1/2 cup cane sugar
- 1/2 cup light brown sugar (lightly packed)
- 2 large eggs
- 1 teaspoon vanilla extract
- 1 teaspoon mint extract (see NOTES 1 for substitutions)
- 1 1/2 cups cake flour (see NOTES 2 for substitutes)
- 1/2 cup unsweetened cocoa powder
- 1/2 teaspoon baking soda
- 1/4 teaspoon baking powder
- 1/4 teaspoon sea salt
- 3/4 cup 2% milk (see the NOTES 3 for substitute)
- 1 cup semi-sweet chocolate chips
Mint Frosting
- 1/4 cup unsalted butter (room temperature)
- 2 1/4 cups powdered sugar
- 1 teaspoon mint extract (see NOTES 4 for substitutions)
- 3 drops of green food coloring (optional)
- 5 Tbsp Heavy cream
Vanilla Frosting
- 1/2 cup unsalted butter (softened)
- 4 1/2 cups powdered sugar
- 1 1/2 tsp. vanilla extract
- 6 tbsp. Heavy cream
Instructions
Making the Cupcakes:
- Preheat the oven to 375°F.
- In a mixing bowl, combine unsalted butter, cane sugar, vanilla extract, and eggs until you achieve a creamy mixture.
- In a separate bowl, measure out all-purpose flour, cocoa powder, baking soda, baking powder, and sea salt.
- Sift the dry ingredients into the butter mixture and mix until fully incorporated.
- Add 2% milk to the mixture and blend until completely combined.
- Gently fold in the semi-sweet chocolate chips.
- Fill two cupcake tins lined with paper liners.
- Bake for about 10-15 minutes, or until a toothpick inserted into the center comes out clean.
- Allow the cupcakes to cool completely before frosting them.
*Optional step:* Once the cupcakes are cool, you can cut off the tops to make them even, helping them resemble a milkshake (this step is not required).
Making the Frosting:
- Prepare the frostings separately for easier decorating.
- Begin by placing butter in a mixer and whipping it until smooth. Gradually add the sugar and blend until fully mixed.
- Add mint extract and food coloring (the more drops you add, the darker the color), then incorporate heavy cream, one tablespoon at a time, mixing until the frosting is smooth and spreadable.
- For the second frosting, repeat the process: whip the butter smooth, add sugar slowly, then add vanilla extract. Incorporate heavy cream one tablespoon at a time until the frosting is smooth and spreadable.
Frosting and Decorating:
Decorating is my favorite part, and it’s a great opportunity for kids to help. Remember, these cupcakes are meant to look like milkshakes, so perfection is not the goal—have fun with it!
- Spread a thin layer of green frosting on all the cupcakes using a knife or spoon.
- Arrange chocolate chips around the outer edge of each cupcake, using about five chips per cupcake. You can use regular chocolate chips, mini chips, chopped chocolate pieces, or even chocolate shavings (if kids are helping, have a big bowl nearby; otherwise, most of the chocolate might end up in their tummies).
- Use a piping bag with a 1M star tip to pipe on the white frosting. Aim for a smaller, slightly offset swirl to create the milkshake effect.
- Stick rolled wafers into one side of each cupcake.
- Just before serving, place cherries on top.
Enjoy your delicious milkshake-inspired cupcakes!
Equipment

Cuisinart 9-Speed Handheld Mixer (HM-90S Power Advantage Plus)
Buy Now →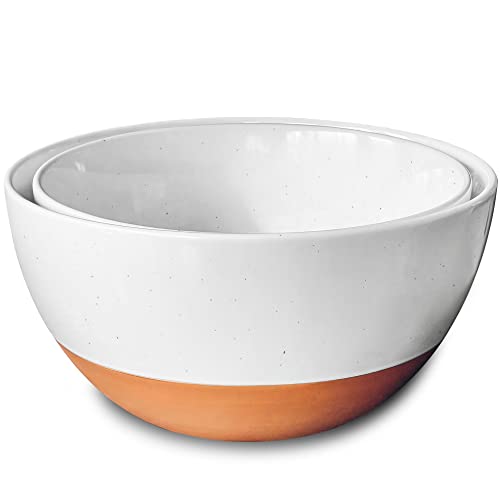
Mora Ceramics Large Mixing Bowls Set of 2 – 5.5 & 3.6 Qt (white)
Buy Now → Buy Now →
Wilton Non-Stick 12-Cup Muffin Tin
Buy Now →Notes
- 1 tablespoon of schnapps; 1 drop of essential oils; If you plan to use mint chip ice cream, skip this
- to make cake flour take 1 ½ cups of all-purpose flour, then scoop out 3 Tablespoons. Add 3 tablespoons of Corn Starch.
- Replace 2% milk with 2 cups softened to practically melted mint chip ice cream
- 1 tablespoon of schnapps or 1-3 drops of mint essential oils
- Prep Time: 20 minutes
- Cook Time: 40 minutes
- Category: Dessert
- Method: Baking
- Cuisine: American
© Photography, Prop Styling, and Food Styling by Jenn Giam Smith | Jenn Smith, LLC
MAKE MID-WEEK A LITTLE EASIER
Sign up below, and I’ll send you a FREE E-BOOK featuring six of my all-time favorite mid-week recipes!