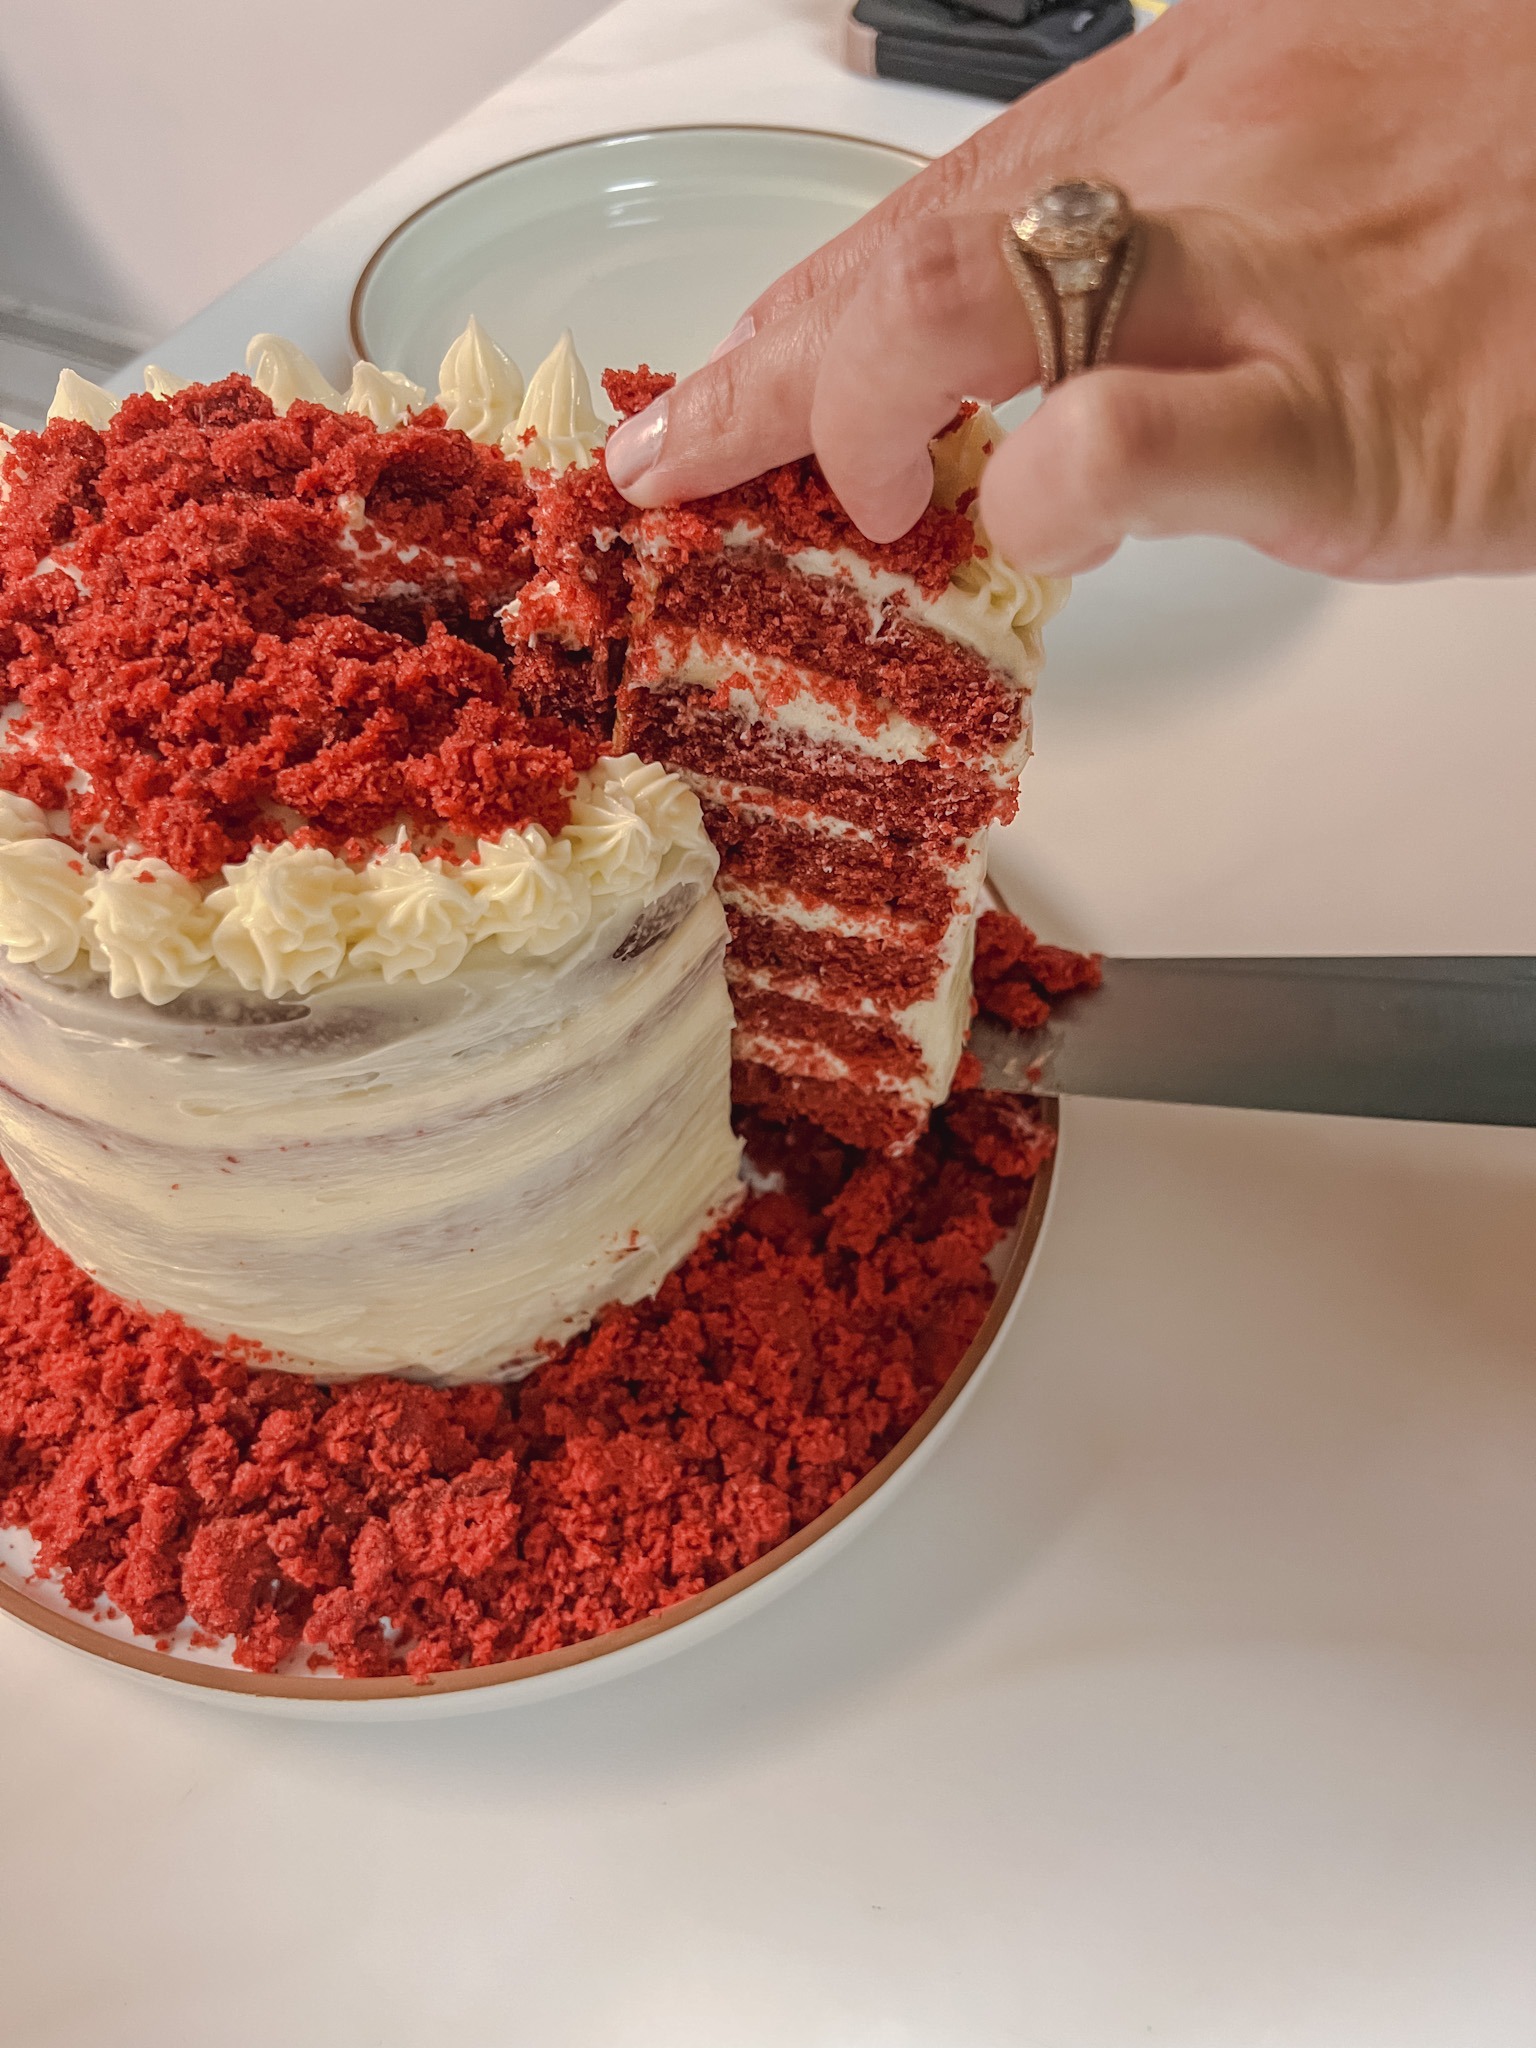
Red Velvet Cake with Mascarpone and Cream Cheese Frosting
Taste the difference with homemade red velvet cake. Enjoy the rich flavor and vibrant red color of this classic dessert.
This post may contain affiliate links, which means that I make a small commission off items you purchase at no additional cost to you. Please read my Affiliate Disclosure

Red velvet cake is more than just a white cake dyed red, it’s also not a full-fledged chocolate cake. Instead, it has a buttery, tangy flavor with a slight chocolate undertone. Red velvet cake has a pretty unique flavor with an old-fashioned, from-scratch quality that I love. In my opinion… no boxed red velvet cake mix can compare to the work and effort.
This recipe has been a work in progress. Usually, I use beets and it is a dark red (almost red-purple) in color. But my daughter MJ insisted on it being red, the red you see in bakeries. Well, the only way to get that color is food coloring (don’t worry, some time soon I’ll share my version of beet red velvet cake for those of you who don’t want to use food coloring).
Why This Recipe Works
- Super moist and light! I use a combination of mayonnaise and butter for the best flavor and texture. I also use all-purpose with cornstarch so you don’t have to stress about finding cake flour.
- A true hint of cocoa. This red velvet cake recipe calls for 3 tablespoons of cocoa powder which is more than most other versions. It helps those cocoa notes come through a little bit more. Even with that slight adjustment, this still doesn’t taste like a chocolate cake, but it’s not supposed to.
- Perfectly red. The color comes from a chemical reaction with the buttermilk, cocoa powder, baking soda, and vinegar and is pushed to a much more red color with some red food coloring (affiliate link).
- Will be your next Holiday favorite. Red velvet cake is really perfect for almost any occasion (like my daughter’s birthday), but the bold red and white colors make this the perfect cake for Valentine’s Day, Christmas, and patriotic holidays like the Fourth of July or Memorial Day.
Recipe Tips
- Storage: Red velvet cake should be stored in the refrigerator because of the cream cheese frosting. It will stay good for about 5 days.
- Freezing: You can freeze the assembled cake or individual slices. I recommend freezing them for 1-2 hours until the frosting on the outside is solid before wrapping them in a couple of layers of plastic wrap to protect the cake. Thaw on the counter or in the fridge before enjoying. But this is honestly… not my favorite option.
- Make-Ahead: You can make this red velvet cake in advance by baking the cake layers and freezing them for 2-3 months before thawing and assembling them with freshly made frosting for my daughter’s birthday I actually made the cake the day before, and then assembled the next day.
- Cake Pans: I used six 6-inch layer cake pans, but you could also use either two 8-inch or 9-inch baking pans to create two layers instead. The baking time is 30-35 minutes for both the layer pans and the 9-inch pans and 38-43 minutes for the 8-inch pans.
Shop the Post

Wilton Easy Layers 5-Piece Layer Cake Pan Set, 6-Inch, Steel
Buy Now →

Decorating options:
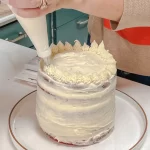
- For MJ’s red velvet birthday cake, I did a rustic thin layer of frosting on the side. Then nice decent amounts of frosting in the layers. I also used a piping bag and star tip to add a fun flat to the top.
- You could also do a crumb layer, then go back and add frosting to the outside and make it look really clean.


Your feedback is important to me! Please let me know what you think of this red velvet cake recipe in the comments and rate this recipe using the star icons. Your input helps me improve future posts and the blog overall, and in the end, it all helps me to help YOU. Thank you!
Let’s get social!
Don’t forget to tag me on Instagram or Facebook, @jenngiamsmith #JennGiamSmith I will always share your posts on my stories and tag you! You can also share it on this post’s Pinterest Pin! Don’t forget to follow me on Pinterest for a steady stream of recipe (and other) inspiration!
It’s always wonderful to see loved ones coming together over delicious food.

Need more cake recipes? Check out…
PrintMy Go-To Red Velvet Cake (with Mascarpone Cream Cheese Frosting)
- Total Time1 hour 25 minutes
- Yield8 people 1x
This Red Velvet Cake recipe is made from scratch, moist, with a tender crumb that pairs wonderfully with tangy, sweet cream cheese & mascarpone frosting (not butter). This is my play on a classic cake recipe for a 6-layer red velvet cake that is quite possibly, in my opinion, the best red velvet cake recipe in the world.
Ingredients
Cake
- 2 3/4 cups all-purpose flour (scooped & leveled)
- 1/4 cup of cornstarch
- 1 teaspoon baking soda
- 3 Tablespoons unsweetened cocoa powder
- 1/2 teaspoon salt
- 1/2 cup salted butter (softened)
- 2 cups granulated sugar
- 1 cup mayonnaise
- 3 eggs (at room temp)
- 1 Tablespoon vanilla extract
- 1 Tablespoon distilled white vinegar
- 1 Tablespoons red liquid food coloring (or 2 teaspoons gel food coloring)
- 1 cup buttermilk (at room temp)
Frosting
- 12 ounces of cream cheese (at room temp)
- 3/4 cup Mascarpone (at room temp)
- 3 cups powdered sugar
- 4 Tablespoons heavy cream
- 2 teaspoons vanilla extract
- Pinch of salt
Instructions
Baking the Cake
- Preheat oven to 350°F. Line two 9-inch or 8-inch cake pans with circles of parchment paper in the bottoms and spray the sides. Set aside.
- Whisk the flour, cornstarch, baking soda, cocoa powder, and salt together in a large bowl. Set aside.
- Beat the butter and sugar together on high speed for 3-4 minutes in the bowl of a stand mixer with a paddle attachment until light and creamy. Add the mayonnaise and mix again, scraping the sides of the bowl.
- Add eggs, one at a time, and vanilla, beating on medium-high speed between each addition until combined. Add vinegar and food coloring, using as much food coloring as needed to get the desired color.
- Turn mixer to low speed and add the dry ingredients alternately with the buttermilk in 2-3 additions, mixing just until combined between each addition and scraping the bottom and sides of the bowl as needed.
- Transfer batter to the prepared pans and bake for 30-35 minutes (for 9-inch pans) or 38-43 minutes (for 8-inch pans) until a cake tester inserted in the center comes out clean with just a few crumbs. Do not over-bake. Remove from oven and cool completely.
Now, Make the Frosting
- Beat the cream cheese and Mascarpone together in a large bowl using a handheld mixer until smooth, about 1-2 minutes. Add the powdered sugar and cream and mix on low speed until incorporated, then increase speed and beat for 2 minutes. Add vanilla and salt and beat again.
Assembling the cakes
- Level the cakes (if needed) so the tops are flat. Save scraps to crumble and use for decorating. Frost the cake (See notes for decorating).
- Sprinkle the top of the cake and surround the plat/platter with the reserved crumbs. Slice and serve.
Equipment

Cuisinart 9-Speed Handheld Mixer (HM-90S Power Advantage Plus)
Buy Now →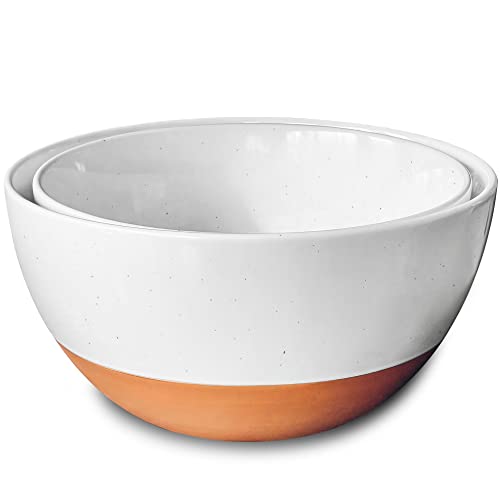
Mora Ceramics Large Mixing Bowls Set of 2 – 5.5 & 3.6 Qt (white)
Buy Now →Wilton Easy Layers 5-Piece Layer Cake Pan Set, 6-Inch, Steel
Buy Now →Notes
Recipe Tips
- Storage: Red velvet cake should be stored in the refrigerator because of the cream cheese frosting. It will stay good for about 5 days.
- Freezing: You can freeze the assembled cake or individual slices. I recommend freezing them for 1-2 hours until the frosting on the outside is solid before wrapping them in a couple of layers of plastic wrap to protect the cake. Thaw on the counter or in the fridge before enjoying. But this is honestly… not my favorite option.
- Make-Ahead: You can make this red velvet cake in advance by baking the cake layers and freezing them for 2-3 months before thawing and assembling with freshly made frosting for my daughter’s birthday I actually made the cake the day before, and then assembled the next day.
- Cake Pans: I used six 6-inch layed cake pans, but you could also use either two 8-inch or 9-inch baking pans to create two layers instead. The baking time is 30-35 minutes for both the layer pans and the 9-inch pans and 38-43 minutes for 8-inch pans.
Decorating options:
- I did a rustic thin layer on the side, with decent amounts of frosting in the layers, and also used a piping bag and star tip to add a fun flat to the top.
- You could also do a crumb layer, then go back and add frosting to the outside and make it look really clean.
Nutrition
- Serving Size: 1 of the 8 Slices
- Calories: 1154.97
- Sugar: 97.9
- Sodium: 761.39
- Fat: 62.68
- Saturated Fat: 28.11
- Carbohydrates: 137.31
- Fiber: 1.89
- Protein: 12.56
- Cholesterol: 179.45
Want to remember this post? Pin it to your favorite Pinterest Board!


©Photo, Prop Styling, and Food Styling by Jenn Smith
This Blog Post is ©2022 Always Jenn Smith™; Jenn Smith, LLC (FKA Smith Country, LLC) See below for details
Please Be Respectful
All rights reserved. You may NOT sell, trade, share or redistribute this recipe in any way or use any of my photographs for your site. If you are linking back to this post to a list of recipes, giving credit for the recipe to myself and my site, you may use ONE photo. You must site me and my blog as the creators of the recipe and give credit for the photo. ©2022 Always Jenn Smith; Jenn Smith, LLC
Jenn Smith of Always Jenn Smith™; Jenn Smith, LLC is a participant in the Amazon Services LLC Associates Program, an affiliate advertising program designed to provide a means for sites to earn advertising fees by advertising and linking to amazon.com. As well as the Apple affiliate program now called the Performance Partners Program.
This site displays third-party ads and contains affiliate links, See terms and conditions for ALL affiliates.
If you have any questions feel free to comment below or e-mail me directly.
Thank you for visiting!