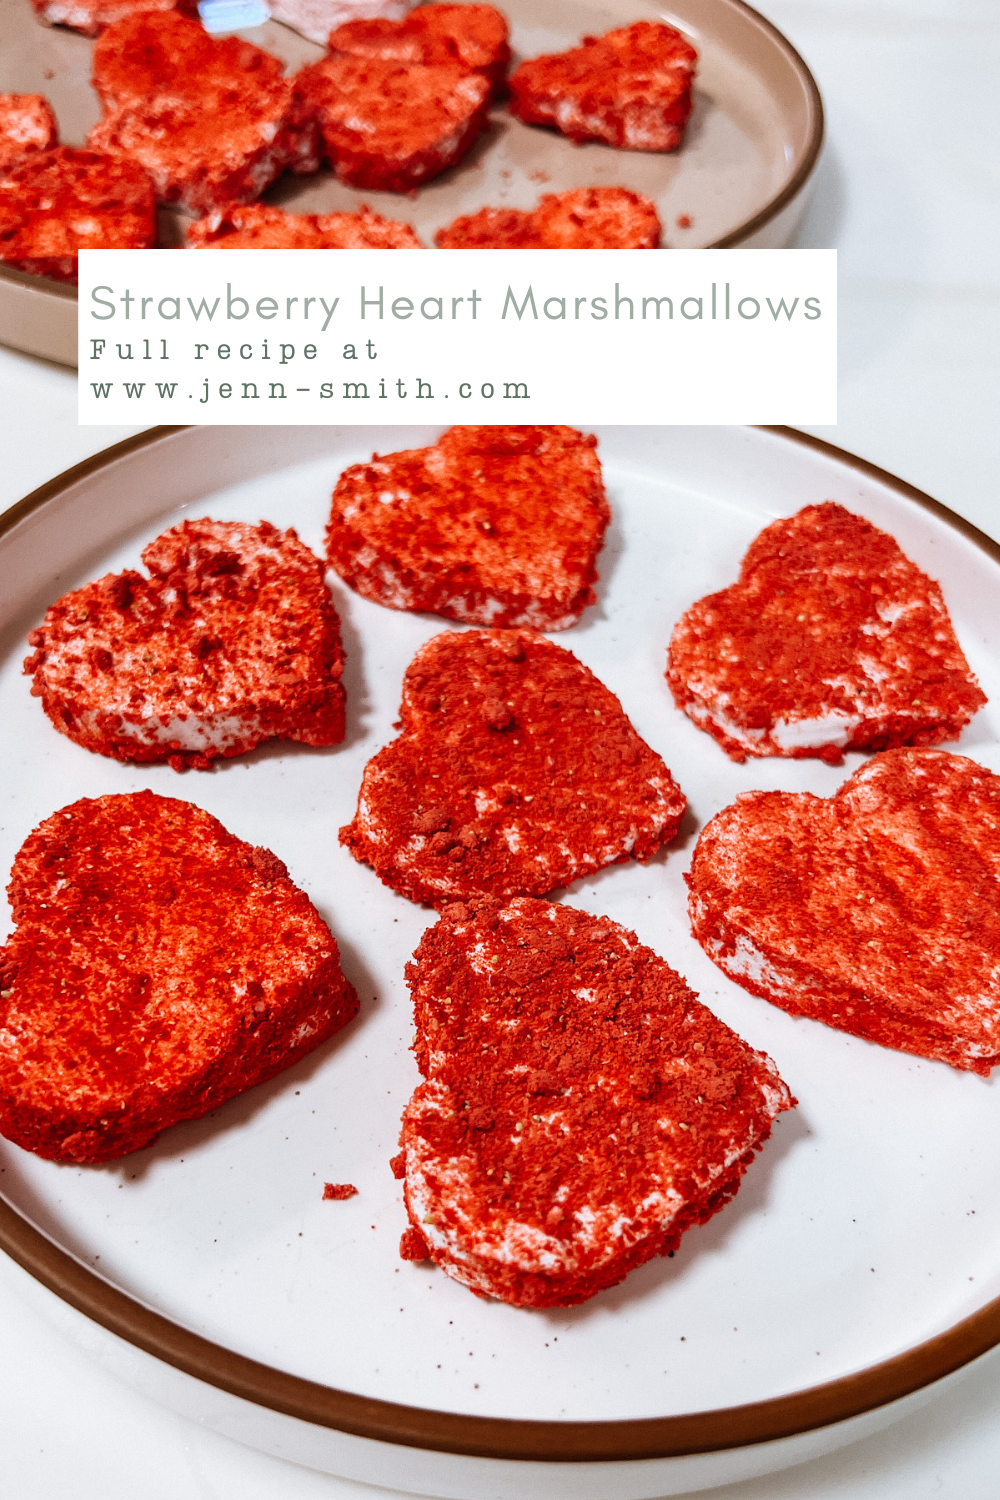
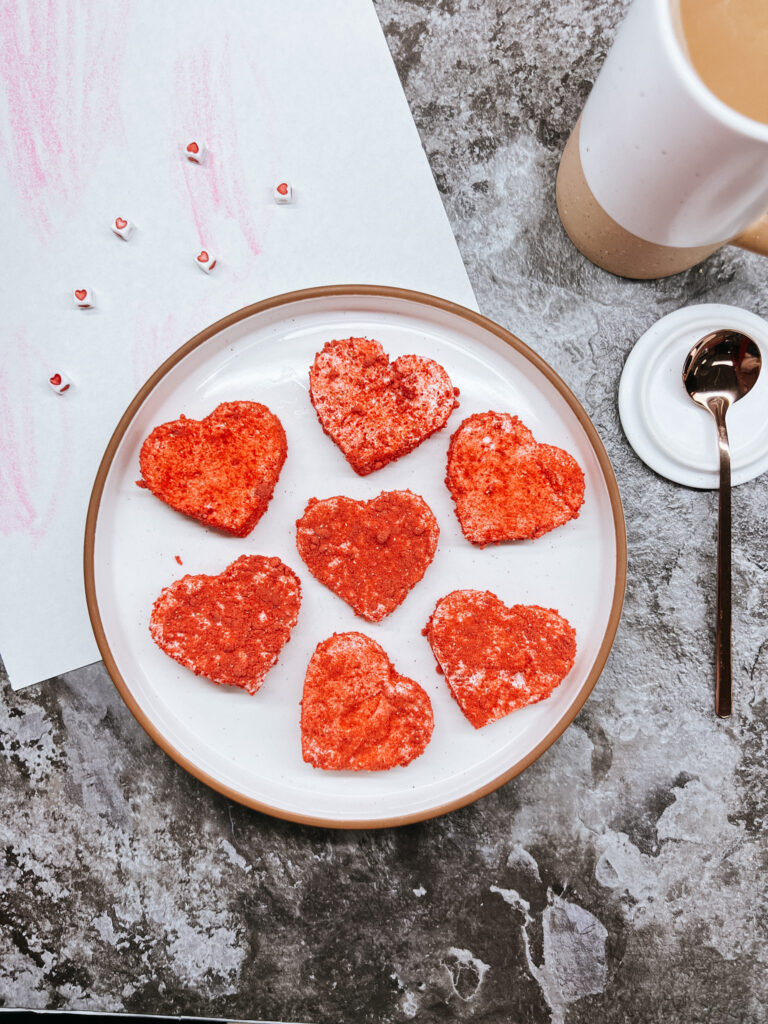
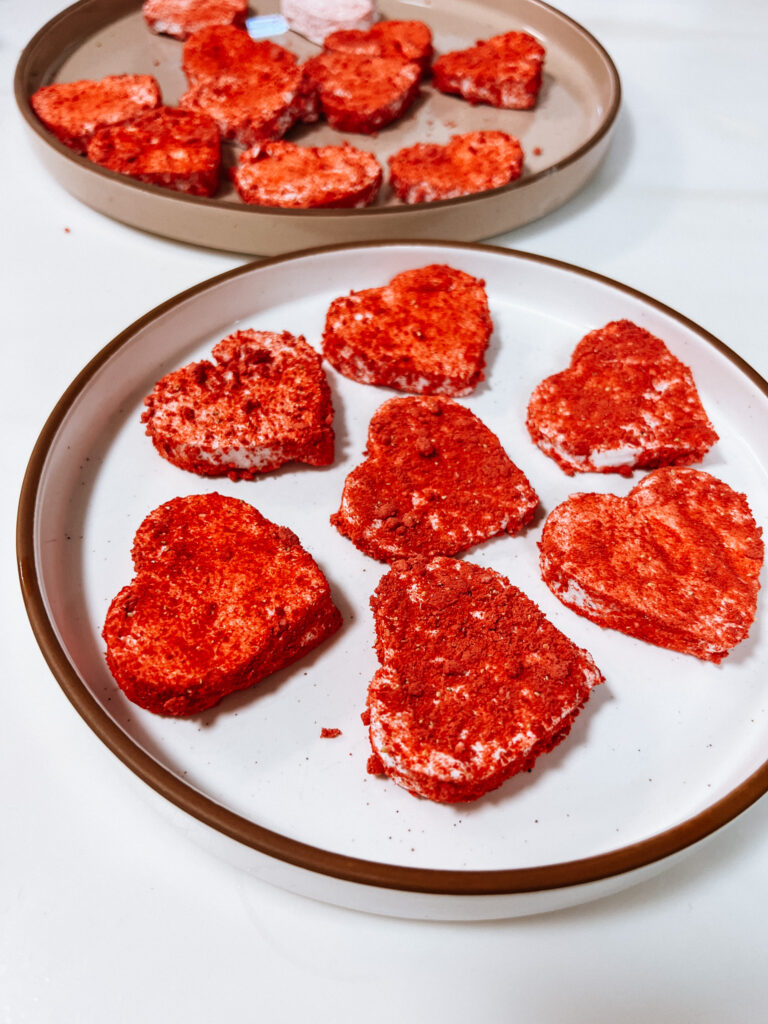
Strawberry Heart Marshmallows
Learn how to make homemade strawberry heart marshmallows: soft, pillowy, and perfect for Valentine’s Day treats.
This recipe yields 20 (½ inch thick) heart marshmallows
This post may contain affiliate links, which means that I make a small commission off items you purchase at no additional cost to you. Please read my Affiliate Disclosure
Have you ever tried homemade marshmallows? If not, they are not only easy but beyond anything you’ve ever had from the store! Soft, pillowy, and perfectly dreamy, a good homemade marshmallow is just pure bliss! I’ve made the vanilla ones several times, for both hot cocoa and s’mores. They’re always a hit, don’t worry that recipe will be shared soon. Today I’m sharing my fun “Valentine” version: strawberry heart marshmallows.
For this recipe, I wanted the pink on the marshmallows to be subtle since I was planning on covering the outside with freeze dried strawberries as well. To get the strawberry flavor, I used Dolce Flav Strawberry Extract.
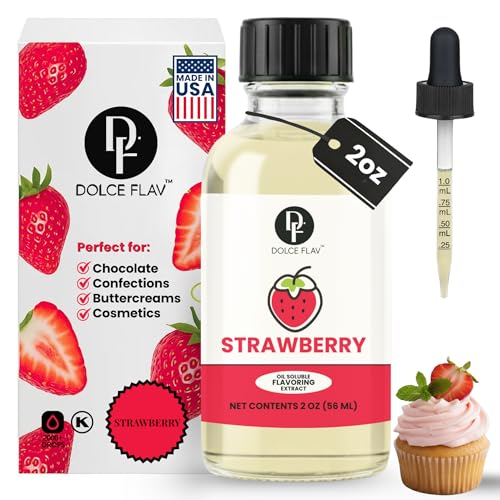
Dolce Flav Strawberry Extract – 2 Ounce Oil
Buy Now →I’ve made marshmallows enough to know, that unless you want a lot of marshmallows (or really thick ones), most recipes are rather large amounts. I decided to lower the amounts so you’re not stuck with a bunch of marshmallows, but if you want more AND want them thicker, just double or triple the amount.
My Latest Food Videos

MARSHMALLOW BASICS
While making homemade marshmallows is a technical process, it’s honestly much easier than you think! Here’s a breakdown of the steps:
- Bloom the gelatin. Pour cold water over the gelatin in a large mixing bowl and mix it on low for about 30 seconds. This process is called blooming the unflavored gelatine. Essentially, you’re softening the unflavored gelatine, giving it a head start to easily dissolve into the marshmallow mixture. This ensures a smooth texture.
- Making the sugar syrup mixture. To make the sugar syrup, whisk and heat corn syrup, sugar, water, flavoring/extract of choice, a pinch of salt, and in this case the strawberry powder, in a medium saucepan over medium-high heat. Bring to a boil and let it boil for about 1 minute.
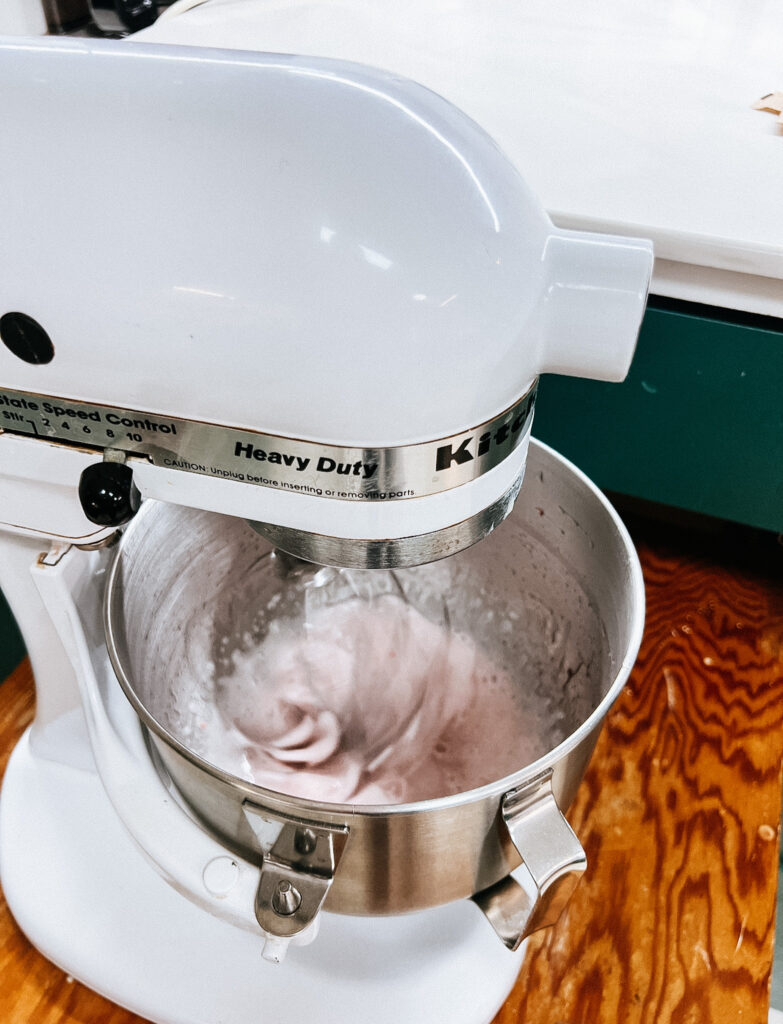
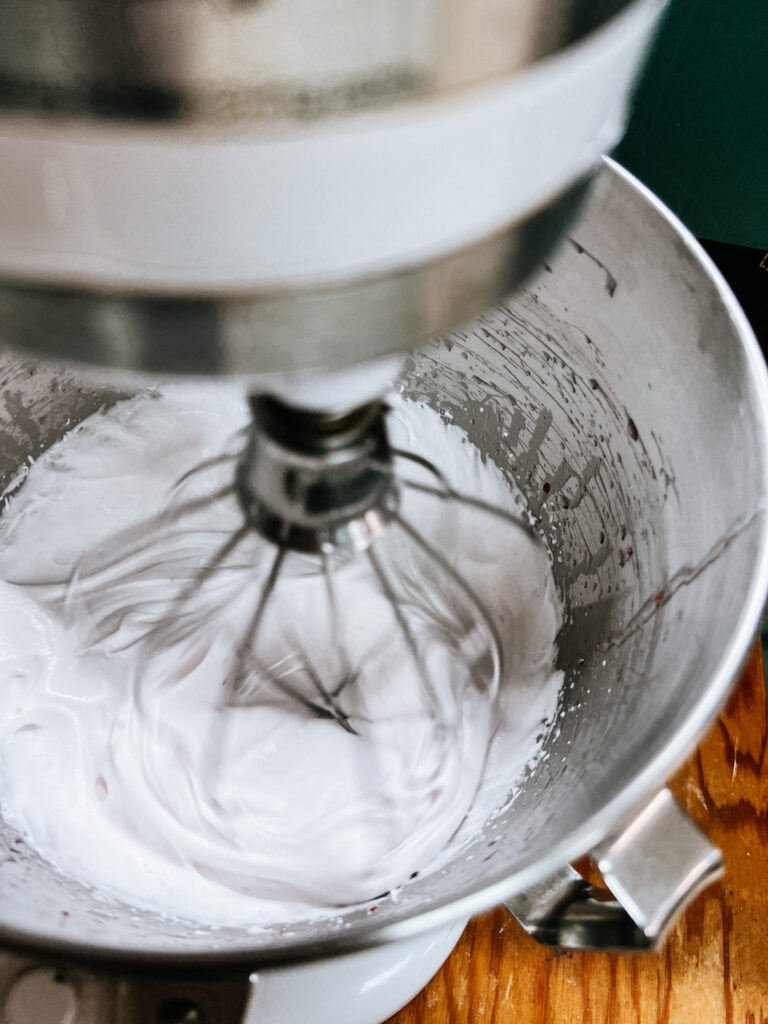
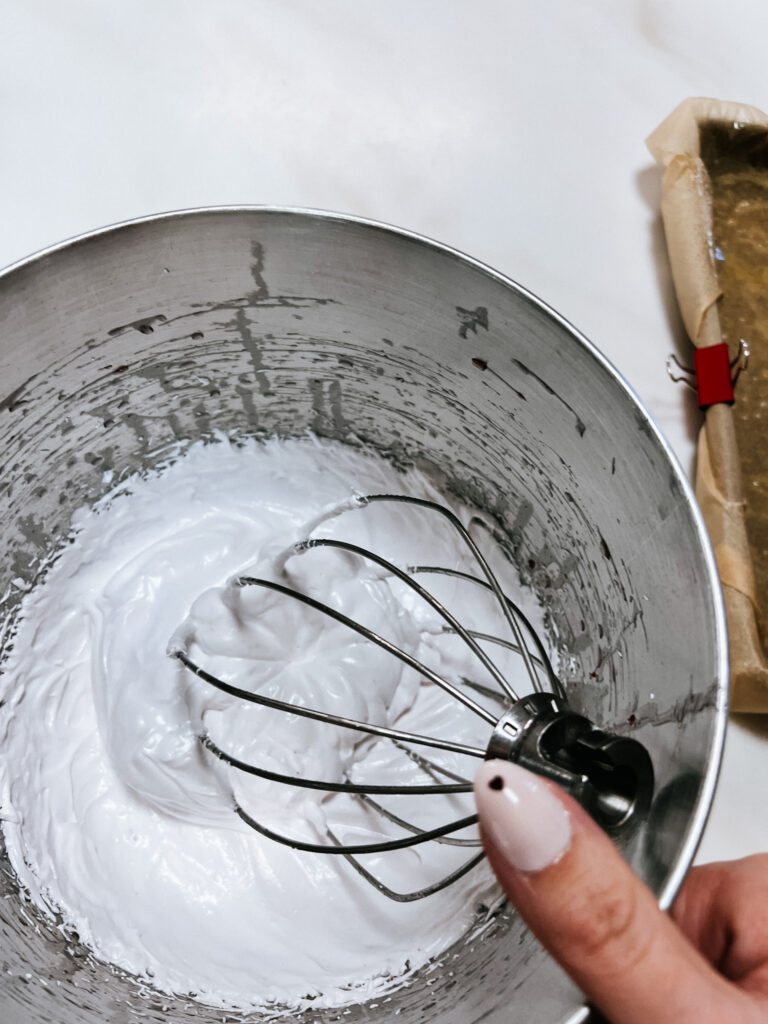
- Mix it all together. Use an electric mixer (I use my stand mixer, but if all you have is a hand mixer, use that). Slowly (and carefully!) drizzle the sugar syrup mixture into the mixing bowl with the mixer on low speed. Once all is added, increase to medium-low speed for about 2 minutes. Increase the speed to high, and continue beating until the mixture becomes very fluffy and almost triples in size (about 10 minutes).
- Make your marshmallows. Then immediately transfer to a baking dish and let set for 2 hours.


PREPPING AHEAD IS KEY
One of the keys to success when making these strawberry marshmallows is prepping all of your ingredients and equipment before you begin cooking. The active portion of marshmallow-making moves very quickly so make sure to complete the following steps before you begin:
- Line a baking dish with lightly greased parchment paper. Tip: use binder clips to keep the parchment paper down.
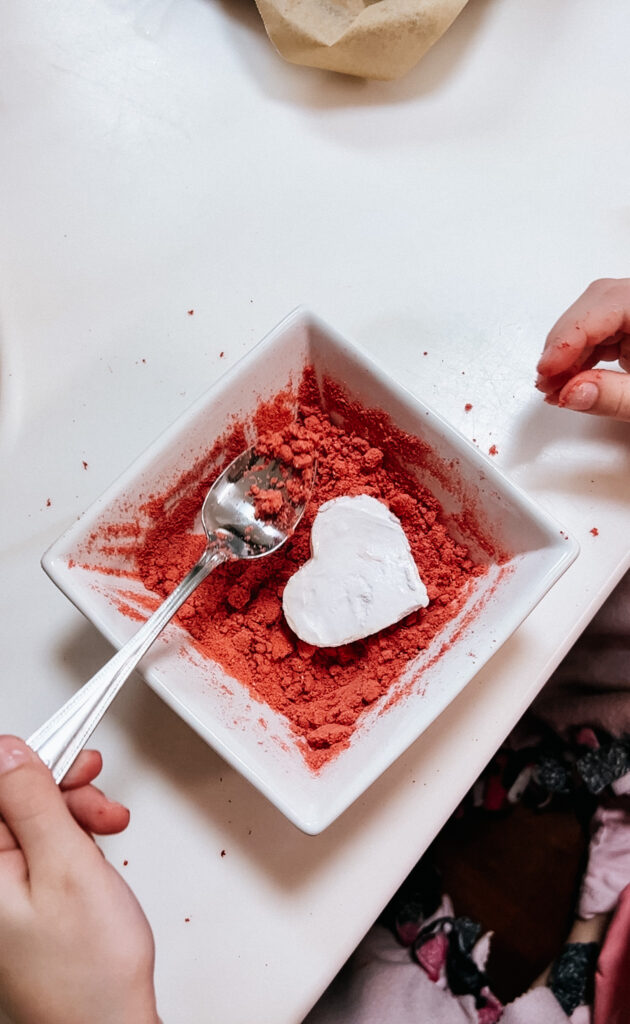
- Make the marshmallow dusting powder: Use 2 teaspoons of cornstarch and 1 oz (minus 2 teaspoons) of freeze dried strawberry powder. This is what you’ll use to coat the marshmallows to prevent them from sticking together.
- Prepare the freeze dried strawberries. Grind the freeze-dried strawberries into a powder. For a super smooth texture, I recommend using a coffee grinder. A food processor also works, just note: the powder won’t be as fine. You can also just buy freeze dried strawberries
- Have your electric mixer ready to go. Trust me. Once that sugar mixture is ready, it’s ready. I use my stand mixer, but if all you have is a hand mixer, that will work just as well.
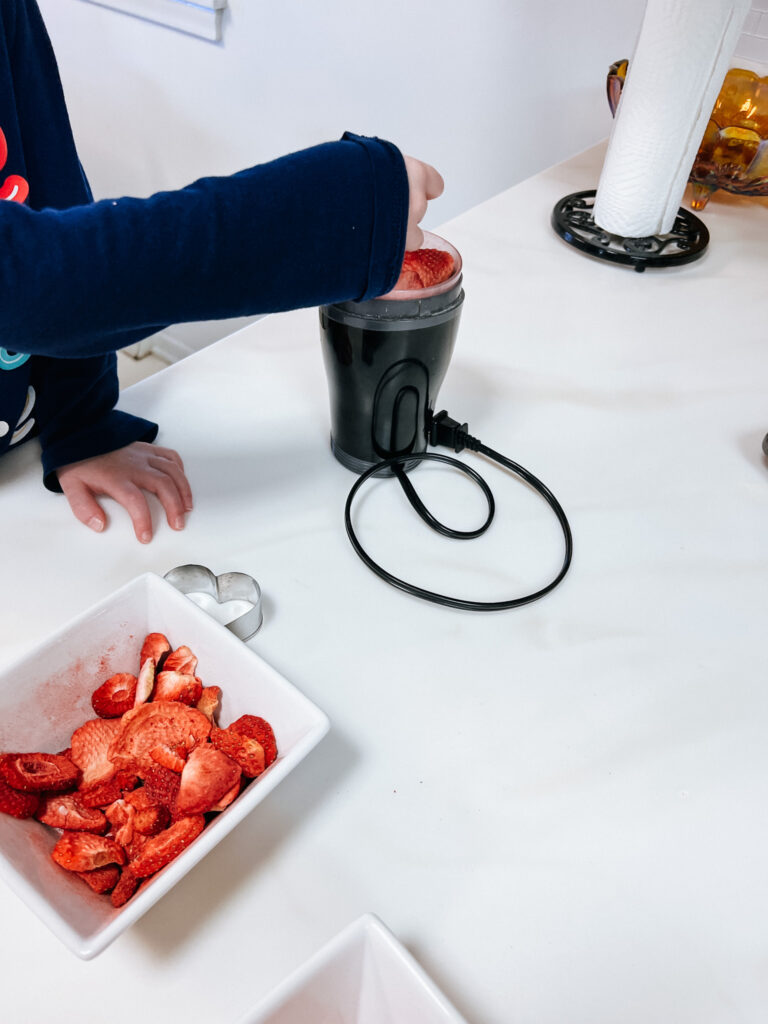
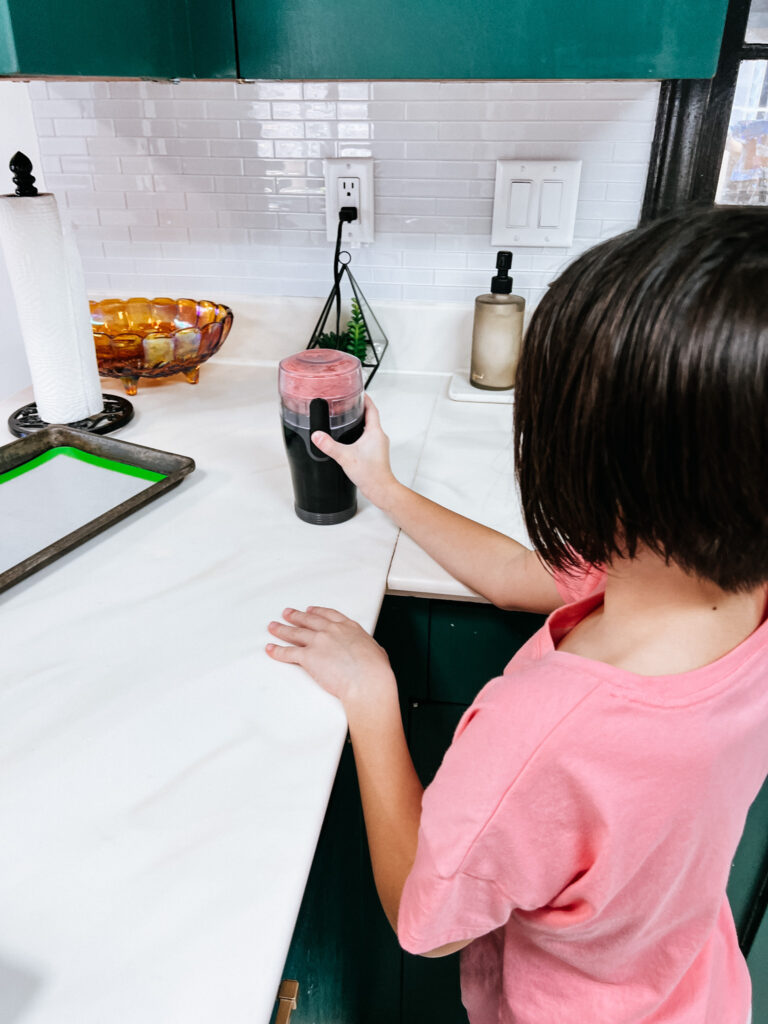
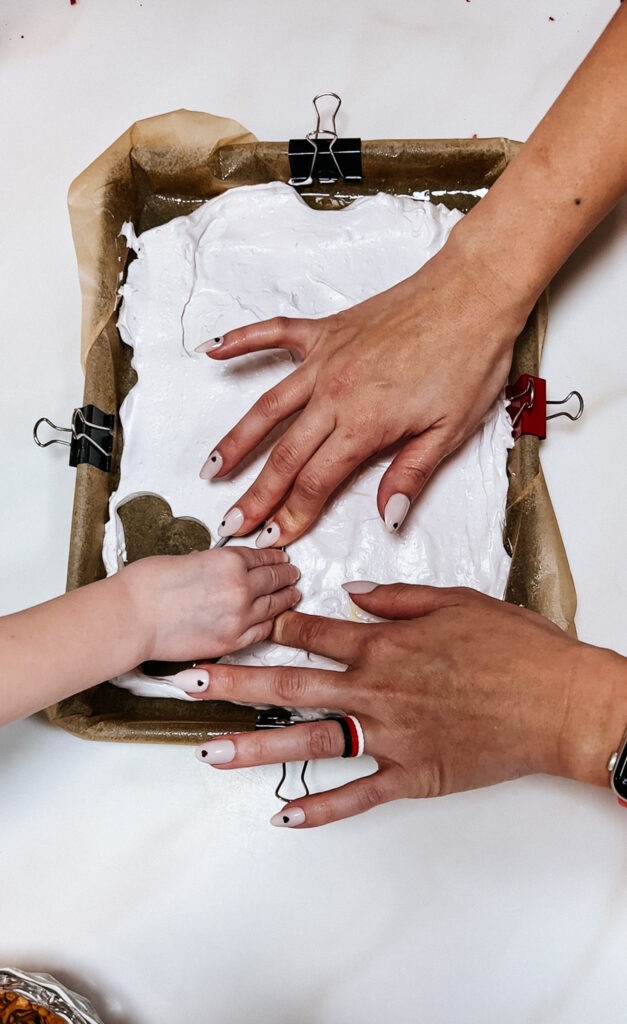
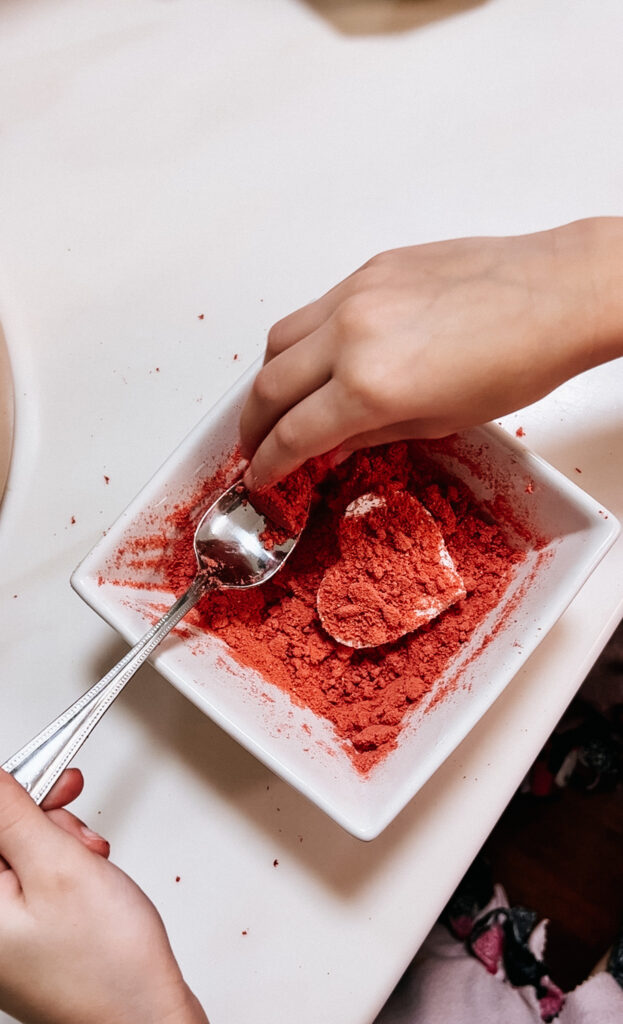
COOKING WITH KIDS
DISCLOSURE: Please keep in mind that the following tips are general and are meant to be suggestive. I personally use these strategies with my own kids, who are all unique even within my own family of five. Therefore, please regard these as suggestions or ideas. If you feel that your child requires more or less assistance, then go with what you and your child are comfortable with. Ultimately, you know your child best.
Of course, for safety, some things should be done by adults (the sugar syrup for example should be handled by an adult). But blooming the gelatin, or cutting the marshmallows, can definitely be done by your kids of various ages. I did this project with my 7, 5, and 3 year-olds.
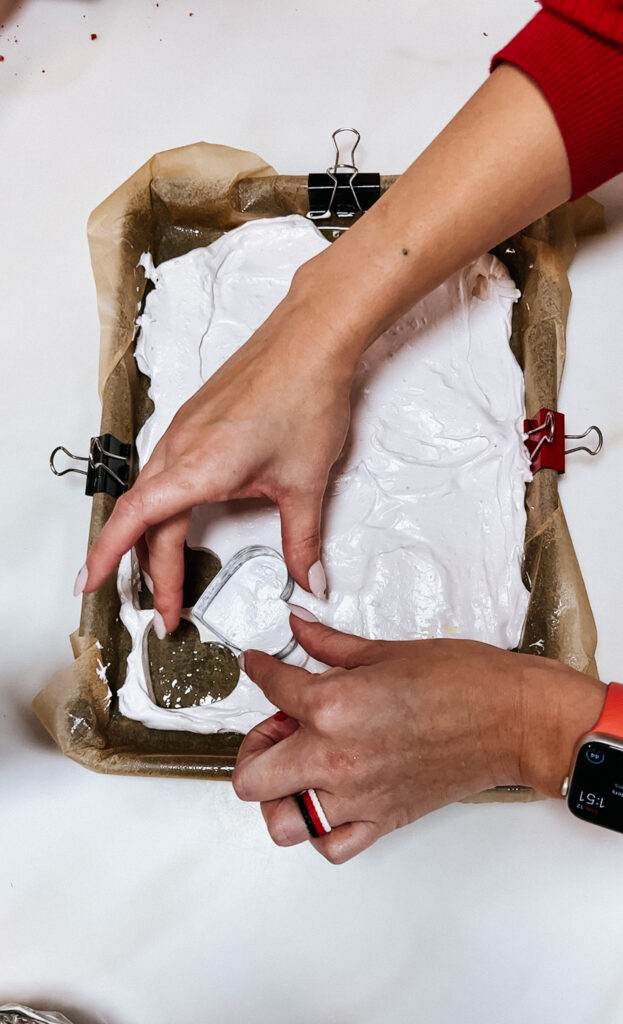
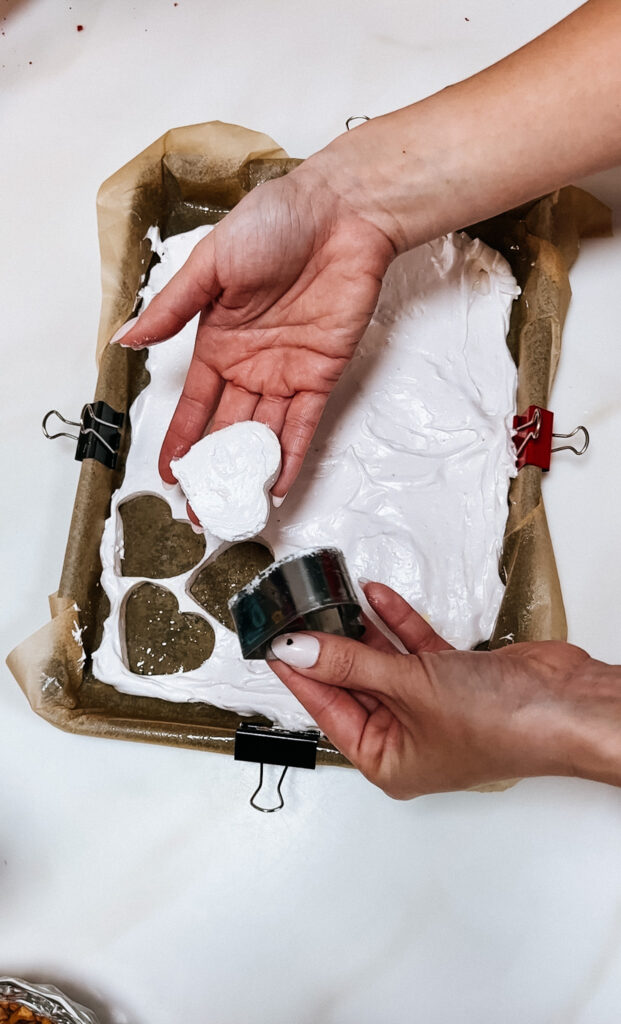
LET’S MAKE THEM INTO HEARTS
I’m using this heart-shaped cookie cutter from this Thyme & Table Stainless Steel Cookie Cutter Set to make these cute marshmallows perfect for Valentine’s Day. Of course, use any shape you’d like or just cut them into squares. Just make sure that your cookie cutter or knife is well-oiled to prevent any sticking.
JENN’S TIP
if you cut your marshmallows into 2×2 inch squares you should get 12 marshmallows. Making the heart marshmallows I got about 20 with a good amount of scrap marshmallows, which honestly, was eaten rather quickly in my house. But of course, numbers will vary based on the size of your squares/hearts and how you cut them out (I always go for minimum “waste”).
STORAGE DETAILS
Marshmallows can be stored for up to several weeks at room temperature. They should be well coated in the dusting powder (a mixture of cornstarch and powdered sugar/freeze-dried strawberry powder) and kept in an airtight container.

Ello Duraglass Meal Prep Container, 7 cup- Glass Food Storage Container
Buy Now →
Caraway Glass 10 Cup Food Storage
Buy Now →CAN I FREEZE THESE MARSHMALLOWS?
Marshmallows are all about texture. I don’t recommend freezing them. They can take on a bit of a mushier texture as they thaw. But really it all depends on how you’ll use your strawberry marshmallows. If you’re planning to toss them in some hot cocoa or s’mores, a slight change in texture won’t be a huge deal breaker (since they’ll melt anyways) so go ahead and try freezing!
DID YOU MAKE THESE MARSHMALLOWS?
Please take a moment to leave a comment and provide a star rating below. If you share a picture on Instagram don’t forget to tag me @jenngiamsmith! I always share your posts on my story and tag you!
Share or save it:
Strawberry Heart Marshmallows
- Total Time: 2 hours 35 minutes
- Yield: 20 (½ inch thick) heart marshmallows 1x
Description
These homemade strawberry heart marshmallows are sure to add a fun perk to your valentine’s table! Soft, fluffy, and bursting with fresh strawberry flavor, these heart marshmallows are delicious on their own or in a big mug of hot cocoa!
Ingredients
The Marshmallows
- 1 envelope unflavored gelatine (such as Knox)
- 1/3 cup cane sugar
- 2 teaspoons freeze dried strawberry powder (for color)
- 3 Tablespoons light corn syrup
- Pinch of sea salt
- 2 teaspoons strawberry flavoring
- 1/4 cup cold water (to bloom the unflavored gelatine)
- 1/8 cup water (to make the strawberry sugar syrup)
- all purpose baking spray (for oiling pan)
For Dredging
- 1 oz freeze dried strawberry powder (Or powdered sugar)
- 2 teaspoon corn starch
Instructions
- Pour ¼ cup cold water into the bowl of a stand mixer and sprinkle the unflavored gelatine over the top of the water. Mix on high for 1 minute, then let it sit for 9 minutes to allow the unflavored gelatine to “bloom”
- While that blooms, line an eighth sheet pan (approximately 10.1″ x 7″ x 1.1″) with parchment paper and spray with all purpose baking spray and set aside.
- In a medium saucepan, combine the cane sugar, freeze dried strawberry powder, light corn syrup, strawberry flavoring, and ⅛ cup water; bring to a boil. Boil for 1 minute.
- Using an electric mixer (I use my stand mixer, but if all you have is a hand mixer, use that). Slowly (and carefully) drizzle the sugar syrup into the mixing bowl with the mixer on low spead. Once all is add increase to medium-low speed for about 2 minutes, increase the speed to high and continue beating until the mixture becomes very fluffy and almost triped in size (about 10 minutes).
- With a lightly-oiled spatula, scrape the marshmallow mixture into the prepared pan and spread evenly with an oiled offset spatula. Let sit at room temperature for 2 hours.
- With a greased heart shaped cookie cutter cut, then remove the marshmallows from the pan. Dredge the entire marshmallow in the dredging mixture. Store in an airtight container until ready to use.
Equipment
Dolce Flav Strawberry Extract – 2 Ounce Oil
Buy Now →
KitchenAid® 7 Quart Bowl-Lift Stand Mixer, White
Buy Now →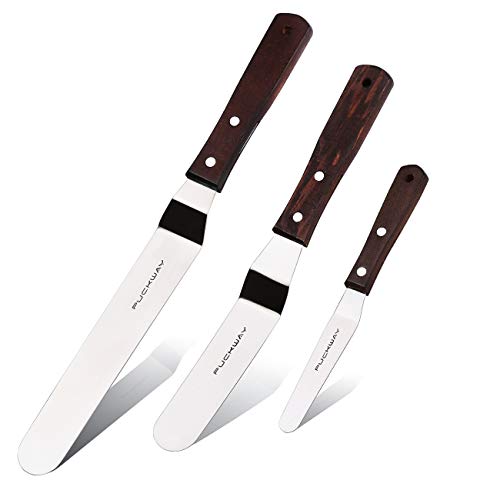 Buy Now →
 Notes
Amount May Vary:
If you cut your marshmallows into 2×2 inch squares you should get 12. Making the heart marshmallows I got about 20 with a good amount of scrap marshmallows, which honestly, was eaten rather quickly in my house. But of course, numbers will vary based on the size of your squares/hearts and how you cut them out (I always go for minimum “waste”).
Storage:
Marshmallows can be stored for up to several weeks at room temperature. They should be well coated in the dusting powder (a mixture of cornstarch and powdered sugar/freeze-dried strawberry powder) and kept in an airtight container.
Can I freeze strawberry marshmallows?
Marshmallows are all about texture. I don’t recommend freezing them. They can take on a bit of a mushier texture as they thaw. But really it all depends on how you’ll use your strawberry marshmallows. If you’re planning to toss them in some hot cocoa or s’mores, a slight change in texture won’t be a huge deal breaker (since they’ll melt anyways) so go ahead and try freezing!
- Prep Time: 10 minutes
- Cook Time: 25 minutes
- Category: Dessert
- Cuisine: American
MAKE MID-WEEK A LITTLE EASIER
Sign up below, and I’ll send you a FREE E-BOOK featuring six of my all-time favorite mid-week recipes!
Photo, Prop Styling, and Food Styling by Jenn Smith © 2023 Always Jenn Smith; Jenn Smith, LLC