How to: Dry Dill (and other herbs)
Four simple ways to dry dill, parsley, oregano, cilantro, and other herbs. Preserve your Summer growth and use them all winter.
This post may contain affiliate links, which means that I make a small commission off items you purchase at no additional cost to you. Please read my Affiliate Disclosure

Drying dill is a convenient way to store your dill and add it to a variety of food dishes, sauces, and dips. If you have a large dill harvest, the drying methods I’m sharing give you the option to continue using your dill throughout the year until the following summer. I also find that even my dry herbs are better in flavor than the ones bought in the store.
My Latest Food Videos

There are several ways to dry dill (and other herbs). But today, I’m sharing four (4) of them.
The methods I’m sharing with you can be used to preserve other herbs, such as parsley, basil and oregano as well.
Air Drying
You will need:
- Fresh dill sprigs
- Kitchen Twine and rubber bands
- Large bowl
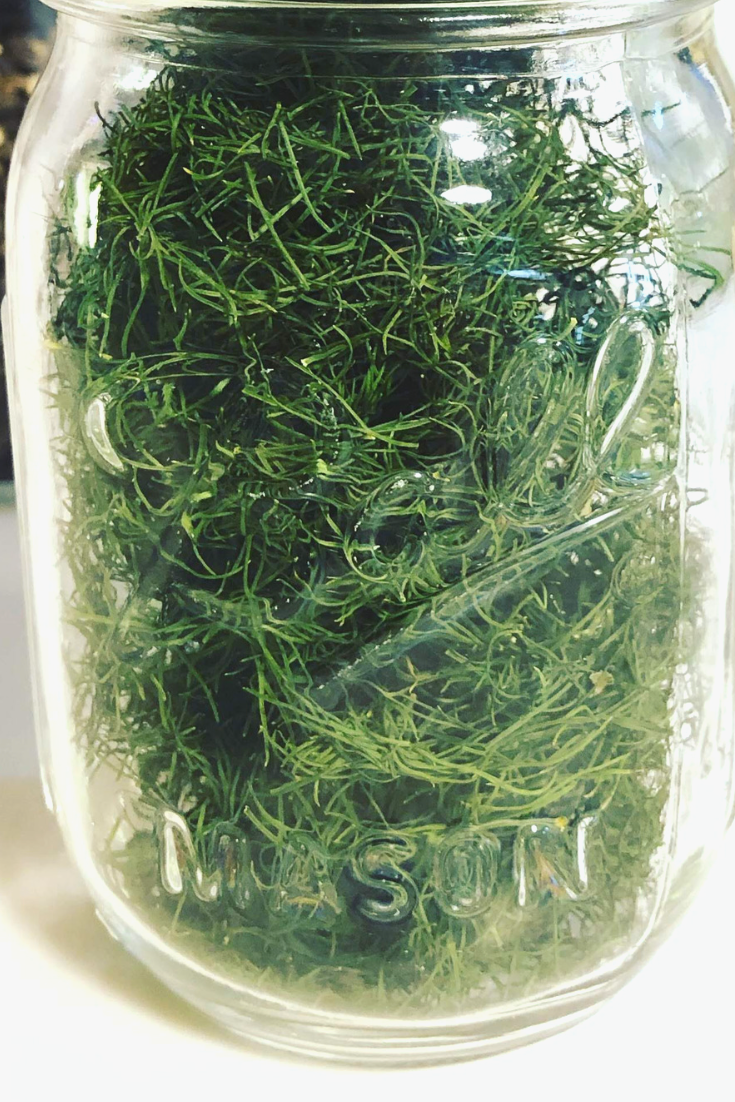
- Glass jar with a tight-sealing lid
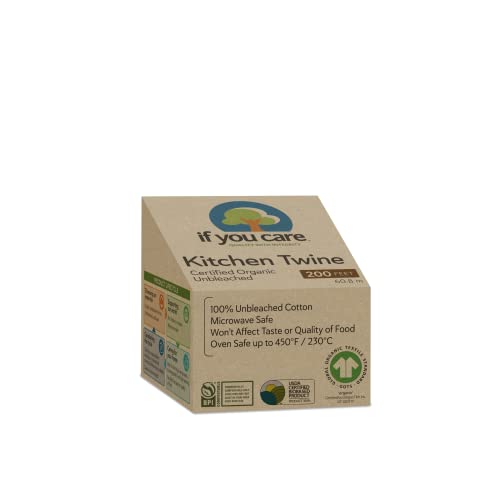
Unbleached Natural Cooking Twine, 200′
Buy Now →
Light Green #33 Rubberbands – 1LB/500 Count/pack
Buy Now →
Le Parfait Super Terrine French Straight Body Glass Canning Jar – 750ml (24oz/Pint & Half)
Buy Now →Instructions for Air Dry:
- Rinse the dill and dry them off by pressing them in-between dish towels or paper towels (This step is important. You don’t want the dill to be moist or it may rot when it’s supposed to be drying)
- Gather small bunches of about 5 to 10 dill fronds, Hold each bunch together by wrapping a rubber band or string around the base of the bundle Allow the dill sprigs to hang upside down in bundles for about 1 to 2 weeks. When the herb becomes crispy and crumbles when you pinch it, it is ready for storage.
- Working over a large bowl, crumble the leaves from the stem and into the bowl. It should be a quick task; if the dill is dry enough, you can grind it finely using your hands/fingers.
- Once the dill is ground to your liking, place the dry dill in a glass jar with a tight-sealing lid.
Oven Drying
You will need:
- Fresh dill sprigs
- baking sheet
- parchment paper/silicone liner (I like this set if you don’t have any yet)
- Large bowl
- Glass jar with a tight-sealing lid
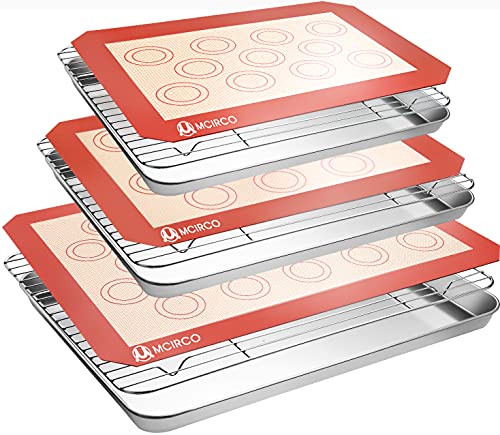
Stainless Steel Baking Sheet Set with Silicone Mats and Cooling Racks (Set of 9)
Buy Now →Le Parfait Super Terrine French Straight Body Glass Canning Jar – 750ml (24oz/Pint & Half)
Buy Now →Instructions for Oven:
- Preheat your oven to the lowest possible temperature setting (On most ovens, this will likely be 110 °F [43 °C]) If your oven has a higher minimum temperature, then you will need to cool it off by propping the door open slightly. If your oven is at too high of a temperature, it will incinerate your dill.
- As the oven preheats; Rinse the dill and dry them off by pressing them in-between dish towels or paper towels
- Cover a baking sheet with parchment paper and place the dill in a single layer on top. Make sure that they get the most surface area exposed to the heat. If you have too much dill to fit on one baking sheet, you will obviously need to use multiple sheets.
- Place the baking sheets in the oven for 40 minutes or so. After 40 minutes, check to see if the dill has a crispy texture when you try to break a stalk. If so, take it out of the oven, if not, put it back in and check every 4-5 minutes until it is. Let it cool on the counter.
- Once the dill is cool, work over a large bowl and crumble the leaves from the stem and into the bowl. It should be a quick task; if the dill is dry enough, you can grind it very fine using just your hands.
- Once the dill is ground to your liking, place the dry dill in a glass jar with a tight-sealing lid.
Microwave
You will need:
- Fresh dill sprigs
- microwave-safe plate
- paper towel
- Large bowl
- Glass jar with a tight-sealing lid

Corelle Vitrelle 8-Piece Dinner Plates Set
Buy Now →Le Parfait Super Terrine French Straight Body Glass Canning Jar – 750ml (24oz/Pint & Half)
Buy Now →Instructions for Microwave:
- Rinse the dill and dry them off by pressing them in between dish towels or paper towels
- Place 2 layers of paper towels on top of a microwave-safe plate. Obviously, the bigger the plate, the more room to spread out your dill, But make sure you can fit it in your microwave.
- Spread the dill into a single layer on the paper towel layers sitting on the plate, then place another paper towel on top. You should have a sandwich of paper towel and dill on your plate now (The paper towel will help absorb any moisture that the dill releases in the microwave) If it doesn’t all fit, then you may need to do several batches, don’t try to jam it all together. It won’t dry right.
- Put the dill in the microwave for 3 minutes on high; check if the dill is crumbly. If it is… it’s done! If it’s not dry and crumbly yet, run it for another 2 minutes, check again, and continue that way until it’s done.
- Once the dill is dry, work over a large bowl and crumble the leaves from the stem and into the bowl. It should be a quick task; if the dill is dry enough, you can grind it very fine using just your hands.
- Once the dill is ground to your liking, place the dry dill in a glass jar with a tight-sealing lid.
Dehydrator
This is the method I prefer. I love my dehydrator (we have the Presto Dehydro™ Electric Food Dehydrator 06300). We dry morels, and herbs, and make jerky, along with a variety of other things. It doesn’t heat the house up and does a quick job of drying food. But the other methods are great for those of you who really can’t justify the purchase of a dehydrator.
You will need:
- Fresh dill sprigs
- dehydrator
- Large bowl
- Glass jar with a tight-sealing lid

Presto Dehydro Electric Food Dehydrator and Mesh Screens
Buy Now →Le Parfait Super Terrine French Straight Body Glass Canning Jar – 750ml (24oz/Pint & Half)
Buy Now →Instructions for Dehydrator:
- Rinse the dill and dry them off by pressing them in between dish towels or paper towels
- Spread the dill fronds out on the dehydrator trays. You could pull all the dill first, that tends to make a big mess. So I would just dry the entire dill frond. Follow the instructions from your dehydrator for times, but this took me about 5 minutes.
- Once the dill is dry, work over a large bowl and crumble the leaves from the stem and into the bowl. It should be a quick task; if the dill is dry enough, you can grind it very fine using just your hands.
- Once the dill is ground to your liking, place the dry dill in a glass jar with a tight-sealing lid.


As with most dried herbs, dill will remain flavorful for about a year.
ENJOY and Share!
Let me know what you think! Comment below and let me know what you’re going to use your dill for. I love seeing friends and family come together over food. If you take a picture, tag me on Instagram or Facebook! Use @jenngiamsmith & #jenngiamsmith. Or share it on this post’s Pinterest Pin!
Need some ideas for dill use? Try my Summertime Pasta Salad or Easy Dill Dip recipes.

Want to remember this post? Pin it to your favorite Pinterest Board!


©Photo, Prop Styling, and Food Styling by Jenn Smith