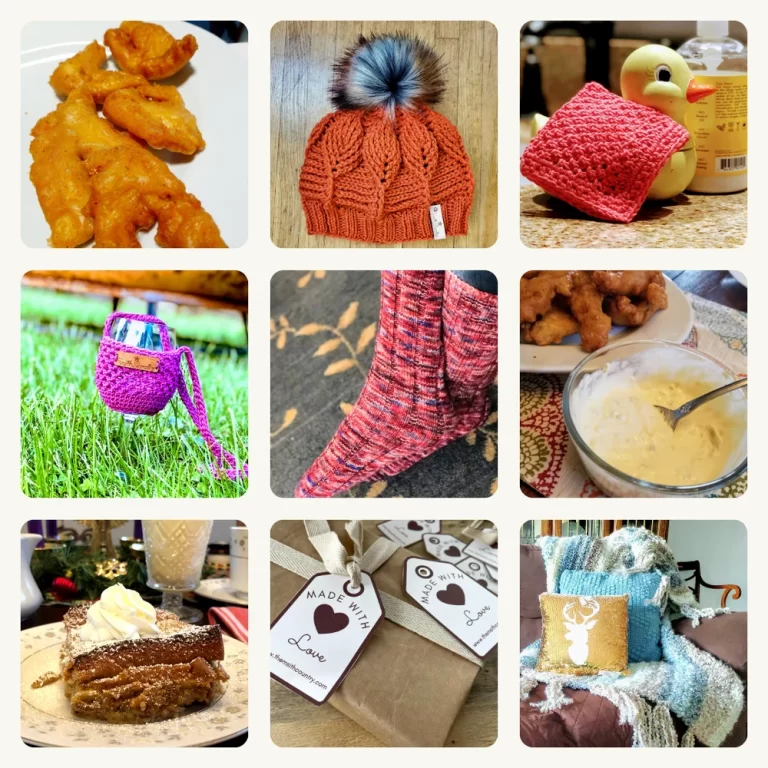
Free Pattern: Hygge-Style Mug Sweater
Hygge (“hooga”) … a Danish & Norwegian word for a mood of coziness and comfortable…

Hygge (“hooga”) … a Danish & Norwegian word for a mood of coziness and comfortable friendliness with feelings of wellness and contentment, and this Hygge Cup Sweater says all that. This fun make will give you all those cozy feels. My oldest daughter loves making these for friends, in fact, they’re a go-to for her French Class Secret Santa (she includes a mug and our homemade hot cocoa mix).
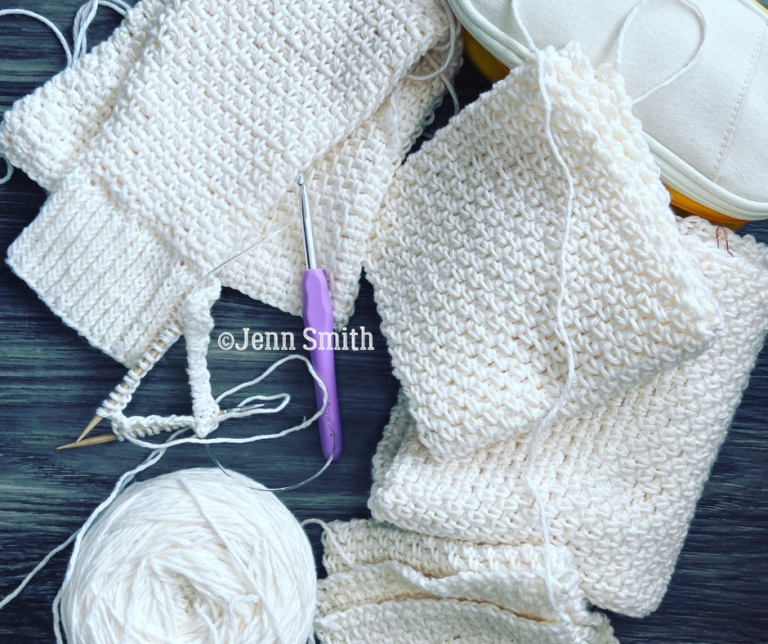
The Hygge Cup Sweater pattern is beginner-friendly and perfect for those fiber crafters who maybe want to try knitting or crocheting for the first time.
*The blanket pictured is the Cozy Hug Blanket*
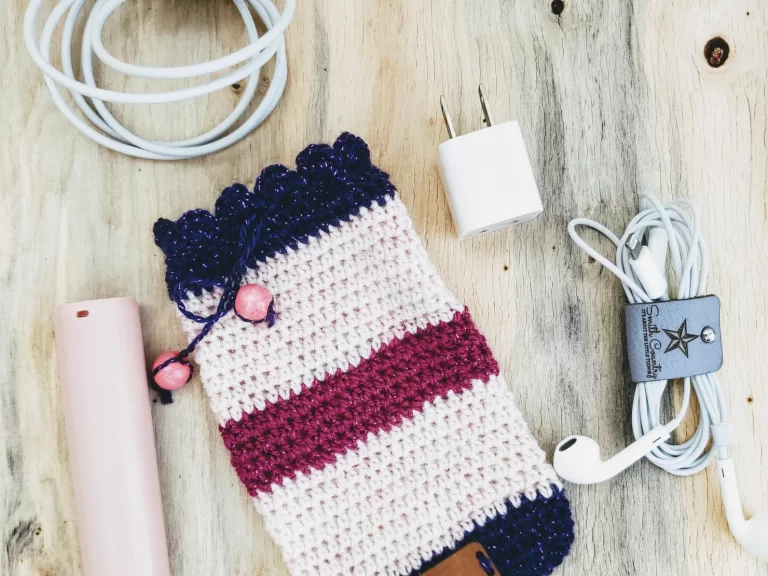
The body of the cup sweater is knitted and the outer part and button loops are crocheted (using only single crochets and chains). So whether you’re a knitter looking to try a little crochet, a crocheter wanting to try knitting, or are already versed in both, this will be a fun and quick make for you.
Size for the Hygge Cup Sweater can be adjusted simply by changing needle size, yarn size, or increasing/decreasing by increments of 8.
You can add the Hygge Cup Sweater free PDF to your LoveCrafts or Ravelry projects by clicking the links below.
Remember, any purchase you make from my affiliates, my shop, and or my designs on Lovecraft’s or Ravelry helps support my small business and helps me to create other awesome patterns for you.
OK, ON TO THE PATTERN!
The Hygge Cup Sweater pattern is written using standard U.S. terms. Basic stitch knowledge is assumed.
Finished Measurements (all are approximate)
This pattern for the Hygge Cup Sweater will fit an 11 oz mug or larger
- Length (When folded in half, at the widest point): 8.25 inches (23.5 cm) [bottom: 8 in/20 cm]
- Circumference (at the widest point): 16.5 inches (47 cm) [bottom: 16 in/40 cm]
- Height: 3.25 inches (8 cm)
Yarn
- 4- Medium | Aran
- For project: approximately 31.25 yards (5 oz
Knitting needle and Crochet Hook
Notions
- Finishing needle for weaving in ends
- Stitch/Place Markers
- Scissors for cutting off and making fringe
- Tag (optional) I use The Beam City for my external tags.
Gauge
5 sts and 8 rows = 1″ (2.5 cm) in stockinette stitch.
Notes
- I used circular needles and went back and forth, but you can use straight, single-pointed needles instead.
- One Tester didn’t have a cable needle and was able to use a stitch marker to hold the 2 stitches for making the cable.
Terms to Know
CO: Cast On
PM: Place Marker
c2b: Cable 2 stitches back
K: knit
k1fb: knit 1 front & back
P: purl
sc: single crochet
slst: Slip Stitch
* * = Repeat instructions between * and * the number of times indicated
Stitches
Cable 2 Stitches Back:
Move 2 st to cable needle, K2 BEHIND cable needle knit all st on cable needle
Knit 1 Front and Back
Knit the first stitch on your main needle but leave the stitch on the main needle. Before taking the stitch off the main needle, insert the tip of your working needle into the backside of the loop and knit it through the back loop. Then pull the stitch off the needle.
Knit
Insert the right-hand needle knitwise into the next 2 stitches on the left-hand needle. Then wrap yarn (attached to the ball) around the right-hand needle. Pull the right-hand needle through the loop (just as you would with one).
Purl:
Insert the right needle into the stitch from top to bottom; wrap the working yarn around the right needle from front to back; wrap the yarn all the way around the right needle creating a loop. Pull the loop under and through the stitch on the left needle; push the right needle through the loop; then all the way into the stitch; Pull the stitch off of the left needle. Then pull the yarn attached to the ball of yarn to tighten the stitch (if needed).
Slip Stitch (knitting):
Insert the right-handed needle purlwise (as if you were going to purl) into the first stitch on the left-handed needle and slip it off the left-handed needle onto the handed needle.
Single Crochet (SC):
Insert into the second chain from the hook (or the first stitch). Yarn over (YO) and pull back through space. YO and pull the yarn through the two loops on your hook. The stitch is now completed. Insert your hook into the next chain (or stitch) and repeat.
Slip Stitch (crochet):
Insert the crochet hook into the stitch, yarn over, and draw the yarn through the stitch and loop on the hook.
Directions:
Long Tail CO 40 (adjust by multiples of 8)
Not sure how to long-tail cast on? This video will help.
Crochet Cast off (see video below on how). Do NOT cut yarn
For the border
Next, sc in the last stitch again (totaling 2 sc),
- Sc down the side (about 11 Sc) 2 more in the same corner (totaling 3 sc),
- Sc across the bottom (38 Sc) until the last stitches. SC 3 in that same last stitch.
- Sc up the side (10 sc). Slst into the 1st of the top of the sweater.

Ch 5 (or whatever amount you need for the button size you chose) turn, down the side, sc in the next stitch, sc 10, ch 5 (or whatever amount you need for the button size you chose), slst into the next sc.

Cut and weave in ends Sew buttons on the opposite side of your chain loops.

All Done! Go enjoy and be cozy! Making it as a gift?
Remember to include a gift tag when giving your gift.
Don’t forget to tag me on Instagram or Facebook, @jenngiamsmith #JennGiamSmith
I love seeing your makes and I will always share your posts on my stories and tag you!
You can also share it on this post’s Pinterest Pin! Don’t forget to follow me on Pinterest for all kinds of inspiration!
Want more cup accessories?


Want to remember this post? Pin it to your favorite Pinterest Board!

Please be respectful
Do not sell or distribute this pattern in any way, including as your own. Instead, share the original blog post link! You can sell finished products made from this pattern. I do ask that you give credit to Always Jenn Smith; Jenn Smith, LLC as the pattern designer and link to the blog post. If you have any questions regarding the distribution or translation of this pattern, please see my Terms and Conditions or e-mail me directly. Thank you for your consideration!
All photos, designs, and patterns are copyrighted by Jenn Smith of Always, Jenn Smith, AKA Jenn Smith, LLC (FKA Smith Country/Smith Country LLC) unless otherwise noted. Please do not (in any way repost) sell, trade, share, redistribute or claim this pattern or any of my content as your own. You may sell finished items made from this pattern. ©Always Jenn Smith; Jenn Smith, LLC. This site displays third-party ads and contains affiliate links. Jenn Smith of Smith Country is a participant in the Amazon Services LLC Associates Program, an affiliate advertising program designed to provide a means for sites to earn advertising fees by advertising and linking to amazon.com Thank you for visiting!
All rights reserved. You may not sell, trade, share or redistribute this pattern in any way. You may sell finished items made from this pattern.©Always Jenn Smith; Jenn Smith, LLC