Homemade Corn Tortilla Strips (Baked & Crispy)
Crispy, baked corn tortilla strips made with just a few simple ingredients. Perfect for topping soups, salads, chili, and taco bowls.
Yields enough for 4-6 bowls of soup.
This post may contain affiliate links, which means that I make a small commission off items you purchase at no additional cost to you. Please read my Affiliate Disclosure
If there’s one thing I almost never buy anymore, it’s store-bought tortilla strips. These homemade corn tortilla strips are crunchy, golden, and ridiculously easy to make — and once you try them, you’ll understand why they’ve become a staple in my kitchen.
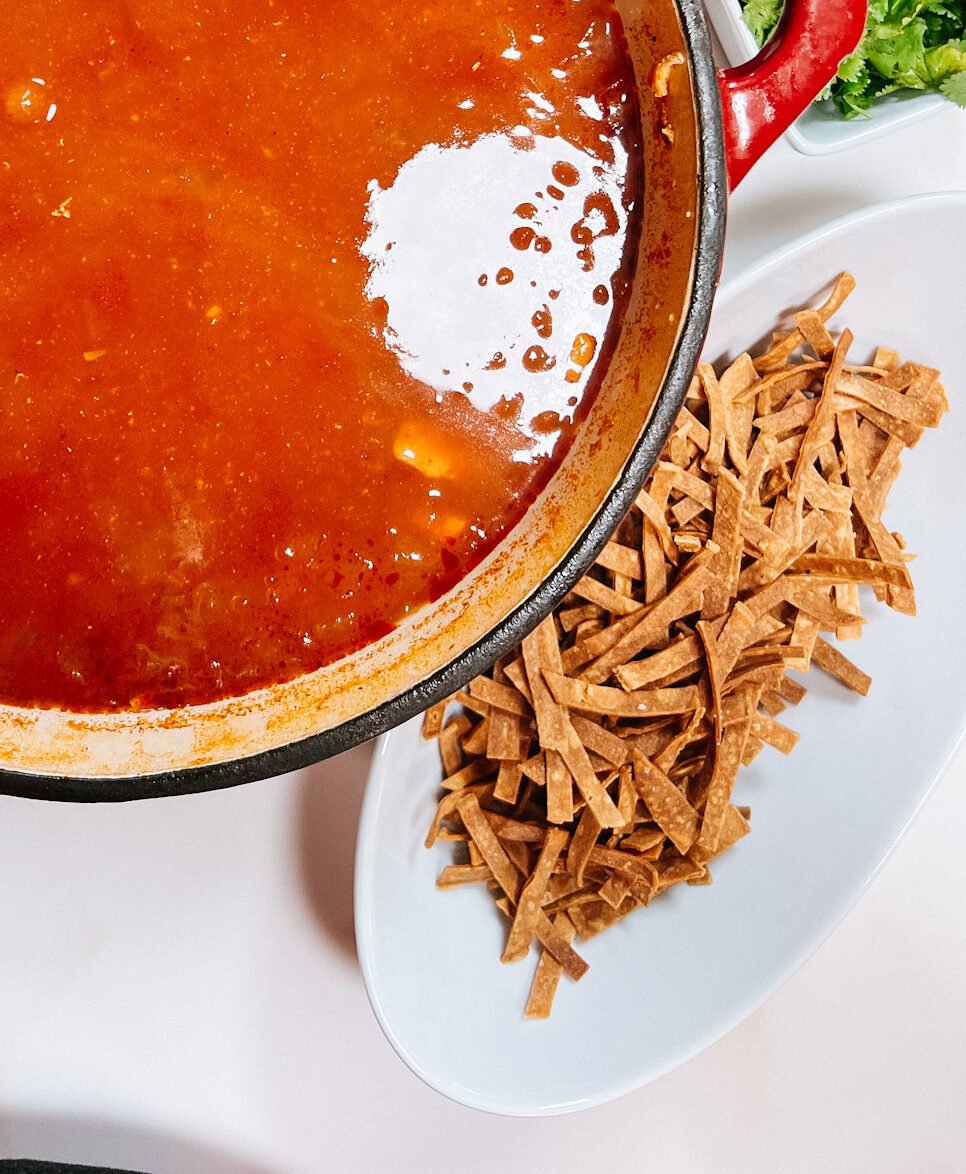
They’re perfect for topping soups (especially tortilla soup), salads, chili, taco bowls, or honestly… straight off the baking sheet if no one’s looking.
Best part? You only need a few basic ingredients and about 10 minutes.
Why Make Your Own Tortilla Strips?
- More crunch than store-bought
- No mystery ingredients
- Super affordable
- Easy to customize with different seasonings
- Baked, not fried
These are one of those small-effort, big-payoff kitchen upgrades.
Ingredients
- Six-inch corn tortillas
- Olive oil
- Salt
- Black pepper
(That’s it. Truly.)
How to Make Corn Tortilla Strips
- Preheat your oven to 350°F.
- Cut the corn tortillas into strips. The size is totally up to you — thin for extra crunch, wider for a heartier bite.
- Toss the tortilla strips with olive oil, salt, and black pepper until evenly coated.
- Lay the strips out on a baking sheet in a single layer.
- Bake for 5–10 minutes, or until crunchy and golden brown.
(Keep an eye on them — they can go from perfect to too-dark pretty quickly.) - Remove from the oven and let cool slightly before using.

How I Use These Tortilla Strips
These crispy strips are one of my favorite soup toppings, especially for:
- Tortilla Soup Gumbo
- Chili
- Taco salads
- Tex-Mex grain bowls
- Creamy soups that need crunch
They’re simple, but they add so much texture and flavor.
Storage Tips
If you somehow don’t eat them all right away:
Cooking with Kids
This is a great recipe for kids to help with:
Quick win, minimal mess.
Final Notes
Once you start making your own tortilla strips, it’s hard to go back. They’re crunchy, cozy, and one of those little kitchen habits that makes everyday meals feel just a bit more special.
Did You Make This Recipe?
I’d love to hear how it turned out for you! Leave a comment below and give it a ⭐⭐⭐⭐⭐ rating if you loved it.
If you share on Instagram, tag me @cheersjennsmith—I’ll feature your creations in my stories!
Share or save it:

Homemade Corn Tortilla Strips
- Total Time: 15 minutes
- Yield: Makes enough tortilla strips to top 4–6 bowls of soup.
- Diet: Gluten Free
Description
Crispy, baked corn tortilla strips made with just a few simple ingredients. Perfect for topping soups, salads, chili, and taco bowls.
Ingredients
- 7 six-inch corn tortillas
- 1 tablespoon olive oil
- 1 teaspoon salt (or to taste)
- 1 teaspoon black pepper (or to taste)
Instructions
- Preheat oven to 350°F.
- Cut the corn tortillas into strips (size is up to you).
- Toss tortilla strips with olive oil, salt, and black pepper until evenly coated.
- Arrange the strips in a single layer on a baking sheet.
- Bake for 5–10 minutes, or until crunchy and golden brown.
- Remove from the oven and allow to cool slightly before using.


Notes
- Keep a close eye on the tortilla strips while baking — they can brown quickly.
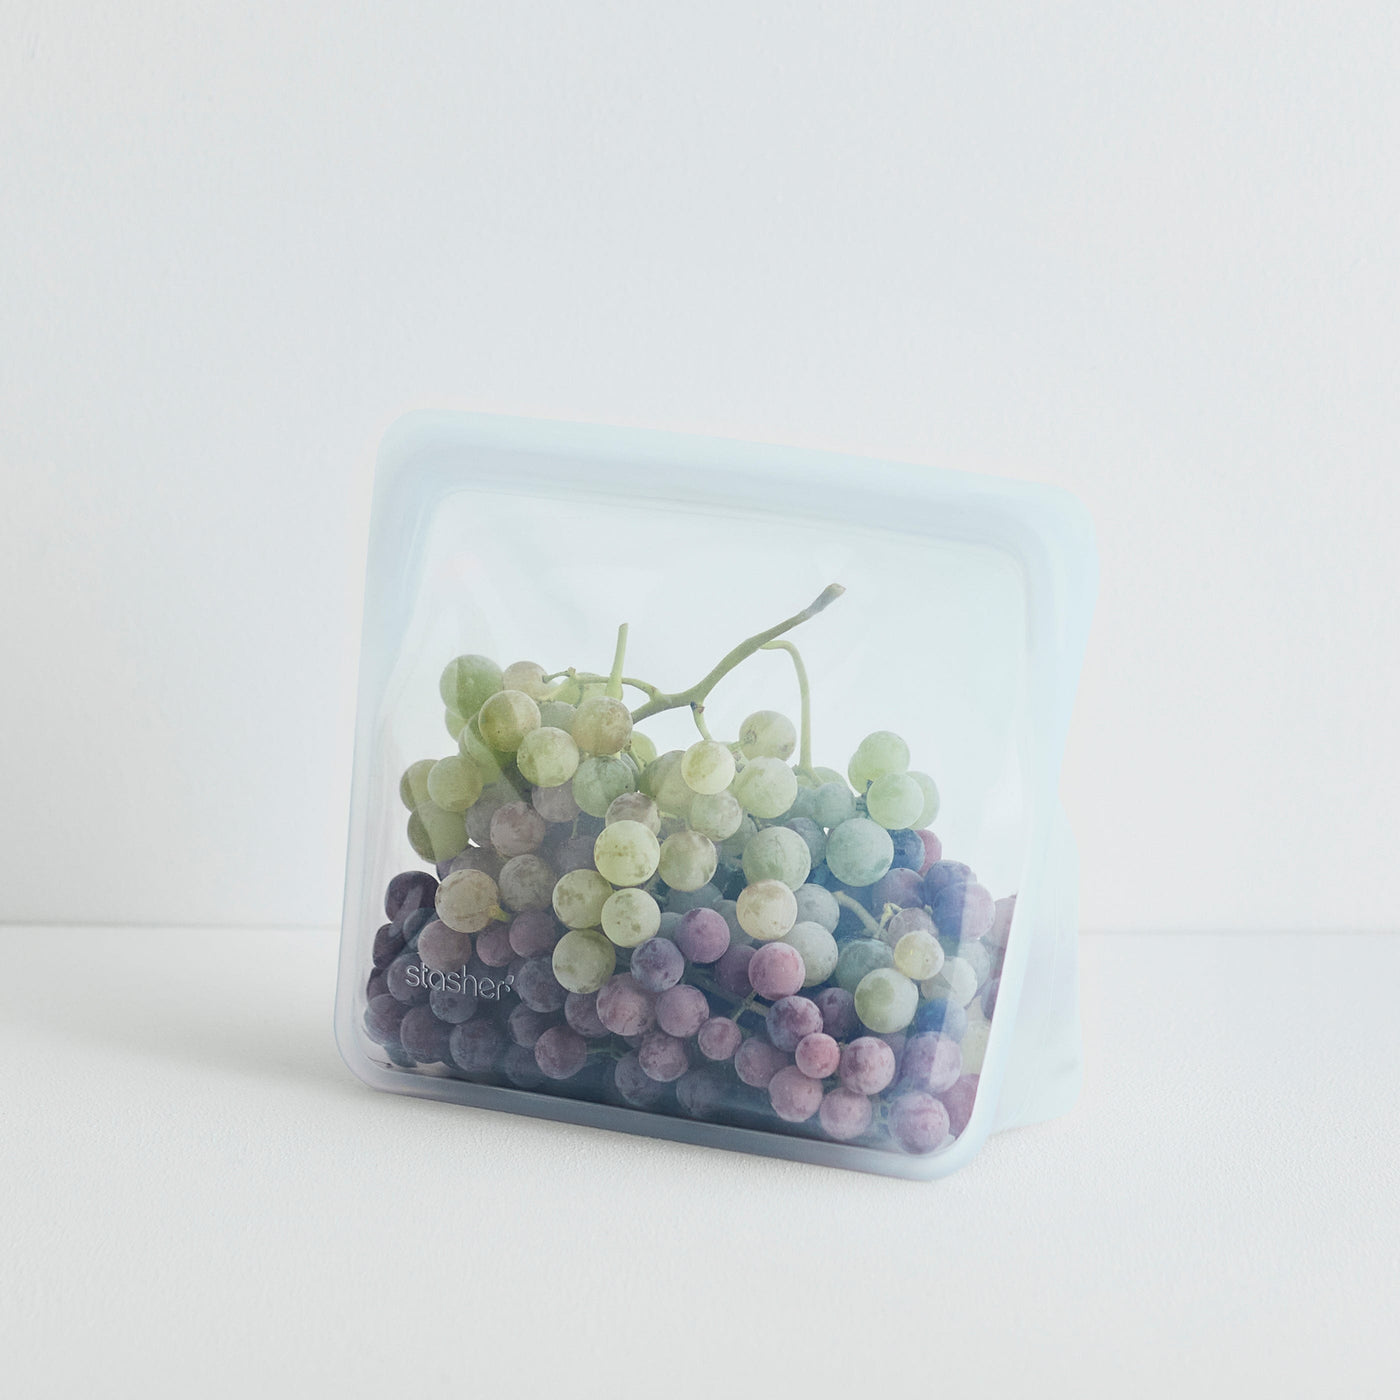
- These are best enjoyed fresh, but can be stored short-term at room temperature in an airtight container or Stasher Stand-up Mid Bag.
- Prep Time: 5 minutes
- Cook Time: 10 minutes
- Category: Toppings, Condiments
- Method: Baking
- Cuisine: Tex-Mex
© Photography, Prop Styling, and Food Styling by Jenn Giam Smith of Cheers, Jenn Smith™ and Cheers, Jenn™ | Jenn Smith, LLC
This Blog Post is ©2026 Cheers, Jenn Smith™ and Cheers, Jenn™; Jenn Smith, LLC; (FKA Smith Country, LLC) See below for details
Please Be Respectful
All rights reserved. You may NOT sell, trade, share, or redistribute this recipe in any way or use any of my photographs for your site. If you are linking back to this post to a list of recipes, giving credit for the recipe to myself and my site, you may use ONE photo. You must site me and my blog as the creators of the recipe and give credit for the photo. ©2025 Cheers, Jenn Smith and Cheers, Jenn; Jenn Smith, LLC
Cheers, Jenn Smith™ and Cheers, Jenn™; Jenn Smith, LLC is a participant in the Amazon Services LLC Associates Program, an affiliate advertising program designed to provide a means for sites to earn advertising fees by advertising and linking to amazon.com. As well as the Apple affiliate program now called the Performance Partners Program.
This site displays third-party ads and contains affiliate links, See terms and conditions for ALL affiliates.
Feel free to comment below or e-mail me directly if you have any questions.