Homemade Fried Tortilla Chips
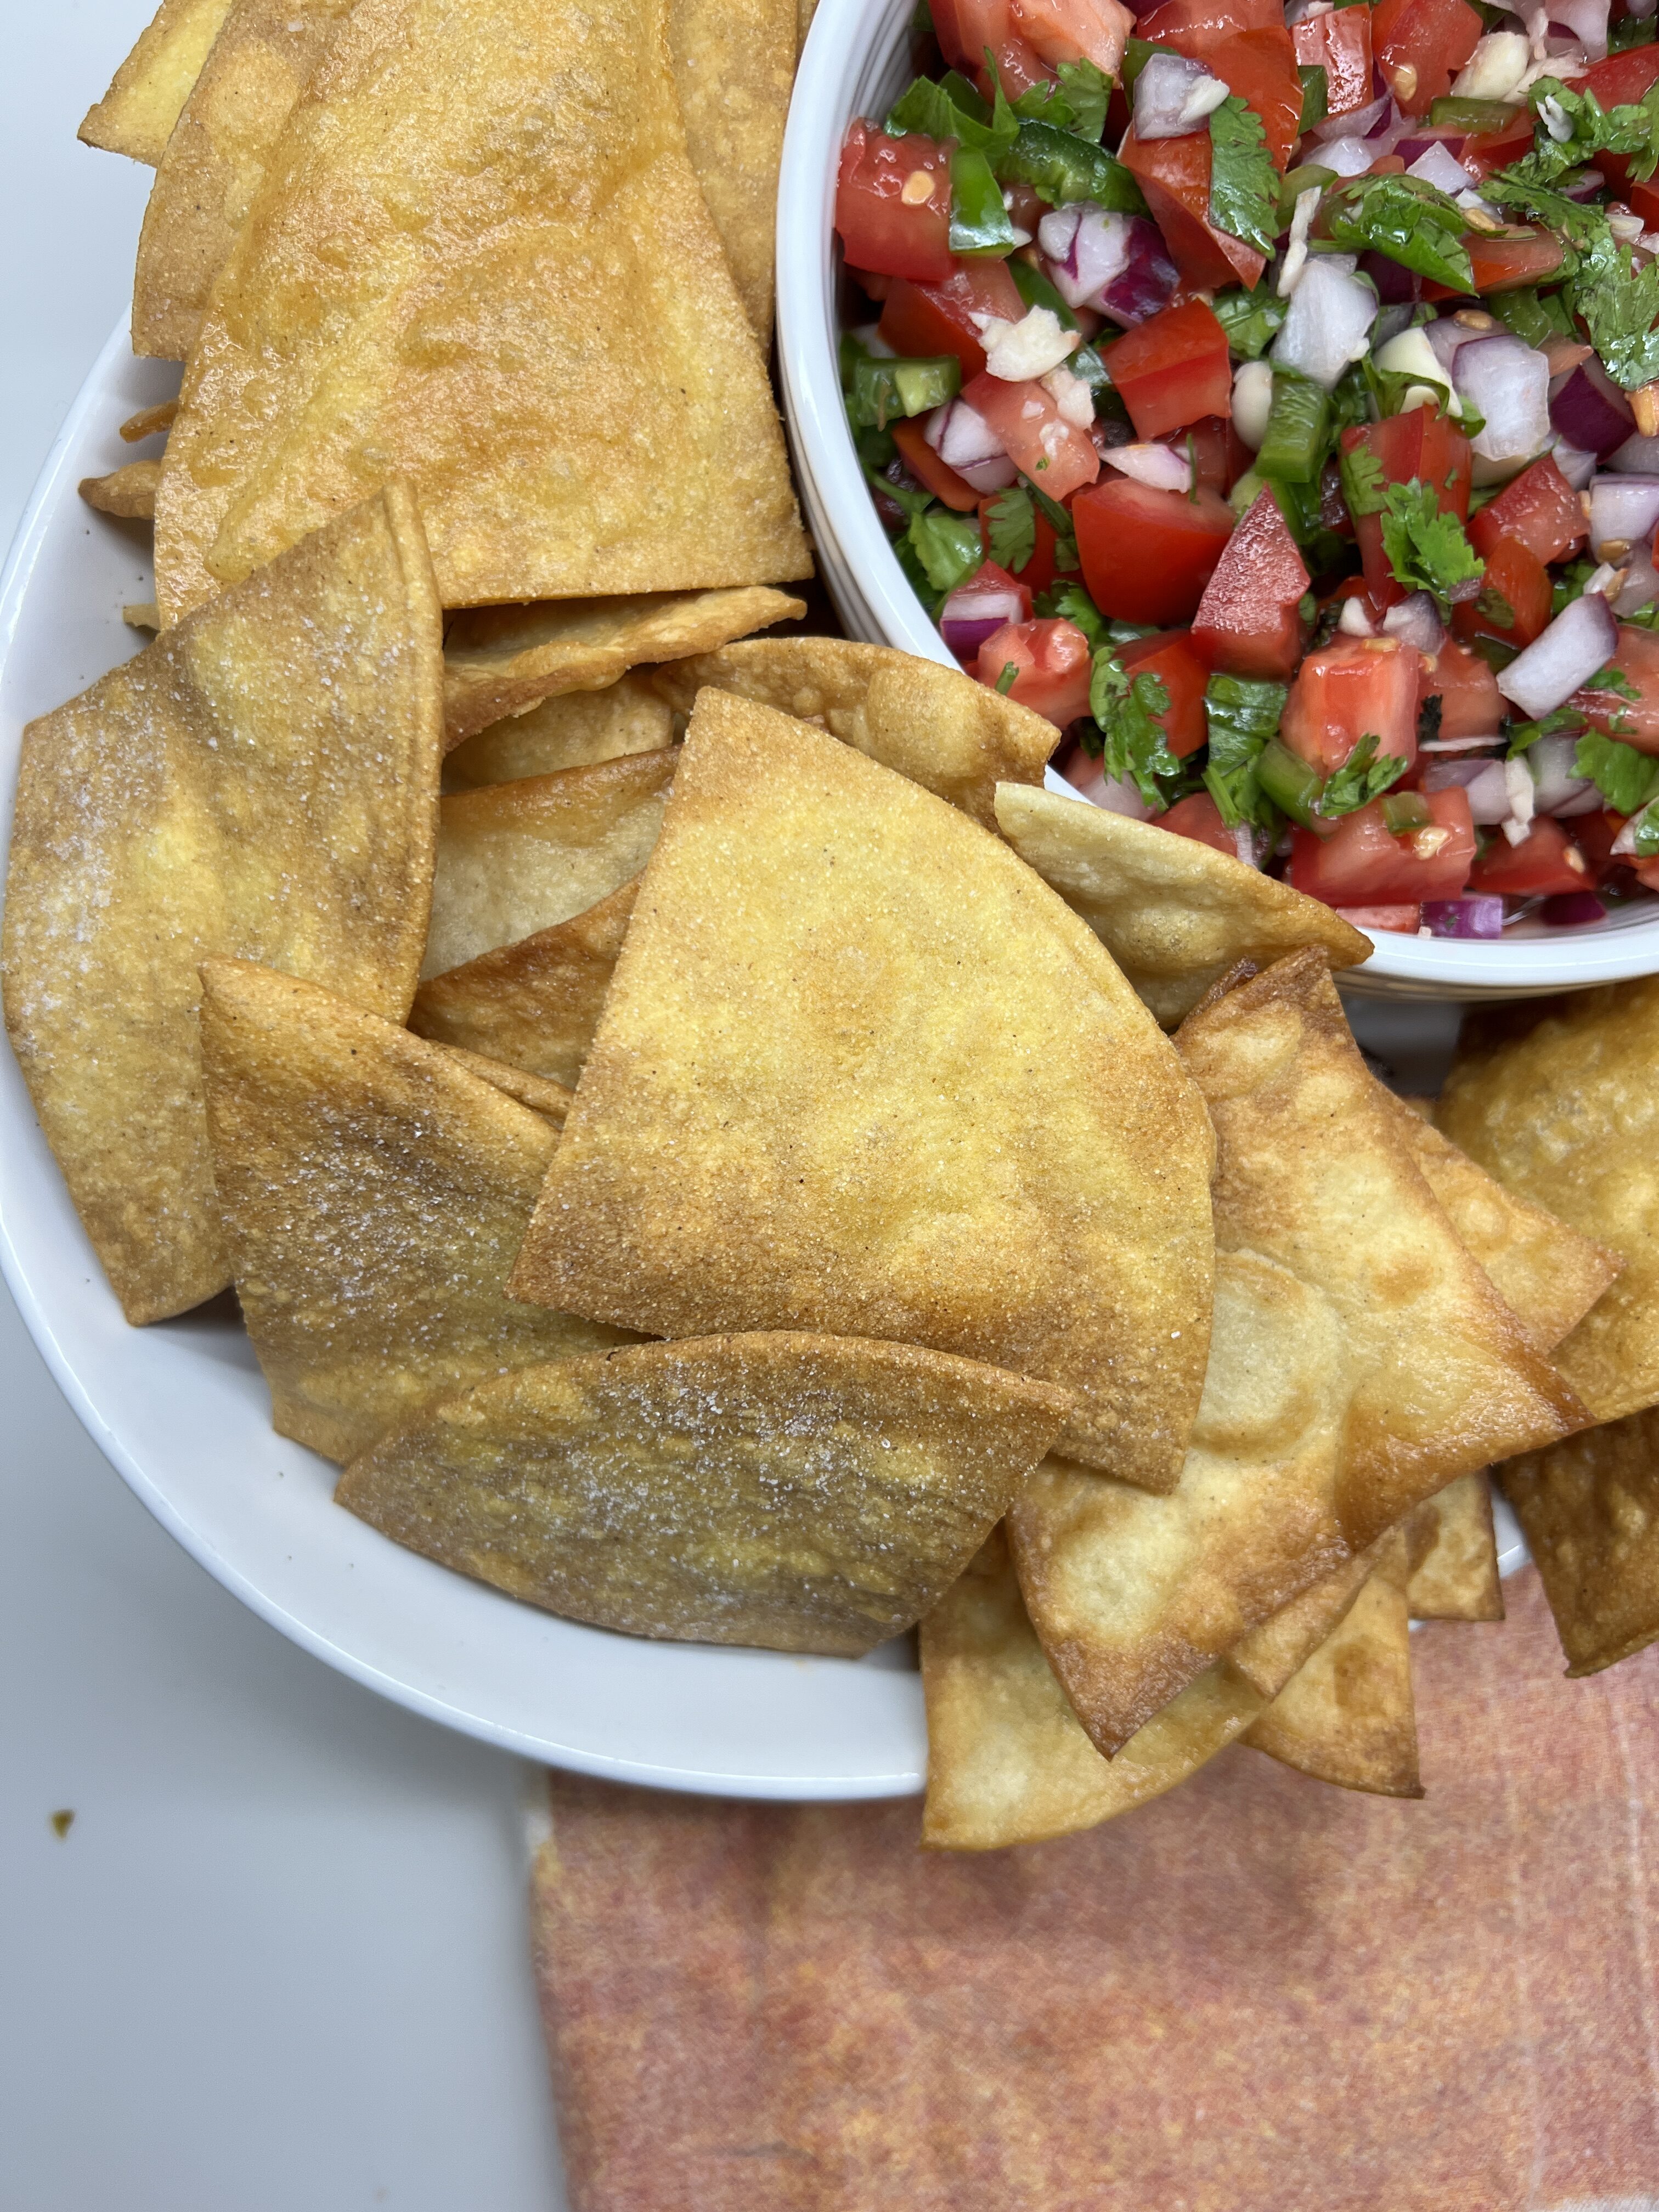
Crispy, golden tortilla chips that taste like a restaurant made them—because you did. The secret isn’t complicated, it’s just one thing: oil temperature. Once you get that right, you’ve got restaurant-quality chips in under 20 minutes.
This post may contain affiliate links, which means that I make a small commission off items you purchase at no additional cost to you. Please read my Affiliate Disclosure
There’s something about a warm, freshly fried tortilla chip that tastes absolutely nothing like the bag from the store. I’m talking that perfect balance between crispy and still tender, salt hitting just right, that corn flavor coming through clear. You know the ones I mean — the kind you’d get at a good restaurant, where they come out of the fryer maybe two minutes before they hit your plate.
Making them at home is honestly simpler than you’d think. It’s just tortillas, oil, and salt. But the magic is in understanding your oil temperature. That’s the real keeper here. Get that temperature right, and you’ve got restaurant-quality chips in under 20 minutes. Skip that step, and you end up with either pale, greasy chips or burnt ones. So that’s what we’re focusing on today.
I make these constantly when we’re having anything that needs a vehicle for salsa, pico de gallo, or guac. Elote dip (obviously), spinach artichoke situations, or just plain as a snack because my kids will demolish them. They’re the kind of thing that makes people think you’re fancy, even though you’re standing in your kitchen in an apron watching oil bubble. I’ll take it.
Why You’ll Love This Recipe
- Tastes restaurant-quality — because you’re controlling every variable, especially temperature
- Uses pantry staples — just tortillas, oil, and salt; no mysterious preservatives
- Ready in minutes — faster than you’d expect, and cheaper than buying bags
- Customizable salt level — add as much or as little as your family prefers
- Baking option included — if you prefer to skip the deep fryer, you’ve got a baked method
- Kids can help — with caution and supervision, this can be a fun hands-on kitchen project.
About the Ingredients
Corn tortillas — Use yellow corn tortillas (about 6-inch), fresh or stale. Here’s the thing: stale or dried-out tortillas actually work best because they have less moisture and will crisp faster. If your tortillas are fresh and soft, let them sit uncovered on the counter for a few hours, or even overnight. You don’t need them hard as a rock, just a little dried out. If you can’t find corn, flour tortillas will work, but corn is traditional and tastes better here.
Neutral, high-heat oil — You need an oil that can handle 350°F without smoking. Avocado oil, safflower oil, peanut oil, or vegetable oil all work. I prefer avocado oil because it has a higher smoke point and feels a bit lighter. Don’t use olive oil or butter — they burn at this temperature. And measure out more than you think you’ll need; you want the oil about ½ inch deep in your pot.
Sea salt — Sprinkle it on immediately after the chips drain, while they’re still warm and any residual heat helps it adhere. Regular table salt works too, but sea salt tastes better and has a nicer texture.
How to Make It
Fried Tortilla Chips (Preferred Method)
- Set up your station. Line a large plate or baking sheet with paper towels or a clean kitchen towel. This is where your chips will drain. Place it near your stove so you’re not fumbling around once the chips are frying.
- Heat your oil to 350°F. Add oil to a wide, high-sided pot or cast-iron skillet until it’s about ½ inch deep. Here’s where temperature matters most: use a thermometer (a clip-on deep-fry thermometer or instant-read thermometer like a ThermoWorks Thermapen works great). Heat the oil over medium-high heat until it reaches exactly 350°F. This temperature is your sweet spot — hot enough to crisp the tortilla quickly without browning it too fast or making it greasy. If your oil is 325°F, the chips take longer and absorb more oil. If it’s 375°F, they burn on the outside before crisping through.
- Cut tortillas into triangles. Cut each tortilla into 4 wedges (from the center outward, like you’re slicing a pie). This size is ideal — big enough to grab easily, small enough to fry evenly.
- Fry in a single layer. Working in batches so you don’t crowd the pot, add tortilla triangles to the hot oil. They should sizzle immediately — that’s the sound of the right temperature. Use a slotted spoon or tongs to press them down gently into the oil. You’re not dunking aggressively; just a light press keeps them submerged and frying evenly.
- Cook until golden brown. This usually takes about 2 minutes. Watch them closely — they’ll go from pale to golden to dark brown quickly once they get going. You’re looking for a light golden color, not deep brown. The residual heat will continue cooking them slightly after they come out.
- Drain and salt immediately. Use your slotted spoon to transfer chips to the paper towel–lined plate. Sprinkle them generously with sea salt right away, while they’re still hot and steaming slightly. The heat helps the salt stick and dissolve just a tiny bit, seasoning them evenly.
- Repeat with remaining tortillas. Let the oil come back to 350°F between batches (this is quick). Fry the rest of your tortillas the same way.

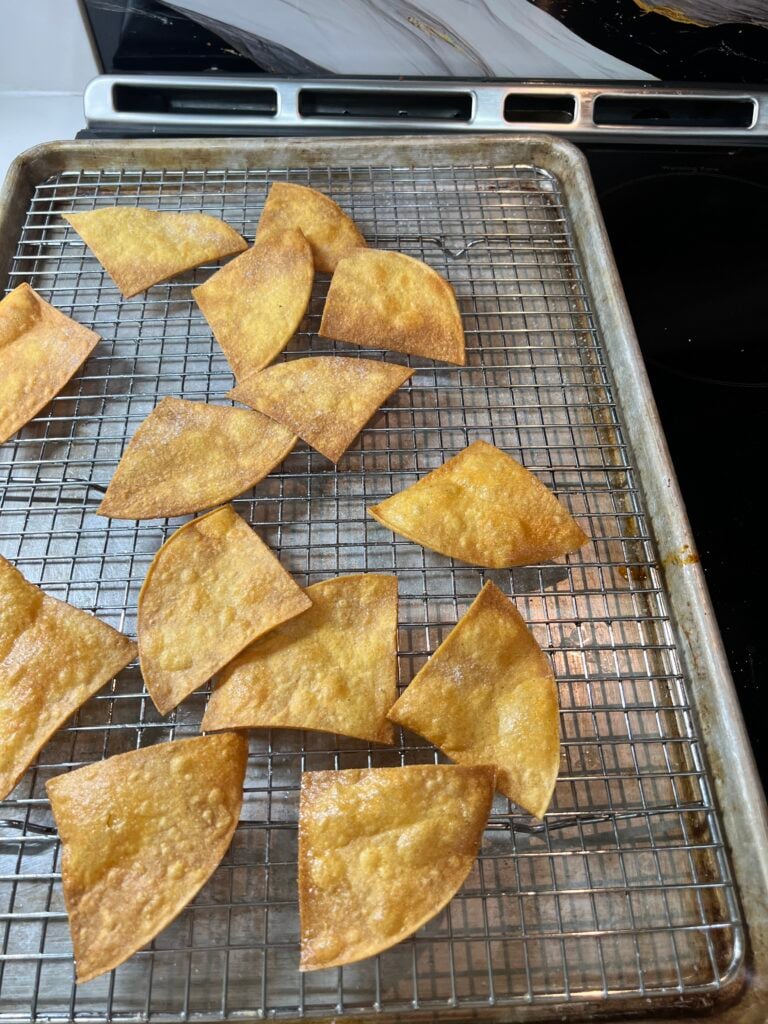
Baked Tortilla Chips (Lower-Fat Option)
- Preheat oven to 375°F. Line two baking sheets with parchment paper or silicone mats.
- Brush and cut tortillas. Lightly brush tortillas on both sides with oil. Cut each one into 4 triangles.
- Arrange in a single layer. Spread chips on baking sheets so they’re not overlapping. They need air circulation to crisp up.
- Bake until crisp. Bake for 10 to 20 minutes, depending on your oven and how thin you cut the tortillas. Check at 10 minutes, then every few minutes after. If some are browning faster than others, rotate the baking sheets halfway through for even cooking.
- Season right out of the oven. They’ll crisp up even more as they cool. Salt them immediately while hot.
Cooking with Kids
This is a fun one, but it requires a real conversation about hot oil first. I don’t let my younger kids near the actual frying, but there’s plenty else:
- For the baked version: This is the kid-friendly route. They can help brush oil, cut tortillas, arrange them on the sheet, and check the oven (with you). No hot-oil anxiety.
- Cutting tortillas: Older kids (8+) can carefully cut tortillas into triangles with a chef’s knife under supervision. Younger kids can use a pizza cutter, which is safer and still fun.
- Salting: Kids love being in charge of seasoning. Let them sprinkle salt on the warm chips. You’ll probably end up with some over-salted ones, but it’s a great teaching moment about tasting as you go.
- Draining and stacking: Once chips are cool enough to touch, kids can help transfer them to a serving bowl. It’s a satisfying step, and they see the finished product coming together.
Jenn’s Kitchen Tip
Use a thermometer, actually. I know it feels fussy, but oil temperature is the whole game here. A clip-on deep-fry thermometer is cheap and makes this foolproof. If you don’t have one, you can test the oil by dropping a tiny piece of tortilla in — if it sizzles immediately and turns golden in about 10 seconds, you’re in the zone. But honestly, just get a thermometer. ThermoWorks makes excellent ones that are fast and accurate, and they double as your instant-read for roasting too.
Stale tortillas are your friend. If you’re staring at a bag of tortillas that’s been in your pantry for a week, that’s exactly what you need. Don’t throw them out. The lower moisture content means faster, crisper frying and less oil absorption. Win.
You can reuse the oil. Let it cool completely, strain it through fine mesh or cheesecloth to catch any tortilla particles, and pour it into a clean container. It’ll be good for a couple of uses. Store it in a cool place or the fridge. Don’t reuse it more than 2–3 times; old oil gets gummy and smokes easier.
Cut uniform sizes. If you cut some chips super thin and some thick, the thin ones will burn before the thick ones crisp. Try to keep them roughly the same size for even cooking.
Don’t skip the cooling station. Those paper towels do real work — they absorb excess oil and help chips stay crispy as they cool. Piling hot chips directly into a bowl keeps steam trapped and makes them soften.
Serve them fresh or store smart. Chips taste best within a few hours of frying, but they’ll keep in an airtight container for 2–3 days. If they soften, you can re-crisp them in a 300°F oven for about 5 minutes.
FAQ
Yes, but they won’t have the same flavor and crisp. Corn tortillas fry up crisper and taste more authentic. If that’s all you have, go for it — they’re still good.
Your oil temperature was too low. The chips spent too long in the oil absorbing fat. Next time, make sure it reaches 350°F before you start frying. Use your thermometer.
Oil was too hot or you left them in too long. 350°F is your target; don’t go higher. They fry fast — 2 minutes is usually enough. Watch them closely the first time you make them so you know your stove’s timing.
Not really ahead of time, but you can fry them a few hours before serving and store them in an airtight container. They’ll soften slightly but stay mostly crispy. Re-crisp them in the oven if needed.
No. The baked version is just as good, especially if you brush the tortillas well with oil. They won’t be quite as crispy as fried, but they’re still delicious and healthier.
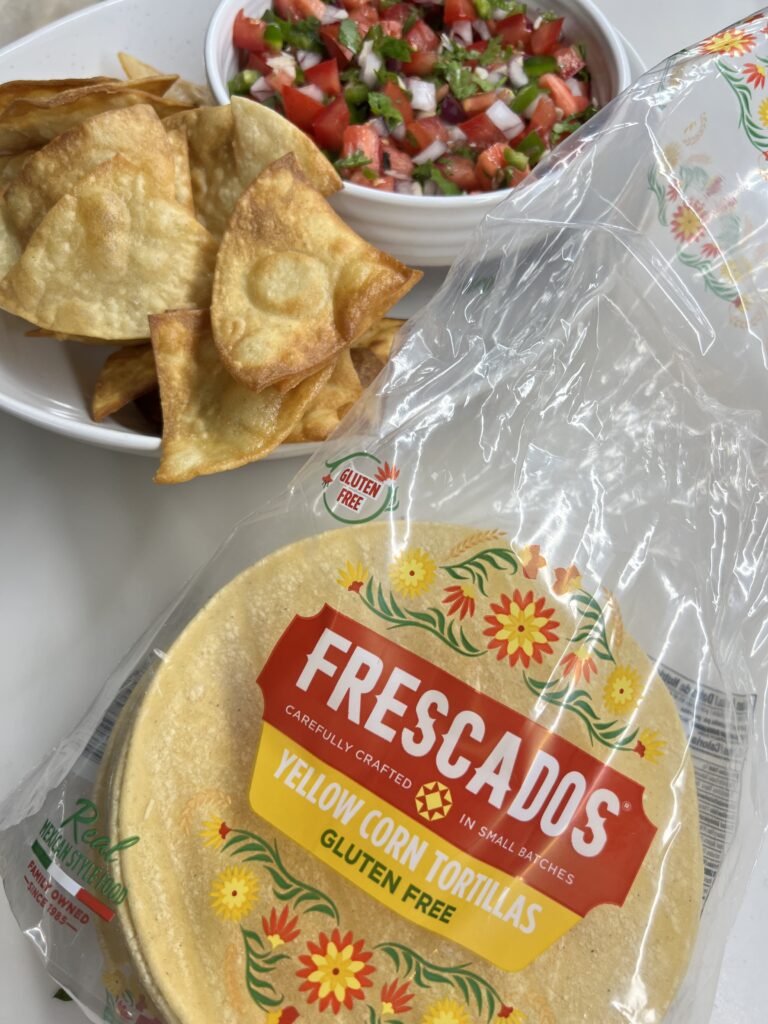
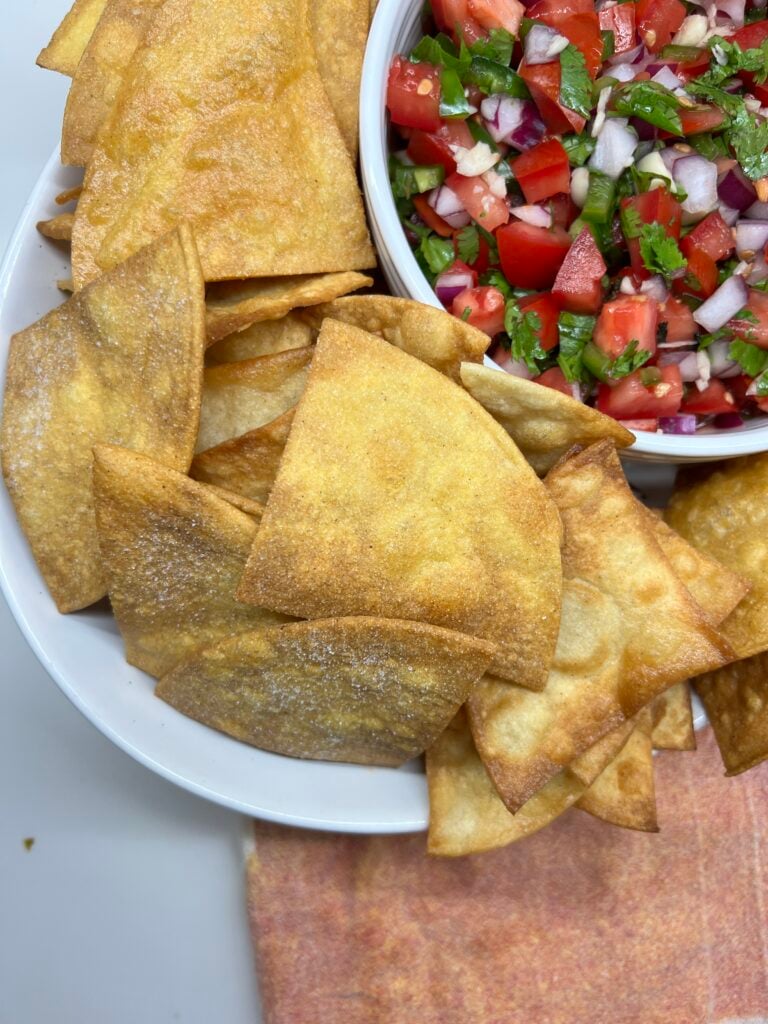
These chips are one of those things that feel special but aren’t complicated at all. It’s just about respecting the oil temperature and not overthinking it. Serve them alongside your favorite dip — salsa, guacamole, spinach dip, elote dip — or just plain with a sprinkle of lime salt. Your family will ask you to make them again.
Tag me on Instagram (@cheersjennsmith) if you make these, or drop a comment below and let me know which dip you’re pairing them with. I’d love to know!
Cheers 🥂,

Homemade Fried Tortilla Chips
Crispy, golden corn tortilla chips fried to perfection. Restaurant-quality at home with the right oil temperature. Serve with salsa, guacamole, or your favorite dip.
- Total Time: 20 minutes
- Yield: 4 servings 1x
Ingredients
- 10 corn tortillas (yellow, 6-inch) — Use stale or dried tortillas for best results
- 3/4 – 1 cup neutral, high-heat oil — Avocado oil, safflower oil, peanut oil, or vegetable oil
- Sea salt to taste — Sprinkle on warm chips immediately after frying
Instructions
- Set up a station with a paper towel–lined plate or baking sheet near your stove.
- Add oil to a wide, high-sided pot until ½ inch deep. Heat to 350°F using a thermometer.
- Cut each tortilla into 4 triangles (like pizza slices).
- Working in batches, add tortilla triangles to hot oil in a single layer. Gently press down with tongs.
- Cook for about 2 minutes until golden brown and crispy.
- Transfer to paper towels and immediately sprinkle with sea salt.
- Let oil return to 350°F and repeat with remaining tortillas.
- Serve warm or store in an airtight container for up to 3 days.


Notes
Temperature is key: Use a thermometer. 350°F is your target. Too low and chips absorb oil; too high and they burn.
Baked option: Brush tortillas lightly with oil, cut into triangles, arrange on parchment-lined baking sheets, and bake at 375°F for 10–20 minutes, rotating halfway through.
Storage: Keep in an airtight container for 2–3 days. Re-crisp in a 300°F oven for 5 minutes if they soften.
Oil reuse: Strain cooled oil through fine mesh and reuse for 1–2 more times. Store in a cool place.
Flavor variations: Add a pinch of cumin, chili powder, or lime zest to the salt before sprinkling.
Recipe & Photo Credit
This recipe and all images are original content created by Jenn Giam Smith for Cheers, Jenn.
You’re welcome to link to this recipe using one photo with proper credit. Please do not copy, republish, or redistribute this recipe or images without permission.
Have a question or want to share how it turned out?
Leave a comment below — I love hearing from you. 💛