How to Make Luscious Whipped Cream from Scratch (Kid-Friendly!)
Forget the canned stuff—homemade whipped cream is a game-changer. Light, fluffy, and infinitely customizable, this simple recipe will elevate every dessert and hot drink this holiday season. In under 10 minutes, you can whip up a batch that’s perfect for pies, cakes, coffee, or even a quick taste test straight from the bowl. Bonus: it’s a fun recipe to make with kids, letting them measure, whip, and taste-test along the way. Get ready to impress with a topping that’s pure homemade decadence!
This post may contain affiliate links, which means that I make a small commission off items you purchase at no additional cost to you. Please read my Affiliate Disclosure
Have you tasted homemade whipped cream? It puts the plastic tub of non-dairy whip and the canned stuff to shame. Homemade whipped cream is ultra-luxurious, decadent, and as delicious as the best vanilla ice cream you’ve ever had.
Whipped cream is the perfect creamy topper for desserts and hot drinks, and since the holidays are coming, I wanted to share a full tutorial with everything you need to know about making it from scratch.
If you’ve never made whipped cream before, it may seem a little intimidating at first—but I promise, it’s super easy. You can make it in under 10 minutes (or even ahead of time), impressing everyone with your homemade skills!
Whipped Cream Tips
Whipped cream is truly simple, but a few tips before we get started can go a long way:
1. Whipped cream doubles in size.
1 cup of heavy cream will yield about 2 cups of whipped cream. Multiply or divide as needed, but honestly, extra is never a bad idea.
2. Equipment options:
I love my hand mixer (affiliate link) for whipping cream—it’s small and easy. You can also use an immersion blender or whip by hand (get those biceps working!). If you want a demo, Bon Appétit has a helpful video.
3. Start chilled:
Your heavy cream must be cold. So should your bowl, and beaters. Trust me, when I say, it whips faster if your bowl and beaters are chilled too. Use a glass, ceramic, or stainless steel bowl—plastic just won’t hold the cold.
4. Keep it simple:
All you need is heavy cream. For that classic flavor, add a little sweetener and vanilla.
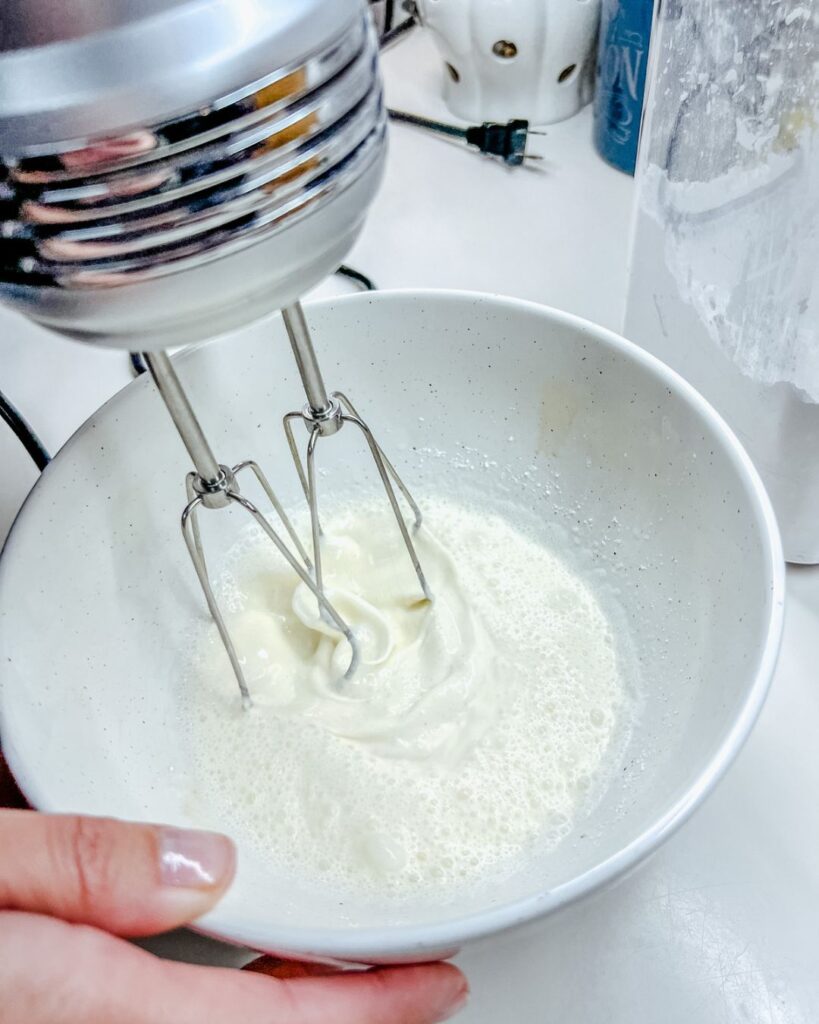
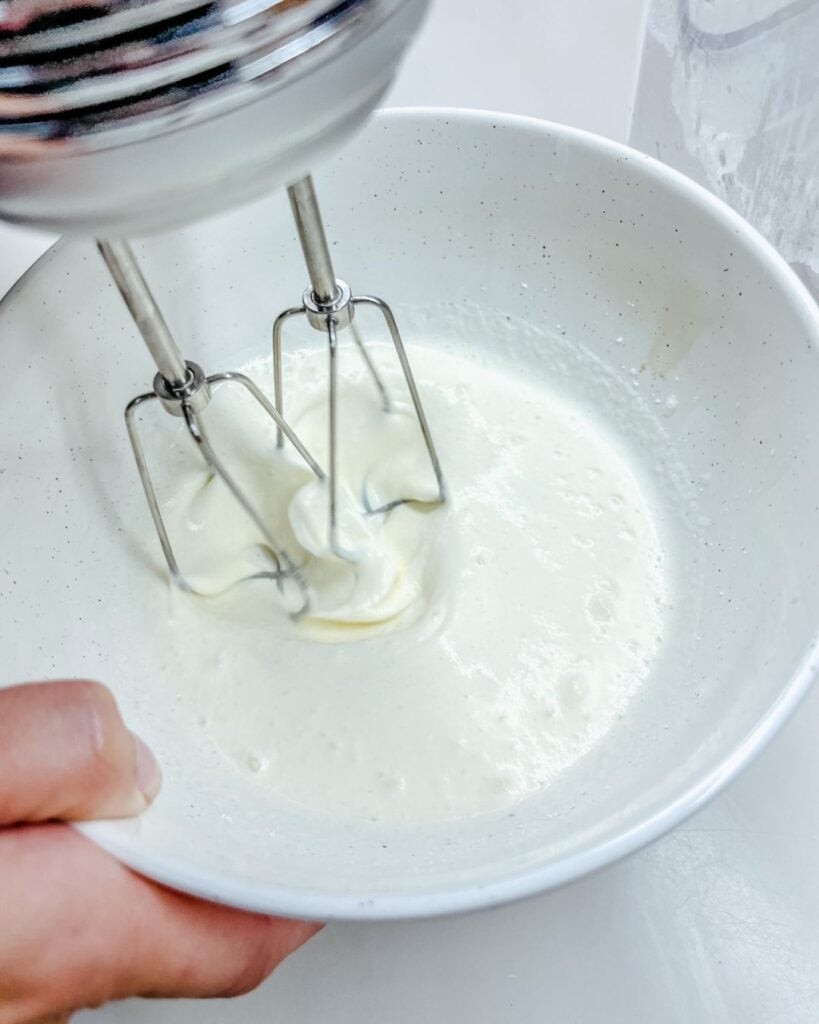
5. Watch closely:
At first, it seems like nothing is happening. Then the cream quickly moves from soft peaks → medium peaks → stiff peaks. Keep an eye on it—you’ll get the hang of it!

6. Sweeteners:
- My favorite: confectioner’s sugar. It dissolves quickly and has a bit of cornstarch to stabilize the cream.
- Granulated sugar works too—just add it before whipping.
- Liquid sweeteners like maple syrup or agave? Fold gently after whipping (max 2 tbsp).
- Avoid date sugar or coconut sugar—they won’t fully dissolve.
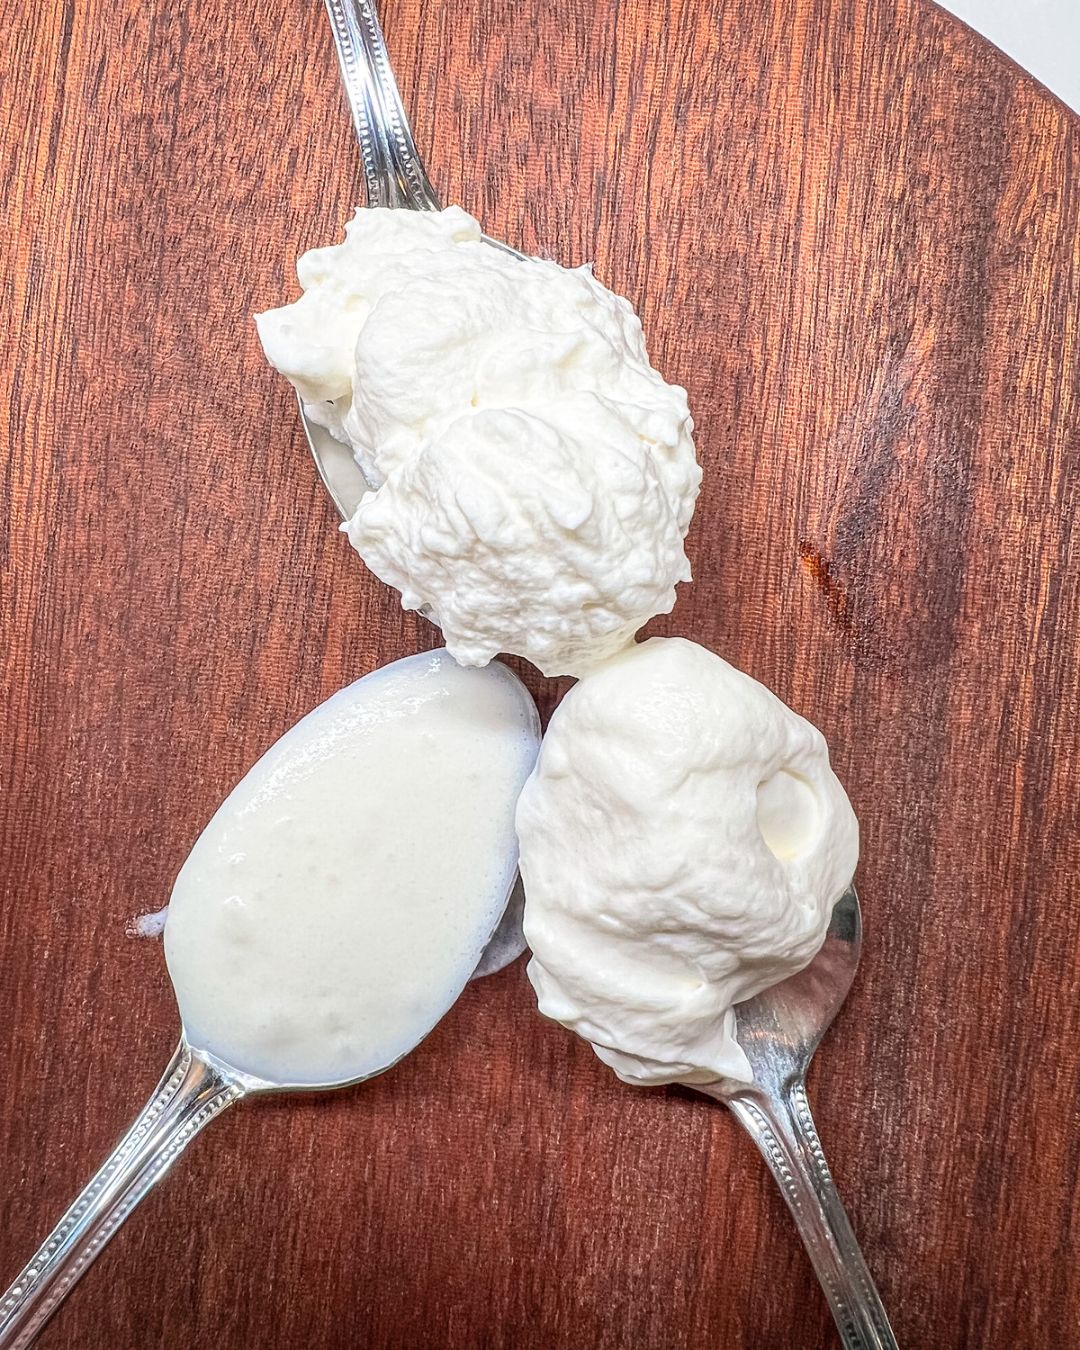
7. Peak guide:
- Soft Peaks: Cream is still fluffy but droops slightly.
- Medium Peaks: Holds shape but still soft.
- Stiff Peaks: Holds shape firmly—don’t go past this, or you’ll make butter!
Below is an image so you can see examples of soft, medium, and stiff peaks side by side. I hope it’s helpful, but of course, let me know if you have any other questions in the comments below.

Cooking with Kids
Whipped cream is one of the easiest and most fun recipes to make with kids. It’s hands-on, quick, and gives instant satisfaction (who doesn’t love licking the beaters?).
Kid-friendly tips:
It’s messy, yes—but it’s worth it. Plus, making whipped cream together is a fun way to sneak in some kitchen skills, patience, and pride in creating something from scratch.
Storage Details
Make ahead:
Whipped cream can be made hours in advance—just under-beat it slightly. Refrigerate and whisk lightly before serving.
Other tips:
Over-whipped?
Shop this post

OXO Good Grips 11-Inch Balloon Whisk
Buy Now →
OXO Good Grips 3-Piece Angled Measuring Cup Set
Buy Now →
Cuisinart 9-Speed Handheld Mixer (HM-90S Power Advantage Plus)
Buy Now →
Mora Ceramics Small Mixing Bowls Set of 2 – 2.5 & 1.6 Qt (Vanilla White)
Buy Now →
Did You Make This Recipe?
I’d love to hear how it turned out for you! Leave a comment below and give it a ⭐⭐⭐⭐⭐ rating if you loved it. If you share on Instagram, tag me @cheersjennsmith—I’ll feature your creations in my stories!
Share or save it:

Easy Whipped Cream for Desserts & Drinks
- Total Time: 10 minutes
- Yield: 2 cups 1x
- Diet: Vegetarian
Description
Learn how to make luscious homemade whipped cream with this simple recipe. Your whipped cream will turn out perfectly every time. This recipe yields about 1 cup of whipped cream.
Ingredients
-
1/2 cup heavy cream
-
2 tablespoons confectioner sugar
-
1/2 teaspoon vanilla extract (or flavoring of choice)
Instructions
- Chill for best results: Place your mixing bowl (glass, ceramic, or stainless steel) and beaters in the freezer for at least 15 minutes.
- Combine the chilled heavy cream, sugar, and vanilla extract in your chilled bowl. Start whipping with a hand mixer at low speed, gradually increasing to medium. (Patience is key—don’t go high too quickly.)
- Continue whipping until the cream nearly doubles in volume. It may seem like nothing is happening at first, but it will progress quickly:
- Soft peaks: Cream is soft, swirls hold lightly—perfect for topping desserts like pies.
- Medium peaks: Holds swirl marks better and is great for dolloping on desserts or making ahead.
- Stiff peaks: Holds shape firmly, ideal for hot drinks or piping. Don’t overdo it or it will turn into butter!
- Use whipped cream as desired.
Notes
Whipped Cream Tips
- Volume: Whipped cream doubles in size. 1 cup cream = ~2 cups whipped cream.
- Equipment: Hand mixer, immersion blender, or by hand (arm workout guaranteed!).
- Chilled: Cold cream, bowl, and beaters = faster, more stable whipping.
- Sweeteners: Confectioner’s sugar works best; alternatives: maple syrup, agave (fold gently after whipping, max 2 tbsp). Avoid date or coconut sugar—they won’t dissolve properly.
Cooking with Kids
Whipped cream is perfect for little helpers:
- Kids can pour cream, measure sugar, and watch the whipping process (science + math!).
- Older kids can use a hand whisk or small mixer with supervision.
- Let them add fun flavors: cocoa, cinnamon, or chocolate chips.
- It’s messy—but oh so fun!
Storage
- Can be made hours in advance (slightly under-beat).
- Refrigerate, covered, up to 5 days.
- If separated, gently whisk back together.
-
Whipped cream may lose volume over time; lightly re-whip if needed.
Over-Whipped?
- Grainy and separating? Chill 30–60 minutes and stir gently.
- Immediate fix: fold in a few tablespoons more heavy cream.
- Can’t save it? Turn it into sweet butter with a pinch of salt.
- Prep Time: 10 minutes
- Category: Dessert / Topping
- Method: Whipping
- Cuisine: American / Classic
Nutrition
- Calories: 473
- Sugar: 19
- Sodium: 33
- Fat: 43
- Saturated Fat: 27
- Carbohydrates: 20
- Protein: 3
- Cholesterol: 134
©Photo, Prop Styling, and Food Styling by Jenn Smith