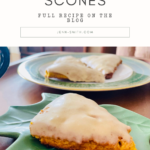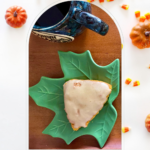
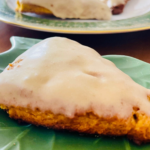
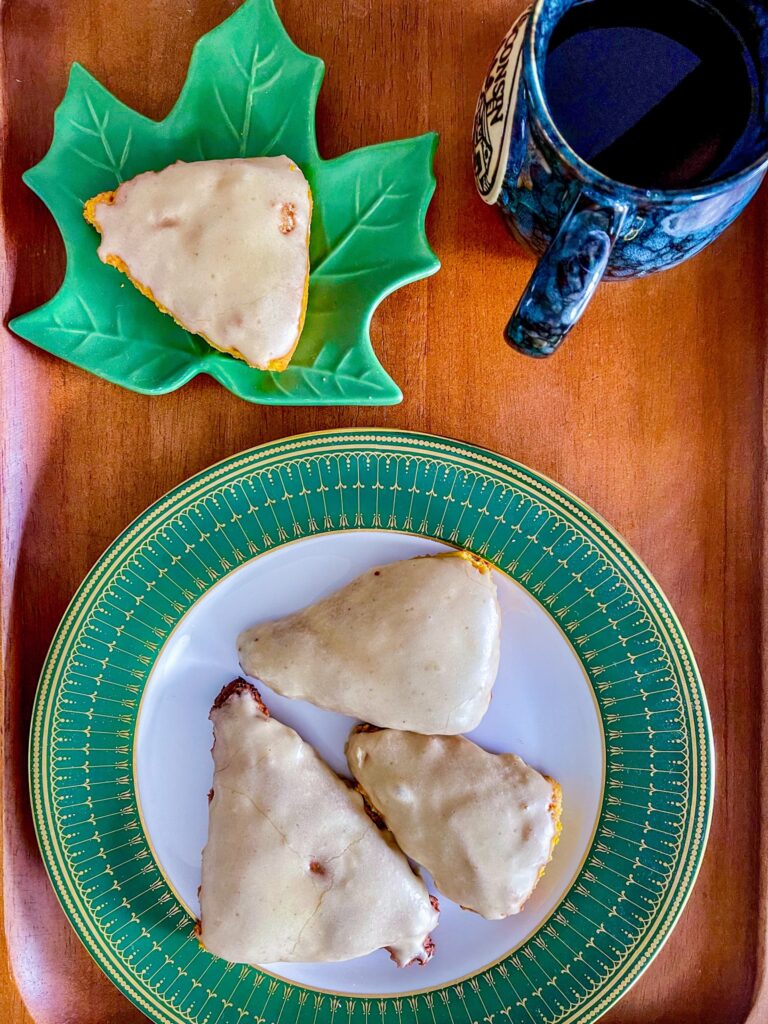
Large Batch Pumpkin Scones with Maple Glaze
Indulge in the perfect fusion of pumpkin and maple flavors with these irresistible pumpkin scones topped with a luscious glaze. This recipe yields 36 large scones, ideal for elevating your fall brunches, parties, and potlucks.

This post may contain affiliate links, which means that I make a small commission off items you purchase at no additional cost to you. Please read my Affiliate Disclosure
I know, I know… I can hear some of you now, asking, “Really, Jenn? Another pumpkin recipe?” To that, I say yes! Yes, another pumpkin recipe.
“Why?” you might ask. Well, I ask you… why not? I mean, why the pumpkin hate? Most people associate pumpkin with pumpkin spice—and that isn’t even really the taste of pumpkin. Instead, it’s the warming, yummy spices, blended together into the perfect fall-like mood of flavor. How can anyone hate that???
So, here I am again, sharing my version of pumpkin scones—and to add a little extra fall magic, they come with a maple glaze. Trust me when I say, they are AMAZING!
CHEERS 🥂 JENN
This recipe was born during one of my happy baking moods. I had just made a batch of chocolate chip scones for an event for my husband, and everyone raved about them. Soon after, I was asked to provide a breakfast item for the college students at our church. I was feeling fall-inspired that day, but when working with canned pumpkin puree, I often find recipes don’t use the whole 15oz can. So here I was, pumpkin puree in hand, and inspiration struck… Large Batch Pumpkin Scones!
Since I use the entire can, this recipe yields a whopping 36 regular-size scones, making it perfect for potlucks, church breakfasts, or feeding a hungry crowd
Tips for Success
Scones have a reputation for being tricky—but they don’t have to be! Here are a few tips to get perfect scones every time:

Forming Your Scones
Triangles
- Shape the dough into a ball in your bowl.
- Transfer to a floured surface.
- Gently press into a rectangle about ½-inch thick.
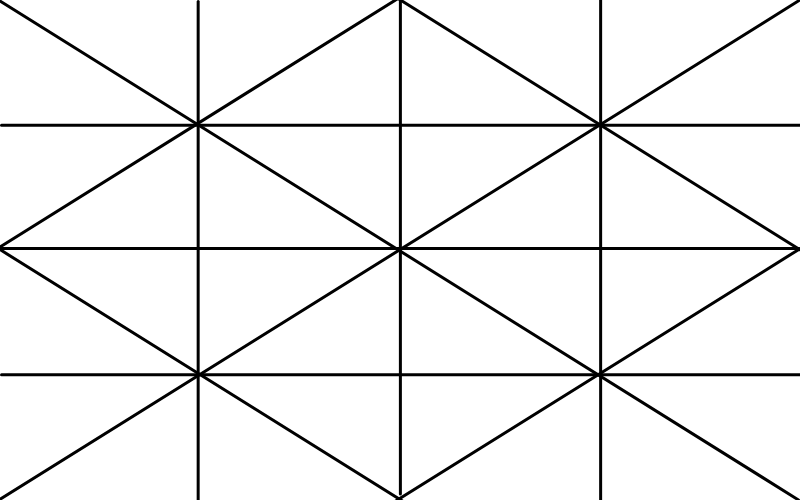
- Use a pastry cutter or dough scraper to cut into equal-sized triangles. (see the image below for details)
- Tip: Cut smaller triangles for smaller scones.
Rounds
- Form each into a 2-inch tall disc gently.
- Shape the dough into a ball and roll it out on a floured surface.
- Split the dough into 36 even rounds.
COOKING WITH KIDS
DISCLOSURE: Please keep in mind that the following tips are general and are meant to be suggestive. I personally use these strategies with my own kids, who are all unique even within my own family of five. Therefore, please regard these as suggestions or ideas. If you feel that your child requires more or less assistance, then go with what you and your child are comfortable with. Ultimately, you know your child best.
This is the perfect fall recipe to make with kids—trust me, it’s a mess worth the memories! Here’s how to make it kid-friendly:
Pro tip: Have an apron and a damp cloth ready—kids + flour = fun chaos!

Did you make these scones?
Please take a moment to leave a comment and provide a star rating below. If you share a picture on Instagram don’t forget to tag me @jenngiamsmith! I always share your posts on my story and tag you!
Share or save it:
Large Batch Pumpkin Scones with a Maple Glaze
- Total Time: 1 hour
- Yield: 36 large scones
Description
Looking for a delicious fall recipe for brunches or potlucks? These Pumpkin Scones with Maple Glaze are sure to impress. Using an entire 15-oz can of pumpkin, this recipe makes 36 scones—perfect for feeding a crowd or sharing at your next fall gathering!
Ingredients
Pumpkin Scones
7 cups all-purpose flour
3 tablespoons baking powder
1 tablespoon ground cinnamon
1 1/2 teaspoons nutmeg
1 1/2 teaspoon ginger
1 1/2 teaspoon cloves
1 1/2 teaspoon salt
1 3/4 cup unsalted butter (frozen cubes)
1/2 cup heavy cream
4 large egg
1 [15oz can] pumpkin puree
1 3/4 cup light brown sugar
1 tablespoon pure vanilla extract
Maple Syrup Glaze
4 Tablespoons unsalted butter
3/4 cup pure maple syrup
2 cup confectioners’ (powdered) sugar (sifted)
pinch salt (to taste)
Instructions
Scones
-
Preheat oven to 400°F (204°C). Adjust the baking rack to the middle-low position and line 2–3 large baking sheets with parchment paper or silicone mats.
-
Cube the butter and place it in the freezer while preparing the other ingredients.
-
In a small bowl, whisk together ½ cup heavy cream, eggs, pumpkin puree, brown sugar, and vanilla extract. Set aside.
-
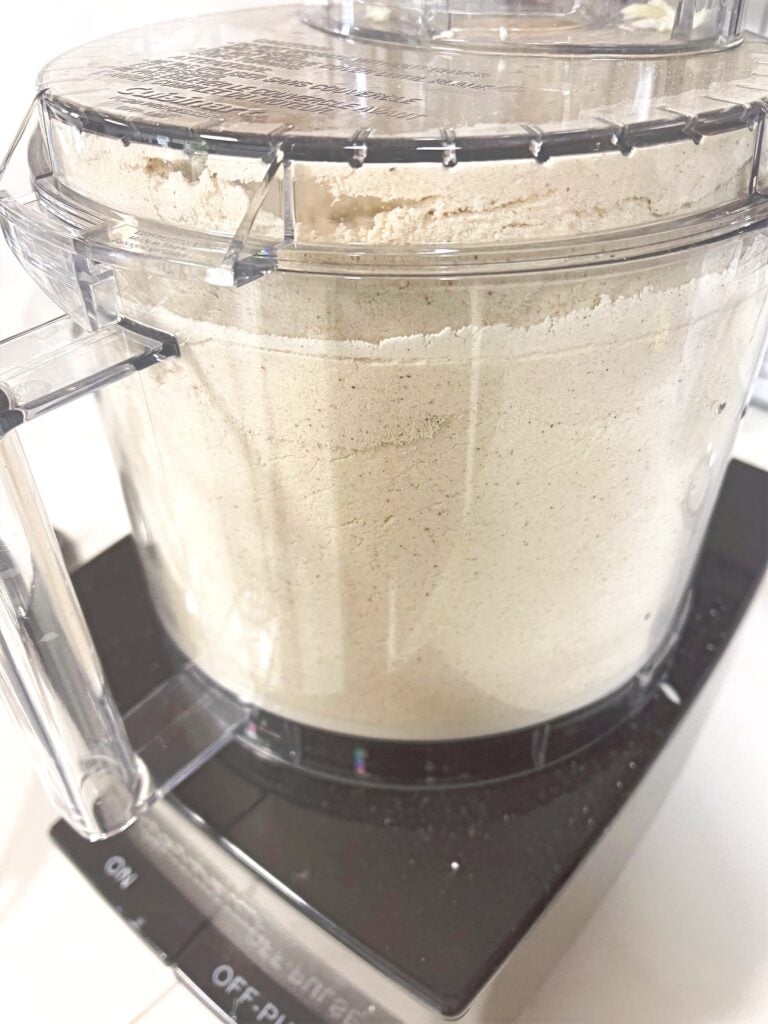
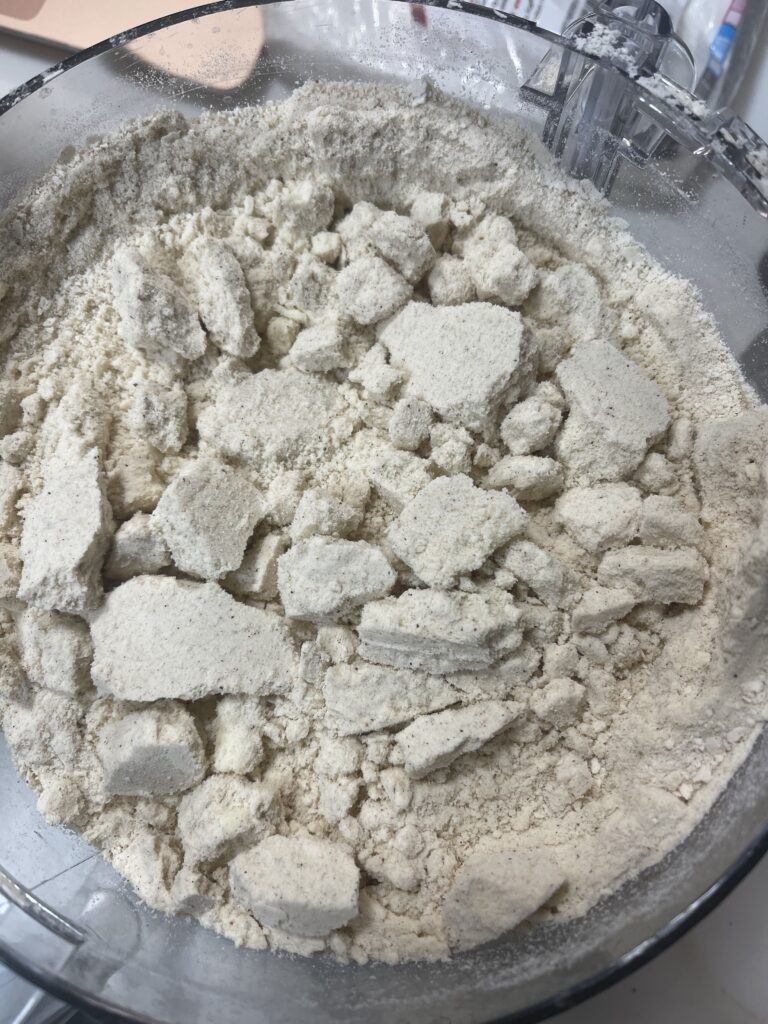
Pulse flour, baking powder, cinnamon, nutmeg, ginger, cloves, and salt together in a food processor.
-
Add the frozen butter cubes a little at a time, pulsing with each addition, until the mixture has a “moist sand” texture—you should be able to squeeze it and have it stick together. (See notes¹ for food processor tips.)
-
Make a well in the center of the flour mixture and add the pumpkin mixture. Fold together with floured hands until everything is moistened and incorporated.
-
Transfer dough to a floured surface and form into a rectangle about ½-inch thick. Cut into equal-sized wedges/triangles using a sharp knife or pastry cutter. (See notes² for round scone option.)
-
Place scones at least 2 inches apart on prepared baking sheets. Brush with remaining heavy cream.
-
Bake larger scones for 20–25 minutes, or until lightly browned. For smaller scones, bake 18–20 minutes. Remove from oven and cool slightly.
Maple Glaze
-
Melt butter and whisk into maple syrup.
-
Whisk in sifted confectioners’ sugar. Taste and add a pinch of salt if desired.
-
Drizzle over warm scones or dip tops for full coverage.
Equipment

Cuisinart 14-Cup Food Processor
Buy Now →
French Marble 11″ Rolling Pin with Base
Buy Now →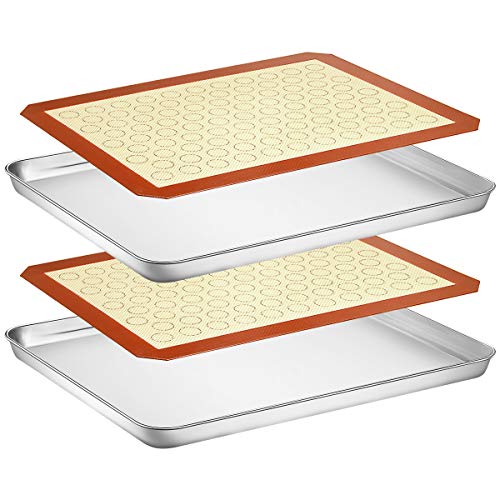
Wildone Stainless Steel Cookie Pan with Baking Mat, Size 16 x 12 x 1 Inch
Buy Now →Notes
Notes
¹ I use a 14-cup food processor, so my dough fills it nicely. For smaller processors, work in batches and combine in a large bowl.
² For round scones instead of triangles: Form dough into a ball, roll onto floured surface, and cut into 36 even rounds. Gently form each into 2-inch tall discs.
- Prep Time: 20 minutes
- Cook Time: 25 minutes
- Category: Breakfast
- Method: baking
- Cuisine: American
Nutrition
- Calories: 258
- Sugar: 15
- Sodium: 216
- Fat: 12
- Saturated Fat: 7
- Carbohydrates: 41
- Fiber: 1
- Protein: 3
- Cholesterol: 49
©Photo, Prop Styling, and Food Styling by Jenn Smith
MAKE MID-WEEK A LITTLE EASIER
Sign up below, and I’ll send you a FREE E-BOOK featuring six of my all-time favorite mid-week recipes!