No-Bake Energy Snack Bites (Coconut-Rolled)
Get your energy fix with these simple and tasty No-Bake Energy Snack Bites. Made with pantry staples, they are perfect for a quick and nutritious snack.
This recipe yields 30 Bites (balls)

This post may contain affiliate links, which means that I make a small commission off items you purchase at no additional cost to you. Please read my Affiliate Disclosure
These snack bites have been in my rotation for a long time — but I finally made a few tweaks that turned a good recipe into a great one. Chunky peanut butter for a little more texture. More chia seeds so they actually pull their weight. And a coconut roll at the end that makes these feel a little more special than your average energy ball. I’m taking my energy bites to the next level with a few small tweaks.
We go through these fast in our house. If I make a full batch on a Sunday and they’re gone by Tuesday, they’re that good.
Why You’ll Love This Recipe
- One bowl, no oven, no mess — truly
- Tastes like a candy bar, but actually has real food in it
- The coconut coating keeps your hands clean when grabbing one from the fridge
- Holds together really well (the updated ratios made a big difference)
- Kids can help with almost every step
Quick Overview
If you just want the Energy Snack Bites recipe itself and missed the “jump to recipe” button at the top, keep scrolling.
About the Ingredients
To make these no-bake, low-mess, energy snack bites recipe, you will need the following ingredients (substitutes are included as well):

- Old-fashioned rolled oats — These are the base. Don’t swap in quick oats; they’ll make the texture too soft and the bites won’t hold their shape as well.
- Chunky peanut butter (1 lb jar) — The switch to chunky is intentional. Those little peanut pieces add texture and make these feel more substantial. Use a natural peanut butter without added sugar — you want to control the sweetness. Sunflower butter works if nut allergies are a concern.
- Honey — Just enough to sweeten and help bind. Maple syrup is a 1:1 swap if you prefer. Vanilla extract — Don’t skip it. Vanilla adds a warmth that rounds out the peanut butter and butterscotch without adding more sweetness. Sea salt — A little salt makes everything in here taste more like itself.
- Chia seeds (¼ cup) — Upped from the original. They add protein, fiber, and help hold the bites together as they chill. Worth having in your pantry for this reason alone.
Flaxseed meal (¼ cup) — Also helps bind things and adds omega-3s and fiber. If you can’t find it, sub with an equal amount of additional oats. - Unsweetened coconut flakes — Half a cup goes into the mix, and the extra half cup is for rolling. Toasting the coconut first adds a whole other layer of flavor if you have a few extra minutes.
- Semi-sweet chocolate chips — Standard size works great here.
- Butterscotch chips — These are what give the bites that candy bar flavor. Not a butterscotch fan? Just double the chocolate chips instead.
How to Make Them:
To make these energy bites, simply…
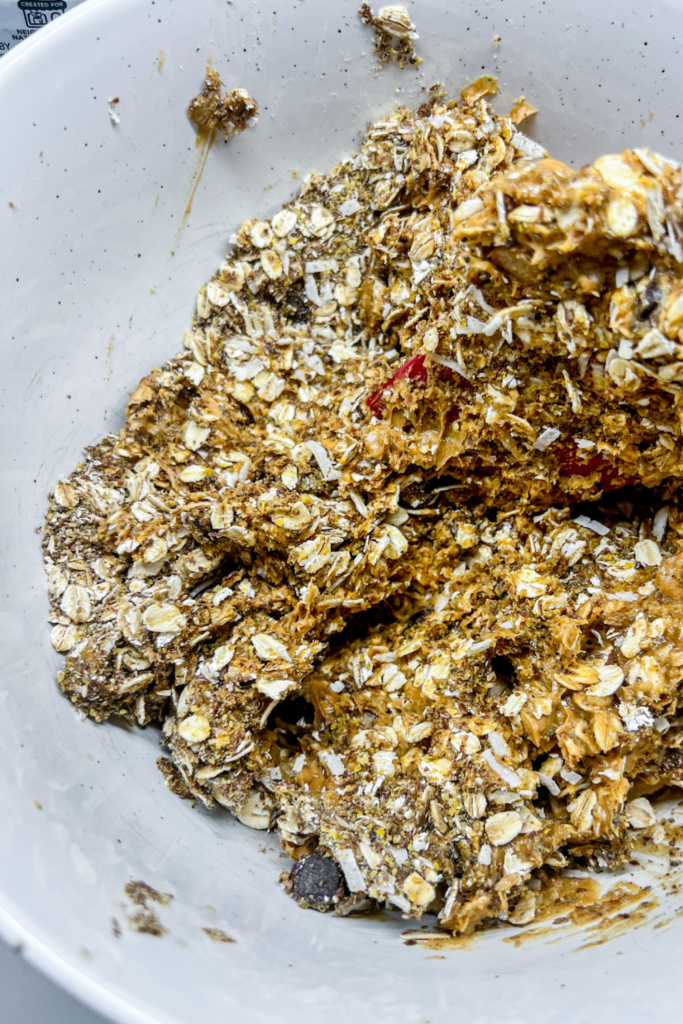
Step 1: Mix everything (except the reserved coconut)
Mix everything (except the reserved coconut)
Add the peanut butter, honey, and vanilla to a large mixing bowl and stir to combine. Add the oats, chia seeds, flaxseed meal, ½ cup coconut flakes, chocolate chips, butterscotch chips, and salt. Mix until everything is fully incorporated — the mixture is thick and stiff, so using your hands is actually the easiest way to get it all combined. Gloves recommended if you have them.
Jenn’s Kitchen Tip
If the mixture feels too dry to hold together, add a tablespoon or two more peanut butter.
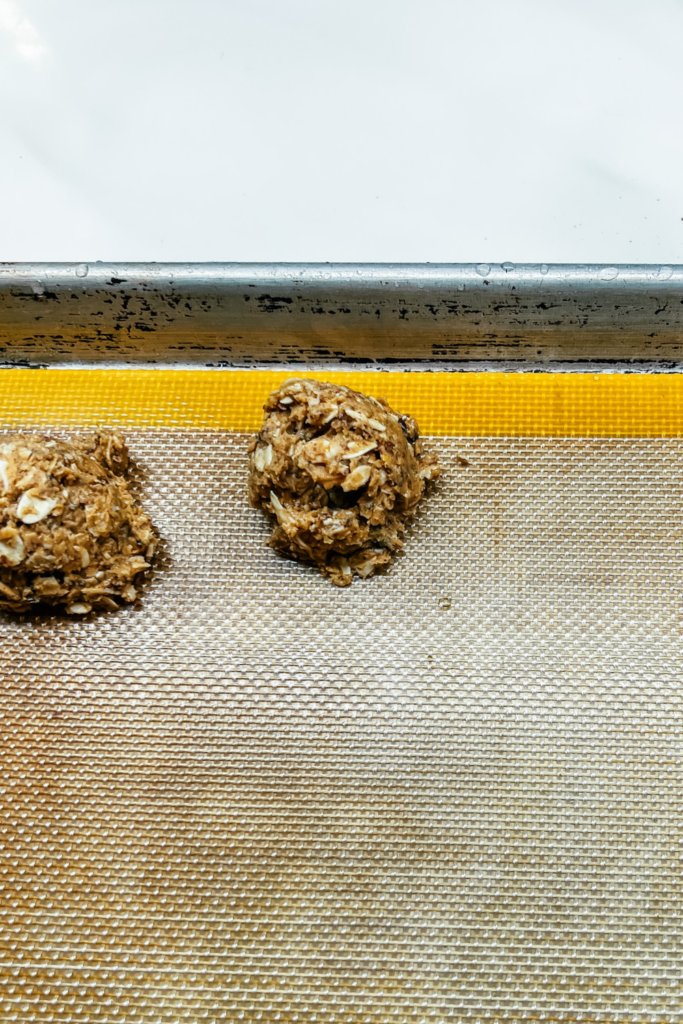
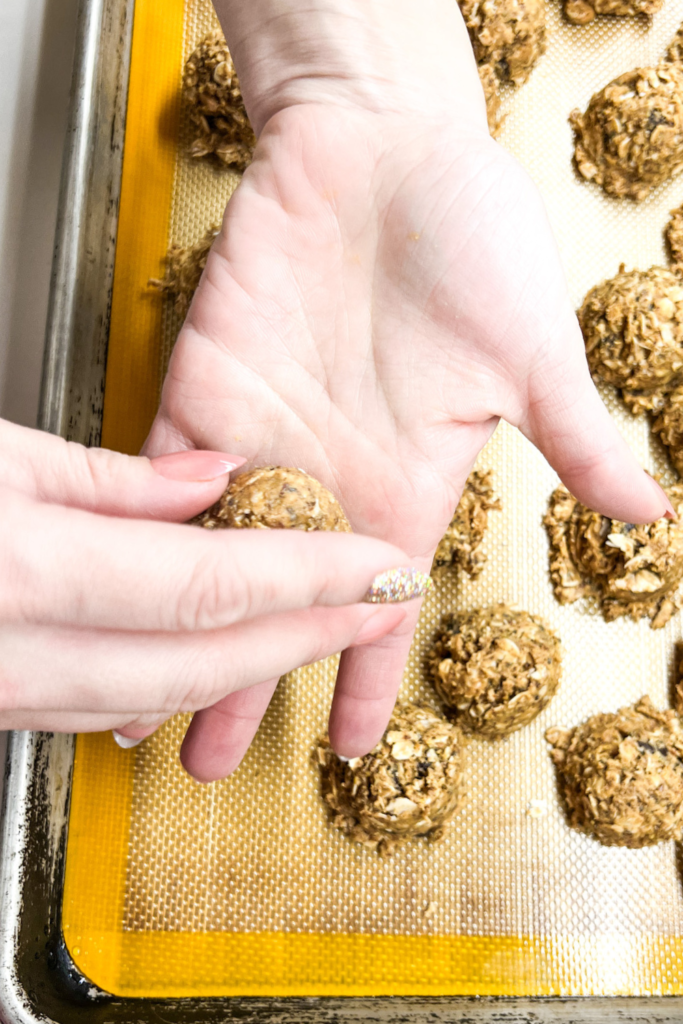
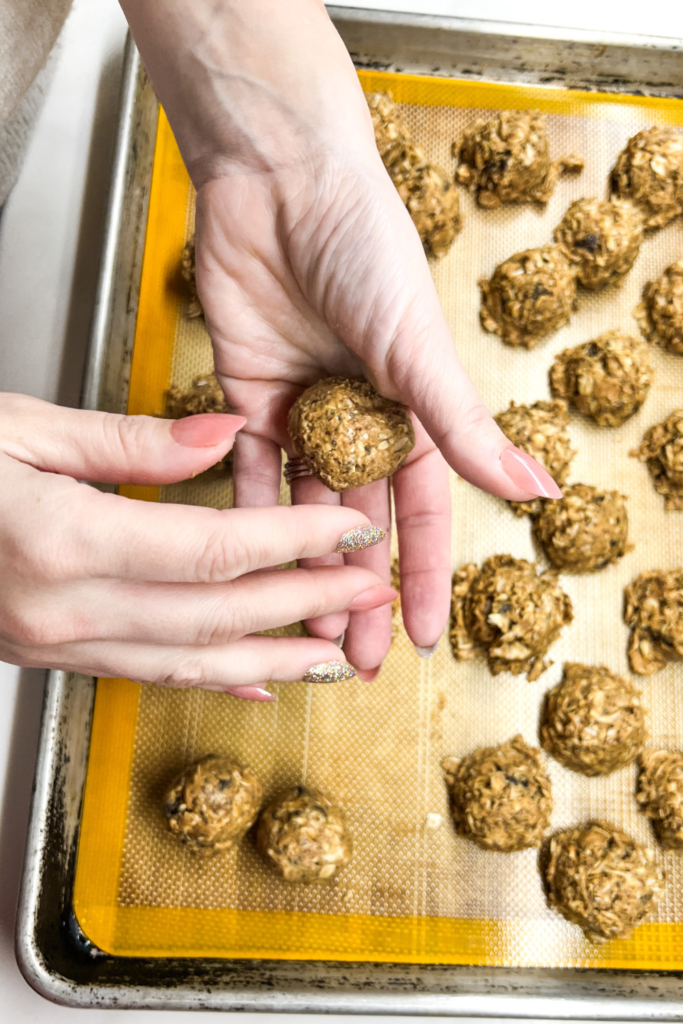
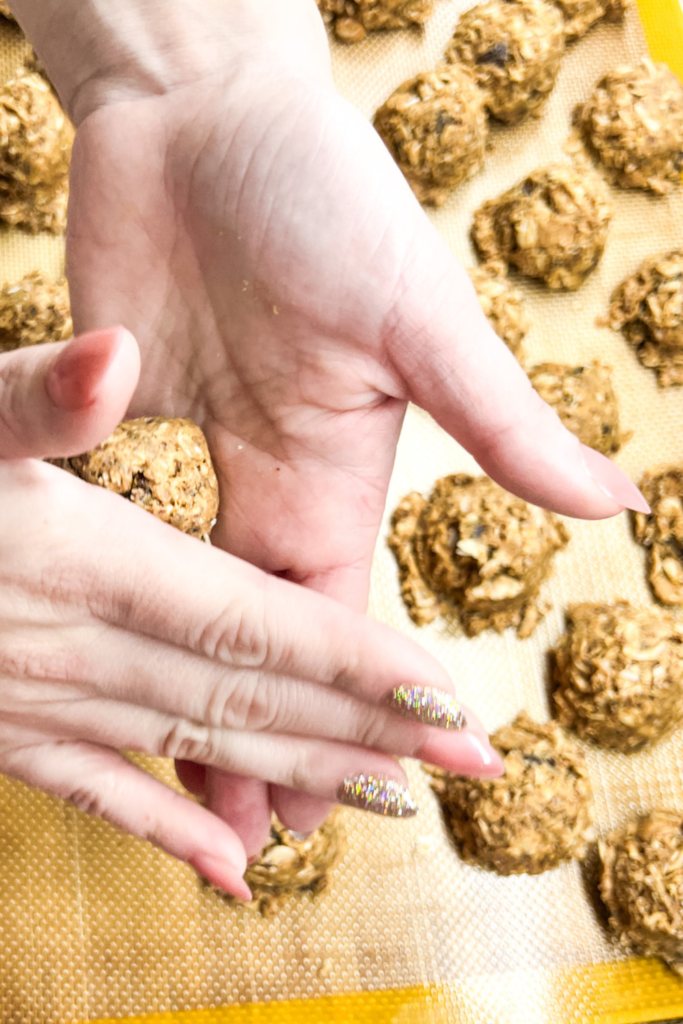
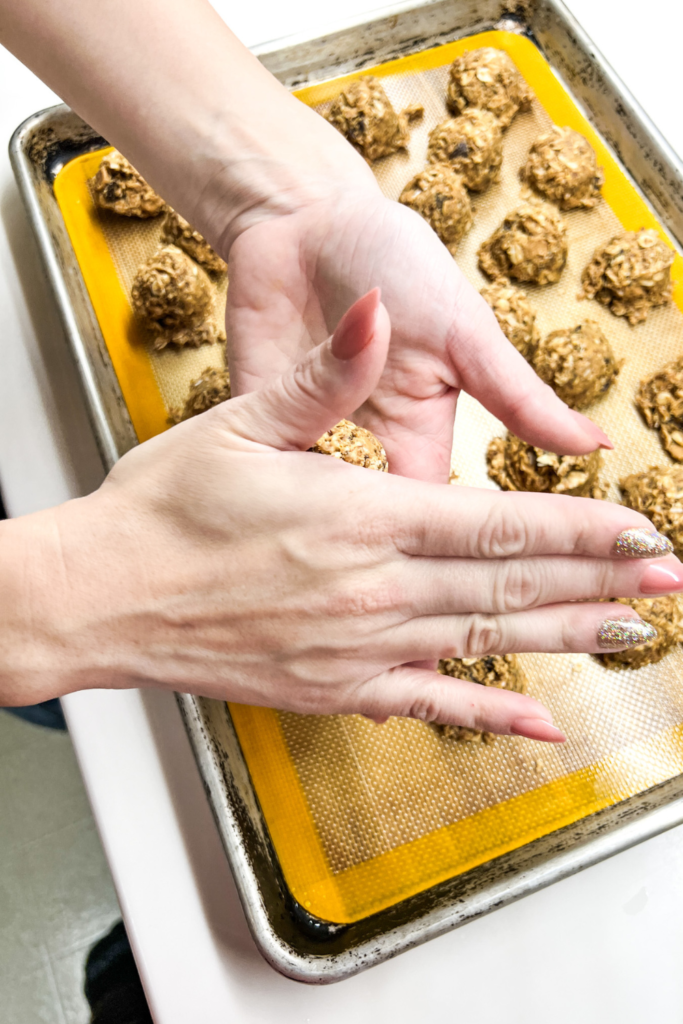
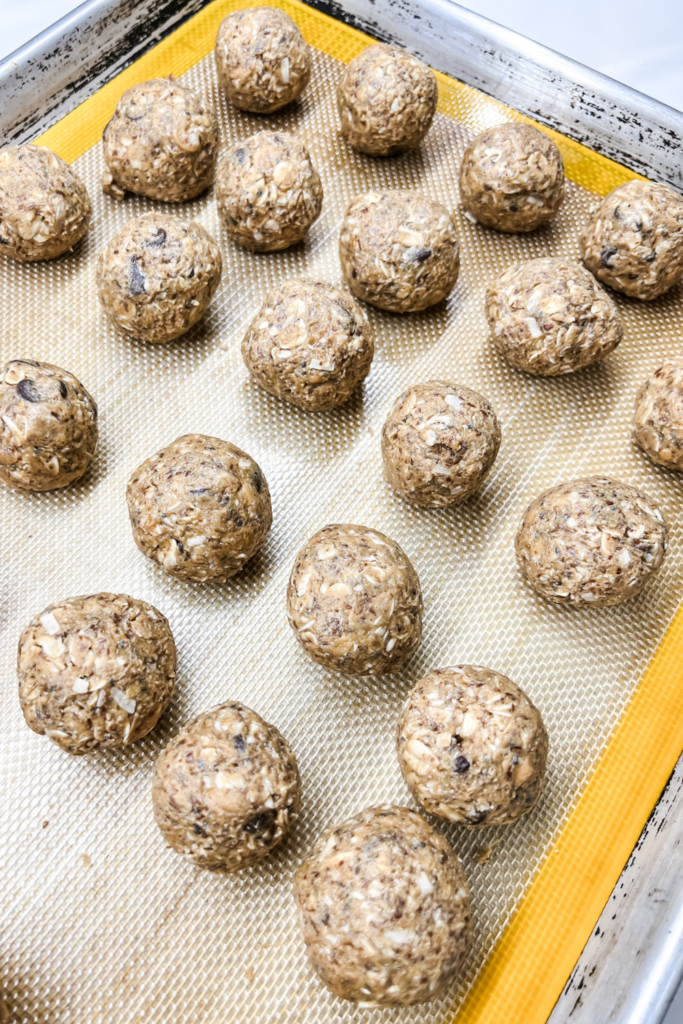
Step 2: Roll into balls
Scoop out 1½ tablespoons of the mixture using a cookie scoop. Roll between your palms into a ball. Gloves are genuinely helpful here if you have them — it keeps the mess minimal and helps you get a smooth, even shape.

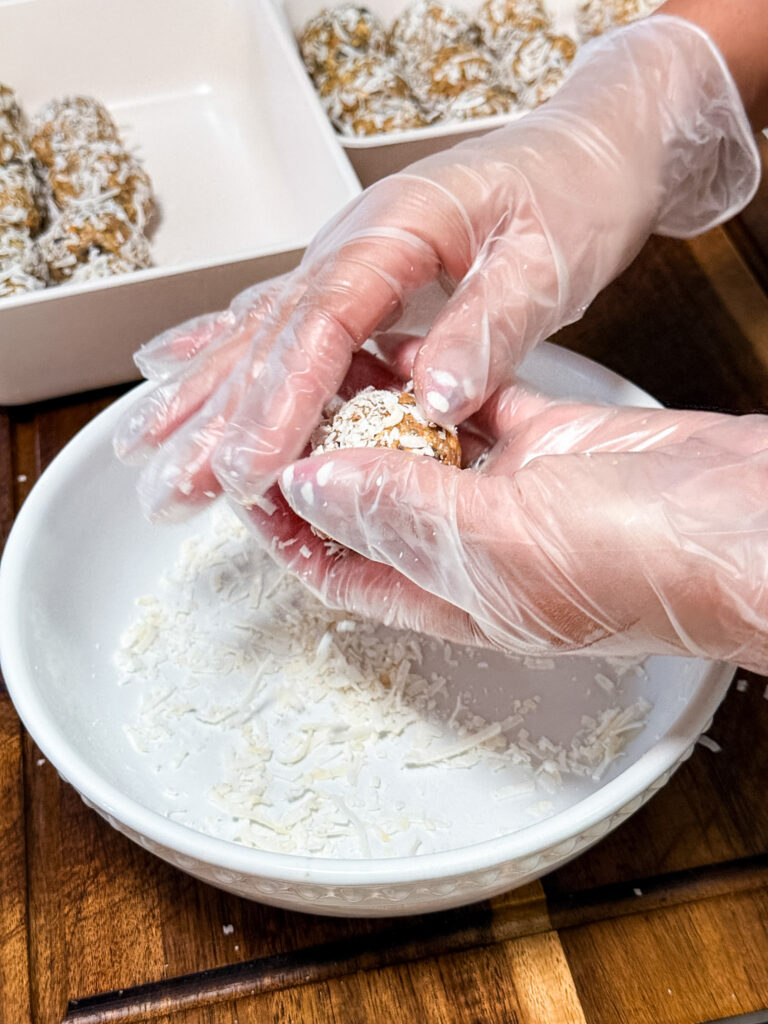
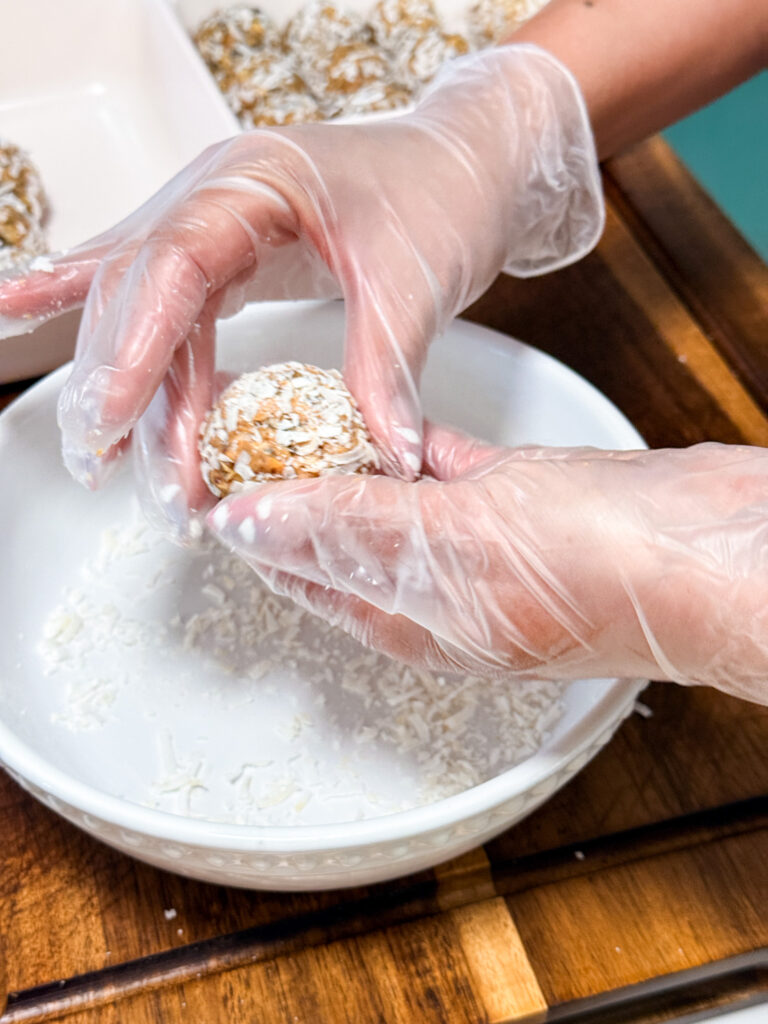
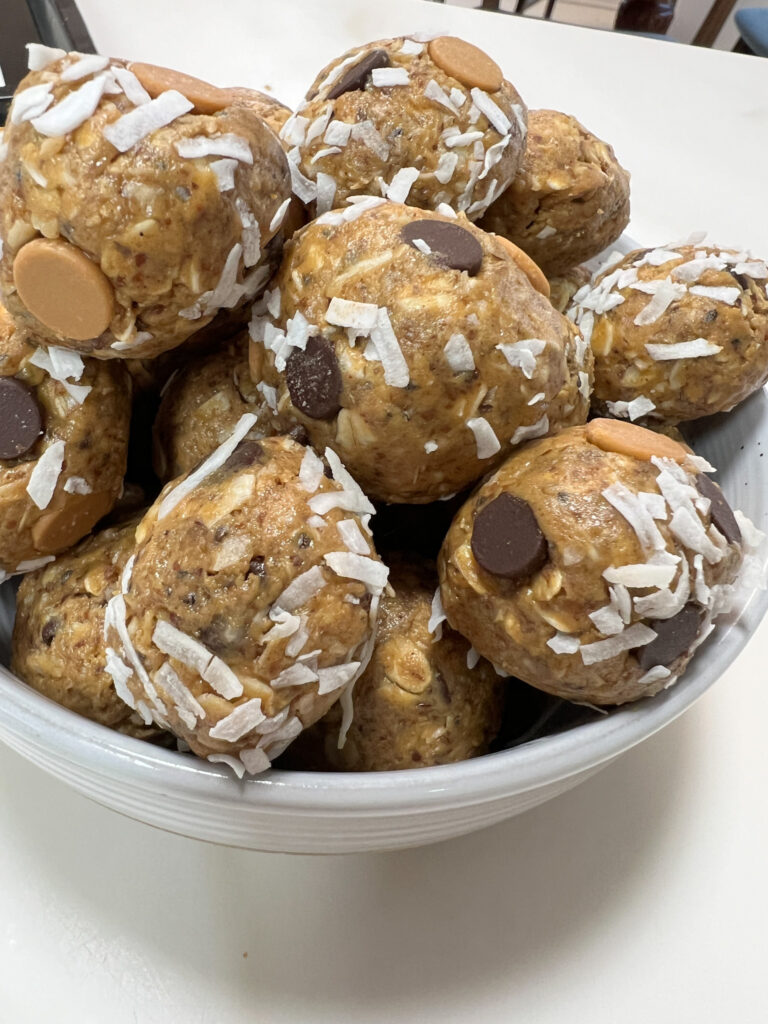
Step 3: Coat in coconut
Pour the remaining ½ cup of coconut flakes into a small bowl. Roll each ball in the coconut until coated, pressing lightly so it sticks.
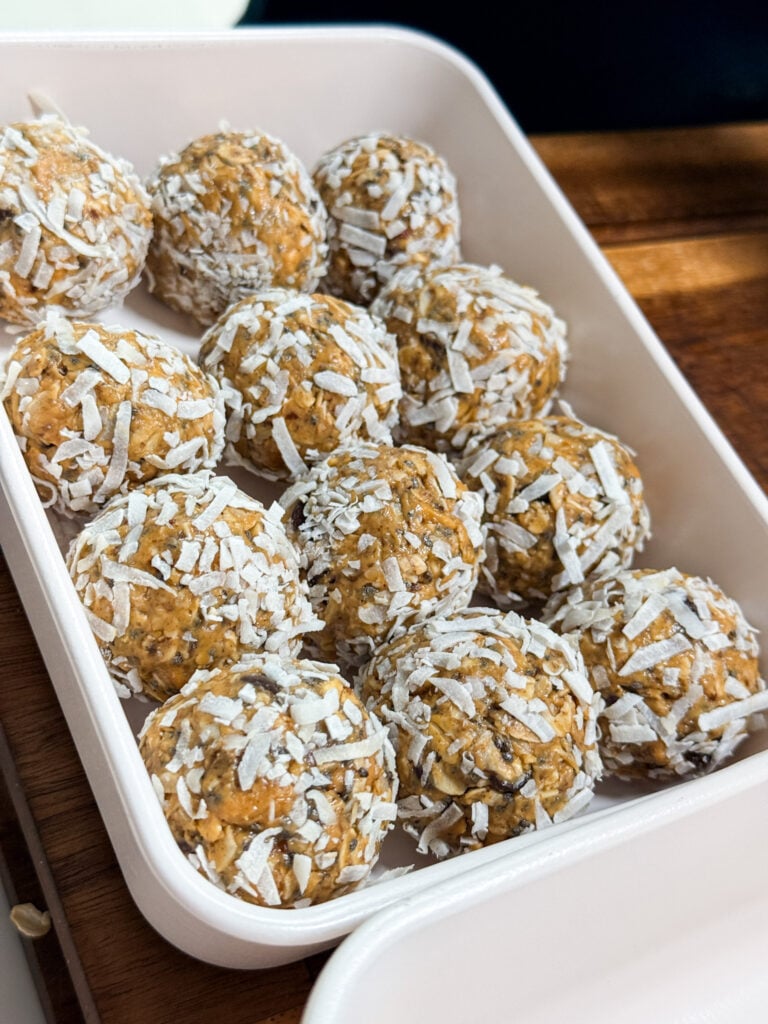
Step 4: Chill
Arrange the bites in a container or on a baking sheet and chill in the refrigerator for 1–2 hours, or the freezer for 15–30 minutes. They firm up nicely and are so much better once cold
Step 5: Store and enjoy
These keep in the fridge for 5–7 days in a sealed container, and up to 3 months in the freezer. I usually just keep mine in a bowl in the fridge because everyone grabs them within a few days anyway.
Cooking With Kids
This is genuinely one of the easiest recipes to involve kids in — there’s no heat, no sharp tools, just mixing and rolling.
- Younger kids (5–8): measuring dry ingredients, stirring (it takes a little muscle — great for them), rolling in coconut
- Older kids (9+): scooping and rolling the balls, the whole process start to finish
Just note: the dough is thick and takes a little muscle to mix — great for older kids to dig into with their hands.
Jenn’s Kitchen Tip
→ Use a cookie scoop. A 1½ tablespoon scoop makes consistent bites and speeds things up dramatically. Worth it.
→ Use your hands to mix. The dough is thick — a spatula will only get you so far. Once it starts to come together, just get in there with your hands. Food-Safe Gloves (the thin disposable kind) make it cleaner and easier, especially when you go straight from mixing to rolling.
→ Toast the coconut if you can. Spread the rolling coconut in a dry skillet over medium heat and stir for 2–3 minutes until golden. Let it cool completely before rolling. The flavor difference is genuinely worth the 5 minutes.
→ Freeze them for hot days. Tuck them in a lunch box still frozen in the morning — they’ll be perfectly soft and cold by lunchtime.
→ They taste better the next day. The flavors meld as they chill and the oats soften slightly. Day two is the sweet spot.
More recipes you can’t miss:
No-Bake, Low-Mess, Energy Snack Bites
- Total Time~1 hour 15 minutes
- Yield~30 bites
- DietCould be Gluten-Free — use certified gluten-free rolled oats, Dairy-Free, Vegetarian
These no-bake snack bites are a one-bowl, no-oven recipe built on pantry staples. Chunky peanut butter, oats, chia seeds, chocolate and butterscotch chips — rolled in shredded coconut and chilled until firm. They taste like a candy bar and take about 15 minutes of hands-on time.

Ingredients
Wet / Binding:
- 1 (1 lb) jar chunky natural peanut butter
- 1/4 cup honey
- 1 tsp vanilla extract
- 1/4 tsp sea salt
Dry Mix-Ins:
- 1 1/2 cups old-fashioned rolled oats
- 1/4 cup chia seeds
- 1/4 cup flaxseed meal (ground flax)
- 1/2 cup unsweetened coconut flakes
- 1/2 cup semi-sweet chocolate chips
- 1/2 cup butterscotch chips
For Rolling:
- 1/2 cup unsweetened coconut flakes
Instructions
- In a large bowl, stir together the peanut butter, honey, vanilla, and salt until combined.
- Add the oats, chia seeds, flaxseed meal, ½ cup coconut flakes, chocolate chips, and butterscotch chips. Mix until fully incorporated. The mixture will look dry at first — keep mixing until it forms a thick, stiff dough.
- Using a 1½ tablespoon cookie scoop, portion the mixture and roll each portion into a smooth ball.
- Place the remaining ½ cup coconut flakes in a shallow bowl. Roll each ball in the coconut, pressing lightly to adhere.
- Arrange in a container or on a lined baking sheet. Refrigerate for 1–2 hours (or freeze for 15–30 minutes) until firm.
- Store in a sealed container in the refrigerator.
Recipe Video
Equipment
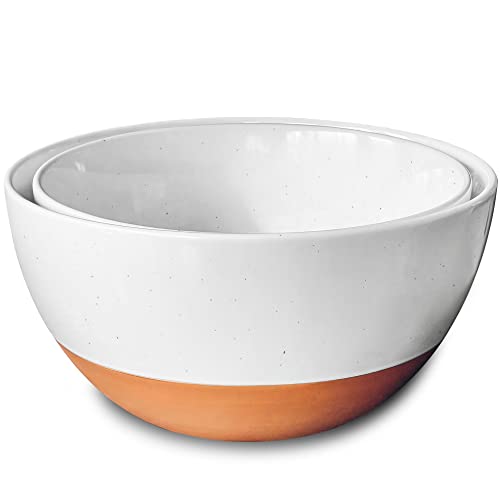
Mora Ceramics Small Mixing Bowls Set of 2 – 2.5 & 1.6 Qt (Vanilla White)
Buy Now →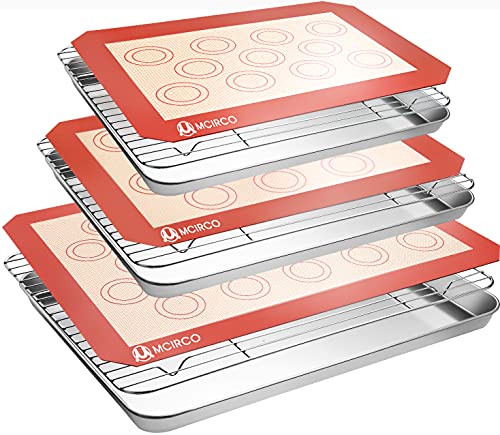
Stainless Steel Baking Sheet Set with Silicone Mats and Cooling Racks (Set of 9)
Buy Now →
ThermoWorks Hi-Temp Silicone Spatula
Buy Now →Notes
Peanut butter: Natural (no added sugar) chunky peanut butter is recommended. Sunflower butter works as a nut-free swap. If the mixture is too dry to roll, add 1–2 tablespoons more peanut butter.
Butterscotch chips: If you’re not a butterscotch fan, just double the chocolate chips.
Honey: Swap 1:1 with maple syrup.
Coconut: If you have a coconut sensitivity, replace with additional flaxseed meal or oats in the dough.
Toasting the coconut: Optional but great. Toast the rolling coconut in a dry skillet over medium heat for 2–3 minutes, stirring, until golden. Cool completely before rolling.
Chilling tip: If your bites aren’t holding their shape while rolling, chill the dough for 15–20 minutes before scooping.
Storage:
- Refrigerator: 5–7 days in a sealed container
- Freezer: Up to 3 months
- Freezer tip: Pack them frozen in a lunch bag — they’ll thaw to the perfect texture by lunch.
- Prep Time: 15 minutes
- Chilling Time: 1–2 hours (or 15–30 min freezer)
- Cook Time: n/a
- Category: Snack
- Method: freezer-friendly, No-Bake, One-Bowl
- Cuisine: American
MAKE MID-WEEK A LITTLE EASIER
Sign up below, and I’ll send you a FREE E-BOOK featuring six of my all-time favorite mid-week recipes!
©Photo, Prop Styling, and Food Styling by Jenn Smith owner of Jenn Giam Smith; Jenn Smith, LLC