One-Pot Mac and Cheese
Silky, creamy mac and cheese made entirely in one pot—no draining pasta, no separate cream sauce. Ready in under 20 minutes, and tastes like the comfort food version of itself.
This post may contain affiliate links, which means that I make a small commission off items you purchase at no additional cost to you. Please read my Affiliate Disclosure
There’s something about one-pot recipes that just works, especially when you’re feeding a family and the last thing you want to do is babysit multiple burners. This mac and cheese is exactly that: pasta and sauce happening in the same place at the same time. No draining. No scrambling. Just creamy, cheesy pasta that’s somehow ready before everyone’s even finished setting the table.
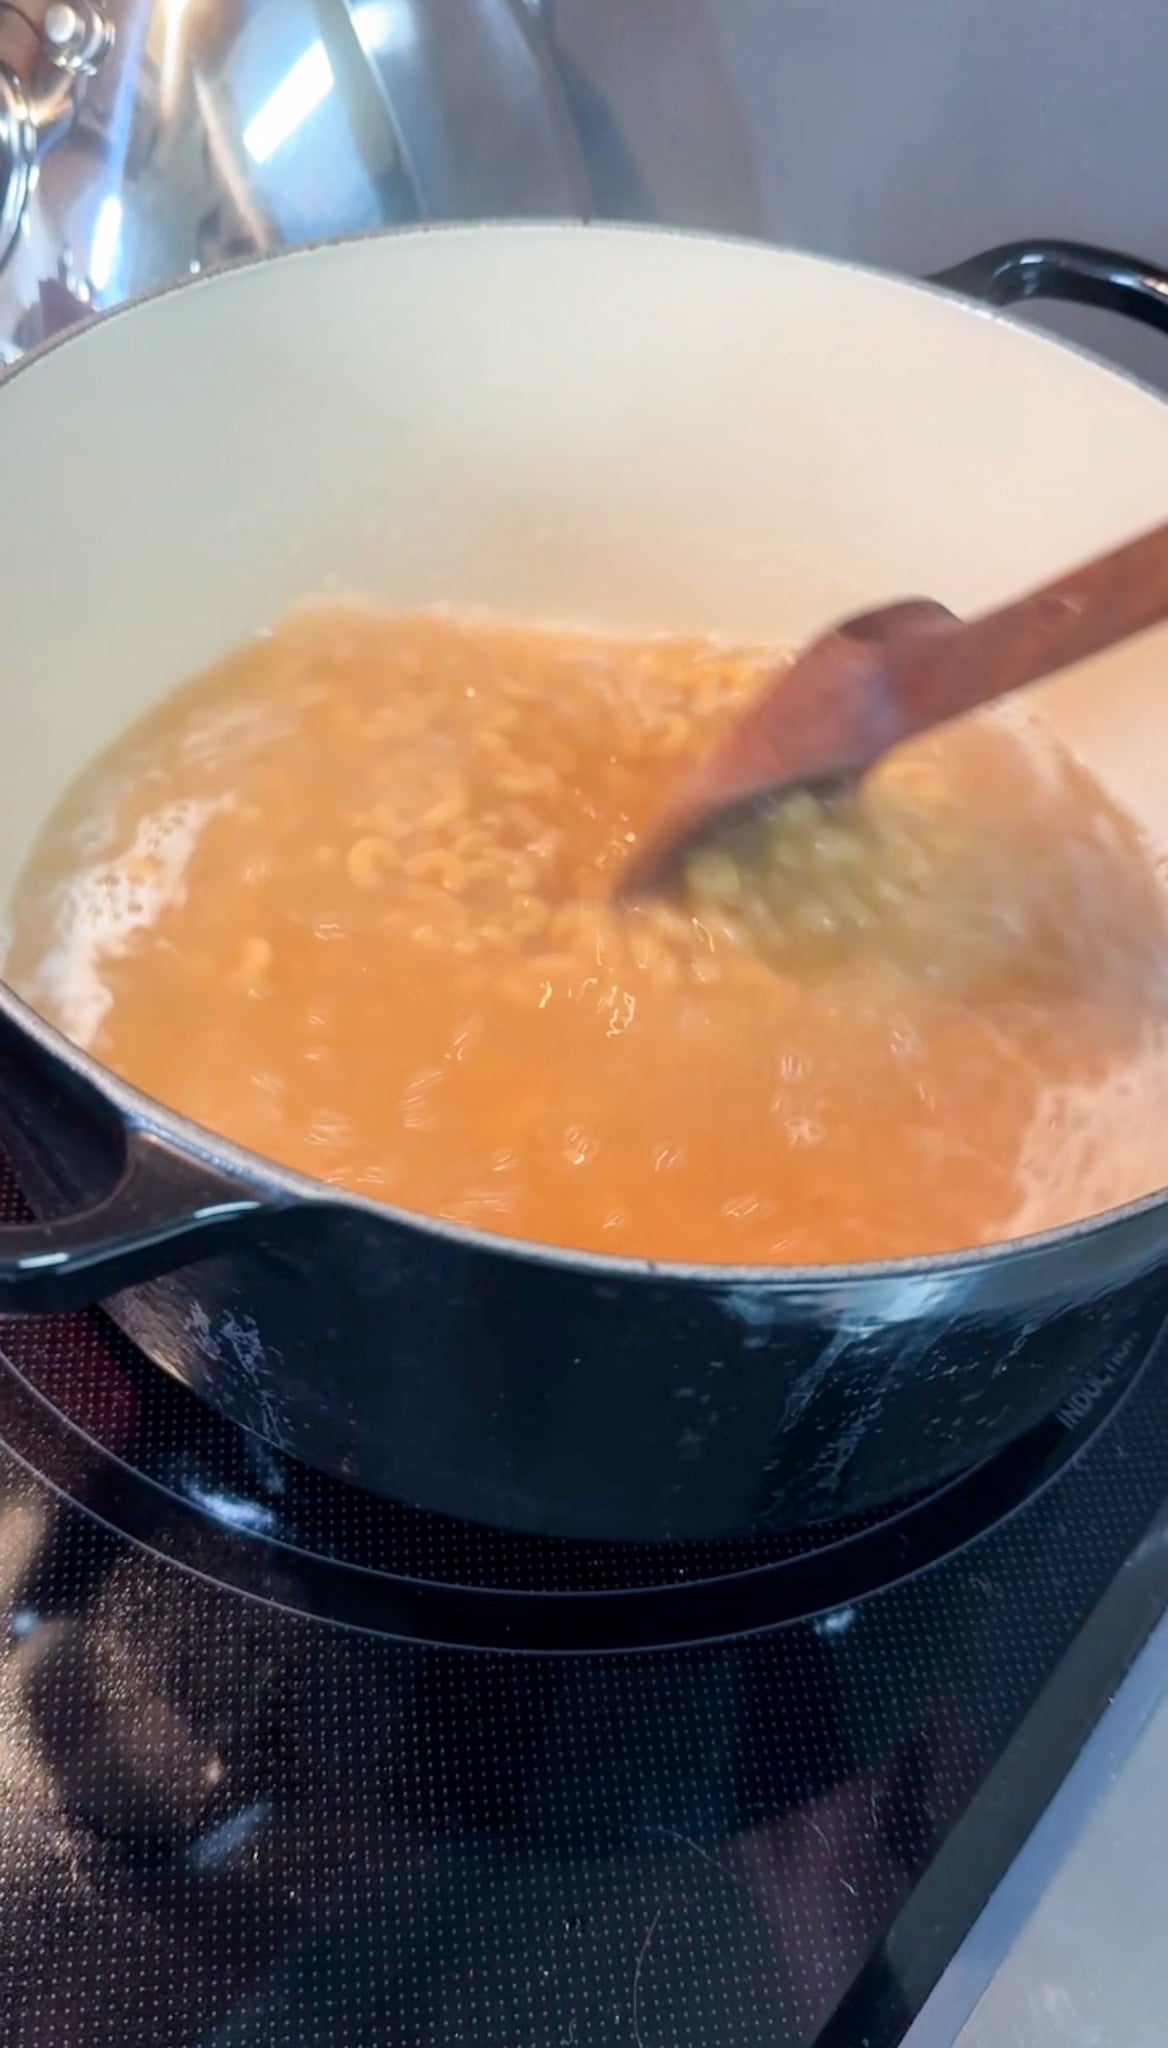
The secret is cooking the pasta directly in the broth. As it absorbs the liquid, it also absorbs all those savory flavors. Then, once it’s tender, you stir in cream and cheese—mascarpone especially helps keep the sauce smooth and luxurious, even if it cools down a bit. I’ve made this dozens of times, and it’s become the recipe I reach for when I need something that feels homemade without the fuss.
Why You’ll Love This Recipe
✓ Actually one pot. Pasta cooks right in the broth—no colander needed.
✓ Ready in under 20 minutes. Weeknight dinner that doesn’t feel rushed.
✓ Creamy without being heavy. Mascarpone keeps the sauce silky without tasting overdone.
✓ Built-in flavor. Cooking pasta in broth means every bite is seasoned, not just the outside.
✓ Flexible on the details. Use whatever short pasta you have, adjust cheese ratios to taste.
About the Ingredients
The broth: Good-quality chicken broth is your foundation. It’s not just seasoning liquid—it’s where all the savory depth comes from. I prefer a low-sodium broth so I can control the salt level.
The cheese blend: Shredded cheddar is the main event, but mascarpone is the secret. It emulsifies beautifully and keeps the sauce from ever getting grainy or breaking, even if it sits.
Dijon mustard and spices: Just a quarter teaspoon of Dijon adds a subtle tanginess that makes you stop and wonder what it is. The garlic powder and onion powder should feel like background notes, not a spice cabinet situation.
How to Make It
- Start the broth. Add the chicken broth, mustard, onion powder, garlic powder, salt, paprika, turmeric, and pepper to a large pot. Bring to a rolling boil.
- Add the pasta. Stir in the pasta and cover the pot. Once it comes back to a boil, start stirring every couple of minutes. Cook for 8–10 minutes until al dente.
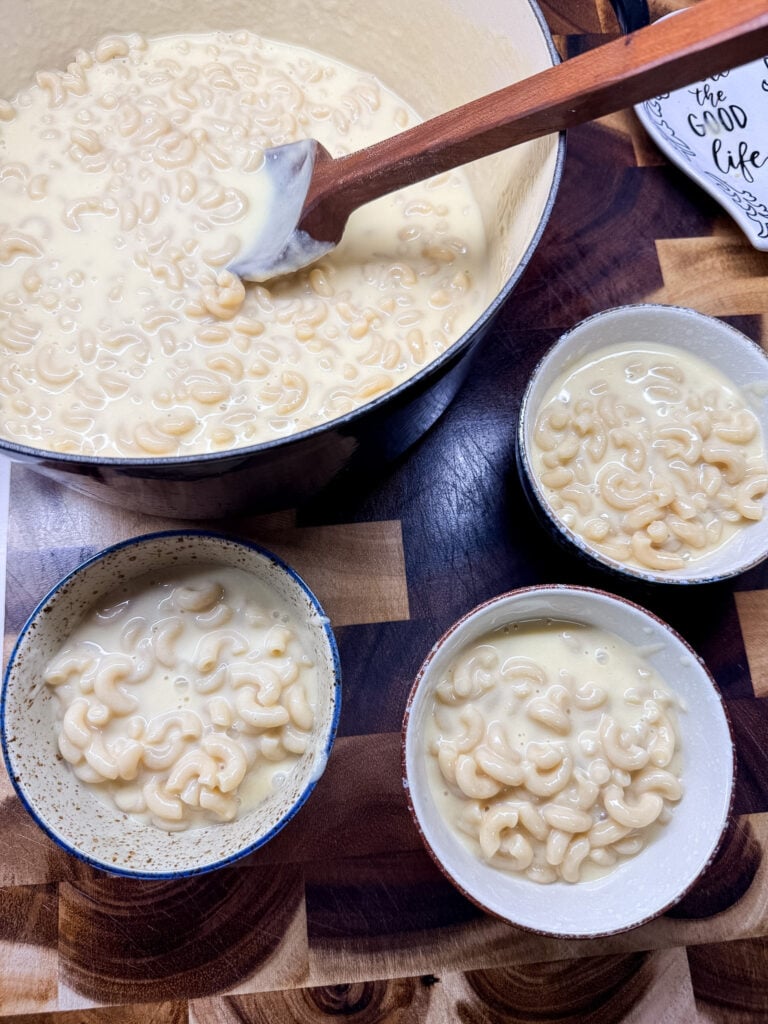
- Watch for absorption. The pasta will absorb most of the broth. You’re done when liquid is mostly gone and the pasta is tender with a little bite.
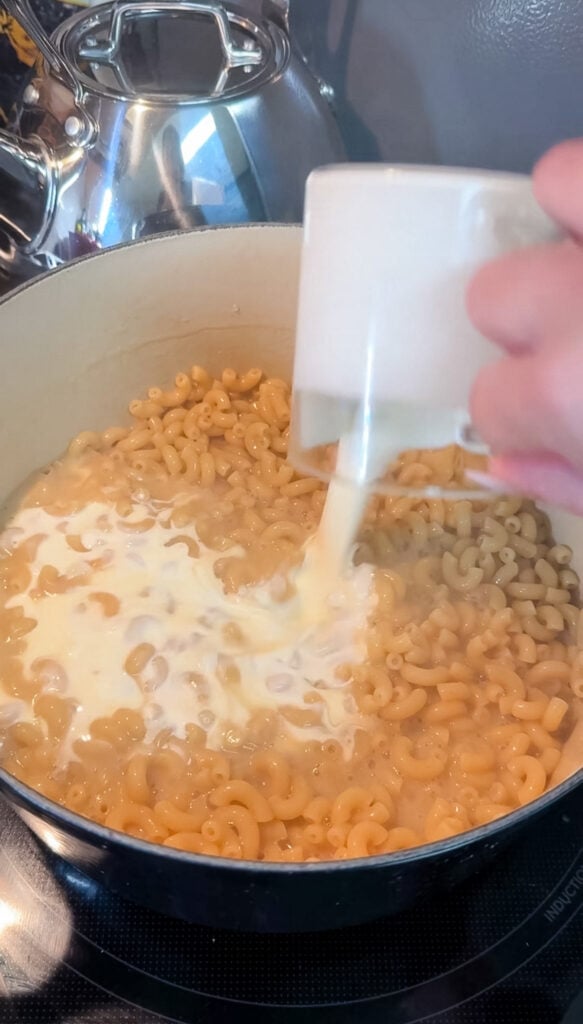
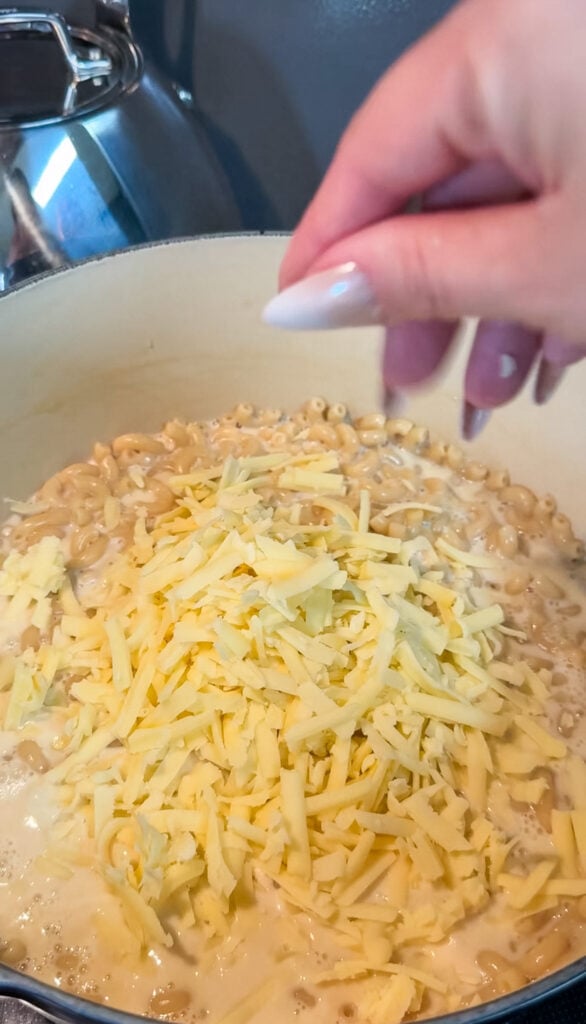
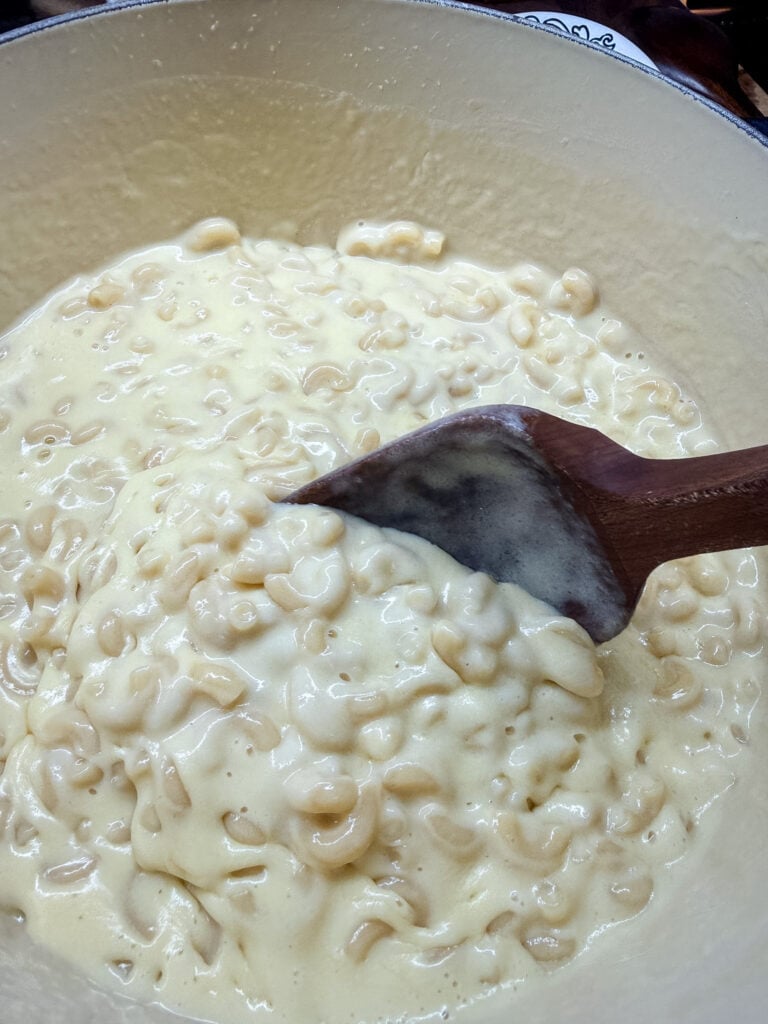
- Finish with cream and cheese. Remove from heat. Pour in the heavy cream and stir well. Add the shredded cheddar and mascarpone, stirring constantly until every bit is melted and smooth.
- Taste and adjust. Add more salt or pepper if you need it. Sometimes I add a tiny bit more cream if I want it silkier.

Cooking with Kids
This is a fun one, but it requires a real conversation about hot oil first. I don’t let my younger kids near the actual frying, but there’s plenty else:
- For the baked version: This is the kid-friendly route. They can help brush oil, cut tortillas, arrange them on the sheet, and check the oven (with you). No hot-oil anxiety.
- Cutting tortillas: Older kids (8+) can carefully cut tortillas into triangles with a chef’s knife under supervision. Younger kids can use a pizza cutter, which is safer and still fun.
- Salting: Kids love being in charge of seasoning. Let them sprinkle salt on the warm chips. You’ll probably end up with some over-salted ones, but it’s a great teaching moment about tasting as you go.
- Draining and stacking: Once chips are cool enough to touch, kids can help transfer them to a serving bowl. It’s a satisfying step, and they see the finished product coming together.
Jenn’s Kitchen Tip
Use a thermometer, actually. I know it feels fussy, but oil temperature is the whole game here. A clip-on deep-fry thermometer is cheap and makes this foolproof. If you don’t have one, you can test the oil by dropping a tiny piece of tortilla in — if it sizzles immediately and turns golden in about 10 seconds, you’re in the zone. But honestly, just get a thermometer. ThermoWorks makes excellent ones that are fast and accurate, and they double as your instant-read for roasting too.
Stale tortillas are your friend. If you’re staring at a bag of tortillas that’s been in your pantry for a week, that’s exactly what you need. Don’t throw them out. The lower moisture content means faster, crisper frying and less oil absorption. Win.
You can reuse the oil. Let it cool completely, strain it through fine mesh or cheesecloth to catch any tortilla particles, and pour it into a clean container. It’ll be good for a couple of uses. Store it in a cool place or the fridge. Don’t reuse it more than 2–3 times; old oil gets gummy and smokes easier.
Cut uniform sizes. If you cut some chips super thin and some thick, the thin ones will burn before the thick ones crisp. Try to keep them roughly the same size for even cooking.
Don’t skip the cooling station. Those paper towels do real work — they absorb excess oil and help chips stay crispy as they cool. Piling hot chips directly into a bowl keeps steam trapped and makes them soften.
Serve them fresh or store smart. Chips taste best within a few hours of frying, but they’ll keep in an airtight container for 2–3 days. If they soften, you can re-crisp them in a 300°F oven for about 5 minutes.
FAQ
Absolutely. Sharp cheddar, Gruyère, or smoked gouda all work. Just keep the ratio roughly the same.
Gently, over low heat or in a 325°F oven for 15–20 minutes. Add a splash of cream or milk to loosen it up.
Yes. Refrigerate for up to 3 days, then reheat gently.
This recipe is a cornerstone at our table—the one I reach for on nights when we need something easy, comforting, and ready in minutes. Make it, tweak it to your taste, and let me know in the comments what version you landed on.
Tag me @cheersjennsmith on Instagram if you make this.

One-Pot Mac and Cheese
Creamy, ready in under 20 minutes. Pasta cooks right in the broth, then gets tossed with melty cheese.
- Total Time: 20 minutes
- Yield: 6–8 servings 1x
Ingredients
- 16 oz short-cut pasta (shells, elbows, penne, orzo)
- 4 cups chicken broth (low-sodium preferred)
- 1 teaspoon salt (plus more to taste)
- 1/2 teaspoon black pepper
- 1 teaspoon onion powder
- 1 teaspoon garlic powder
- 1/4 teaspoon Dijon mustard
- 1/2 teaspoon paprika
- 1/4 teaspoon turmeric
- 16 oz sharp cheddar cheese, shredded
- 1/4 cup mascarpone cheese
- 1 cup heavy cream
Instructions
- Combine broth, salt, pepper, onion powder, garlic powder, mustard, paprika, and turmeric in a large pot. Bring to a rolling boil.
- Add pasta, stir, and cover. Return to boil.
- Stir every 2–3 minutes. Cook 8–10 minutes until al dente and most liquid is absorbed.
- Remove from heat. Pour in heavy cream and stir well.
- Add cheddar and mascarpone, stirring constantly until completely melted and smooth.
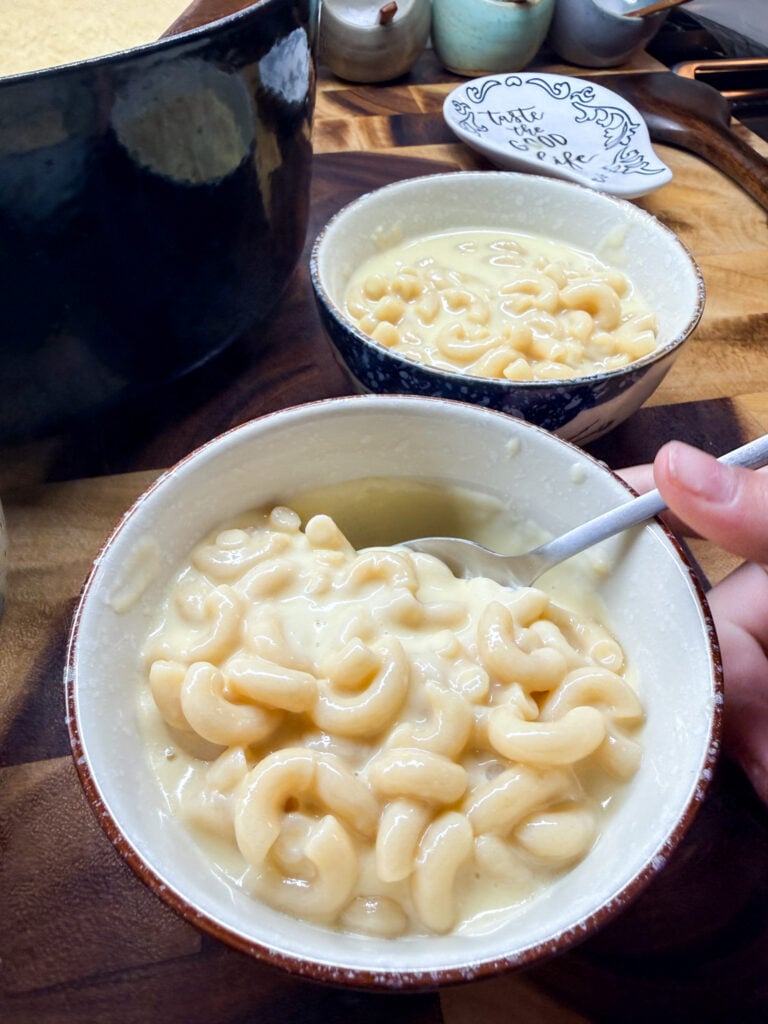
- Taste and adjust seasonings. Serve warm.

Notes
- Storage: Keep in airtight container 3 days.
- Reheating: Warm gently at 325°F for 15–20 minutes with splash of cream or milk.
- Variations: Add bacon, sautéed mushrooms, or steamed broccoli. Use Gruyère, gouda, or fontina.
- Make-Ahead: Assemble and refrigerate up to 3 days ahead.
Recipe & Photo Credit
This recipe and all images are original content created by Jenn Giam Smith for Cheers, Jenn.
You’re welcome to link to this recipe using one photo with proper credit. Please do not copy, republish, or redistribute this recipe or images without permission.
Have a question or want to share how it turned out?
Leave a comment below — I love hearing from you. 💛
MAKE MID-WEEK A LITTLE EASIER
Sign up below, and I’ll send you a FREE E-BOOK featuring six of my all-time favorite mid-week recipes!