The Perfect Homemade Waffles Recipe
Discover the secret to making the best homemade waffles. Crispy on the outside, fluffy on the inside, and perfect for freezing.
This post may contain affiliate links, which means that I make a small commission off items you purchase at no additional cost to you. Please read my Affiliate Disclosure

This waffle recipe post may contain affiliate links. That means I may make a small commission on items purchased through links in this post at no extra cost to you! Affiliate Disclaimer
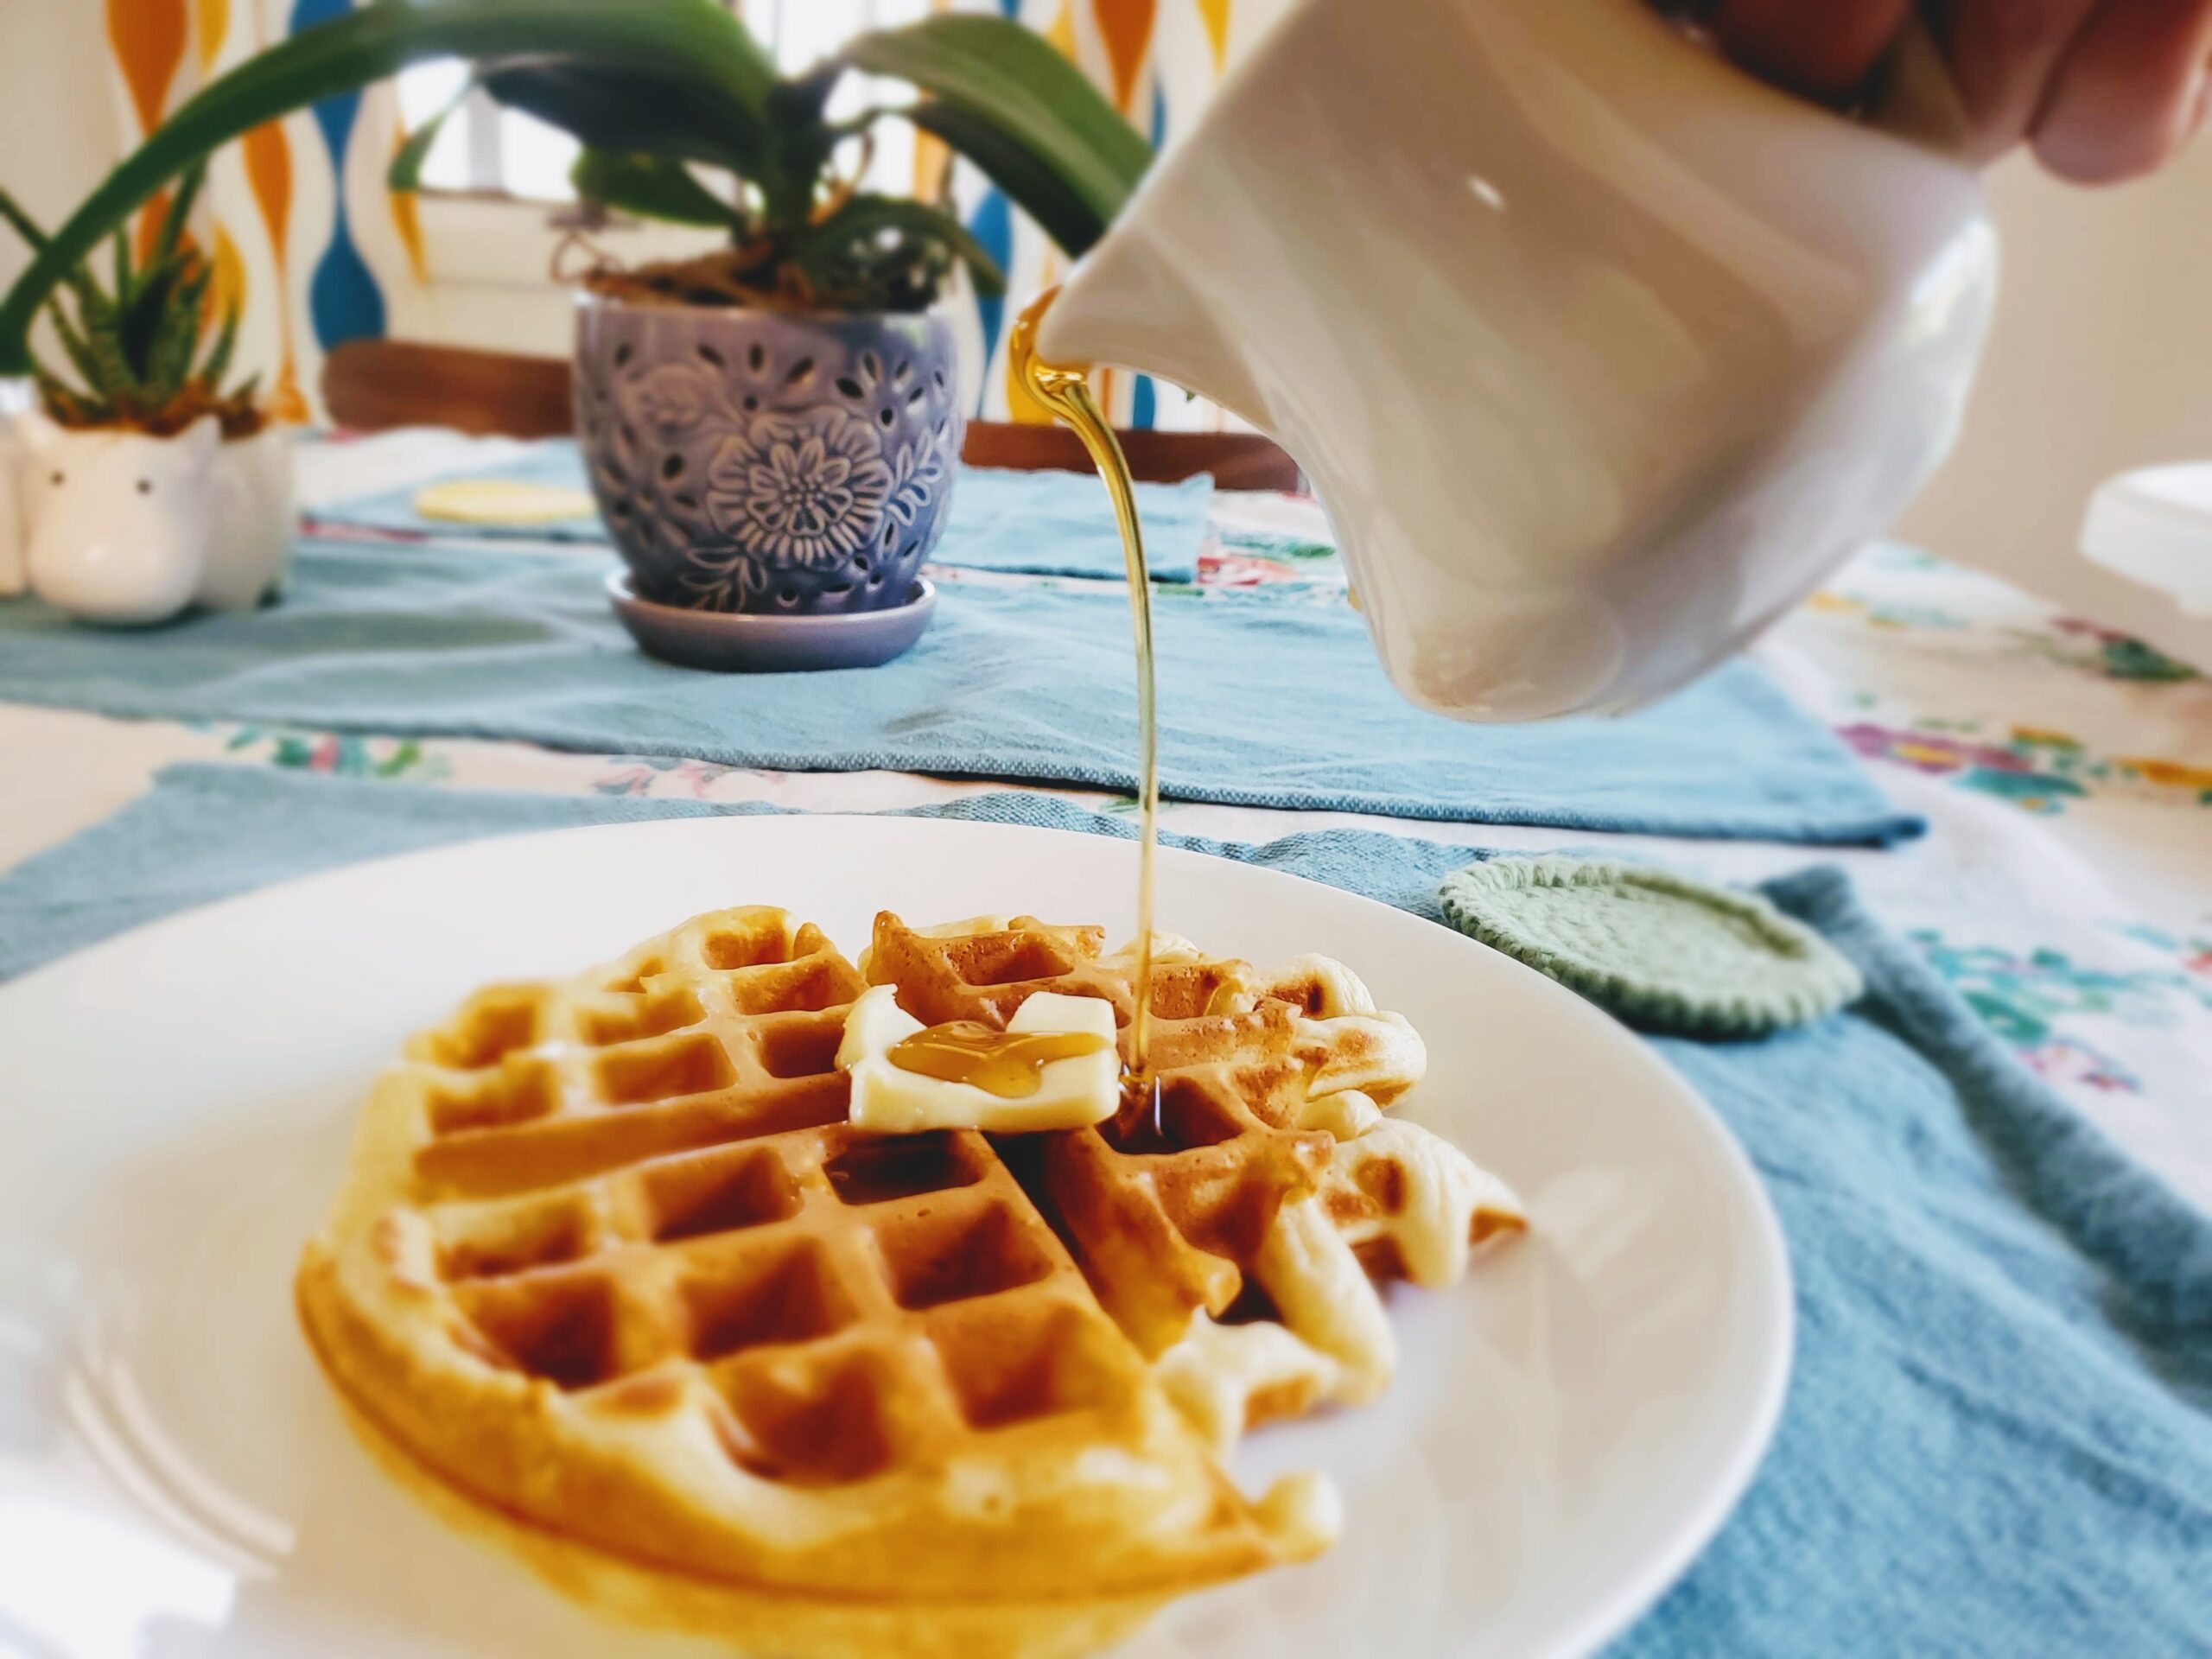
I’m a bit (or maybe a lot) particular about my waffles. I want light, crisp-on-the-outside, fluffy-on-the-inside, Belgian-with-deep-pockets WAFFLES. No soggy waffles or sad-looking waffles are allowed in this house! Freezing well is another must in my book. My kids need to be able to pop that suck in a toaster like an Eggo (but taste better).
If you’re looking for something a little simpler, but with the same great results, check out my one-bowl buttermilk waffle recipe.
My Latest Food Videos

Cooking Utensils
Everything on this list I have (or would buy) and do use for this recipe.
- Waffle Iron – I have the Oster DuraCeramic Double Flip Waffle Maker but I believe they no longer make that one.
- Mini Waffle Iron – want to make some perfect for your freezer? Try a Mini Waffle maker!!!
- Whisk – I like the OXO 11″ Balloon Whisk
- Ice Cream/Cookie Scoop (I find this is much easier than a spoon, but you can use a spoon as well)
The secret to these waffles is in the technique.
It starts by breaking up the eggs and then adding the baking powder and then mixing the two together until it’s a nice light yellow mixture. Let it sit for 5 minutes before adding the rest of the ingredients. This is what creates this amazing fluff (and all the butter is what gives it the crunch).


After you do this, you will add in everything else to the eggs and slowly start mixing it together, just until incorporated. Set it aside, and turn on your waffle iron. This gives your gluten from the flour time to settle down before you make your waffles.
Once the waffle iron is ready, you can get to it! I like to use a 3 Tablespoon Cookie Scoop for my batter. It helps me know that I’m using the same amount every time. But you can simply laddle or pour the batter in as well. It’s completely up to you.
Jenn’s Note:
These Babies are Freezer Friendly!
To freeze them for further use, lay them on a sheet pan and sit in the freezer until completely frozen (30-60 minutes). Take them out and quickly put them in a freezer-safe bag labeled waffles. When the kids are ready to eat them, they just stick them in the toaster*!
*If you plan on freezing them, make sure you cook them on the lighter side so when they toast they are a nice golden brown, and not burnt.
Did you try it, have questions?
Please leave your feedback and don’t forget to rate this waffle recipe using the star icons on the recipe card (note that feedback is required to count your star rating). Your input would help me improve this and future recipes. Thank you!
Let’s get social!
Don’t forget to tag me on Instagram or Facebook, @jenngiamsmith #JennGiamSmith I will always share your posts on my stories and tag you! You can also share it on this post’s Pinterest Pin! Don’t forget to follow me on Pinterest for a steady stream of recipe (and other) inspiration!
It’s always wonderful to see loved ones coming together over delicious food.

Need more breakfast ideas?
- Breakfast Tater Hotdish
- Quick and Easy Sheet Pan French Toast
- Scallion Potato Pancakes
- Diner-Style Pancakes

Homemade Waffles
- Total Time: 1 hour
- Yield: 12 waffles 1x
Description
This is a simple and basic waffle recipe that will give you crispy, fluffy waffles all ready for your favorite toppings!
Ingredients
- 4 large eggs
- 2 Tbsp baking powder
- 4 cups flour
- 1/2 tsp salt
- 1/2 cup sugar
- 1/2 cup unsalted butter (melted)
- 2 cups milk
- 2 tsp vanilla extract
Instructions
- Whisk up the eggs. Add the the baking powder and continue whisking until completely mixed together; set aside
- In a separate bowl mix together salt, flour and sugar.
- By now, your eggs should be thick, frothy and stiff you should have foamy like eggs on your whisk.
- Next mix together your egg mixture with the dry ingredients, milk and melted butter all together until just combined. (don’t over Mix)
- Drop about 1/4-1/3 cup of batter into your waffle iron (I use an ice cream scoopto achieve the right amount) and cook until done. I have a rotating waffle iron that cooks 2 at once and has 3 different settings. so it makes cooking them really easy. But if you’ve never used your iron, do a tester waffle, where you check every so often to figure out cooking time.
- Once all cooked up, enjoy it with syrup, whipped cream, fruit, chocolate chips or anything else you want to top it with!
Notes
Storage Details
- To freeze them for further use, lay them on a sheet pan and sit in the freezer until completely frozen (30-60 minutes). Take them out and quickly put them in a freezer bag labeled waffles. When the kids are ready to eat them, they just stick them in the toaster*!
*If you plan on freezing them, make sure you cook them on the lighter side so when they toast they are a nice golden brown, and not burnt.
- Prep Time: 20 minutes
- Cook Time: 40 minutes
- Category: Breakfast, brunch
- Cuisine: American
Nutrition
- Calories: 232
- Sugar: 11
- Sodium: 346
- Fat: 3
- Saturated Fat: 1
- Carbohydrates: 43
- Fiber: 1
- Protein: 7
- Cholesterol: 60
Want to remember this post? Pin it to your favorite Pinterest Board!


©Photo, Prop Styling, and Food Styling by Jenn Smith
This Blog Post is ©2018 Always Jenn Smith™; Jenn Smith, LLC (FKA Smith Country, LLC) See below for details
Please Be Respectful
All rights reserved. You may NOT sell, trade, share or redistribute this recipe in any way or use any of my photographs for your site. If you are linking back to this post to a list of recipes, giving credit for the recipe to myself and my site, you may use ONE photo. You must site me and my blog as the recipe creator and give credit for the photo. ©2018 Always Jenn Smith; Jenn Smith, LLC
Jenn Smith of Always Jenn Smith™; Jenn Smith, LLC participates in the Amazon Services LLC Associates Program, an affiliate advertising program designed to provide a means for sites to earn advertising fees by advertising and linking to amazon.com. As well as the Apple affiliate program now called the Performance Partners Program.
This site displays third-party ads and contains affiliate links, See terms and conditions for ALL affiliates.
If you have any questions feel free to comment below or e-mail me directly.
Thank you for visiting!