Zucchini Bread with Chinese 5-Spice
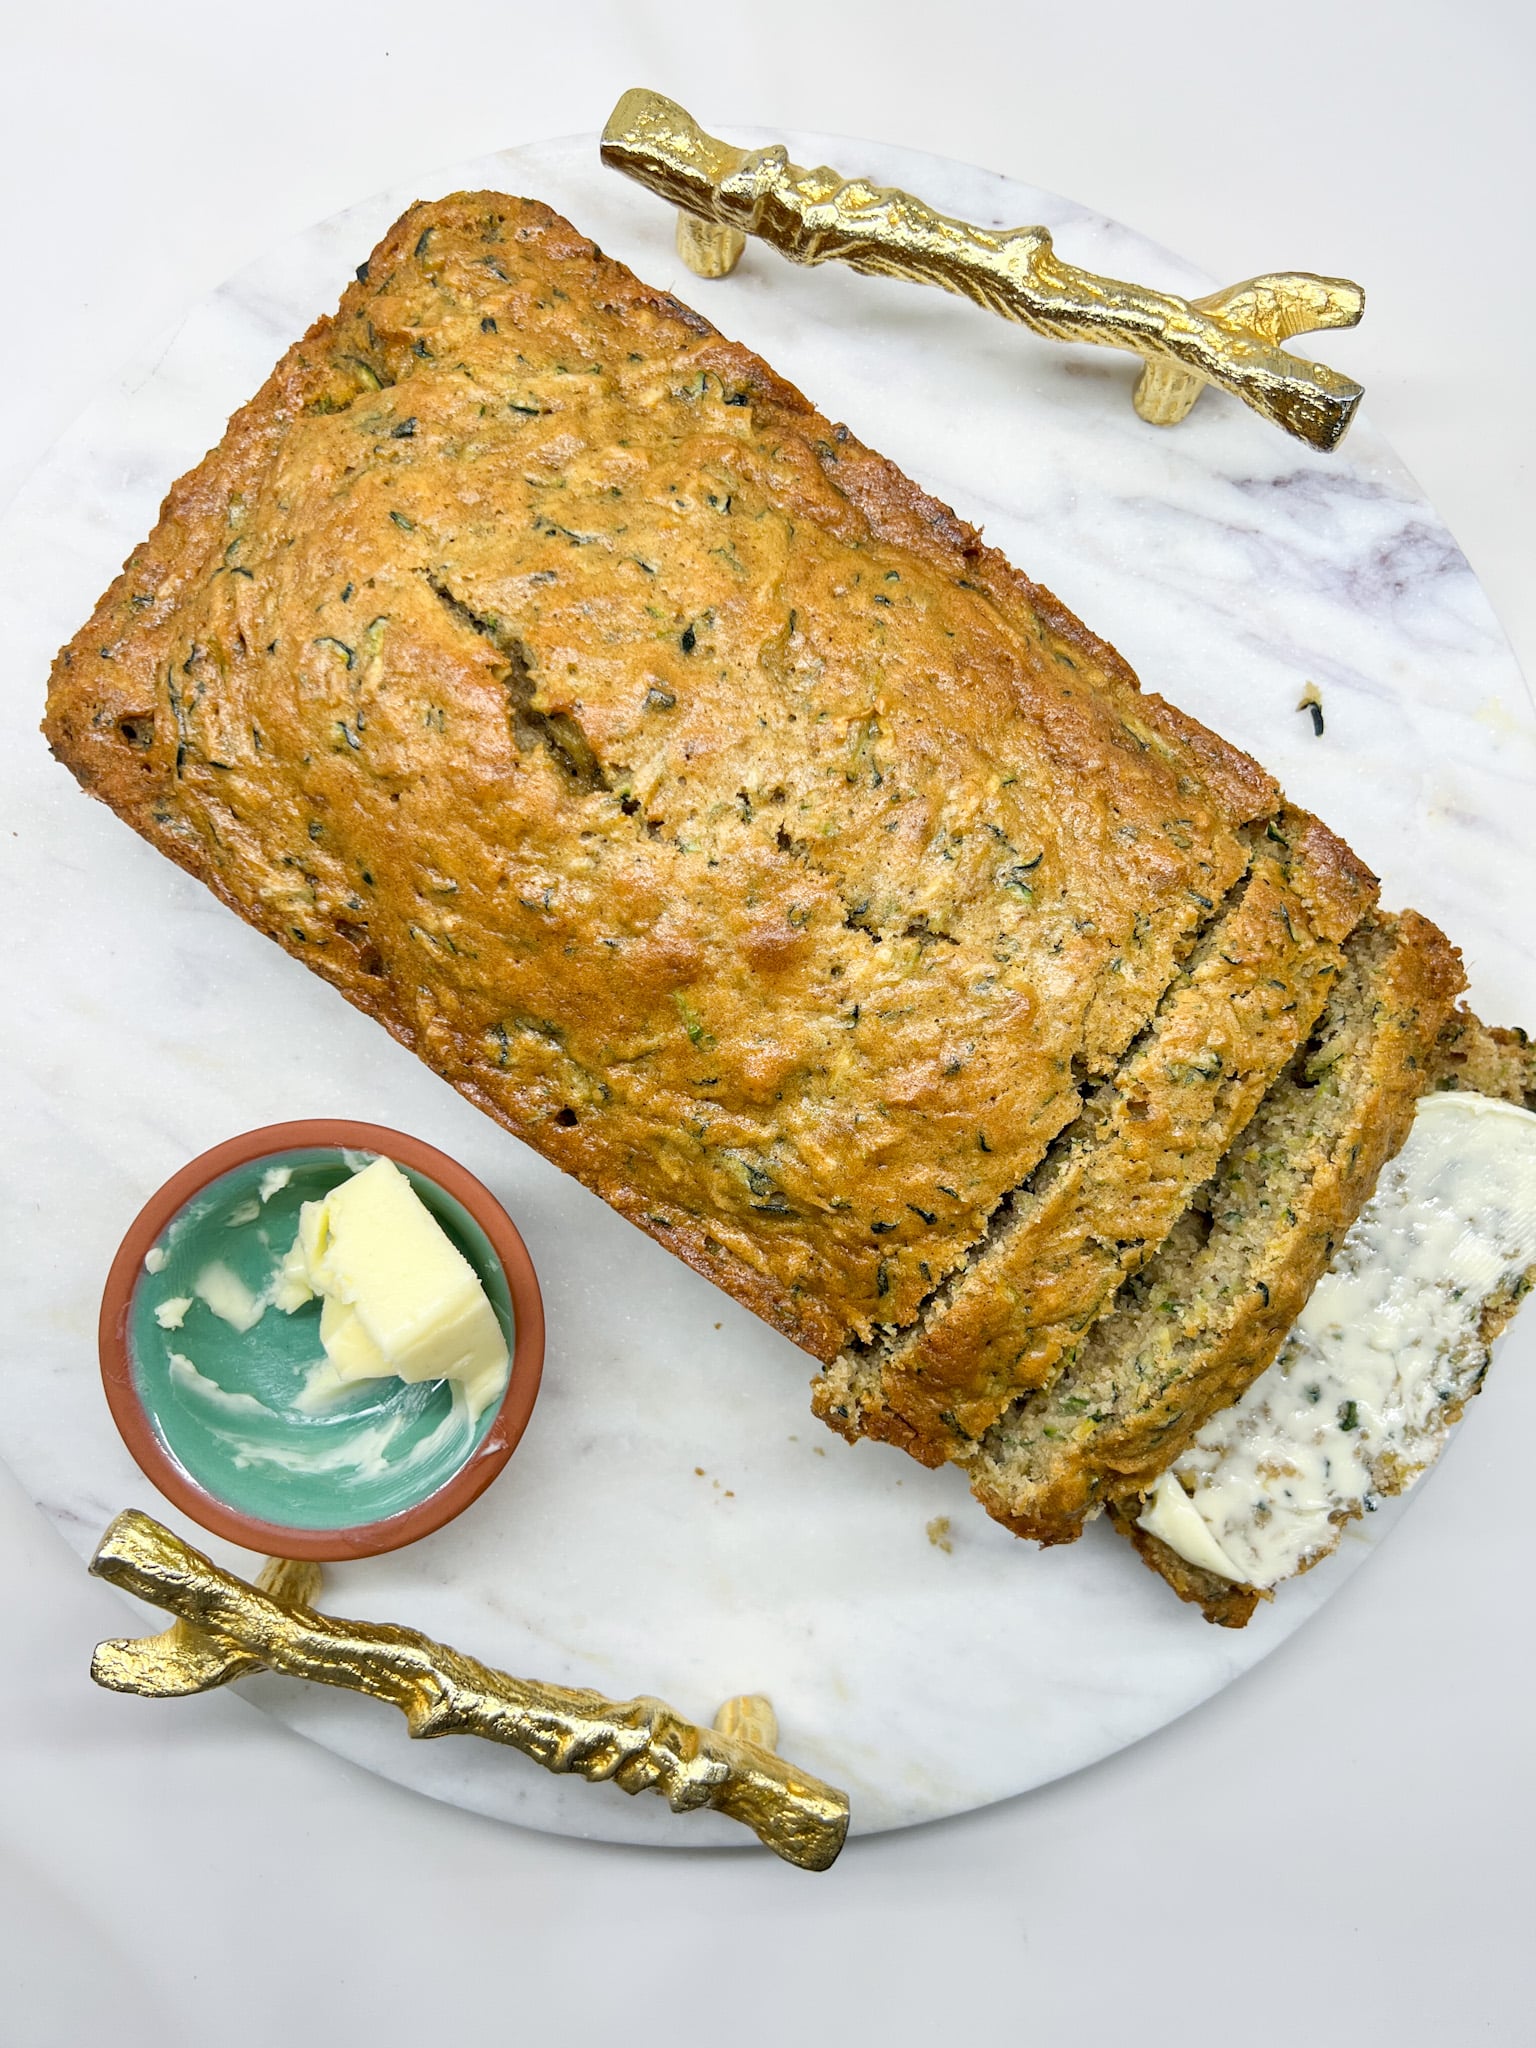
Moist, tender, and flavored with warmth. This is the zucchini bread that actually tastes like something.
This post may contain affiliate links, which means that I make a small commission off items you purchase at no additional cost to you. Please read my Affiliate Disclosure
Every summer, without fail, zucchini in abundance! From friends dropping them off to your garden producing them by the armload. And honestly, after a certain point, you can only make zucchini noodles and grilled zucchini so many times before you’re ready for something else.
That’s where this bread comes in. It’s not just any zucchini bread—it’s the one I’ve been making for years, the one that actually tastes interesting because of the spice blend my dad would’ve used in his kitchen. The Chinese 5-spice adds this warm, almost savory note that makes people stop and ask what’s different about it. It’s cozy without being too sweet, with just enough spice to make you feel like you’re getting something more than the usual banana bread knockoff.
The best part? It freezes beautifully. Double the recipe and make multiple loaves when zucchini season hits, and you’ll have bread ready to go for months.
Why You’ll Love This Recipe
- Moist crumb that stays tender for days (or longer if frozen)
- The Chinese 5-spice gives it a flavor advantage over regular zucchini bread
- Two loaves from one batch—perfect for sharing or freezing
- Actually uses up zucchini in a way that feels satisfying
- Works as breakfast, snack, or dessert without apology
- Kids can help at almost every step
- Freezes beautifully for up to three months
About the Ingredients
Chinese 5-Spice is the swap that changes everything. Instead of just cinnamon and allspice, this blend (star anise, clove, cinnamon, Sichuan pepper, and fennel) adds complexity and warmth without being heavy. If you can’t find it, you can use 1 teaspoon cinnamon + ½ teaspoon ground cloves, but the 5-spice is worth hunting for. It’s usually in the international section of your grocery store, or online.
Zucchini (shredded) should be squeezed well before mixing into the batter. Excess moisture is the enemy of tender bread. I squeeze mine in a clean kitchen towel over the sink—it’s not pretty, but it works. You’ll be surprised how much liquid comes out.
Brown sugar and cane sugar together give you moisture and slight caramel depth. The brown sugar adds a hint of molasses that plays nicely with the spices. Don’t skip either one.
Butter (melted and cooled) keeps the bread moist and tender. Make sure it’s actually cooled before you add the eggs, or you’ll end up scrambling them. This is one of those moments where 30 seconds of patience pays off.
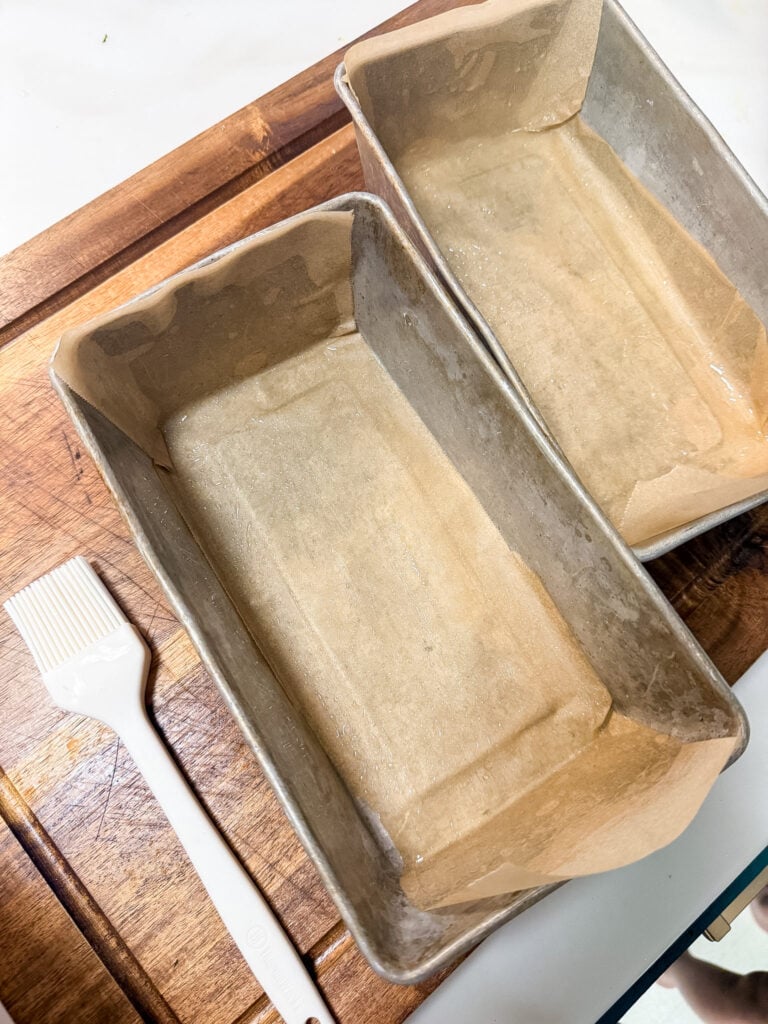
Loaf pans (greased with parchment) make for easy release without sticking. I grease mine lightly and line the bottoms and sides with parchment paper. It’s the best of both worlds—you get a little help from the grease, but the parchment lets the loaves slide right out without tearing.

How to Make It
1. Get Your Oven Ready & Prepare Your Pans
Preheat your oven to 350°F. Grease two loaf pans lightly and line them with parchment paper, making sure the parchment comes up the sides. This makes release super easy—the bread will practically pop right out.
2. Combine Dry Ingredients
In a medium bowl, sift together the flour, cinnamon, Chinese 5-spice, sea salt, baking soda, and baking powder. Sifting matters here—it aerates the flour and makes sure the baking soda and baking powder are evenly distributed. Set this aside.
3. Mix Wet Ingredients
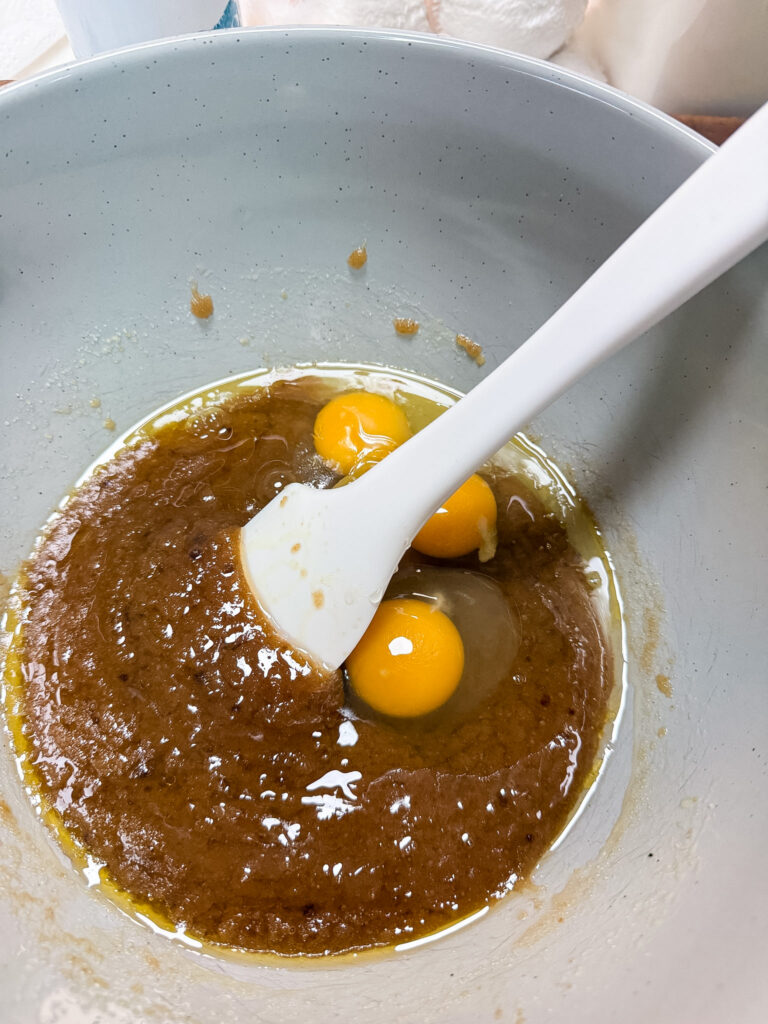
In a larger bowl, whisk together the melted butter, vanilla extract, and both sugars until well combined. Honestly, I usually add the beaten eggs at the end and gently beat everything together with a fork—it’s less fussy than being precious about it, and it works just fine.
4. Combine & Fold In Zucchini
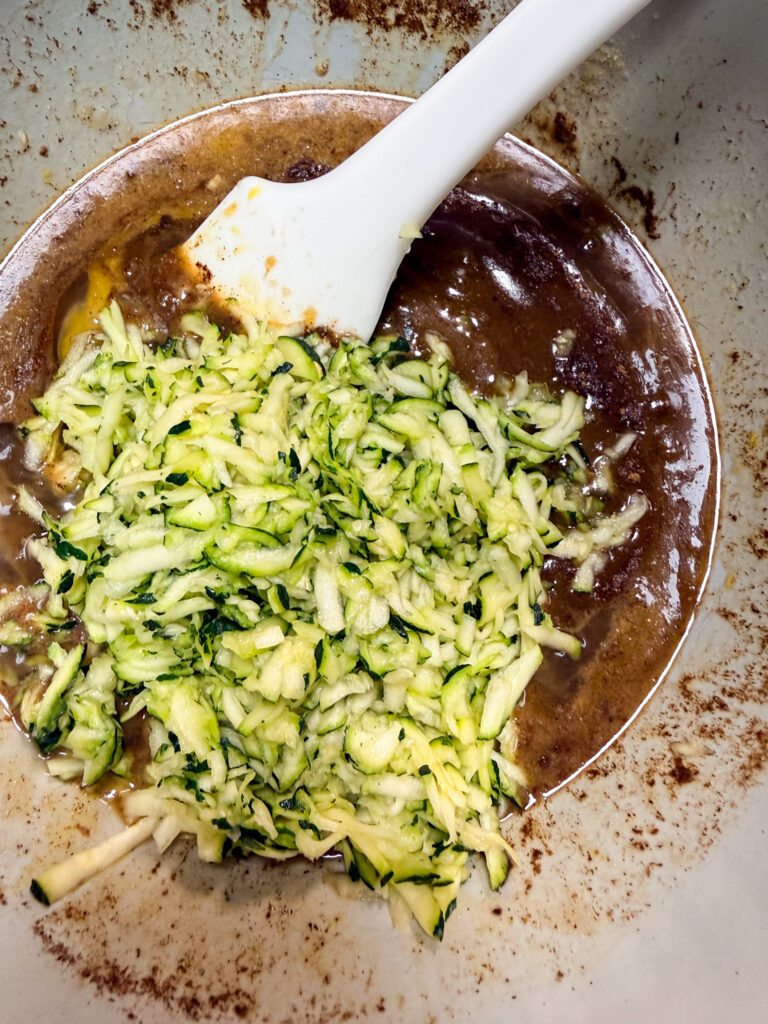
Add the shredded zucchini to the wet mixture and stir until combined. This is the moment you’ll see the batter come alive with green flecks. Don’t overmix—just until everything is incorporated.
5. Bring It All Together
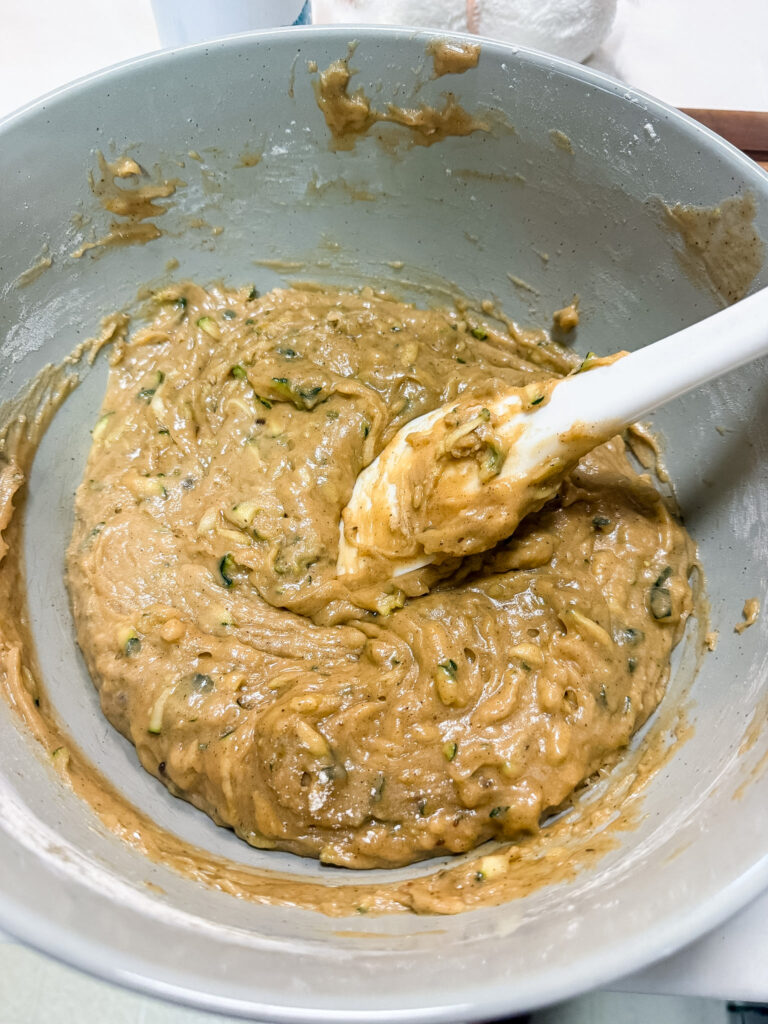
Add half of the dry ingredients to the wet mixture and mix until just incorporated. Add the remaining dry ingredients and mix again, making sure to scrape the sides and bottom of the bowl. A few flour streaks are fine—overmixing makes tough bread. You’re going for just-combined, not polished.
6. Divide & Bake
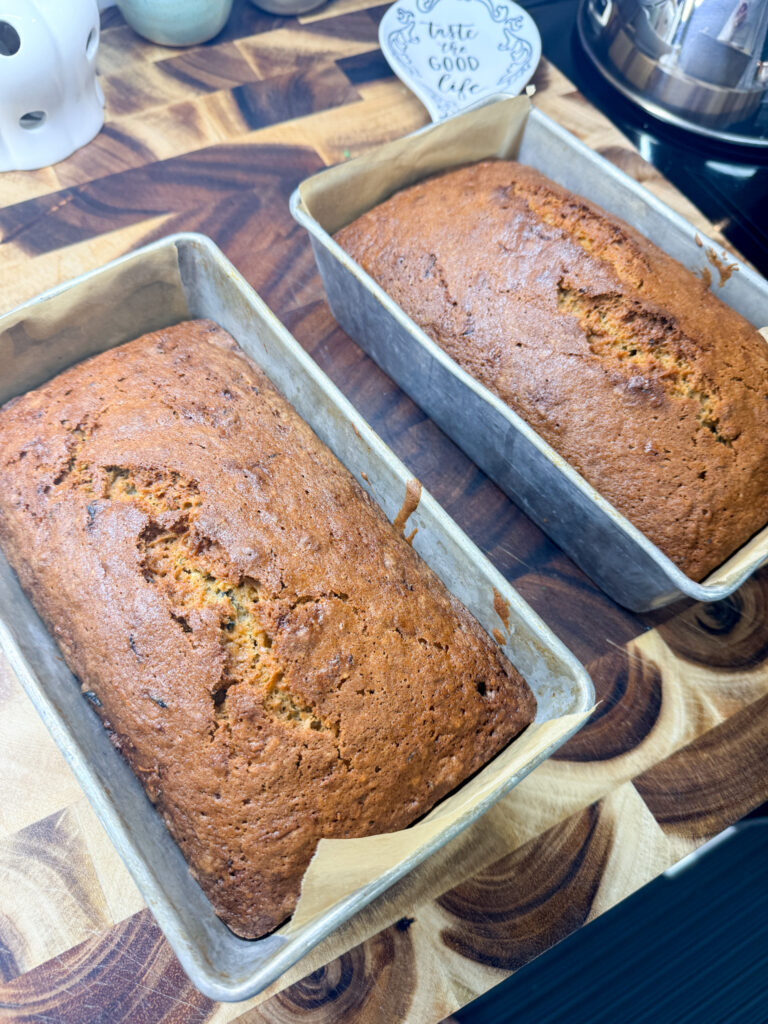
Split the batter evenly between the two prepared loaf pans. Bake at 350°F for 1 hour and 20 minutes, until a toothpick inserted into the center comes out clean with just a few moist crumbs (not wet batter). The tops should be golden and the sides should pull away from the pan slightly.
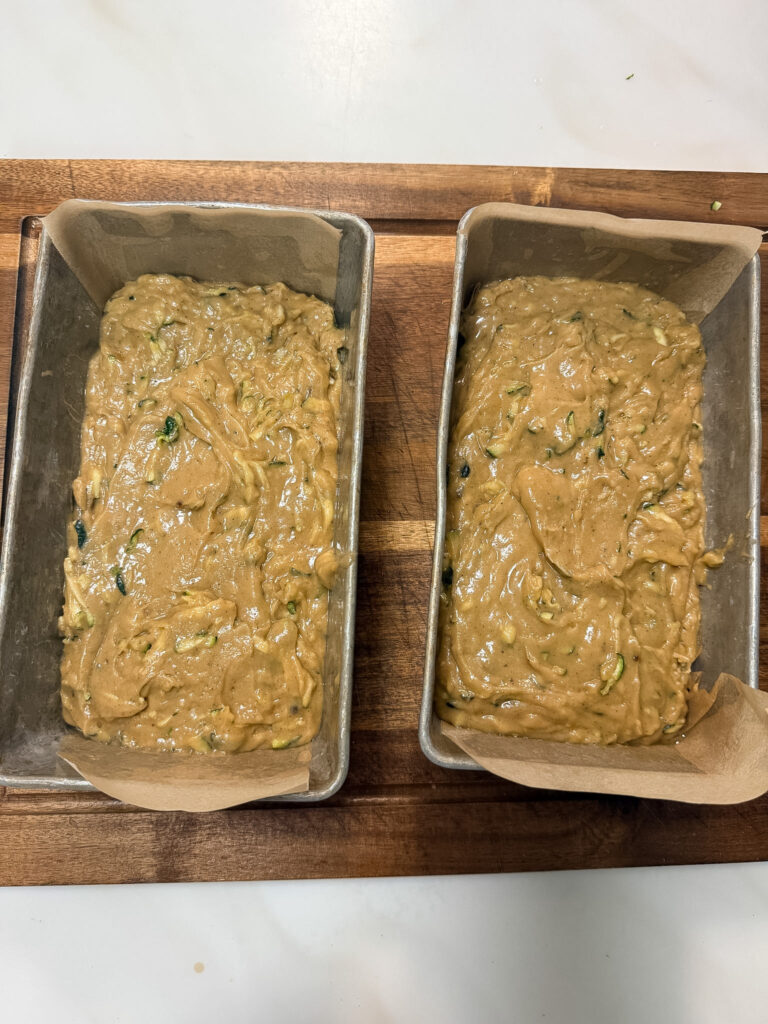
7. Cool & Release
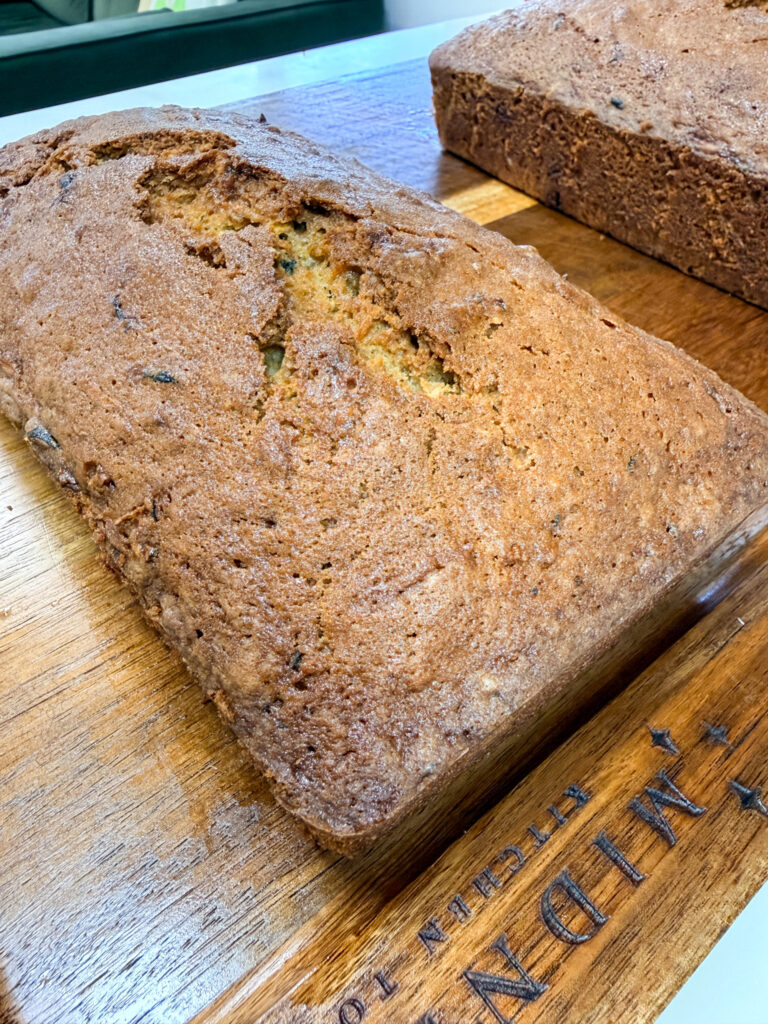
Let the loaves cool in the pan for about 10 minutes, then run a knife around the edges and turn them out onto a cooling rack. The parchment will peel right off. Let them cool completely before slicing or wrapping.
Cooking with Kids
- Kids love this one because they get to squeeze the zucchini (and it genuinely helps the bread, so you’re not just giving them busy work). Younger kids can help measure and pour ingredients into bowls. Older kids can handle the mixing and spooning batter into pans. Someone will definitely get batter on their face. This is normal and fine.
- The only thing I handle myself is the oven part—loaves this size need the full baking time to set properly in the center, and too much checking can mess that up. But everything else? Fair game.
Jenn’s Kitchen Tip
- Squeeze your zucchini. I mean really squeeze it. Wet zucchini = wet bread. No shortcuts here.
- Cool your melted butter. Even if it seems ridiculous. Cold eggs meeting hot butter = scrambled eggs in your bread batter. Not fun.
- Don’t feel like making muffins? These loaves are better anyway. But if you do want to make half-batch muffins, just know they’ll bake in 20–25 minutes instead of 80, so keep an eye on them.
- Grease and line your pans with parchment. A light grease + parchment means the bread won’t stick, and you’ll get easy, clean release every time. No tearing, no fussing.
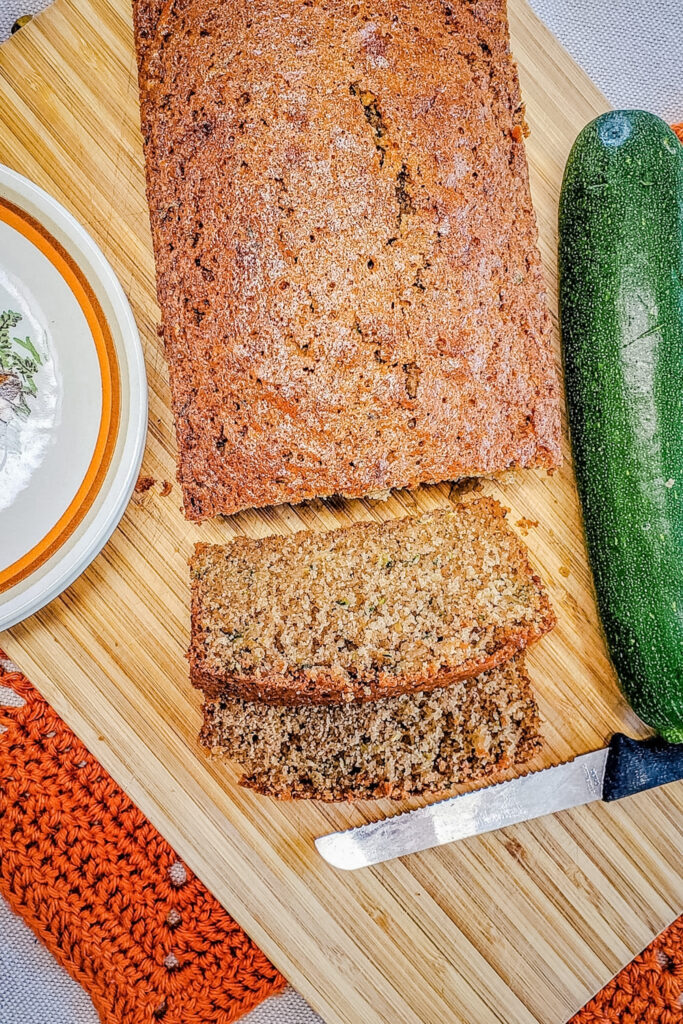
- Let it cool before you slice it. I know the smell is driving you crazy. The bread will crumble if you cut into it warm. Wait. It’s worth it.
- Toothpick test: You want clean or almost-clean with a few moist crumbs, not dry. Overbaked bread gets dense fast.
Freezing Zucchini for Later
If you happen to have a mountain of zucchini and want to prep for fall baking, you can absolutely freeze it. Here’s what I do:
- Shred your zucchini however you plan to use it (shredded for bread, sliced for other things).
- Blanch it: Drop it into boiling water for 2 minutes, then immediately plunge it into ice water or run it under cold water to stop the cooking.
- Drain it really well and pat it dry with a clean kitchen towel. Any excess moisture will turn into ice crystals and ruin the texture.
- I portion it into 3-cup batches (the amount this bread uses) in sandwich bags, then put two sandwich bags into one quart-size freezer bag. This way, one quart bag has exactly what you need for two loaves.
- Freeze for up to three months. When you’re ready to use it, thaw it in the fridge and squeeze out any excess moisture before baking.
Freezing the Baked Loaves
The baked loaves freeze beautifully too. Wrap each cooled loaf tightly in plastic wrap or foil, then pop it in a freezer bag. Frozen bread keeps for up to three months.
When you’re ready to eat it, pull a loaf out and let it sit at room temperature for about 3 hours. It’ll thaw just enough to cut clean slices without it being completely soft. No need to wait for it to come all the way to room temperature if you don’t want to—partially thawed is actually perfect for slicing.
FAQ
Yes, absolutely. Add 1 cup of walnuts or pecans if you want them. My kids don’t always want nuts in quick breads, so I skip them and make muffins instead when I want to add them to half the batter. But there’s nothing stopping you from stirring nuts into the whole batch.
You can make a substitute with 1 teaspoon cinnamon + ½ teaspoon ground cloves, but it won’t have quite the same warmth. 5-spice is worth seeking out—it’s usually in the international section or online, and a small jar lasts forever.
Wrapped tightly at room temperature: 3–4 days. In the fridge: up to a week. Frozen: up to three months. I usually eat one loaf fresh and freeze the other. To thaw a frozen loaf, let it sit at room temperature for about 3 hours—it’ll be thawed enough to slice without waiting for it to come completely to room temp.
You could, but you’d need to reduce the baking time to about 45–50 minutes (it would be thinner, so it bakes faster). Two loaf pans are really the sweet spot for this recipe. The height and shape give you better texture.
Yes. Wet zucchini makes wet bread. Not negotiable.
This is one of those recipes that gets better as you make it—you figure out your timing, your zucchini, your oven quirks. The first batch might be perfect, or it might teach you something. Either way, you’ll have bread that tastes good and freezes even better.
If you make this, I’d love to know how it turns out. Tag me on Instagram (@cheersjennsmith) or leave a comment below—I read them all, and your pictures always make my day.

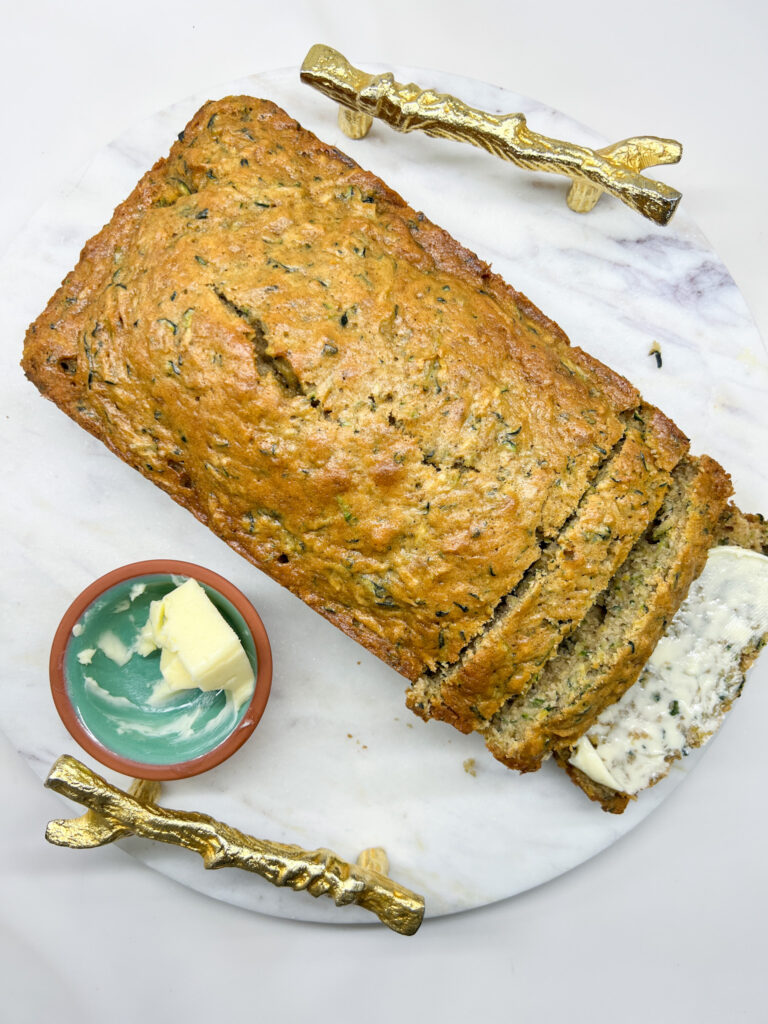
Zucchini Bread with Chinese 5-Spice
Moist and tender zucchini bread flavored with Chinese 5-spice, cinnamon, and warm spices. This recipe makes two loaves and freezes beautifully for up to three months.
- Total Time: 1 hour 40 minutes
- Yield: 2 loaves (32 slices) 1x
Ingredients
- 4 cups all-purpose flour
- 1 teaspoon ground cinnamon
- 1 teaspoon Chinese 5-spice
- 1 1/2 teaspoons sea salt
- 1 1/2 teaspoons baking soda
- 1/2 teaspoon baking powder
- 1 cup butter, melted & cooled
- 1 cup dark brown sugar (gently packed)
- 1 1/3 cups granulated cane sugar
- 1 1/2 tablespoons pure vanilla extract
- 4 large eggs, beaten
- 4 cups zucchini, shredded (about 1 1/2 lbs, squeezed dry)
Instructions
- Preheat oven to 350°F. Prepare two loaf pans: line bottoms with parchment, leave sides ungreased.
- In a medium bowl, sift together flour, cinnamon, Chinese 5-spice, sea salt, baking soda, and baking powder. Set aside.
- In a larger bowl, whisk together melted butter, vanilla extract, and both sugars until well combined. Add beaten eggs and gently beat with a fork until incorporated.
- Fold shredded zucchini into wet mixture until evenly distributed.
- Add half of dry ingredients to wet mixture and stir until just combined. Add remaining dry ingredients and mix until no flour streaks remain. Scrape sides and bottom as you go. Don’t overmix.
- Divide batter evenly between prepared loaf pans.
- Bake at 350°F for 1 hour 20 minutes, until a toothpick inserted in the center comes out clean or with just a few moist crumbs. Tops should be golden.
- Cool in pans for 10 minutes. Run a knife around edges and turn out onto cooling racks. Peel away parchment.
- Cool completely before slicing or wrapping.
Equipment
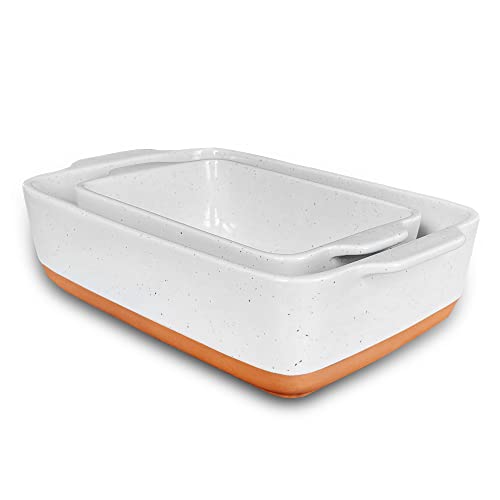
Mora Ceramics: Baking Pan Set of 2: 7×11 inch & Loaf Pan (Vanilla White)
Buy Now →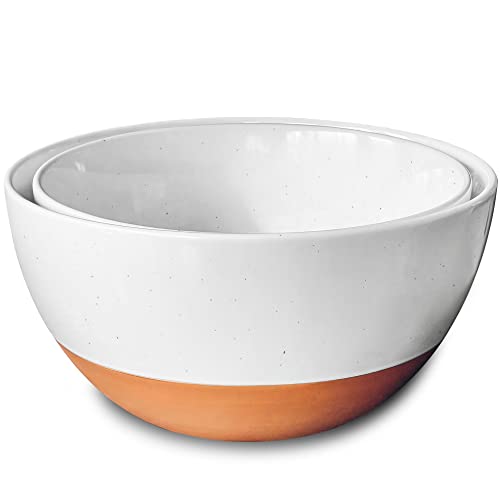
Medium 4.25 qt Mason Cash Mixing Bowl
Buy Now →
ThermoWorks Hi-Temp Silicone Spatula
Buy Now →Notes
- Squeeze the shredded zucchini thoroughly over the sink to remove excess moisture. This is essential for proper texture.
- Make sure melted butter is cooled before adding beaten eggs—hot butter will scramble the eggs.
- Greased loaf pans lined with parchment provide easy release and prevent sticking.
- Storage: Room temperature in airtight wrap (3–4 days), refrigerator (up to 1 week), frozen (up to 3 months). To thaw frozen loaves, let sit at room temperature for about 3 hours until thawed enough to slice.
- Optional: Add 1 cup chopped walnuts or pecans to batter, or split batter to add nuts to only half if your household is divided on nut bread.
- Freezing zucchini: Blanch shredded zucchini for 2 minutes in boiling water, plunge into ice water, drain well, pat completely dry. Portion in 3-cup batches in sandwich bags, store in quart-size freezer bags for up to 3 months. Thaw and squeeze before using.
Nutrition
- Calories: 187
- Sugar: 18
- Sodium: 225
- Fat: 7
- Saturated Fat: 4
- Carbohydrates: 30
- Fiber: 1
- Protein: 3
- Cholesterol: 36
Recipe & Photo Credit
This recipe and all images are original content created by Jenn Giam Smith for Cheers, Jenn.
You’re welcome to link to this recipe using one photo with proper credit. Please do not copy, republish, or redistribute this recipe or images without permission.
Have a question or want to share how it turned out?
Leave a comment below — I love hearing from you. 💛
MAKE MID-WEEK A LITTLE EASIER
Sign up below, and I’ll send you a FREE E-BOOK featuring six of my all-time favorite mid-week recipes!