Foolproof Roasted Pumpkin Seeds — Easy, Crunchy, & Delicious
Discover how to create perfectly crunchy and golden-brown pumpkin seeds for a nutritious and tasty snack.
This recipe yields 1 cup of roasted pumpkin seeds.

This post may contain affiliate links, which means that I make a small commission off items you purchase at no additional cost to you. Please read my Affiliate Disclosure
Halloween is right around the corner—have you carved your pumpkin yet? 🎃
If not, why not make a night of it? Pull out the carving knives, scoop those pumpkins, and while you’re at it… roast those seeds!
This is one of my family’s favorite fall snacks (especially my husband’s—if there’s a bowl on the counter, it mysteriously disappears). Bonus: pumpkin seeds are little nutrition powerhouses. They’re packed with magnesium, plant-based protein, and that perfectly salty crunch that keeps you coming back for “just one more.”

My Latest Food Videos
But here’s the thing… pumpkin seeds can be tricky. Get it right, and you’ve got golden, toasty, irresistible bites. Get it wrong, and you’re staring at burnt, chewy, or greasy disappointments. Been there, done that, and yes—once even glued them to a paper towel overnight. (Rookie mistake. Do not recommend.)
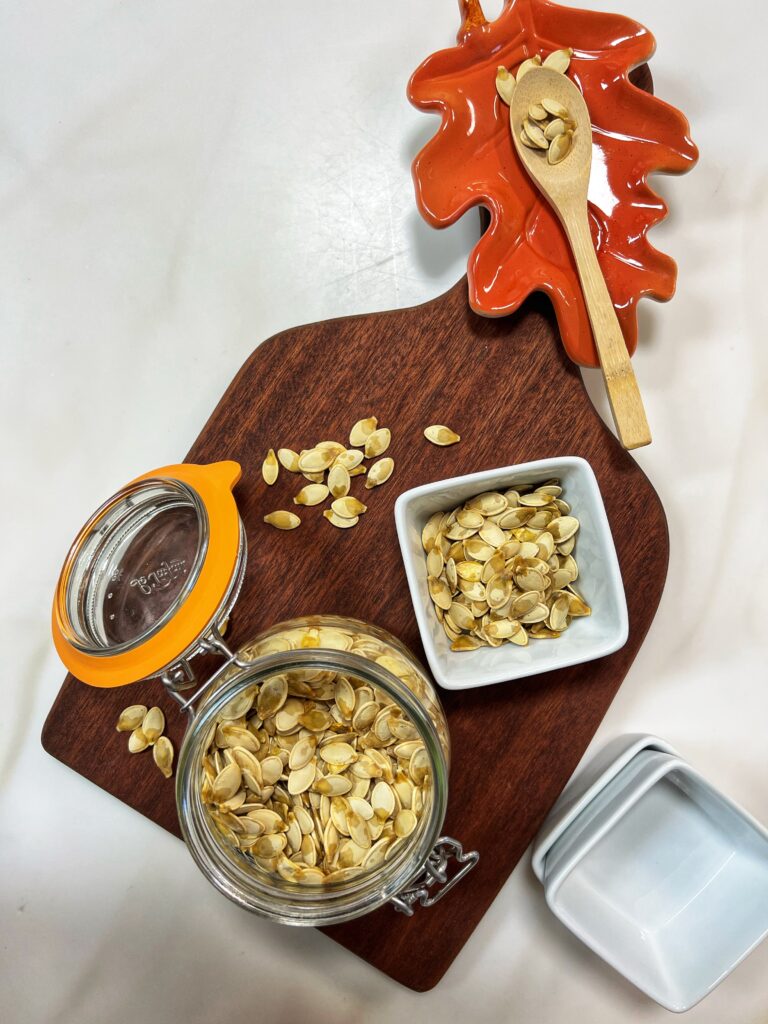
After some trial, error, and research, I’ve finally cracked the code for perfectly roasted pumpkin seeds every time—crispy, golden, and so good you’ll want to roast extras “for later” (translation: you’ll eat them all that night).
The Foolproof Method
This recipe is based on 1 cup of pumpkin seeds (the average amount from one pumpkin), but you can easily scale it up or down depending on how many pumpkins you’ve carved.
How to Remove & Clean Pumpkin Seeds
- Scoop Them Out
Using a sharp, sturdy knife, cut a circle around the pumpkin stem and remove the top. Grab a large spoon (or pumpkin scooper) and scrape out the seeds into a colander. Remove as many big chunks of pumpkin flesh as you can. - Rinse & Swish
Run water over the seeds and swish them around with your hands to loosen any stringy bits. Drain well. - Dry Them Off
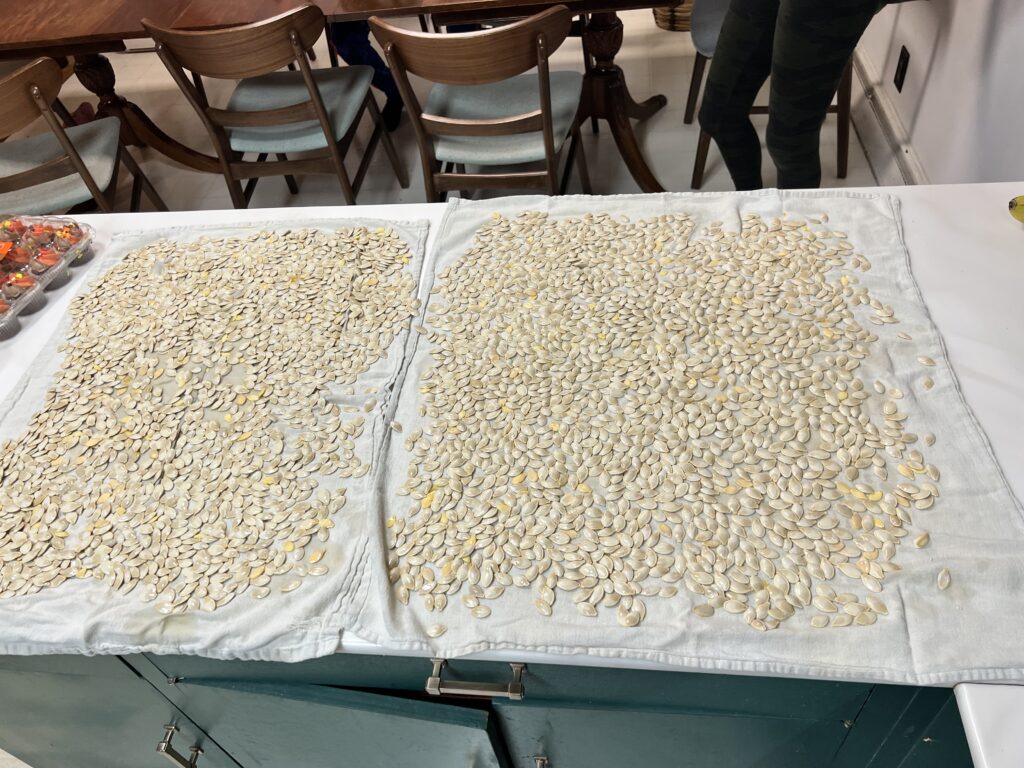
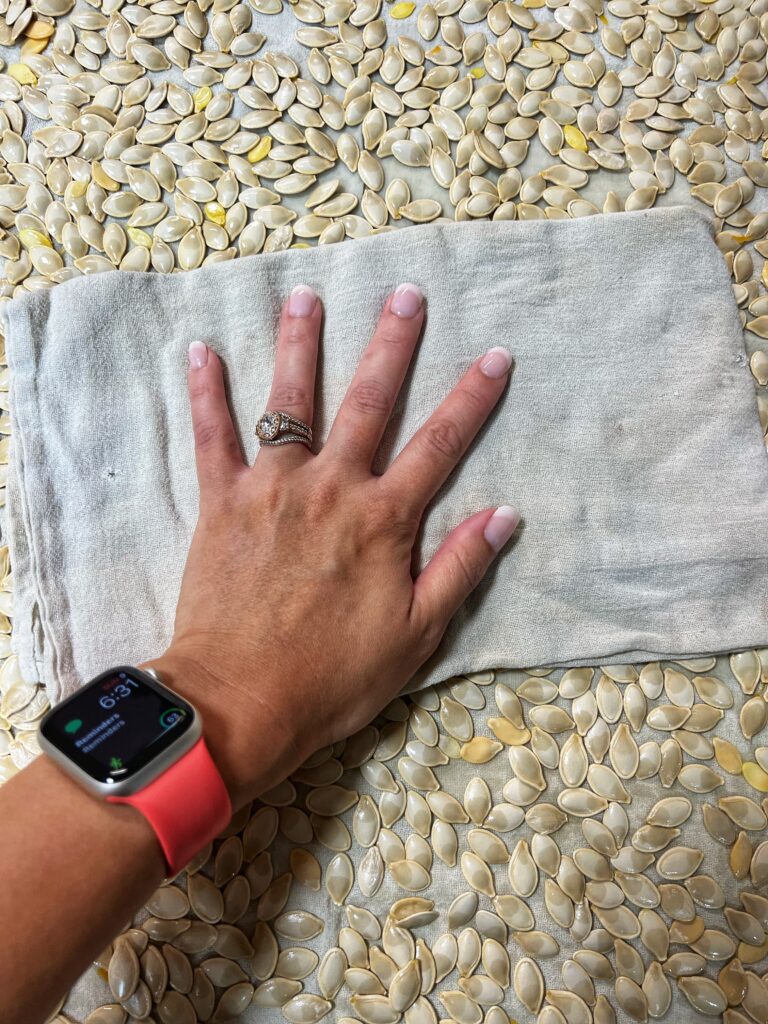
Spread the seeds in a single layer on a lint-free towel (flour sack towels are perfect) and pat dry with another towel. They don’t need to be bone-dry—just dry to the touch.
Prepping for Roasting
Oil: I like peanut oil for its flavor, but olive or avocado oil works beautifully too.
Salt: Always add salt. Always.
Spices: Save these for after roasting so they don’t burn.
Toss the seeds in a bowl with just enough oil to coat and a good sprinkle of salt.
Roasting Instructions
- Preheat oven to 325°F.
- Line a rimmed baking sheet with parchment paper or a silicone mat.
- Spread seeds in a single layer.
- Bake for 20 minutes, stir, then bake another 15–20 minutes until fragrant and golden.
- Remove from oven and—if you’re feeling fancy—toss with your favorite spices while they’re still warm.
- Cool 15–20 minutes before snacking (if you can wait that long).
shop this post

Mora Ceramics Small Mixing Bowls Set of 2 – 2.5 & 1.6 Qt (Vanilla White)
Buy Now →
Stainless Steel Baking Sheet Set with Silicone Mats and Cooling Racks (Set of 9)
Buy Now →
Mesh Colander (Stainless Steel) 2 Pack
Buy Now →Air Fryer Option
Perfect if you’ve got just 1–2 cups of seeds.
- Same cleaning, drying, oiling, and salting steps as above.
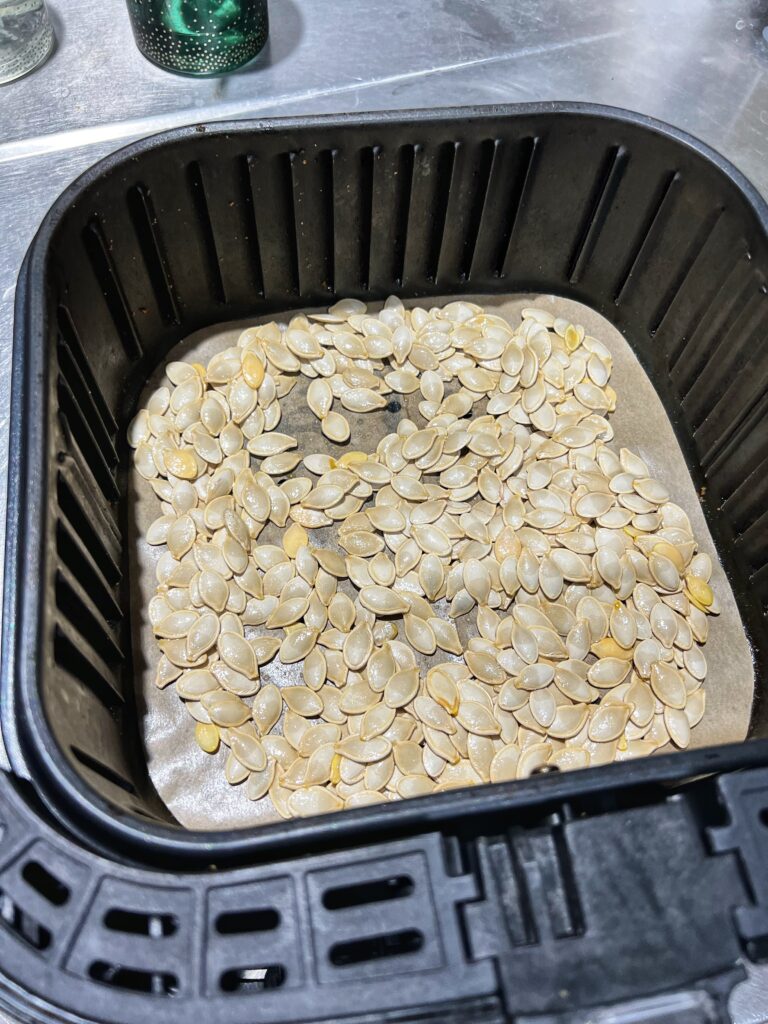
- Spread seeds in a single layer in your air fryer basket (use a liner if needed).
- Cook at 325°F for 15–20 minutes, shaking halfway through.
Flavor Variations
Once your seeds are roasted, play around with flavors:
- Black Pepper: Freshly cracked for a little kick.
- Pumpkin Spice Blend: Sweet and cozy.
- Golden Curry Powder: Warm and fragrant (just be prepared for yellow-tinted fingers).
Have a favorite combo? Share it in the comments—I love trying your ideas!
Storage Details
Cool seeds completely, then store in:
- A mason jar on the counter, or
- Snack-size bags for grab-and-go munching.
They’ll keep for up to 2 weeks in a cool, dry spot (though ours rarely make it past day three).

Le Parfait Super Terrine – 350ml/12oz (Pack of 4)
Buy Now → Buy Now →
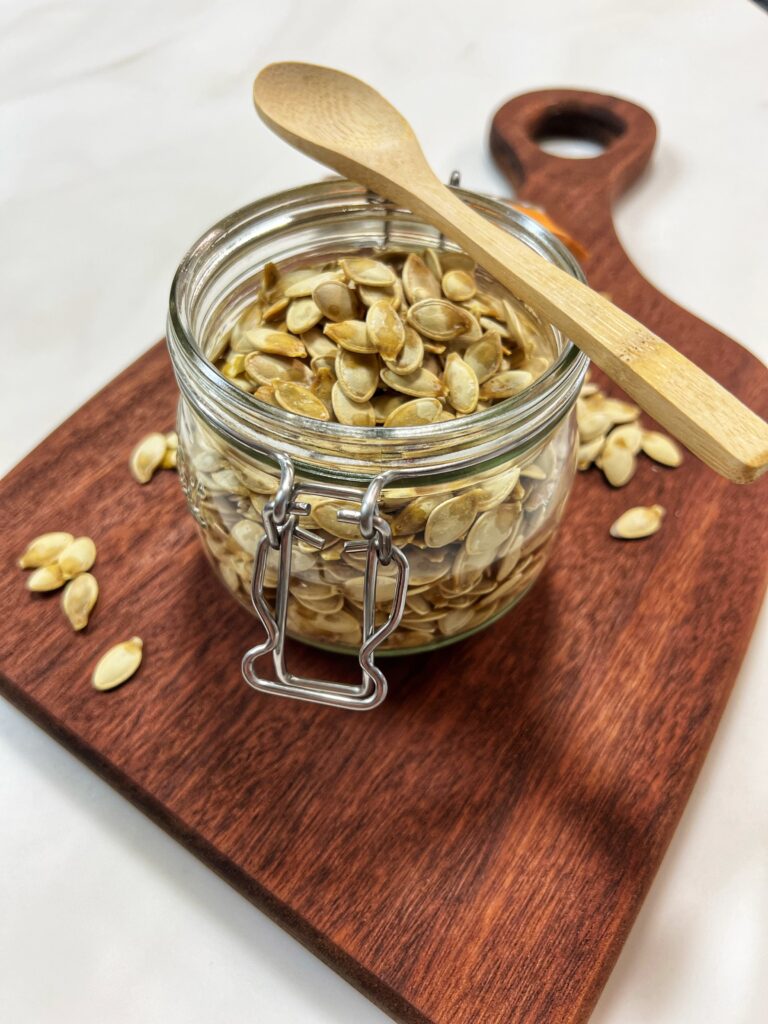
Cooking with Kids
DISCLOSURE: Please keep in mind that the following tips are general and are meant to be suggestive. I personally use these strategies with my own kids, who are all unique even within my own family of five. Therefore, please regard these as suggestions or ideas. If you feel that your child requires more or less assistance, then go with what you and your child are comfortable with. Ultimately, you know your child best.
Roasting pumpkin seeds is a perfect little kitchen project for kids. Depending on their age and comfort level, they can:
Pro tip: Younger kids will love “patting the seeds dry”—just keep an extra towel handy.
Did You Make These Pumpkin Seeds
Please take a moment to leave a comment and provide a star rating below. If you share a picture on Instagram don’t forget to tag me @jenngiamsmith! I always share your posts on my story and tag you!
Share or save it:
More Pumpkin Recipes You’ll Love

Roasted Pumpkin Seeds
A simple recipe for perfectly baked pumpkin seeds every time. You’ll also find tips on how to clean the seeds and bonus flavor variation ideas! Recipe yields about one medium pumpkin’s worth of seeds (about 1 cup).
- Total Time: 1 hour 30 minutes
- Yield: 1 cup
Instructions
Conventional Oven
- To Clean Your Seeds: Place Seeds in a colander. Run water over the seeds and swish them around, removing any obvious bits of pumpkin flesh along the way. Drain off the excess water. Next lay them out as one layer onto a lint-free flour sack towel, nothing fluffy or that has pills. With a different flour sack towel, lightly pat them dry. They don’t have to be bone dry, just dry to the touch. Once they’re dry, place them into your mixing bowl. Some seeds will stick to the towel, but I just pick the seeds off (this is why it’s important to use a lint-free towel) and put them in the bowl.
- Prep your seeds: Add the oil and salt. Stir until all of the seeds are coated
- To toast your seeds: Preheat the oven to 325 degrees Fahrenheit. Line a large, rimmed baking sheet with parchment paper for easy cleanup or a silicone mat.
- Spread them in an even layer across the prepared baking sheet.
- Bake them for 20 minutes, then stir them about. Bake again for another 20 minutes or until the seeds are fragrant and turning golden. Season them with additional salt, to taste. If desired, season with black pepper, to taste, or stir in the pumpkin spice blend or curry powder, or whatever else you want.
- Let cool for 15-20 minutes. Enjoy.
- Cooled, leftover seeds will keep well in a mason jar or snack bags at room temperature for up to 2 weeks.
Air Fryer
- cleaning is the same as with the conventional oven.
- Prep your seeds: Add the oil and salt. Stir until all of the seeds are coated
- To toast your seeds: Set your Air Fryer to 325 degrees Fahrenheit. Line the tray with a tray liner so your seeds don’t fall to the bottom.
- Spread the seeds in an even layer across the lined Air Fryer tray.
- Bake them for 10 minutes, then stir them about. Bake again for another 10 minutes or until the seeds are fragrant and turning golden. Season them with additional salt, to taste. If desired, season with black pepper, to taste, or stir in the pumpkin spice blend or curry powder, or whatever else you want.
- Let cool for 15-20 minutes. Enjoy.
- Cooled, leftover seeds will keep well in a mason jar or snack bags at room temperature for up to 2 weeks.
Equipment
Mesh Colander (Stainless Steel) 2 Pack
Buy Now →Mora Ceramics Small Mixing Bowls Set of 2 – 2.5 & 1.6 Qt (Vanilla White)
Buy Now →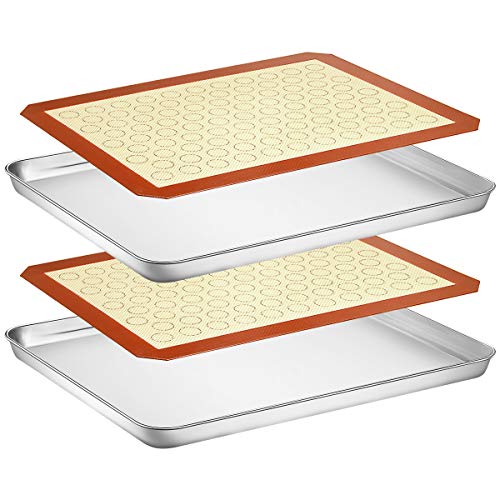
Wildone Stainless Steel Cookie Pan with Baking Mat, Size 16 x 12 x 1 Inch
Buy Now →Notes
Seed Flavor Variations
Salt should be added, no matter what, but you can choose other ingredients to create your own fun flavor variations. Here are some ideas:
- Olive or Avocado oil: I use peanut oil, but maybe you have an allergy, if that’s the case, olive or avocado oil provides a nice neutral backdrop for your seeds.
- Freshly ground black pepper: Pepper is an easy way to add an irresistible, savory note and a little spice.
- Ground spices: For even more flavor, stir in some warming spices once the seeds are out of the oven. You could do a pumpkin spice blend, or use golden curry powder (just beware that curry powder will tint your fingers yellow). Have fun and experiment with this! I’ll try some different ones and share the mixes as I create them.
- Prep Time: 30 minutes
- Cook Time: 40 minutes
- Category: Snacks
- Cuisine: American
©Photo, Prop Styling, and Food Styling by Jenn Smith
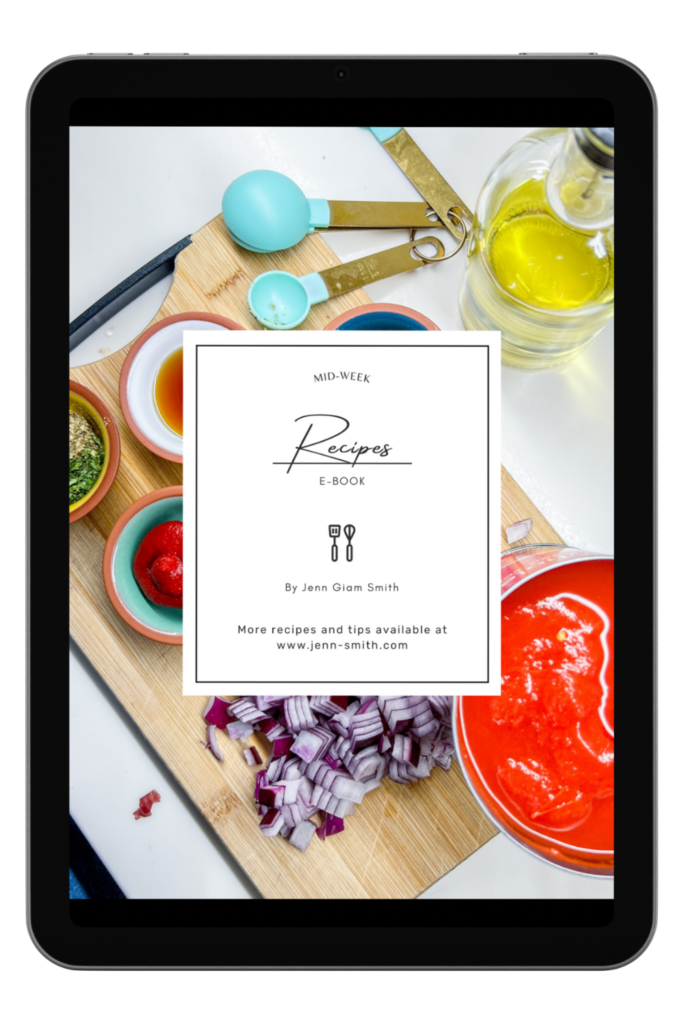
MAKE MID-WEEK A LITTLE EASIER
Sign up below, and I’ll send you a FREE E-BOOK featuring six of my all-time favorite mid-week recipes!
This Blog Post is ©2016 Always Jenn Smith™; Jenn Smith, LLC (FKA Smith Country, LLC) See below for details
Please Be Respectful
All rights reserved. You may NOT sell, trade, share or redistribute this recipe in any way or use any of my photographs for your site. If you are linking back to this post to a list of recipes, giving credit for the recipe to myself and my site, you may use ONE photo. You must site me and my blog as the creators of the recipe and give credit for the photo. ©2016 Always Jenn Smith; Jenn Smith, LLC
Jenn Smith of Always Jenn Smith™; Jenn Smith, LLC is a participant in the Amazon Services LLC Associates Program, an affiliate advertising program designed to provide a means for sites to earn advertising fees by advertising and linking to amazon.com. As well as the Apple affiliate program now called the Performance Partners Program.
This site displays third-party ads and contains affiliate links, See terms and conditions for ALL affiliates.
If you have any questions feel free to comment below or e-mail me directly.
Thank you for visiting!