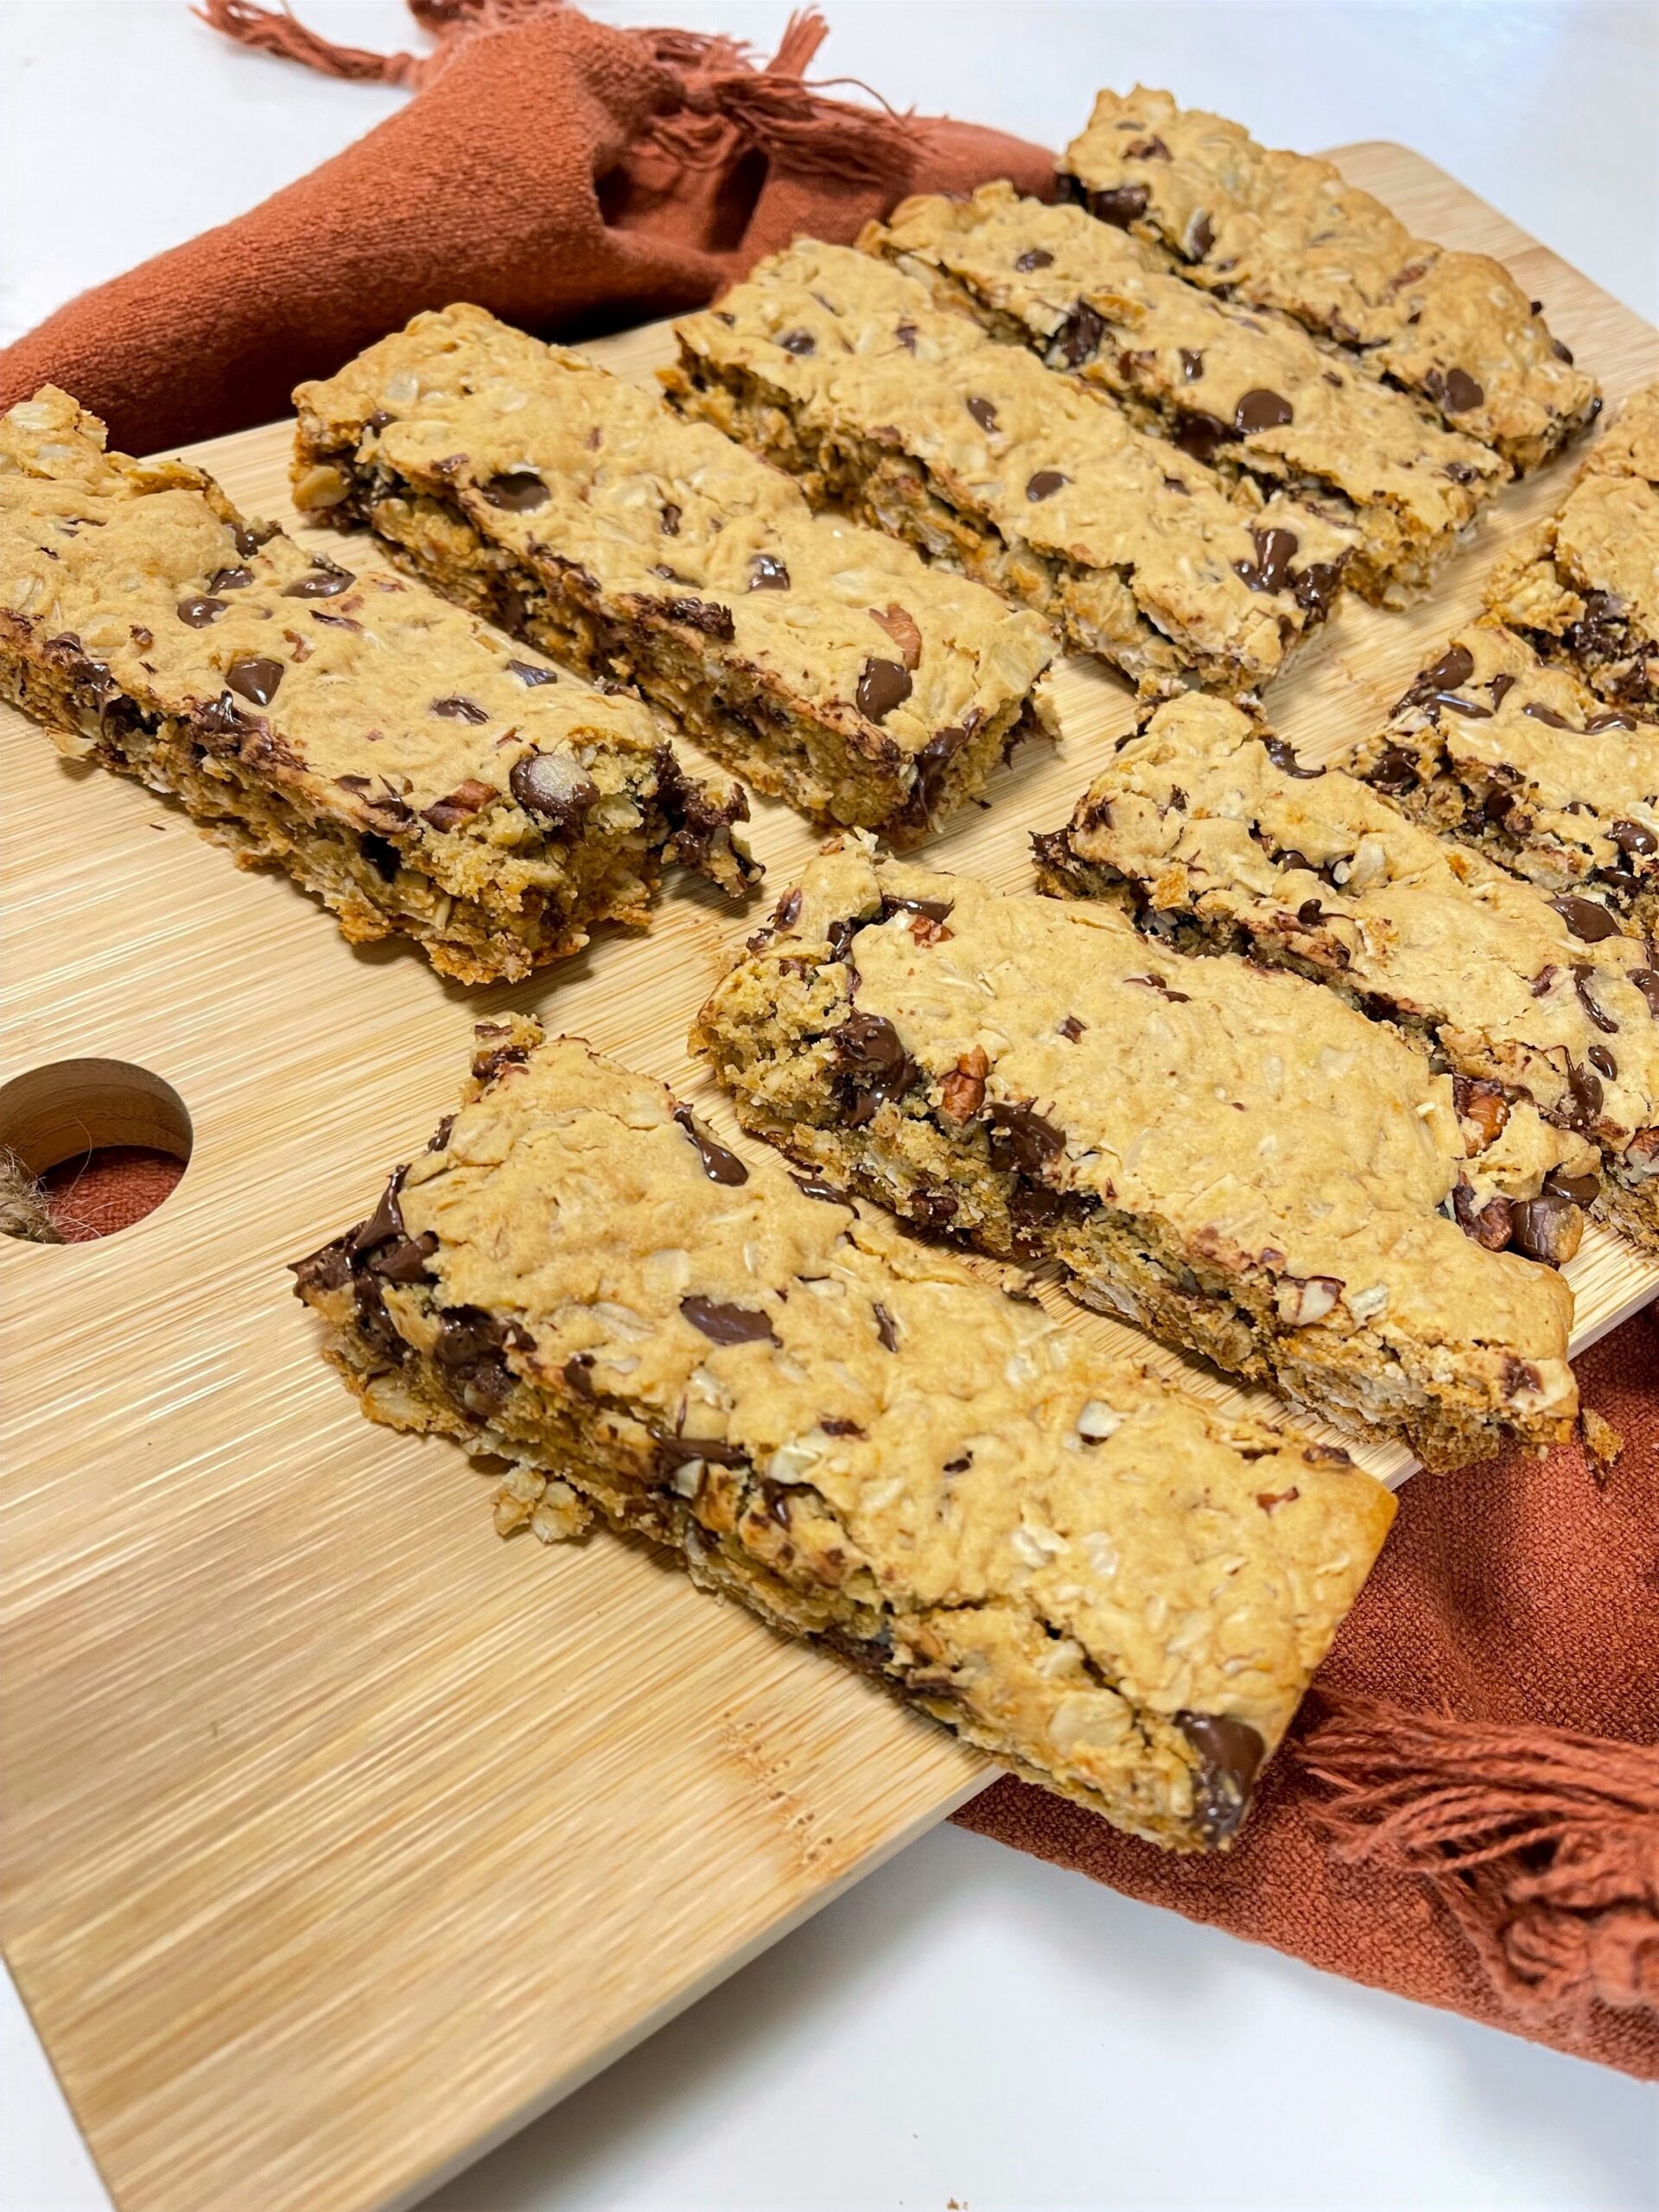
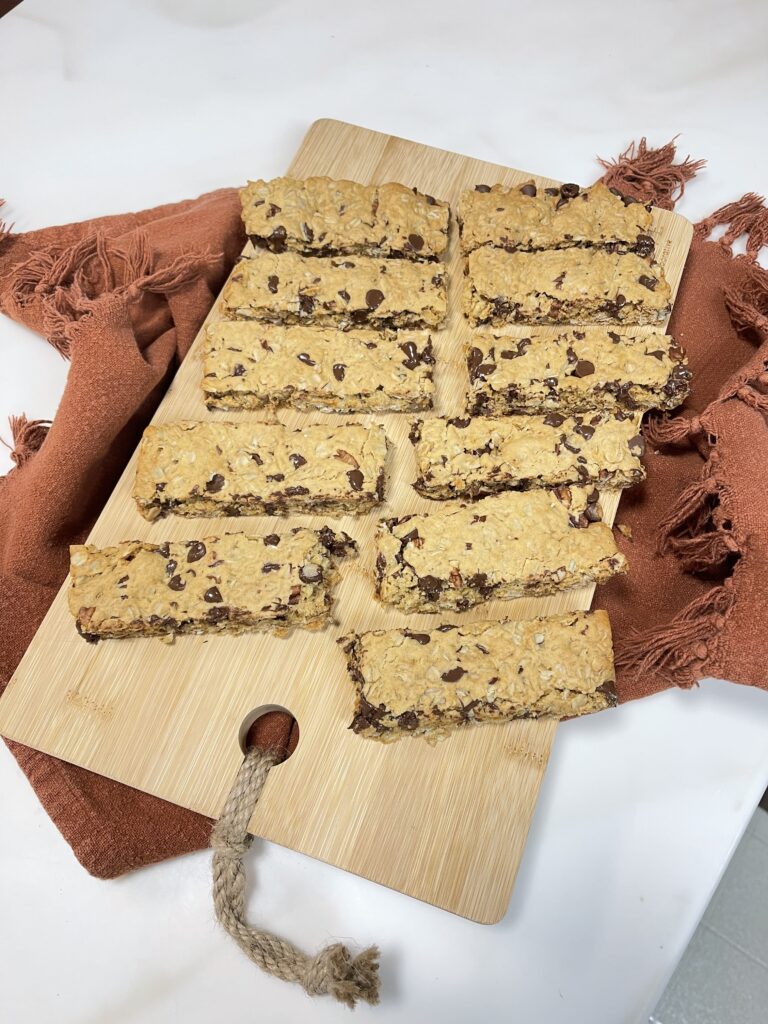
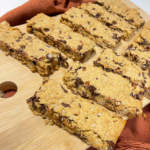
Versatile Snack Bars
Confession… I sometimes have a hard time finding the balance between balanced meals, snacks, and time. It was far worse when I was younger and had a conventional job at a bank. But still, 2 more kids (nope, now it’s 3), several blog posts, and a craft business later (I don’t do the craft side of my business anymore, but I’m definitely not any less busy), I’m still trying to find a happy medium. I know many of you are out there with the same struggle. I realize this is very much a #firstworldproblem and hopefully, I don’t sound like I’m whining. Truly, I know that I am blessed to be where I am now in comparison to where I was and to be able to share with you all, but balance is key… and finding it is sometimes hard.
This post may contain affiliate links, which means that I make a small commission off items you purchase at no additional cost to you. Please read my Affiliate Disclosure

This post may contain affiliate links. That means I may make a small commission on items purchased through links in this post at no extra cost to you! Affiliate Disclaimer
Confession… I sometimes have a hard time finding the balance between balanced meals, snacks, and time. It was far worse when I was younger and had a conventional job at a bank. But still, 2 more kids (nope, now it’s 3), several blog posts, and a craft business later (I don’t do the craft side of my business anymore, but I’m definitely not any less busy), I’m still trying to find a happy medium. I know many of you are out there with the same struggle. I realize this is very much a #firstworldproblem and hopefully, I don’t sound like I’m whining. Truly, I know that I am blessed to be where I am now in comparison to where I was and to be able to share with you all, but balance is key… and finding it is sometimes hard.
Well, this snack bar recipe will hopefully help with some of that. This is a borderline cookie, but I did talk with a nutritionist about the content in this recipe and was told that this would be considered a far better snack than any store-bought granola bar. So, with that in mind, I had to share this with you all as well.
All of my kids and my husband love these!
I make these snack bars at least once a week. but they are truly easy and fast to make, and bonus! They are a great make-ahead and a store for a later snack. So you can easily do this on your meal prep day (if you have one of those) and make a bunch for the week.
The ingredients can be changed (hence the “versatile” snack bar) to reflect your likes. What’s even better… These snack bars will keep airtight at room temperature for up to 1 week or in the freezer for up to 6 months. Alternatively, the unbaked dough can be stored in an airtight container in the refrigerator for up to 5 days, or in the freezer for up to 4 months so your possibilities are endless! Consider making several different batches, but only bake 1/2 of each, and save the remaining dough to be baked in the future when desired. Make them into rolls and cuts or have them flattened out and frozen so all you have to do is bake them. You could also plop them down like cookies instead of cutting them into bars as I did (I just find bars to be faster, and more “snack-like”).


Ingredients and Substitutions
I said this recipe is versatile and I meant it. All the ingredients are easy to exchange for other things you want.
- egg
- unsalted butter 1 stick
- Butter/Oil Substitution Options
- 1/4 cup nut butter and 1/4 cup light-tasting olive oil
- 1/2 cup greek yogurt
- 1/2 cup applesauce and 2 Tablespoons light-tasting olive oil
- brown sugar
- honey
- vanilla extract
- old-fashioned whole rolled oats not instant or quick cook
- all-purpose flour
- pecans
- Pecan Substitution Options
- 1/2 cup of any nut or peanuts
- 1/2 cup dried fruit (like raisins or craisins)
- 1/4 cup nuts and 1/4 cup dried fruit
- Semi-sweet chocolate chips
- Chocolate Chip Substitution Options
- 1 cup white chocolate chips
- 1 cup milk chocolate chips
- 1 cup dark chocolate chips
- 1 cup chocolate chunks
- 1 cup mixture of any of the above
- sweetened shredded coconut (Optional)
- baking soda
- salt
Storage
- The bars will keep airtight at room temperature for up to 1 week or in the freezer for up to 6 months.
- Unbaked dough can be stored in an airtight container in the refrigerator for up to 5 days, or in the freezer for up to 4 months

Need an Airtight container?
If you’re looking for a really nice airtight container, I personally recommend the Stasher silicon bags. If you’re looking for a plastic alternative the Stasher Stand-Up bags are wonderful for this kind of storage. Not only are they freezer friendly, their dishwasher, microwave, and oven safe.
ENJOY and Share!
Let me know what you thought of these snack bars! Your star ratings with your comments are tremendously helpful! I love seeing friends and family come together over food.
If you take a picture, tag me on Instagram or Facebook! Use @alwaysjennsmith & #alwaysjennsmith. Or share it on this post’s Pinterest Pin!
Versatile Snack Bars
- Total Time: 40 minutes
- Yield: 16 bars 1x
Description
These snack (granola) bars are a super easy, kid-friendly snack sure to keep tummy growls at bay. Everyone in your family will love them. The best part, changes are easy, so customize for your favorite flavors!
Ingredients
- 1 large egg
- 1/2 cup unsalted butter (see notes/tips for substitution option)
- 1/4 cup brown sugar (packed)
- 4 tablespoons honey
- 1 tablespoon vanilla extract
- 1 1/2 cup old-fashioned whole rolled oats (not instant or quick cook)
- 1 1/2 cup all-purpose flour
- 1/2 cup chopped pecans (see notes/tips for substitution option)
- 1 heaping cup semi-sweet chocolate chips (see notes/tips for substitution option)
- 1/2 cup sweetened shredded coconut (Optional)
- 1 teaspoon baking soda
- 1/2 teaspoon salt (or to taste)
Instructions
- Pre-heat oven to 350ºF
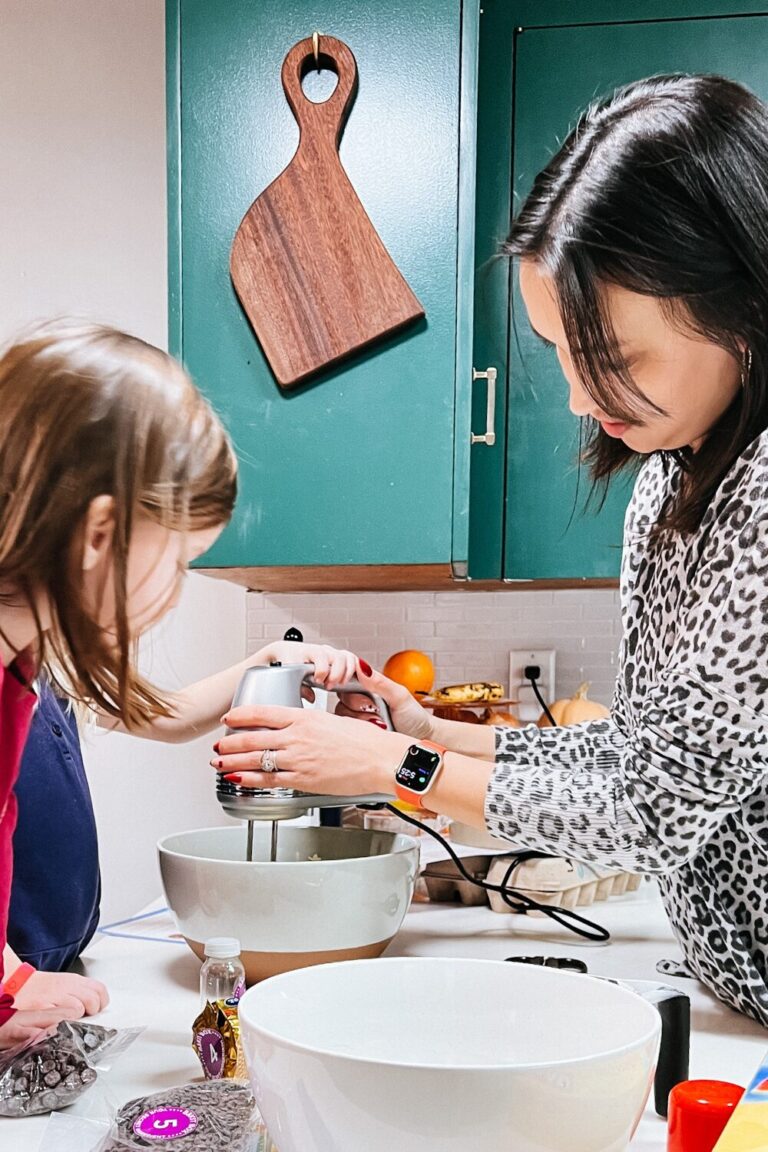
- Mix together the egg, butter (or peanut butter and oil), sugar, honey, and vanilla.
- In a separate bowl, whisk the oats, flour, optional coconut, baking soda, and salt together.
- Add to the egg, and butter mixture and mix until combined.
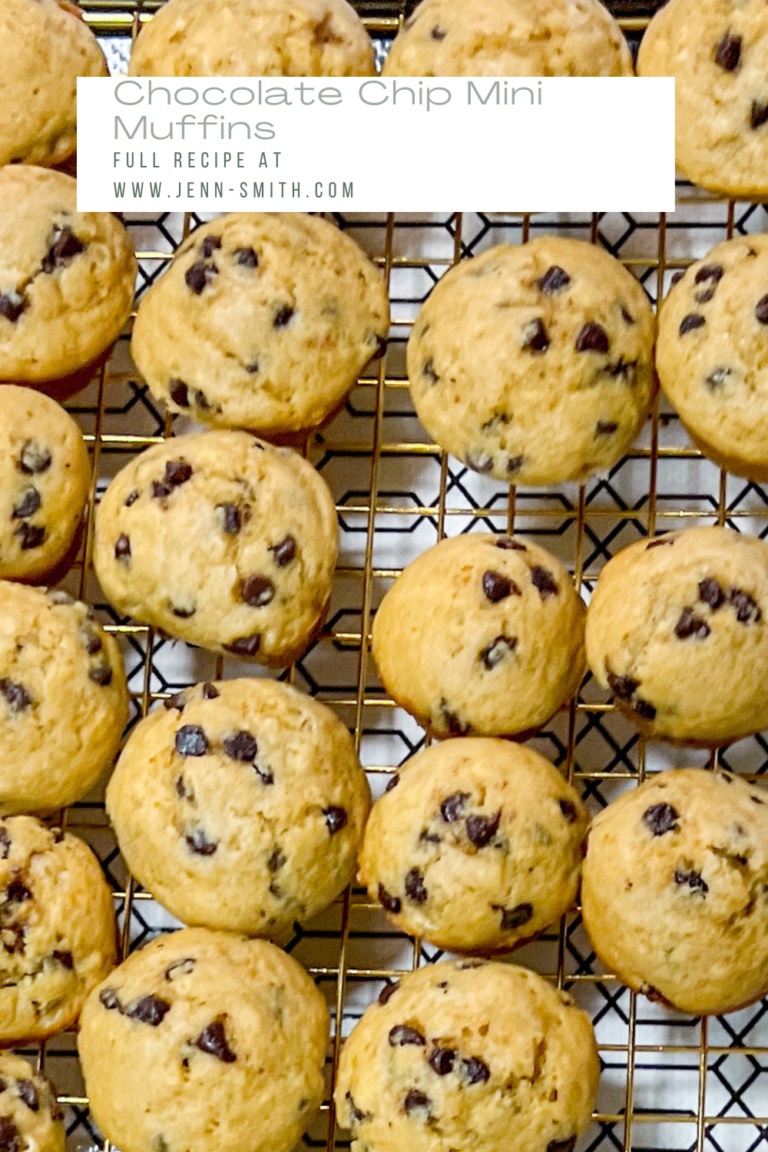
- Add the chocolate chips and nuts (or dried fruit) and fold together until completely incorporated.
- Line a 9X13 baking sheet with parchment paper (no need to grease), press dough into the pan until evenly spread across.
- Bake for about 20-25 minutes or until golden brown.
- Allow them to sit in the pan until completely cooled (you can eat them warm, but if you have chocolate it will be messy)
- Cut into rectangles and store in an airtight container.
Notes
Butter/Oil Substitution Options
- 1/4 cup nut butter and 1/4 cup light tasting olive oil
- 1/2 cup Greek yogurt
- 1/2 cup applesauce and 2 Tablespoons light-tasting olive oil
Pecan Substitution Options
- 1/2 cup of any nut or peanuts
- 1/2 cup dried fruit (like raisins or craisins)
- 1/4 cup nuts and 1/4 cup dried fruit
Chocolate Chip Substitution Options
- 1 cup white chocolate chips
- 1 cup milk chocolate chips
- 1 cup dark chocolate chips
- 1 cup chocolate chunks
- 1 cup mixture of any of the above
Storage
- The bars will keep airtight at room temperature for up to 1 week or in the freezer for up to 6 months.
- Unbaked dough can be stored in an airtight container in the refrigerator for up to 5 days, or in the freezer for up to 4 months
- Prep Time: 10 minutes
- Cook Time: 25 minutes
- Category: Breakfast, Snack
- Cuisine: American
Nutrition
- Calories: 196
- Sugar: 9
- Sodium: 155
- Fat: 10
- Saturated Fat: 5
- Carbohydrates: 24
- Fiber: 2
- Protein: 3
- Cholesterol: 25
Want to remember this post? Pin it to your favorite Pinterest Board!


©Photo, Prop Styling, and Food Styling by Jenn Smith
This Blog Post is ©2018 Always Jenn Smith™; Jenn Smith, LLC (FKA Smith Country, LLC) See below for details
Please Be Respectful
All rights reserved. You may NOT sell, trade, share or redistribute this recipe in any way or use any of my photographs for your site. If you are linking back to this post to a list of recipes, giving credit for the recipe to myself and my site, you may use ONE photo. You must site me and my blog as the creators of the recipe and give credit for the photo. ©2018 Always Jenn Smith; Jenn Smith, LLC
Jenn Smith of Always Jenn Smith™; Jenn Smith, LLC is a participant in the Amazon Services LLC Associates Program, an affiliate advertising program designed to provide a means for sites to earn advertising fees by advertising and linking to amazon.com. As well as the Apple affiliate program now called the Performance Partners Program.
This site displays third-party ads and contains affiliate links, See terms and conditions for ALL affiliates.
If you have any questions feel free to comment below or e-mail me directly.
Thank you for visiting!