Crisp-Buttery Sugar Cookies
A sugar cookie recipe is the buttery crisp version of the typical soft and chewy one, most know. They still hold their shape & taste amazing.
This post may contain affiliate links, which means that I make a small commission off items you purchase at no additional cost to you. Please read my Affiliate Disclosure

Awe Sugar Cookies, the classic cookie. Everyone has a recipe (many passed down from generations of bakers). Some recipes are soft, chewy, and perfectly sweetened. Not mine. Hold on, hear me out, yes, this cookie is perfectly sweetened, but it’s also a buttery, crisp cookie. It’s that cookie you eat with coffee, milk, or hot chocolate, it snaps as you bite, but it’s not hard, and neither is this recipe!
My Latest Food Videos

How to Make These Sugar Cookies
This process is very simple and much like many other cookie recipes, the key is in cooling the dough. Once to help prevent the butter from melting and make cutting the dough easier, then again after cutting the shapes just before baking to help keep the shape and prevent too much spreading.
If you just want the recipe itself and missed the “jump to recipe” button at the top, keep scrolling.
Recommended Tools
- A standing mixer or hand-held mixer will yield the best results!
- Offset Spatulas for lifting cut cookies from your counter
- silicone mats for baking the cookies. I have found nothing compares to baking on silicone mats, not even parchment paper. So if you haven’t invested in them. I highly recommend it.
- Air-tight containers or storage bags for storing your cookies. (See Cookie Storage for details on how to store your finished cookies and cookie dough)
Baking Instructions
Step 1: Make the Dough
The first step in this sugar cookie recipe is making the dough, which is simple and completed in about 10 minutes! First and foremost, make sure all your ingredients are at room temperature, this is KEY. Start by whisking together all the dry ingredients in a small-medium mixing bowl and set aside. Then, cream the butter and sugar together, next add eggs, and vanilla, and beat again. Slowly add the flour to the butter (about ½ cup or so at a time), and mix until incorporated.
Step 2:
For Cut Out Cookies
First, Chill the Sugar Cookie Dough
If you plan on cutting shapes out, separate the dough into two equal portions and form them into flat, round discs. Wrap the dough tightly in plastic wrap and chill in the fridge for at least 2 hours. You can also chill it overnight as well. If you are chilling longer than that, I recommend putting the wrapped dough discs in an airtight container or ziplock bag to ensure no air can get in and dry the dough out.
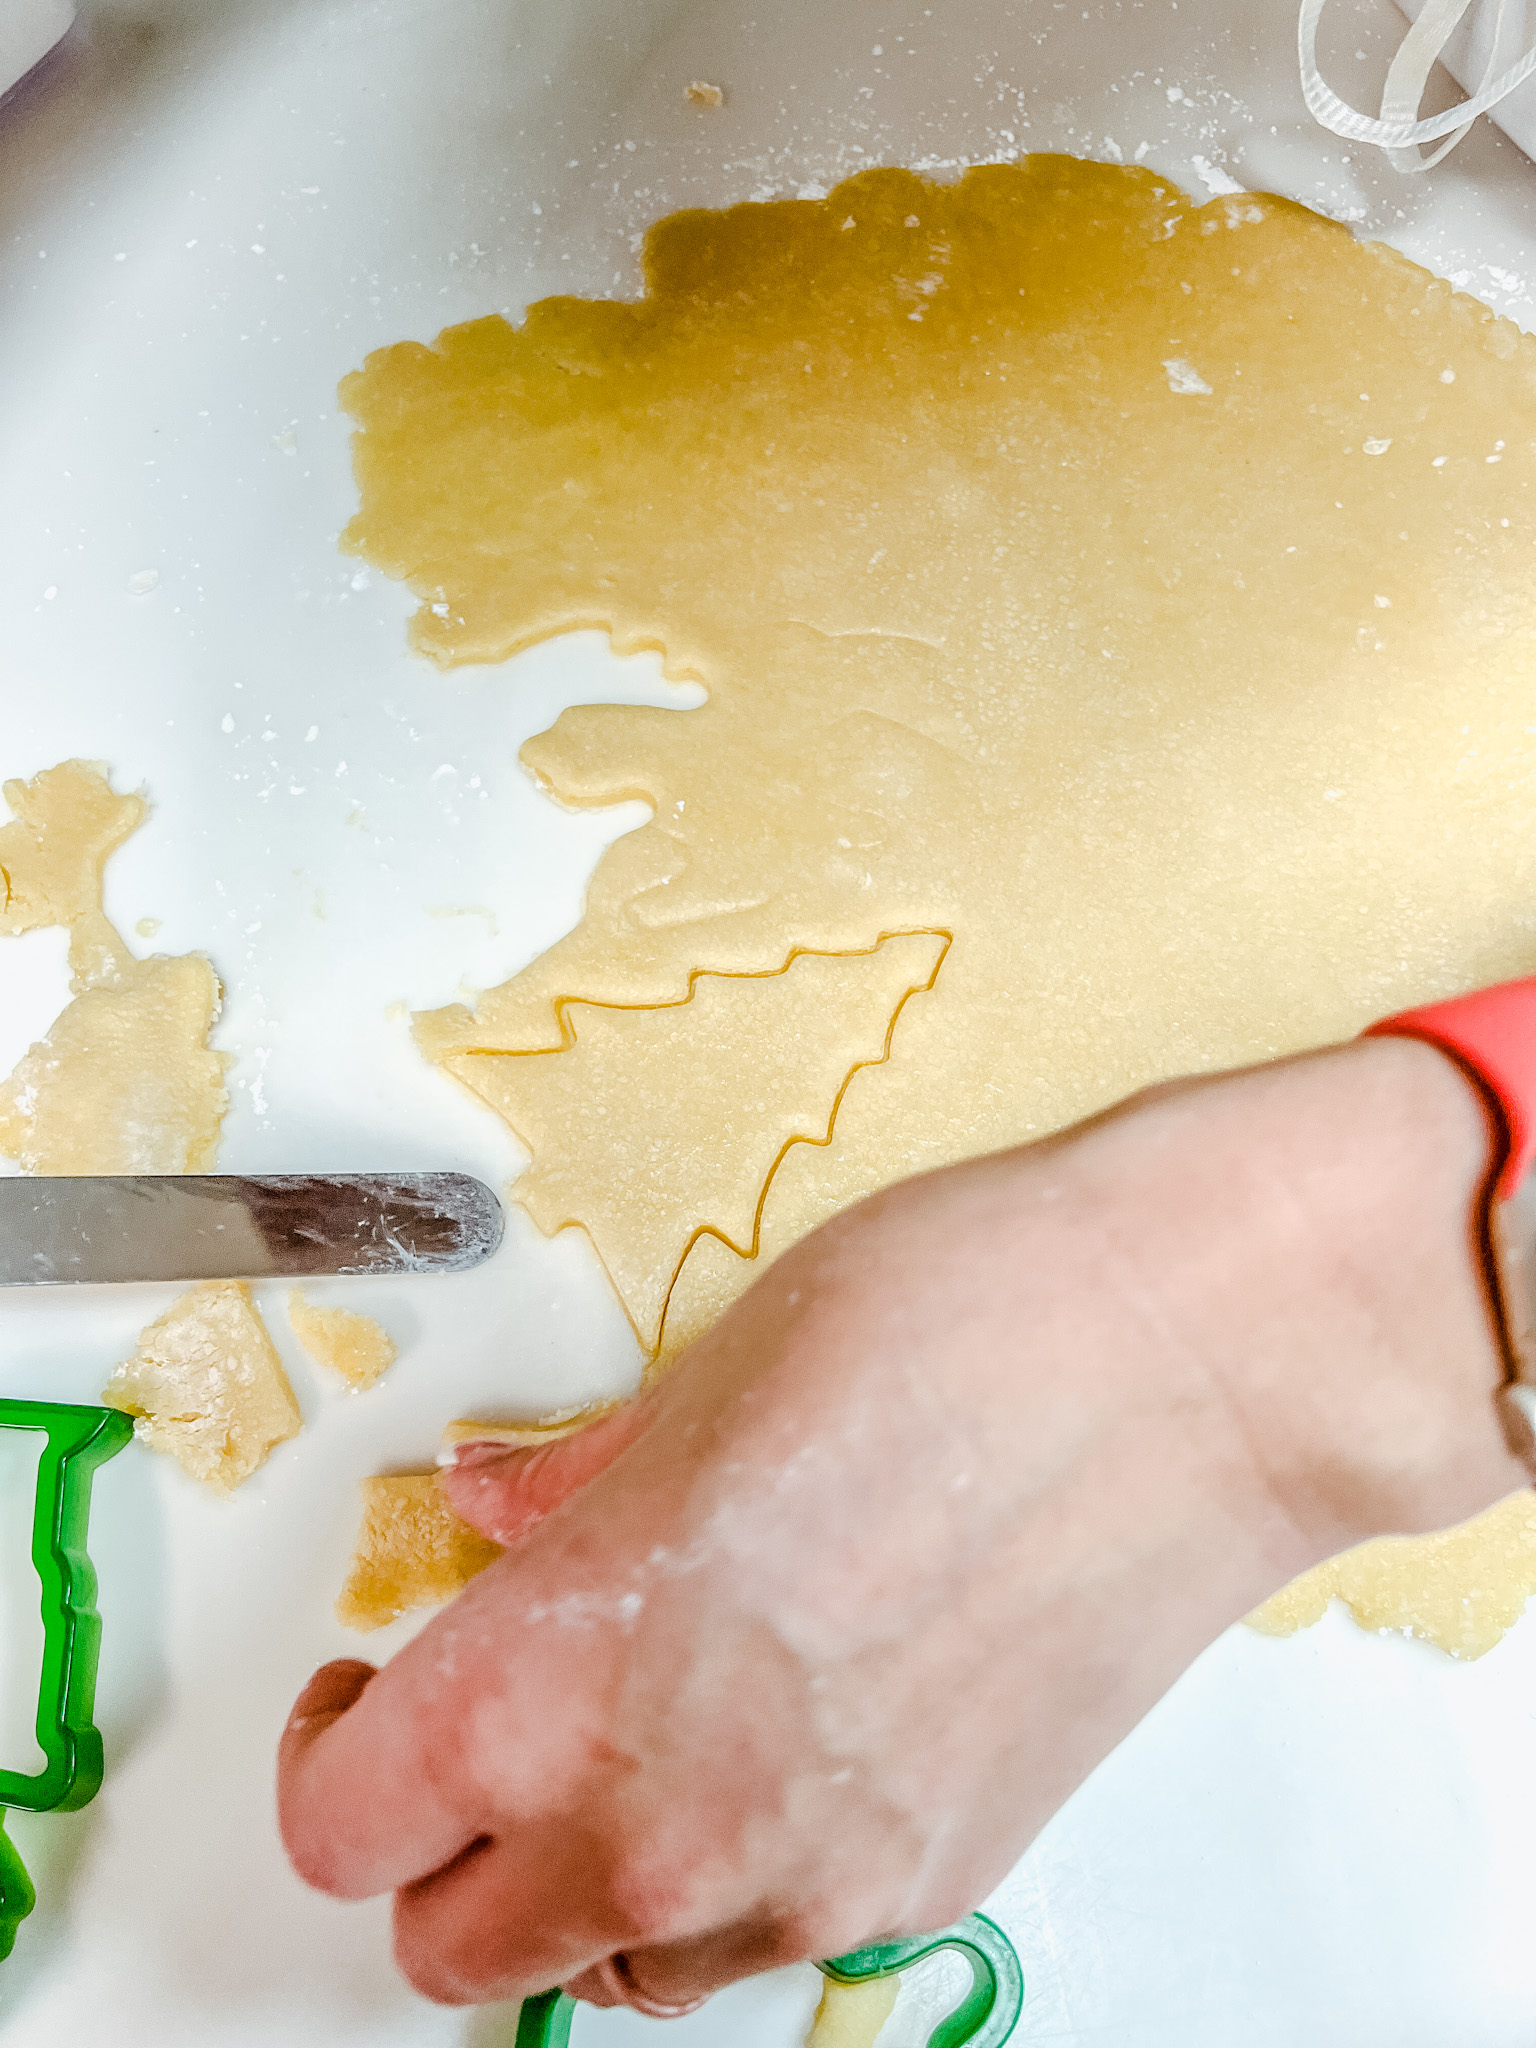
Next, Roll the Dough
Once it chilled and you are ready to cut out shapes, remove one dough disc from the refrigerator. Place it on a well-floured surface and roll until it’s about ¼ to ½” thick whichever suits your taste. One note: thicker cookies will be a bit softer!
CUT OUT SHAPES
Next, use your favorite cookie cutters to cut the rolled sugar cookies into the shapes you want. Because of the timing of this post, the Christmas theme was chosen. These, however, are perfect for every holiday, so pick whatever is your fancy.
Use a very thin offset spatula to transfer the cutout sugar cookies from the floured surface to a lined baking sheet.
After you roll & cut the sugar cookies you will have some scraps left over that you will re-shape into a flat disc, roll it out, and cut more shapes. You can roll and cut the dough 3 times (or two re-rolls) before it’s considered overworked. That means, with the two discs you can roll and cut 6 times total (3 for each disc) before you should just roll them into balls and press gently for simple circle cookies.


Before Baking Decorating
- We used letter stamps for the reindeer-shaped cookies to stamp the names of Santa’s Reindeer onto the cookies.

- If you so choose, you can use sanding sugar (see images below) instead of or with frosting. To ensure the sugar sticks, use a pastry brush and brush the unbaked sugar cookies with a little bit of milk or cream before using the sanding sugar.


For Simple Cookies (not cut out)
Scoop the Cookies
Using a 3-tablespoon cookie scoop, scoop and set on a lined baking sheet about 1 inch apart or so. Gently press down on the balls of dough.
Step 3: Chill the Dough Once More
Freeze the cookie dough for about 15-20 minutes, just to help set and not create spreading.
Step 4: Bake and Cool
Bake until a light golden color, creating a nice crisp but not hard cookie.
Let the cookies rest on the baking sheet for about 3 minutes, then use a spatula to transfer them to a wire cooling rack to cool completely!
After Baking Decorating:
Once the cookies are completely cooled, decorate them with your choice of icing/frosting.
Tips to Help the Prevent Cookie Spread:
There are many reasons sugar cookies could spread, here are a few and how to prevent them:
- Bake cookies on a silicone mat: Additional oil/grease can cause sugar cookies to spread. Instead, use a silicone mat, my personal recommendation, or parchment paper to prevent sticking and help the cookies keep their shape.
- Don’t let the dough get warm. Keeping the dough cold until you put the cookies in the oven is key. As the butter warms it spreads, so keeping it cool is to stop this.
- Don’t overwork the dough. You can get two rounds of “rolling” from this sugar cookie recipe before the dough becomes warm and overworked. To help with this, you can put it back in the fridge, or simply make circle cookies.
- Check your oven temperature. Get a cheap thermometer to be sure your oven is “really” 350 degrees F. Not all ovens heat to the temperature they display. Know your oven. If it’s baking lower than it’s set to it could cause the cookies to spread.
- Use fresh ingredients. If your eggs or baking powder are not fresh the cookies could spread. Be sure to use fresh ingredients.

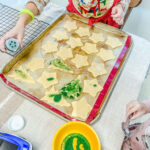
Cooking with Kids
DISCLOSURE: These tips are generalized, and meant to be suggestive. Everything I’m sharing I do with my kids, and they are all different even within my own five. So please take these as suggestions or ideas and if you think your child needs more or less help, then go with what you and your child are comfortable with. Ultimately, you know your kids, do what YOU think is best.
This particular recipe is one that I love because all my kids help and can! Seriously! Even my youngest helped as a baby! For more details on baking with kids check out my Must-Know Tips for Baking with Kids blog post.
Storage Details
- If you’re baking lots of sugar cookies for the holidays or for a cookie decorating party, you can freeze the baked cookies for up to two months! Store them in an airtight, freezer-friendly container (if you’re stacking cookies, you might want to separate the layers with parchment paper). Simply take them out and let them come to room temp on a drying rack before frosting and decorating.
- If you’re storing unfrosted cookies that are plain or baked with sanding sugar: Simply store the sugar cookies in an airtight container at room temperature for 2-3 weeks. No need to separate anything.
- If you’re storing frosted cookies: Wait for the frosting to harden first. Then store the cookies in an airtight container at room temperature for 2-3 weeks. If you are stacking them, you might need to separate the layers with parchment paper, depending on the frosting you use.
- Frozen decorated sugar cookies will last up to two months in the freezer as long as they are stored in an airtight container and/or wrapped very well.
Did you try it, have questions?
Please leave your feedback and rate this cookie recipe using the star icons on the recipe card. Your input would help me improve this and future recipes. Thank you!
Let’s get social!
Don’t forget to tag me on Instagram or Facebook, @jenngiamsmith #JennGiamSmith I will always share your posts on my stories and tag you! You can also share it on this post’s Pinterest Pin! Don’t forget to follow me on Pinterest for a steady stream of recipe (and other) inspiration!
It’s always wonderful to see loved ones coming together over delicious food.
Want more fun recipes to make this holiday season? Try any of these treats to add to your cookie/dessert platter
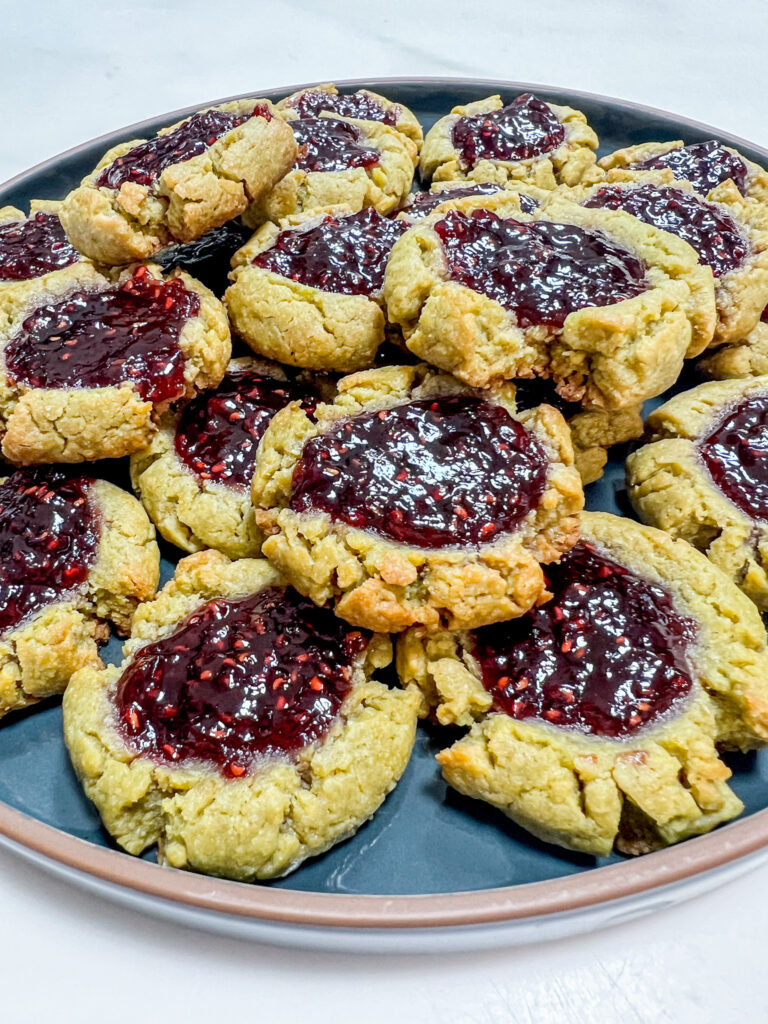
- Matcha Almond Butter Thumbprint Cookies
- Chinese Almond Cookies
- Recipe: Peppermint Brownie
- Strawberry Heart Marshmallows
Crisp-Buttery Sugar Cookies
- Total Time: 3 hours
- Yield: 36 cookies 1x
Description
This Sugar Cookie Recipe is the buttery crisp version of the typical soft and chewy sugar cookie, most of you probably know. They still hold their shape and taste amazing. Make it ahead of time or the day of. It doesn’t matter, this sugar cookie dough just needs a couple of hours to chill and you’re ready to go.
Ingredients
- 1 1/4 cups rice flour (not glutinous)
- 1/4 tsp kosher salt
- 1 3/4 cups all-purpose flour
- 1 1/8 cups granulated sugar
- 1/2 teaspoon baking soda
- 1/2 cup unsalted butter (softened)
- 1/2 cup shortening
- 2 eggs (room temperature)
- 1 teaspoon vanilla extract
Instructions
- Whisk together flours baking soda and salt in a medium bowl and set aside
- Blend together butter and shortening until fluffy then add sugar and continue mixing until well incorporated. Add vanilla and continue mixing.
- Slowly add the flour to the butter (about ½ cup or so at a time), mix until incorporated.
- For Cut Out Cookies:If you plan on cutting shapes out, separate the dough into two equal portions and form them into flat, round discs. Wrap the dough tightly in plastic wrap and chill in the fridge for at least 2 hours. You can also chill it overnight as well. If you are chilling longer than that, I recommend putting the wrapped dough discs in an airtight container or ziplock bag to ensure no air can get in and dry the dough out.
- Once it chilled and you are ready to cut out shapes, remove one dough disc from the refrigerator. Place it on a well-floured surface and roll until it’s about ¼ to ½” thick whichever suits your taste. One note: thicker cookies will be a bit softer!
- Next, use your favorite cookie cutters to cut the rolled sugar cookies into the shapes you want. Rework any scraps you have or just roll them into small 1.5 inch balls and press gently for simple circle cookies.
- For Simple Cookies (not cut out): Using a 3-tablespoon cookie scoop, scoop and set on a lined baking sheet about 1 inch apart or so. Gently press down on the balls of dough.
- Before Baking Decorating (you will do this before the next step: You could use letter stamps and stamp names or sayings. You can also use Sanding sugar instead of (or with frosting). To ensure the sugar sticks, use a pastry brush and brush the unbaked sugar cookies with a little bit of milk or cream before using the sanding sugar.
- Either way you choose, cut out or simple cookies: freeze the ready to bake cookies for 15-20 minutes, about the time with will take for the oven to pre-heat.
- When ready to bake: Preheat oven to 325°F and bake for 17-20 min until edges are golden brown.
- Once cooled you can store away OR frost with royal icing or frosting, then store once frosting has dried.
Notes
Recommended Tools
- A standing mixer or hand-held mixer will yield the best results!
- Offset Spatulas for lifting cut cookies from your counter
- silicone mats for baking the cookies. I have found nothing compares to baking on silicone mats, not even parchment paper. So if you haven’t invested in them. I highly recommend it.
- Airtight containers or storage bags for storing your cookies. (See Cookie Storage for details on how to store your finished cookies and cookie dough)
Tips to Help the Prevent Cookie Spread:
There are many reasons sugar cookies could spread, here are a few and how to prevent them:
- Bake cookies on a silicone mat: Additional oil/grease can cause sugar cookies to spread. Instead, use a silicone mat, my personal recommendation, or parchment paper to prevent sticking and help the cookies keep their shape.
- Don’t let the dough get warm. Keeping the dough cold until you put the cookies in the oven is key. As the butter warms it spreads, so keeping it cool is to stop this.
- Don’t overwork the dough. You can get two rounds of “rolling” from this sugar cookie recipe before the dough becomes warm and overworked. To help with this, you can put it back in the fridge, or simply make circle cookies.
- Check your oven temperature. Get a cheap thermometer to be sure your oven is “really” 350 degrees F. Not all ovens heat to the temperature they display. Know your oven. If it’s baking lower than it’s set to it could cause the cookies to spread.
- Use fresh ingredients. If your eggs or baking powder are not fresh the cookies could spread. Be sure to use fresh ingredients.
Cookie Storage
- If you’re baking lots of sugar cookies for the holidays or for a cookie decorating party, you can freeze the baked cookies for up to two months! Store them in an airtight, freezer-friendly container (if you’re stacking cookies, you might want to separate the layers with parchment paper). Simply take them out and let them come to room temp on a drying rack before frosting and decorating.
- If you’re storing unfrosted cookies that are plain or baked with sanding sugar: Simply store the sugar cookies in an airtight container at room temperature for 2-3 weeks. No need to separate anything.
- If you’re storing frosted cookies: Wait for the frosting to harden first. Then store the cookies in an airtight container at room temperature for 2-3 weeks. If you are stacking them, you might need to separate the layers with parchment paper, depending on the frosting you use.
- Frozen decorated sugar cookies will last up to two months in the freezer as long as they are stored in an airtight container and/or wrapped very well.
- Prep Time: 10 minutes
- Cook Time: 20 minutes
- Category: Dessert
- Cuisine: American
Nutrition
- Calories: 118
- Sugar: 6
- Sodium: 35
- Fat: 6
- Saturated Fat: 2
- Carbohydrates: 15
- Fiber: 0.3
- Protein: 1
- Cholesterol: 16
Want to remember this post? Pin it to your favorite Pinterest Board!


Photo, Prop Styling, and Food Styling by Jenn Smith © 2023 Always Jenn Smith; Jenn Smith, LLC
This Blog Post is © 2014-2023 Always Jenn Smith™; Jenn Smith, LLC (FKA Smith Country, LLC) See below for details
Please Be Respectful
All rights reserved. You may NOT sell, trade, share or redistribute this recipe in any way or use any of my photographs for your site. If you are linking back to this post to a list of recipes, giving credit for the recipe to myself and my site, you may use ONE photo. You must site me and my blog as the creators of the recipe and give credit for the photo. ©2023 Always Jenn Smith; Jenn Smith, LLC
Jenn Smith of Always Jenn Smith™; Jenn Smith, LLC is a participant in the Amazon Services LLC Associates Program, an affiliate advertising program designed to provide a means for sites to earn advertising fees by advertising and linking to amazon.com. As well as the Apple affiliate program now called the Performance Partners Program.
This site displays third-party ads and contains affiliate links, See terms and conditions for ALL affiliates.
If you have any questions feel free to comment below or e-mail me directly.
Thank you for visiting!