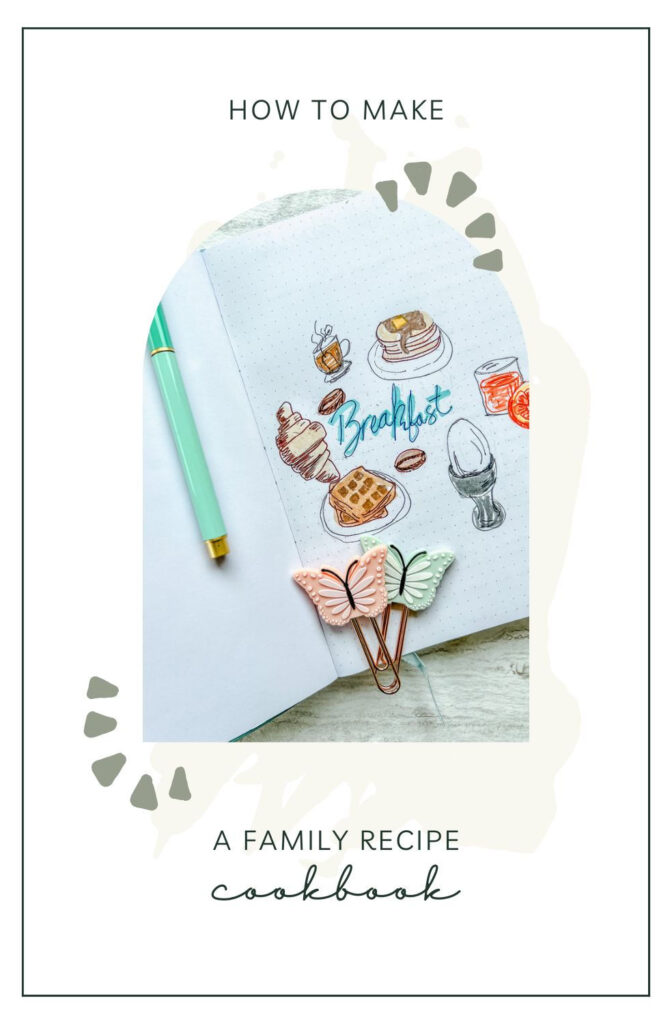
DIY Cookbook – Getting Started
Check out part one of my Bullet Journal Family Cookbook Journey. I’m sharing all the items I use and how to get started.
This post may contain affiliate links, which means that I make a small commission off items you purchase at no additional cost to you. Please read my Affiliate Disclosure

This DIY Cookbook post may contain affiliate links. That means I may make a small commission on items purchased through links in this post at no extra cost to you! Affiliate Disclaimer
This year I decided I wanted to create a cookbook for my kids. Something with my handwriting, some images, and all of the family’s favorite recipes. I wanted it to be a sort of scrapbook so the kids could have a nice memory book they could share, use, and talk about together.
Here’s how I got started…
Materials
The materials that are an absolute must for your DIY cookbook are, a bullet journal – I like the Butterfly Bullet Journal from JournalXO. It is a Woman Owned Small Business, and I have always gotten my items quickly, and they are coming from Hawaii! You’ll also need pens. I like the Paper Mate InkJoy Gel Pens they don’t smudge and dry quickly. I also suggest some multi-use tabs for easy recipe sections. The rest is optional.
- Butterfly Bullet Journal from JournalXO
- Paper Mate InkJoy Gel Pens (Or pens of your choice)
- Avery Multiuse Tabs (Mine are Polkadot)
- Avery Printable stickers (I’m using 2.5″ diameter Round)-Optional
- Food Stickers (Optional)
- Scrapbook Supply packs (Optional)
- Washi Tape (Optional)
Instructions
Making your own family cookbook isn’t complicated. You don’t need a lot to get started. Below is a step-by-step of everything I did to make my bullet journal family cookbook. It just takes a little time.
1. Gather your supplies.
You don’t need anything fancy to get started. All you need to get started is a pen and a notebook, everything else is just extra.
2. Decide your sections/categories.
Your sections/categories can be whatever you want them to be. Here are a few ideas you could use. I highlighted the ones that I decided to use.
- Breakfast
- Lunch
- Beverages
- Appetizers
- Soups and Salads
- Soups
- Salads
- Main dishes (Lunch and Dinner)
- Main dishes: Beef
- Main dishes: Poultry
- Main dishes: Pork
- Main dishes: Seafood
- Main dishes: Vegetarian
- Side Dishes
- Side dishes: Vegetables
- Side dishes: Other
- Desserts
- Canning / Freezing
- Breads
- Holidays
- Entertaining
3. Plan how many pages you need.
It’s not an exact science. You should have an idea of how many pages you want to use per section. Let’s say you only have 3 beverage recipes and 12 Dessert Recipes, then you’ll need fewer pages for beverages vs dessert recipes. You could also have one journal for each category/section if you have a lot of recipes (just remember that makes more an encyclopedia).
4. Create a tab for each section/category.
Using your Multiuse Tabs, create an easy-to-use tab to find your sections quickly. This is not required. I highly recommend it for easier finding
5. Create a table of contents (Optional).
I did the Multiuse Tabs, but I didn’t do a Table of Contents. You might find that handy in case a tab comes off, but then you would need to number your pages as well.
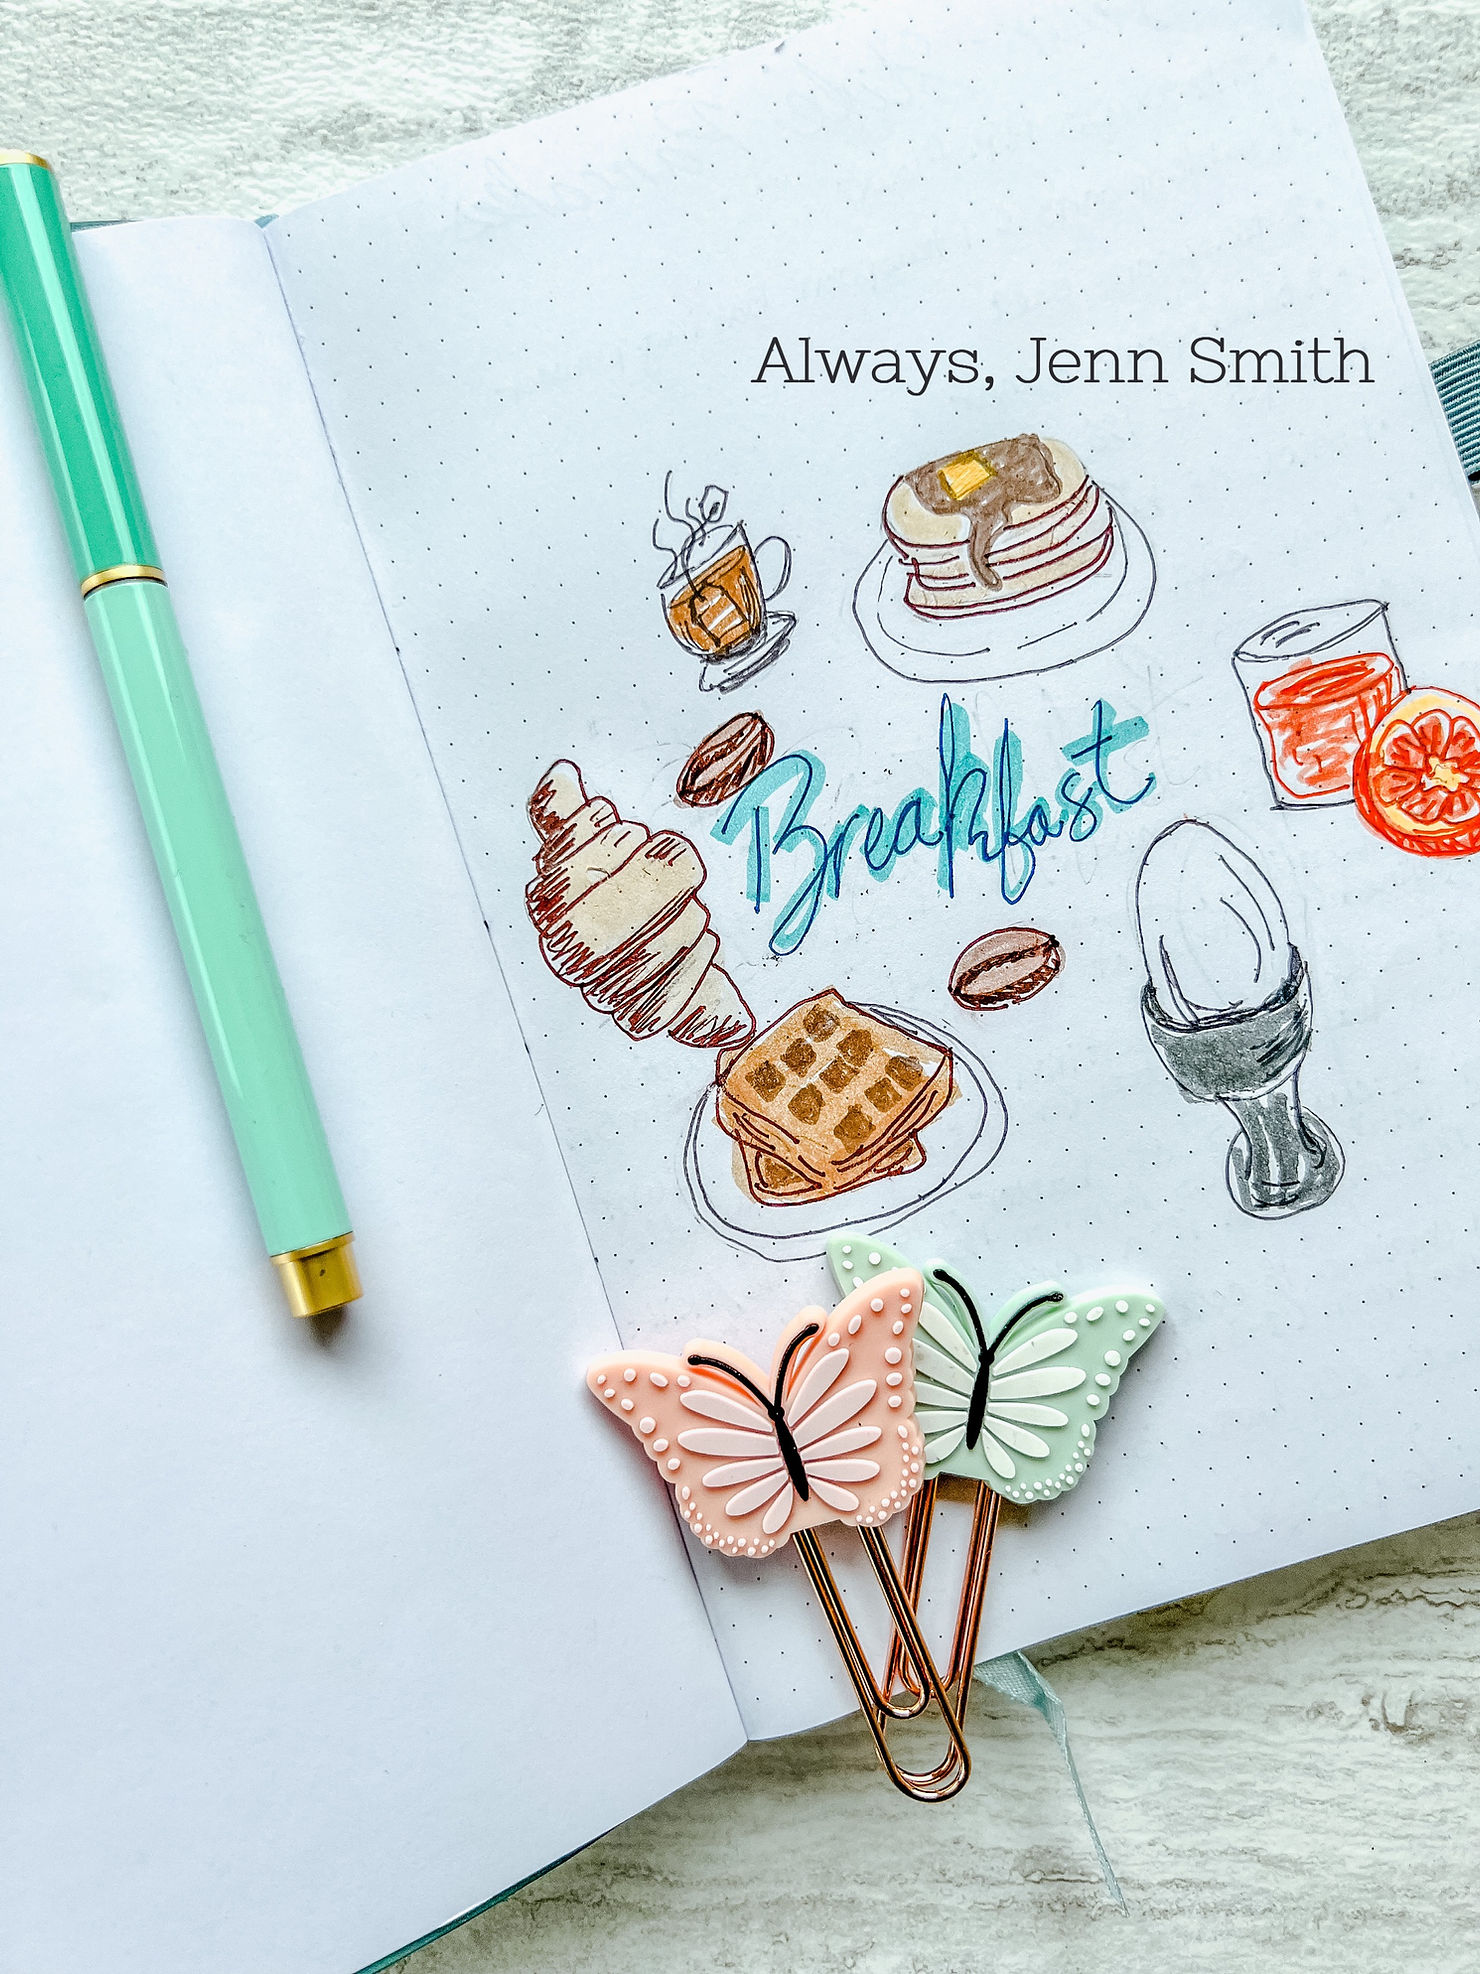
6. Start making your Cookbook:
to get started, I drew a picture of breakfast foods surrounding the words breakfast (see image below). If Food Stickers are easier or just simply writing Breakfast nice and clean is your preference, do that.

That’s it for now, I’ll share the progress – here on my blog and Instagram!
What recipes will go into your cookbook? Comment below and share what you plan on sharing with your family!
Want to remember this post? Pin it to your favorite Pinterest Board!
©Photos and Prop Styling by Jenn Smith