Easy Homemade Chicken Broth
Real chicken flavor in about 3 hours (or 1 hour in the Instant Pot). The kind of broth that makes soups, braises, and simple bowls taste like home.
This post may contain affiliate links, which means that I make a small commission off items you purchase at no additional cost to you. Please read my Affiliate Disclosure
There’s a difference between homemade broth and the box or carton version. While the carton has its place (even I buy them), there’s something about homemade that just adds that extra you want in a cozy meal. And honestly? It’s so easy to make because you’re starting with chicken thighs—the most forgiving cut of chicken that exists.
My dad spent decades in professional kitchens, and one of the first things he taught me about broth was this: you’re not aiming for something fancy. You’re building real flavor steadily, letting the bones and aromatics infuse into something rich and honest. The result tastes like home cooking—no complicated technique required.
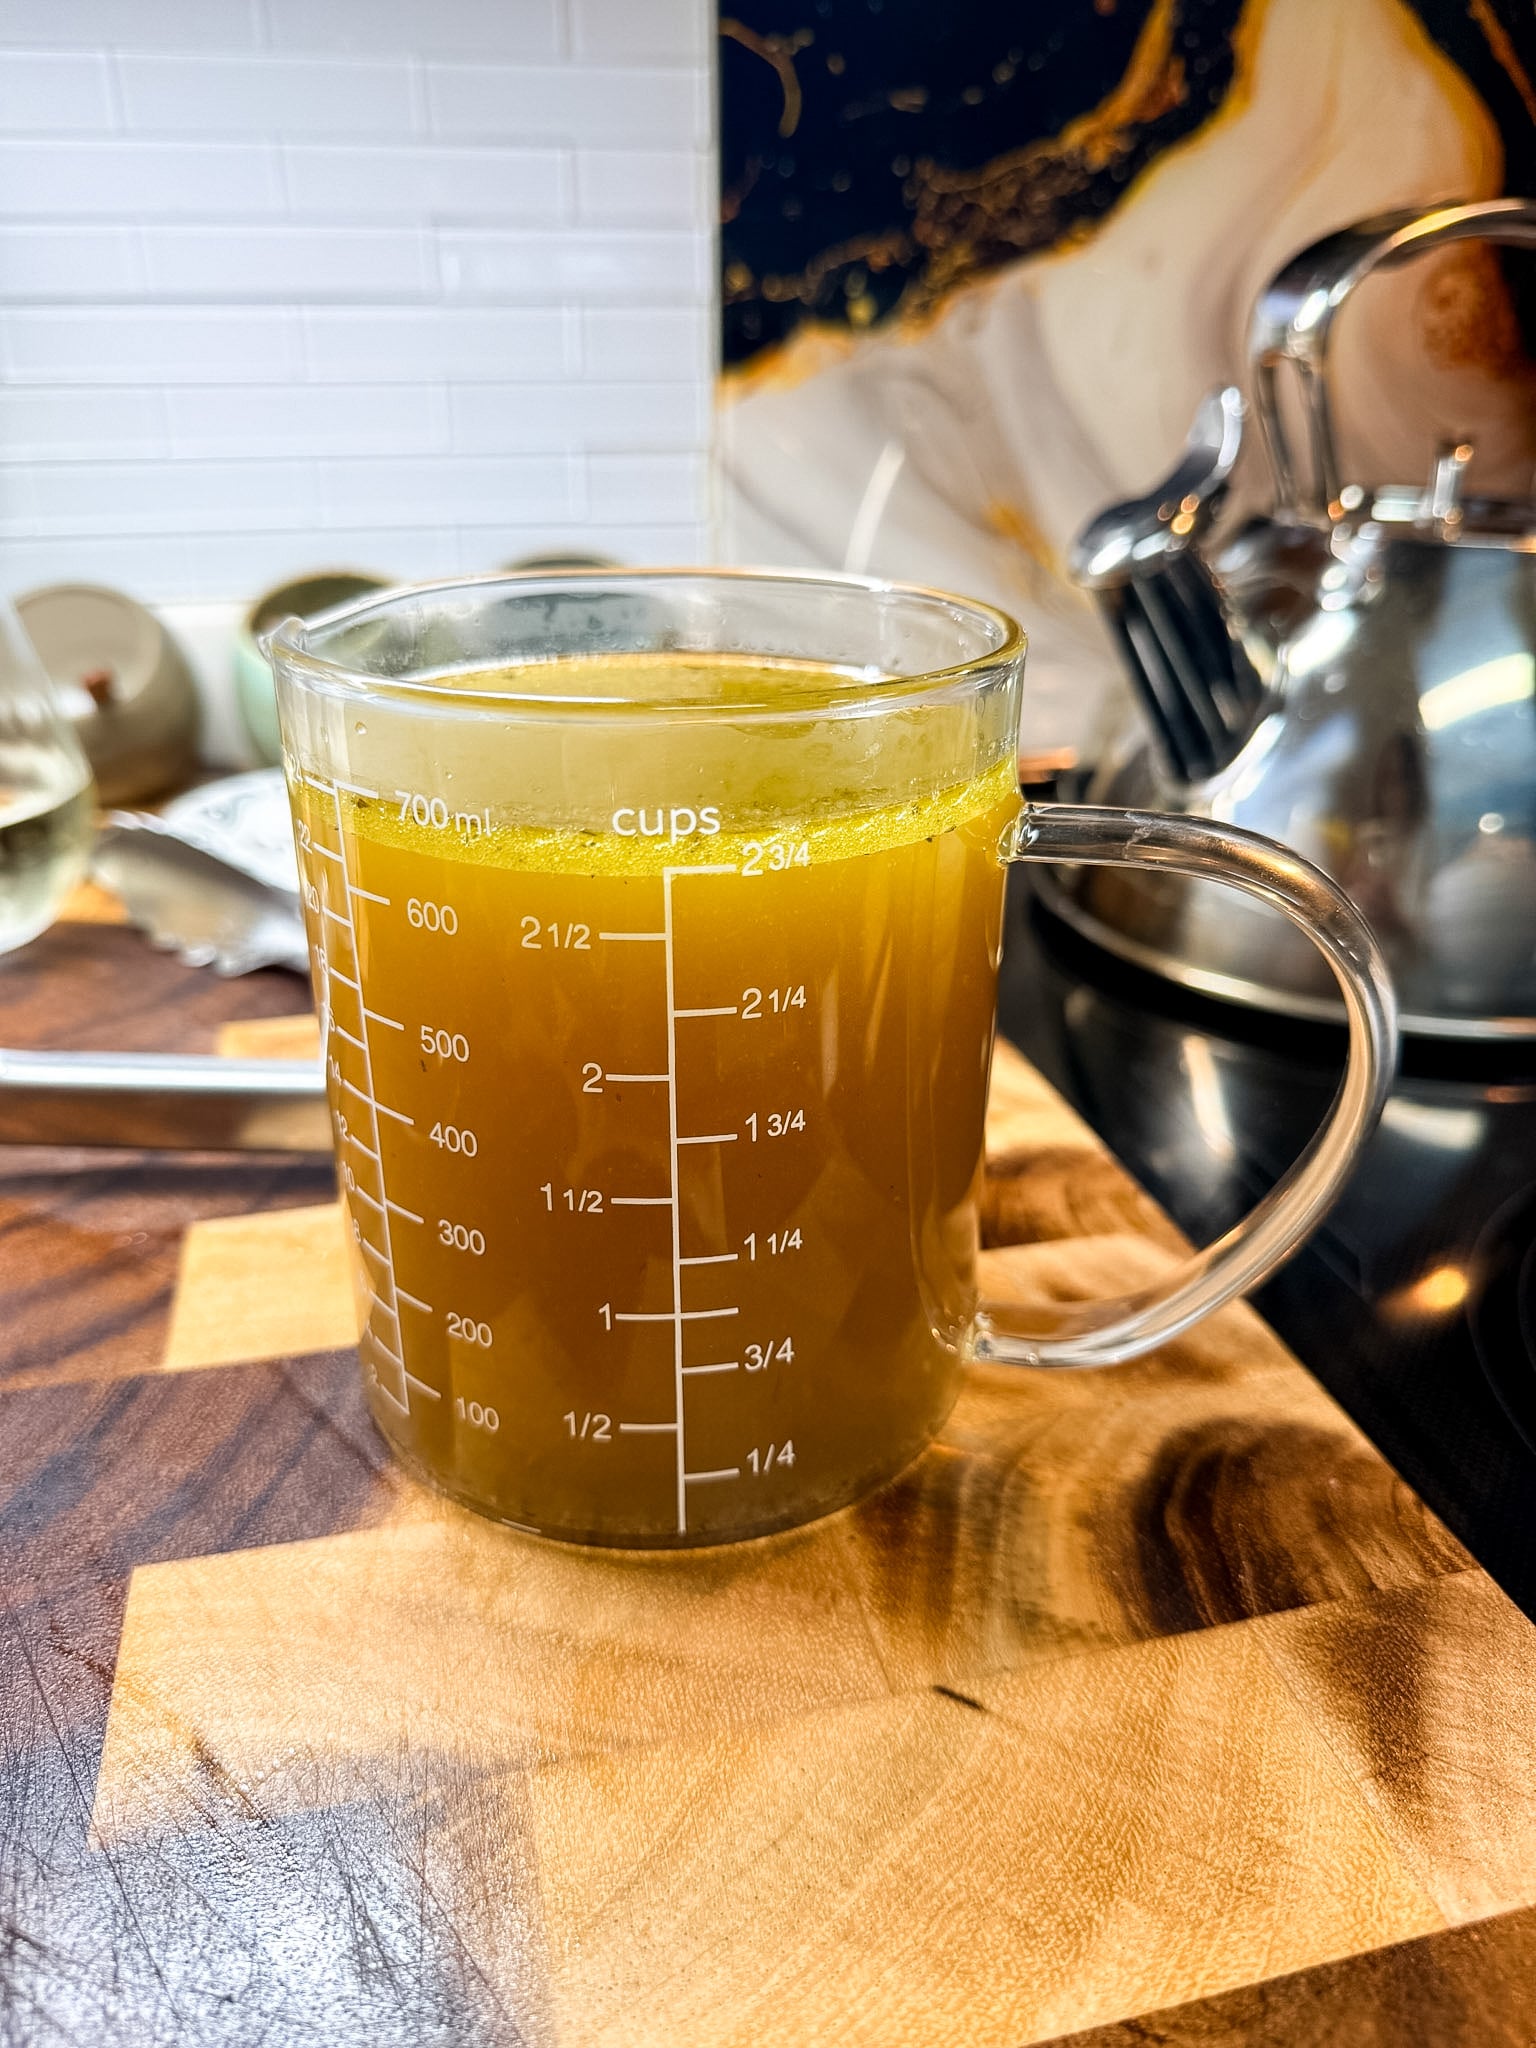
I give you two methods here—stovetop and Instant Pot. Both work beautifully. The stovetop version gives you time to do something else (or nothing at all), and the Instant Pot version gets you there in about an hour if that’s what your day needs. Either way, you’ll end up with about 7 and a half cups of broth that’ll make your soups, braises, and simple bowls taste so much better.
Why You’ll Love This Recipe
- Real chicken flavor that tastes nothing like a carton
- You control the salt level—crucial if you’re using it in other recipes
- Costs about $5 for enough broth to freeze for weeks
- The bonus: cooked chicken meat from the thighs for salads, soups, or tacos
- Two methods (stovetop and Instant Pot) so you can choose what fits your day
- The fat layer that forms on top? That’s liquid gold for cooking vegetables
About the Ingredients
Bone-in, skin-on chicken thighs: This is where the real flavor comes from. Thighs have fat and flavor that white meat doesn’t. Dark meat broth tastes noticeably richer. Don’t use boneless thighs—you need the bones for depth and body.
Aromatics (onion, garlic, celery): These are your foundation. I don’t peel the onion because the skin adds color and subtle depth. Leave everything chunky—you’re straining anyway. Smashed garlic releases its oils faster than whole cloves.
Carrots with their greens (if you have them): Carrot greens add something fresh and slightly bitter that rounds out the sweetness. If your carrots don’t have greens, fresh parsley does the same job. Don’t skip this part.
Peppercorns and salt: Whole peppercorns stay whole and don’t cloud the broth. Salt we’ll adjust later—the broth concentrates as it simmers, so I always taste and adjust at the end.
Cold water: This matters more than you’d think. Cold water lets you build flavor gradually. Hot water rushes the process. Start cold, bring it up to a gentle simmer, and be patient.
How to Make It

On the Stovetop (3 hours)
- Add the chicken, onion, garlic, celery, carrots, peppercorns, and salt to your Dutch oven or large stock pot. Everything should be chunky and loose—don’t cram it down.
- Pour in cold water until it just barely covers everything. You want about 8 cups. The ingredients should be submerged, but you’re not drowning them.
- Turn the heat to high and watch it come to a boil. This takes about 15–20 minutes. Once it reaches a boil, you might see foam or scum rise to the surface. You can skim this off if you want a clearer broth, or you can leave it—it won’t hurt anything.
- Reduce the heat so the broth is barely simmering—you want small bubbles breaking the surface, not a rolling boil. A gentle, steady simmer is what pulls all the good stuff from the bones and aromatics. Cover the pot and let it go for 3 hours.
- After 3 hours, you’ll notice the kitchen smells incredible and the broth has turned a rich golden color. Remove the chicken thighs with tongs and set them aside to cool.
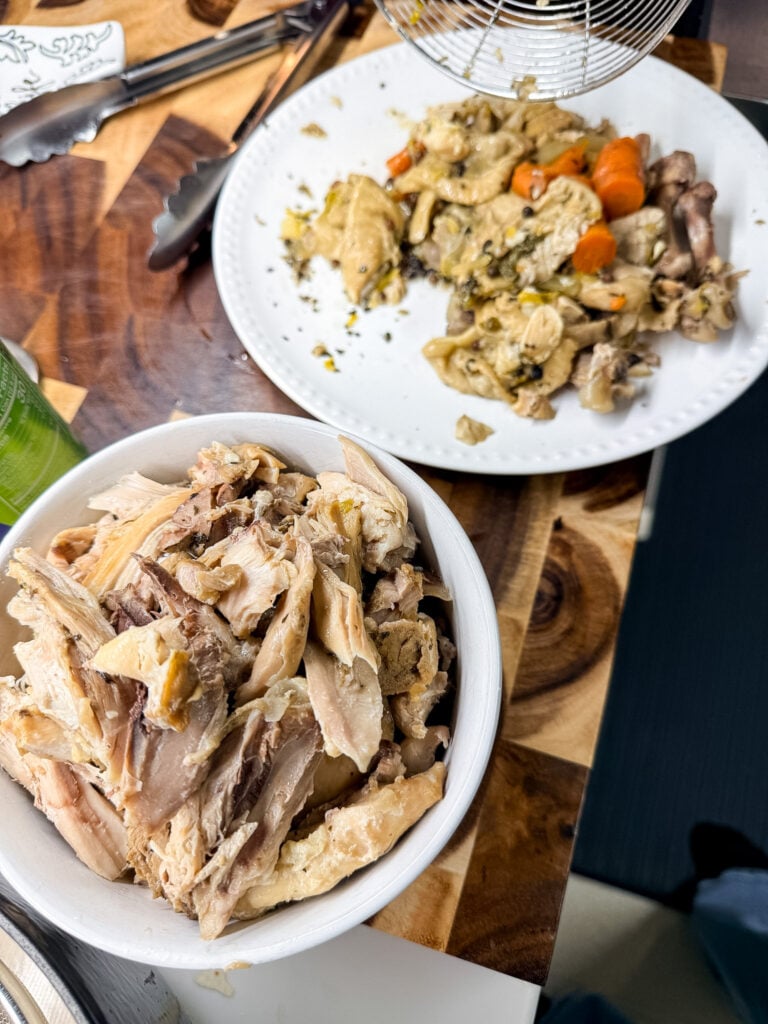
- Once the thighs are cool enough to handle, pick the meat off the bones and skin. Save the meat for chicken salad, tacos, soup—anything you want. Discard the bones and skin.
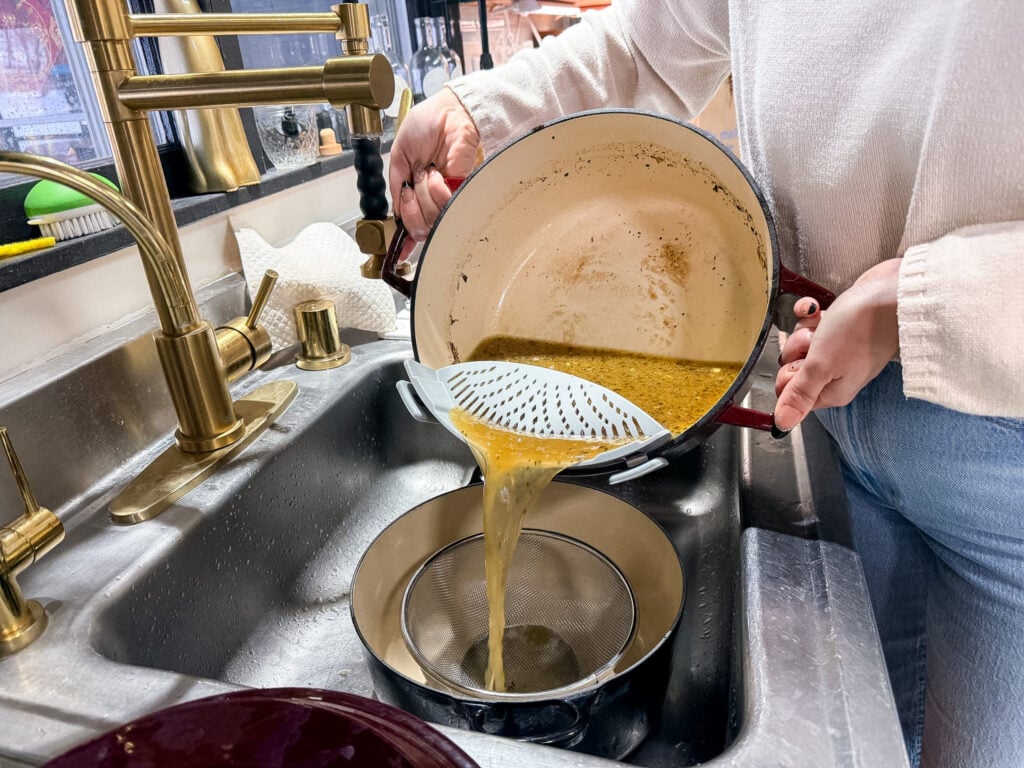
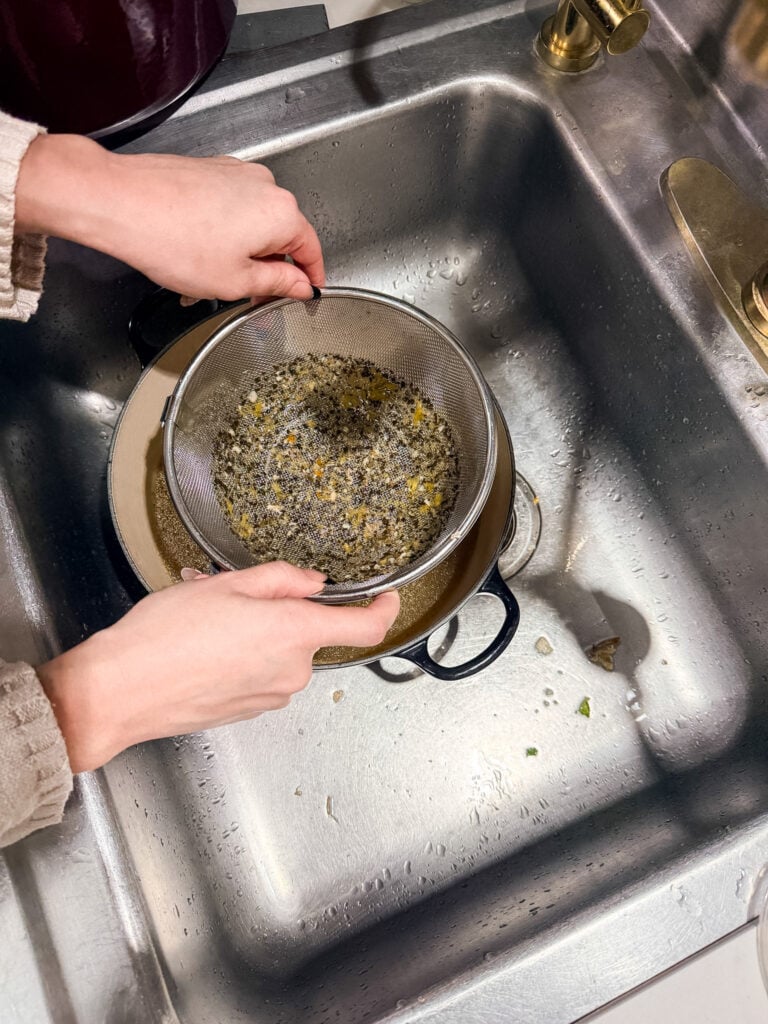
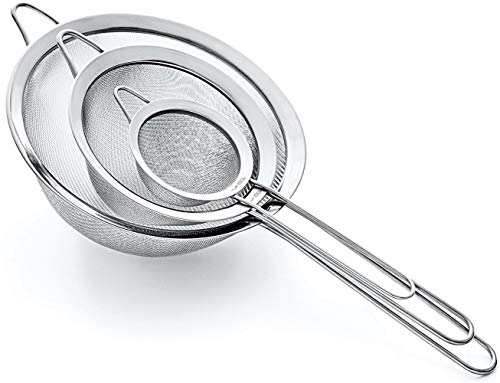
- Set a fine-mesh sieve over a large bowl and carefully pour the broth through. Let it drip naturally—don’t force it. Once strained, you can discard the vegetable solids. You should have about 7.5 cups of golden, flavorful broth.
In the Instant Pot (about 1 hour)
- Add chicken, onion, garlic, celery, carrots, peppercorns, and salt to your Instant Pot.
- Pour in cold water until it just barely covers the ingredients. Do not go over the max fill line—this is important. You need room for steam to build up.
- Close the lid, make sure the valve is set to sealing, and set to high pressure for 1 hour. The Instant Pot will take about 10–15 minutes to come to pressure before the timer starts.
- When the timer beeps, immediately release the pressure (quick release). This is different from letting it depressurize naturally—you want to stop the cooking right away.
- Remove the chicken thighs with tongs and let them cool. Pick the meat from the bones and skin the same way as the stovetop method.
- Strain the broth through a fine-mesh sieve into a large bowl. You should have about 7.5 cups of rich, golden broth.
What comes next: Let the broth cool to room temperature, then divide it into smaller containers with tight lids. Refrigerate or freeze immediately. If you refrigerate it, you’ll notice fat solidifies on top within a few hours—that’s perfect. You can skim it off or leave it for cooking vegetables.
How to Store It
Broth keeps in the refrigerator for about 4 days in an airtight container. For longer storage, freeze it—it’ll stay good for 3-4 months. The easiest method? Pour cooled broth into ice cube trays, freeze solid, then pop the cubes out and store them in a freezer bag. This way you can add just what you need to a pan without thawing a whole container. It’s perfect for quick braises, finishing a soup, or building flavor in vegetables.
Don’t forget about the chicken thighs. Once they’re cool enough to handle, pick the meat from the bones and skin. You’ll have tender, flavorful cooked chicken ready to use. I shred it and use it in soups, salads, and tacos—or as the base for my Chicken and Dumplings. This broth is literally the foundation for that recipe.
Jenn’s Kitchen Tip
Salt later, not now: I add salt to the raw ingredients, but I always taste and adjust after straining. The broth concentrates as it simmers, so early salt can end up too strong. Add just enough to bring out flavor, then adjust when you actually use it.
Gentle heat is everything: A rolling boil breaks down the collagen too fast. A gentle simmer keeps the broth clear and silky. You’ll know you’re at the right temperature when there’s barely any activity on the surface.
The fat layer is a bonus: When broth cools, fat rises and solidifies on top. Save this. It’s pure flavor and perfect for sautéing vegetables or making roux. Some of the best cooking fat you can have.
Three hours is the sweet spot: More time doesn’t help. After 3 hours on the stovetop or 1 hour under pressure, you’ve extracted everything you need. Longer, and you risk an off flavor.
Freeze in ice cube trays: Pour cooled broth into ice cube trays, freeze solid, then pop out and store in a freezer bag. Now you can add just a little broth to a pan without thawing a whole container.
Use it within 3 months: Frozen broth stays good for several months, but it’s best used within 3. Refrigerated broth keeps about 4 days before you should use it.
Common Questions
You technically can, but I wouldn’t. Breasts are lean and don’t have much flavor or richness. Thighs are forgiving and give you that cooked chicken meat as a bonus. They’re the best choice for broth that actually tastes good.
Cloudiness usually means either too high heat (which breaks down proteins fast) or skimming didn’t happen early enough. It tastes fine, but if clarity matters to you, start with cold water, keep the heat low, and skim gently in the first 20 minutes.
If your carrots have fresh green tops, use them—they add a subtle herbal note that rounds out the sweetness. If not, don’t stress. A handful of fresh parsley does the same job and keeps the broth from tasting one-note.
Yes, any large pot works. You need enough room for the ingredients to sit loosely and for steam to move around. A 6–8 quart pot is ideal, but even a 4-quart pot will work if you’re okay with a slightly smaller yield.
Refrigerated broth keeps about 4 days if it’s in a clean, airtight container. Frozen broth lasts 3–4 months. I always label containers with the date so I know what I’m grabbing.
This is the broth I come back to, again and again. It’s simple, it works, and it tastes like real cooking. Make a batch, freeze it, and you’ll have it ready the next time you need something warm and real. Tag me on Instagram @cheersjennsmith and let me know how yours turns out—I love seeing what you’re making with it.
Print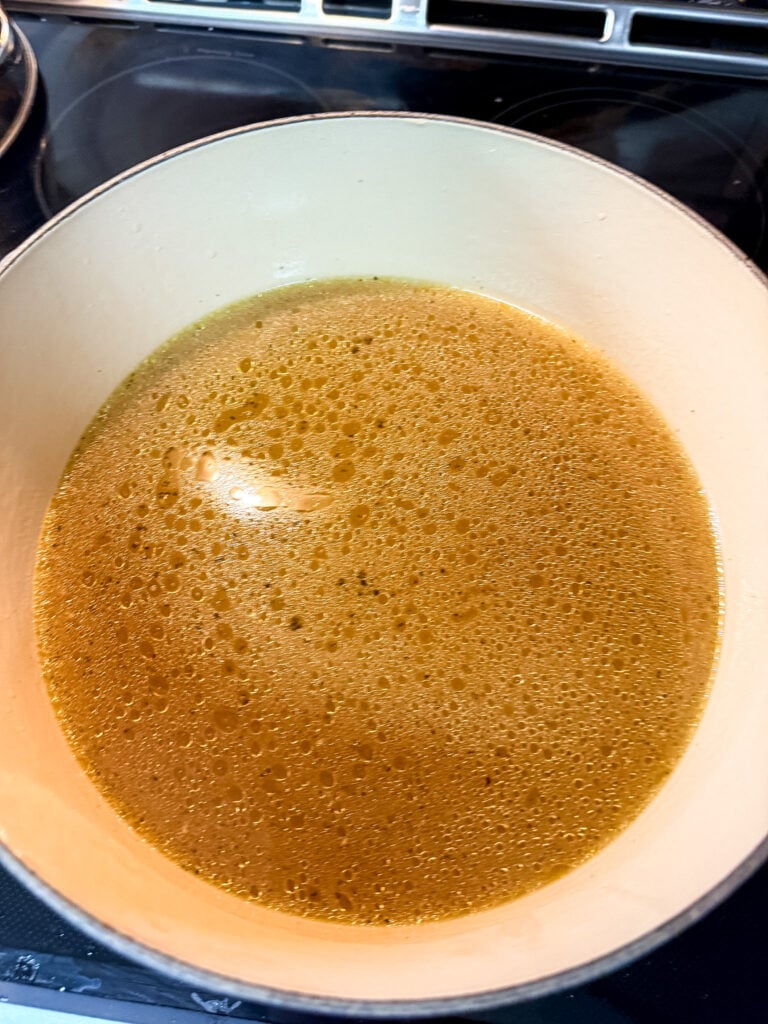
Easy Homemade Chicken Broth
Simple, golden broth made from bone-in chicken thighs. Choose stovetop or Instant Pot method. Makes about 7.5 cups.
- Total Time: 1 hr 15 min-3 hrs 15 min
- Yield: 7.5 cups 1x
Ingredients
- 6 bone-in, skin-on chicken thighs
- 1 small onion, cut into quarters
- 6 garlic cloves, smashed
- 3 celery stalks, cut into large pieces
- 3 carrots (4 oz), unpeeled, cut into pieces – Include carrot greens if available; if not, add 1/2 bunch fresh parsley
- 1 tablespoon whole peppercorns – Stays wholeh
- 1 tablespoon salt, or to taste – Adjust after straining
- 8 cups cold water
Instructions
On the Stovetop
- Add all ingredients except water to a large Dutch oven or stock pot.
- Pour in cold water until it just barely covers everything.
- Turn heat to high and bring to a boil (about 15–20 minutes).
- Once boiling, reduce heat so broth is gently simmering. Cover and cook for 3 hours.
- Remove chicken thighs with tongs and set aside to cool. Pick meat from bones and skin; reserve meat for other uses.
- Strain broth through a fine-mesh sieve into a large bowl. Discard solids.
- Cool to room temperature, then divide into containers with tight lids. Refrigerate or freeze immediately.
In the Instant Pot
- Add all ingredients except water to the Instant Pot.
- Pour in cold water until it just barely covers everything. Do not exceed the max fill line.
- Close the lid, set valve to sealing, and set to high pressure for 1 hour.
- When timer beeps, immediately release pressure (quick release).
- Remove chicken thighs and let cool. Pick meat from bones and skin; reserve meat for other uses.
- Strain broth through a fine-mesh sieve into a large bowl. Discard solids.
- Cool to room temperature, then divide into containers with tight lids. Refrigerate or freeze immediately.
Equipment
 Buy Now →
All-Clad D3 3-Ply Stainless Steel 8 Quart Stockpot
Buy Now →
Le Creuset 6.75 qt. Enameled Cast Iron
Buy Now →Notes
Salt adjustment: Always taste and adjust salt after straining. The broth concentrates during cooking, so early salt can become too strong.
Storage: Refrigerated broth keeps 4 days. Frozen broth keeps 3–4 months. The solid fat layer that forms on top is liquid gold—save it for cooking.
Make-ahead: Broth can be made up to 3 days ahead and refrigerated. Freeze in ice cube trays for easy portioning.
Variations: Add fresh herbs (thyme, bay leaf) if desired, but keep it simple. Bones from a whole r
- Prep Time: 15 minutes
- Instant Pot Time: 1 hr
- Cook Time: 3 hrs
- Category: broth
- Method: stovetop
- Cuisine: International
- Diet: Gluten-Free, Paleo, Whole30
Recipe & Photo Credit
This recipe and all images are original content created by Jenn Giam Smith for Cheers, Jenn.
You’re welcome to link to this recipe using one photo with proper credit. Please do not copy, republish, or redistribute this recipe or images without permission.
Have a question or want to share how it turned out?
Leave a comment below — I love hearing from you. 💛
MAKE MID-WEEK A LITTLE EASIER
Sign up below, and I’ll send you a FREE E-BOOK featuring six of my all-time favorite mid-week recipes!