How to: Long Tail Cast-On
The Long Tail Cast-On is my go-to for knitting. This particular cast-on has so much…

The Long Tail Cast-On is my go-to for knitting. This particular cast-on has so much forgiveness and once you figure it out, I know it’ll be one of your favorites too.
To get started you’ll need a few basics. Below are the materials I used in both the photo explanation and the video explanation.
Materials
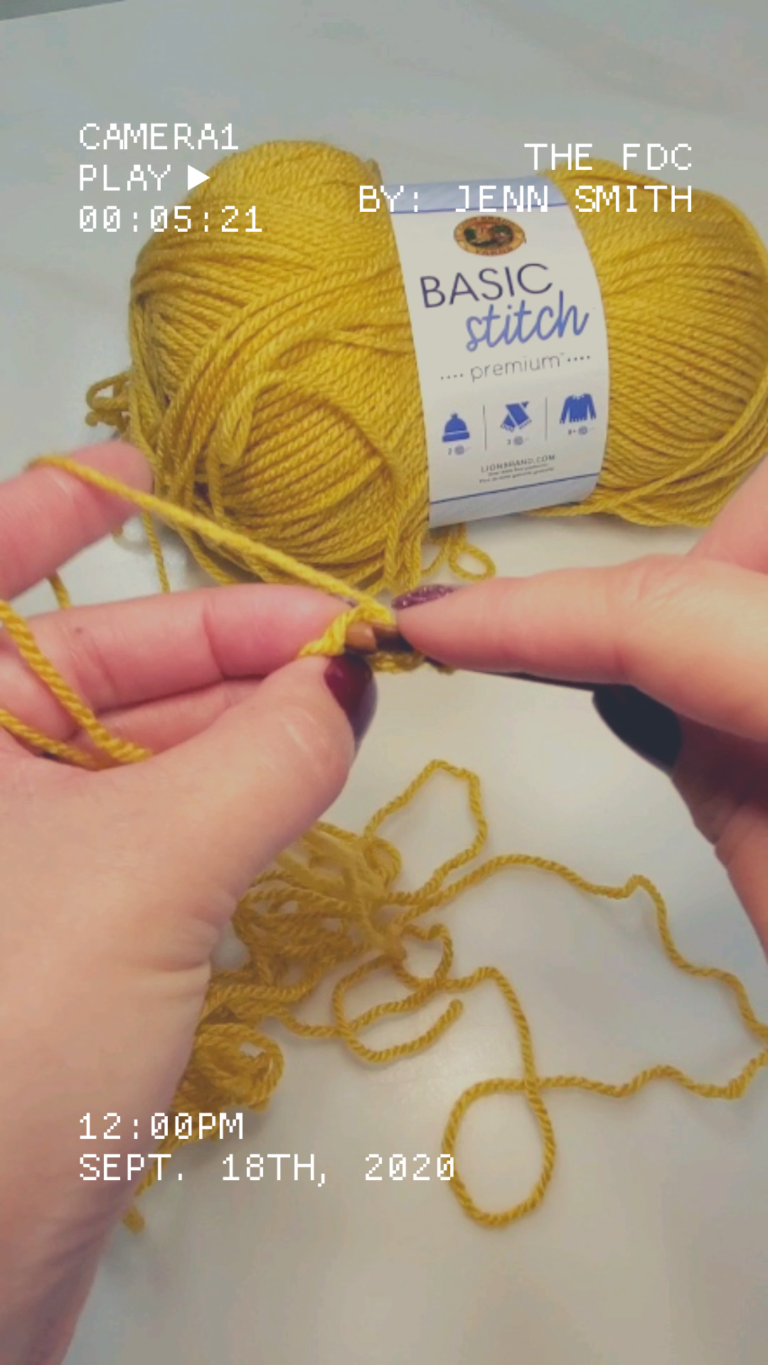
- Yarn: Stonehedge Fiber Mill Shepherd’s Wool Worsted (not an affiliate, just a fan. I bought mine at Yarnology in Minnesota).
- Needles: US6 (4.00mm)
OK, Ready to get started?
Today we’re talking about the Long Tail Cast On. This is the one cast-on, that if you learn no other cast-on…I recommend you learn this one. Not only is this a fabulously stretchy knit cast-on, but you can also use it for Tunisian crochet! What?
Today, we’re talking about it in the knit version, but the technique works the same for Tunisian Crochet as well (a post for a different day). Oh! And don’t worry, I have a video of the entire process on YouTube. I’ll also make sure to post a version on Instagram reels for you to save as well.
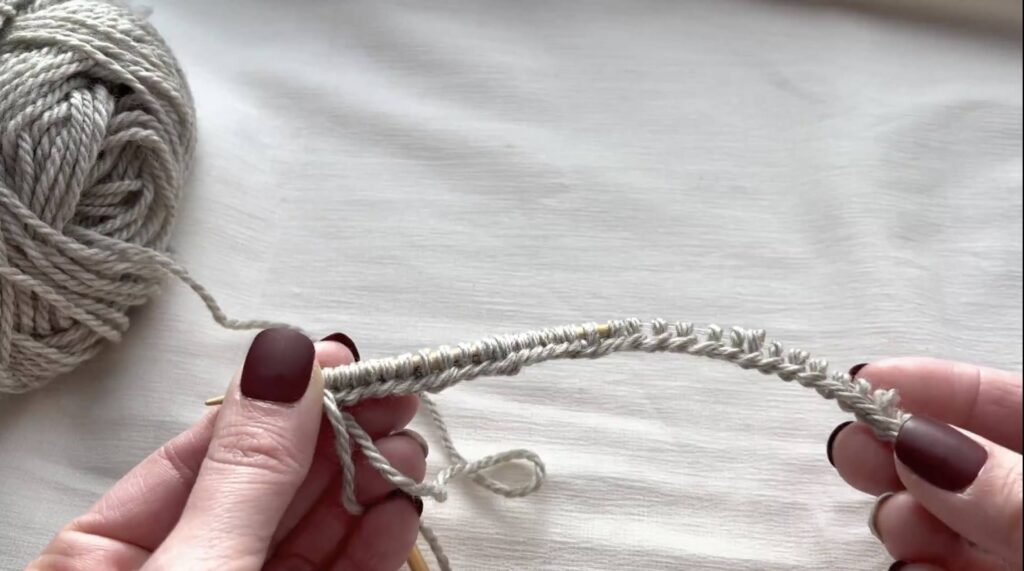
OK, so we’re going to start by talking about how to “guestimate” the amount of yarn you will need. I like to wrap around the yarn around my needle the number of stitches I need (keep reading for the full details).
Before figuring this technique out, it was seriously a blind guess. Sometimes, I didn’t have enough and had to undo and start over. Other times, I had some ridiculously long tail that I inevitably would need to cut after weaving in what I needed.
To help you avoid this, I’m going to explain in full detail how I figured out how much yarn I need.
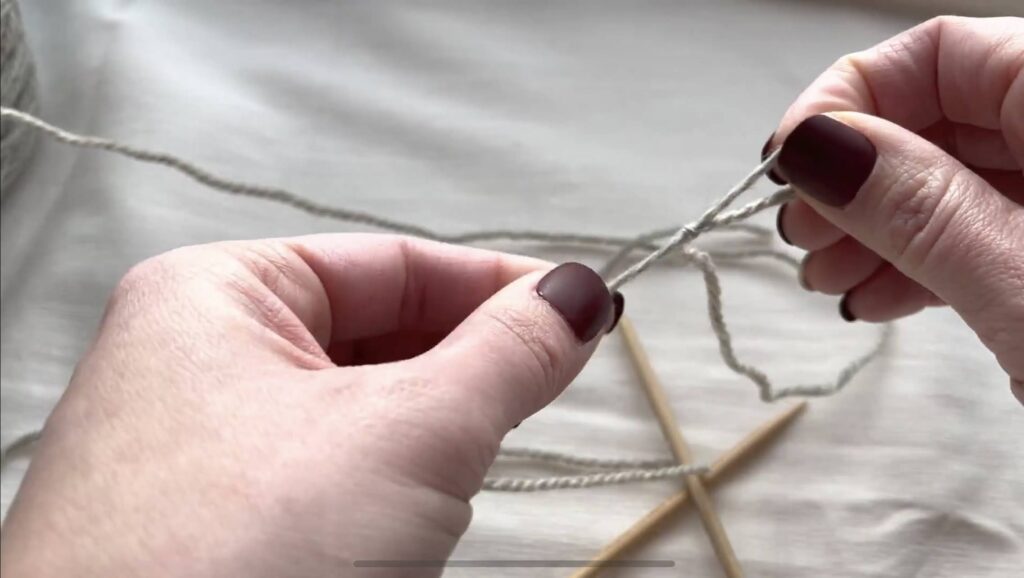
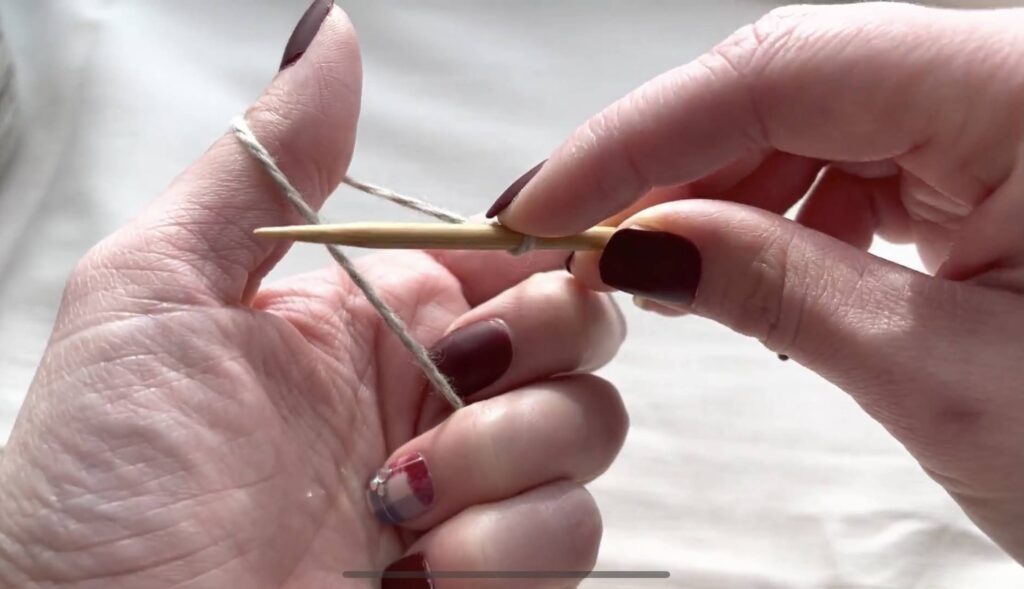
First, I suggest you start by pulling about 2 inches or so of excess yarn.
Then, hold the yarn by your needle and begin wrapping the yarn around. Each full wrap-around is 1 stitch.

Does this add a little extra time and counting? Yes, but…. You will thank me when you’re not recounting for the 4th time because you didn’t guess the right length.
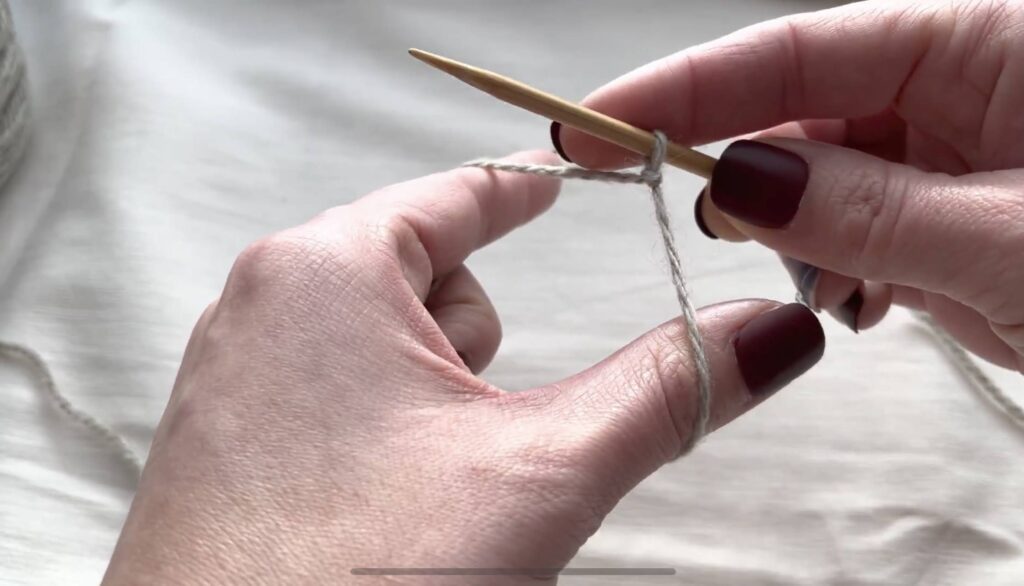
Once you have the length needed to begin, you will make a slip knot onto the needle.
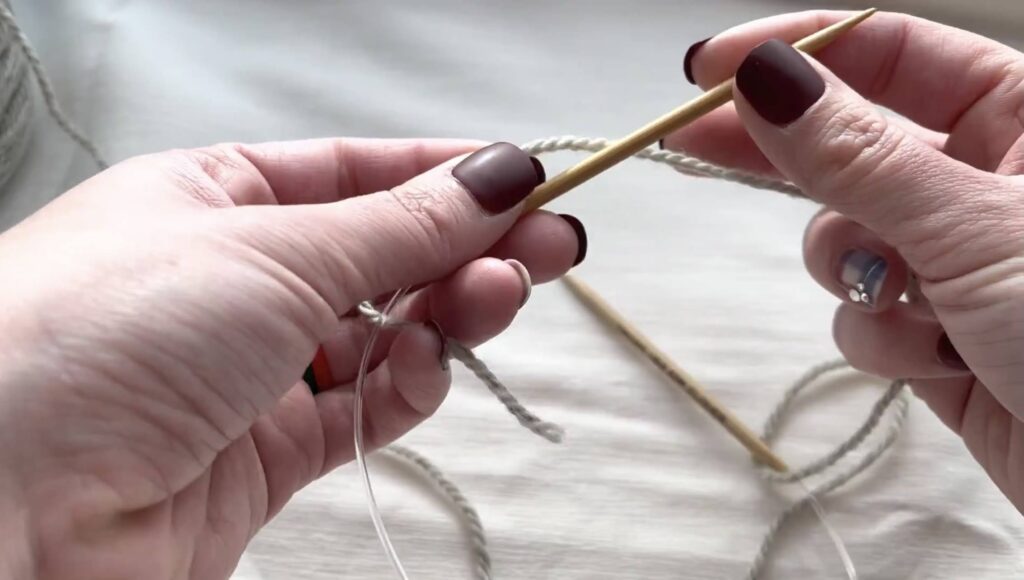
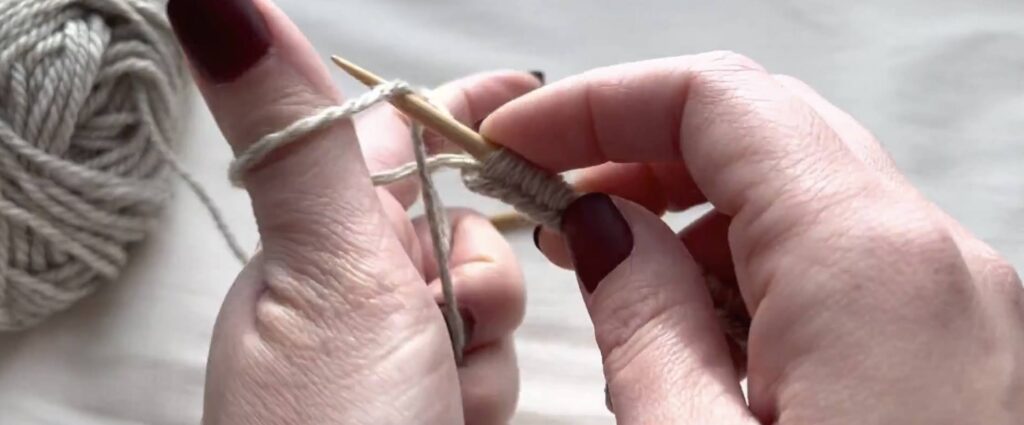
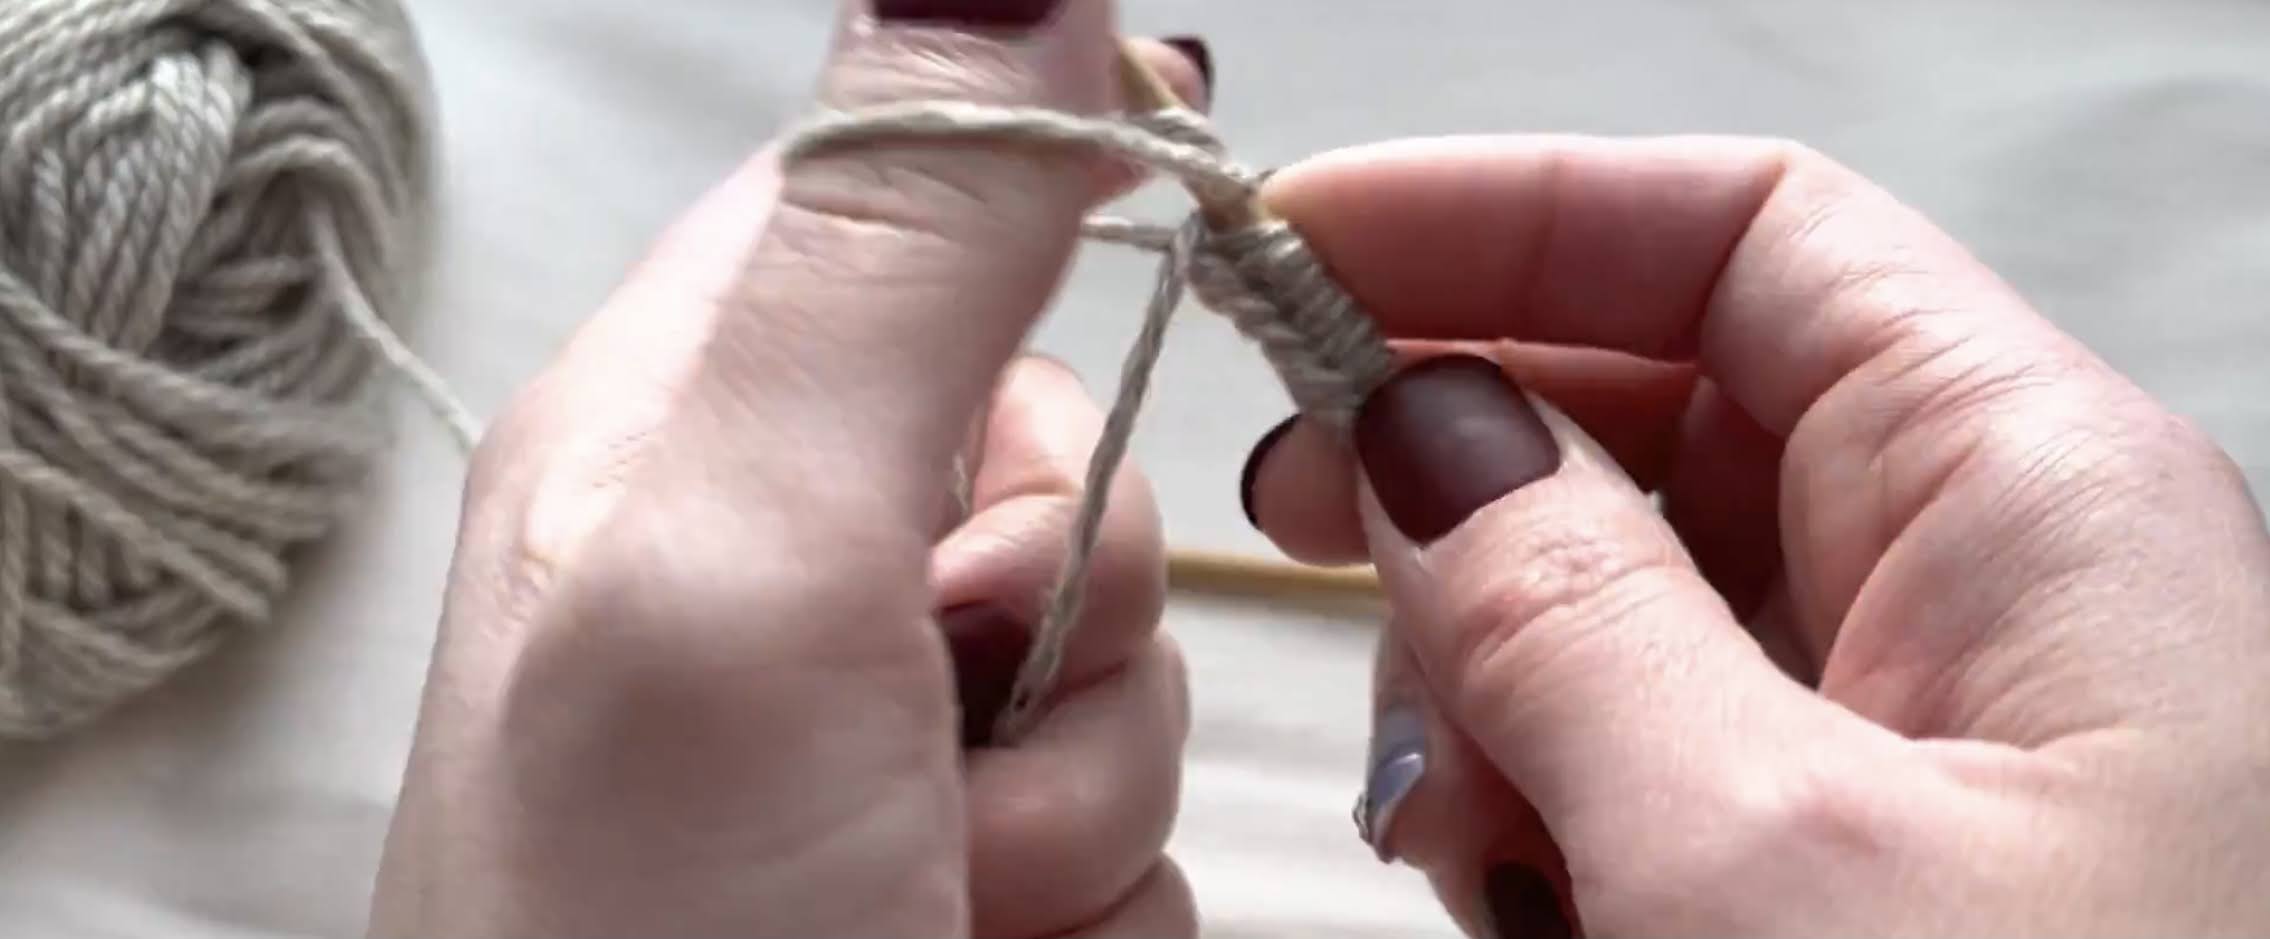
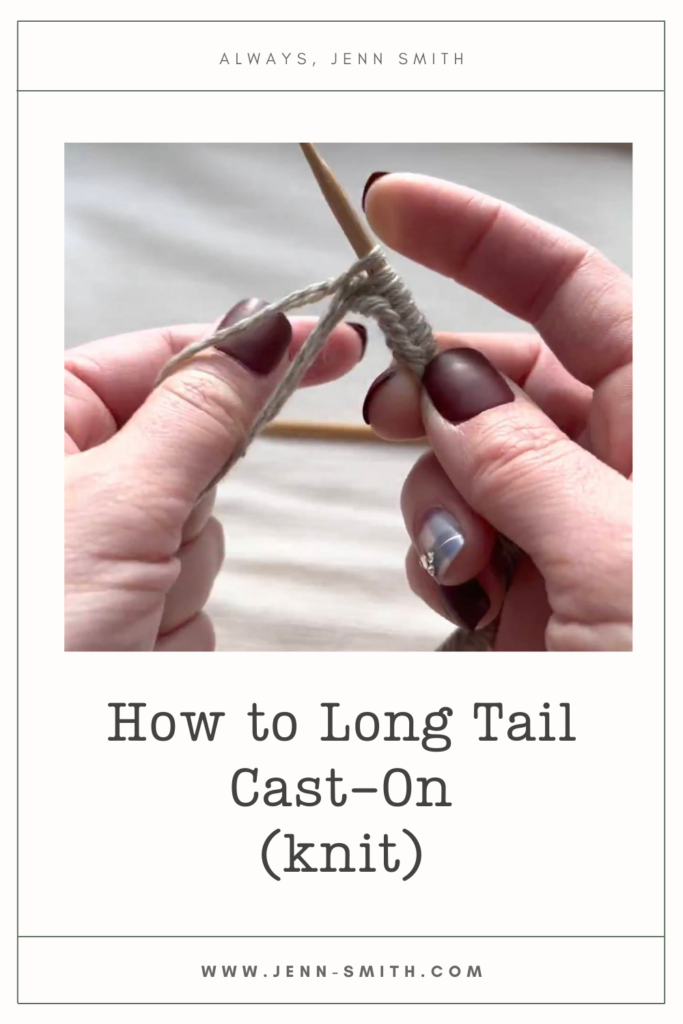
Slide the needle in and tighten (but not too tight). Okay, now to begin the long-tail cast-on process… First, we need to create a “diamond” shape hold of our yarn. You create this by holding your needle (long tail strand in front and ball/cake connected side in the back) above your opposite hand, then take your non-needle holding hand, hold the 2 strands of yarn hanging from the needle with your pinky, 4th finger, and middle finger. Then with your pointer finger and thumb, insert them between the 2 strands and separate them creating a diamond shape (see image below).
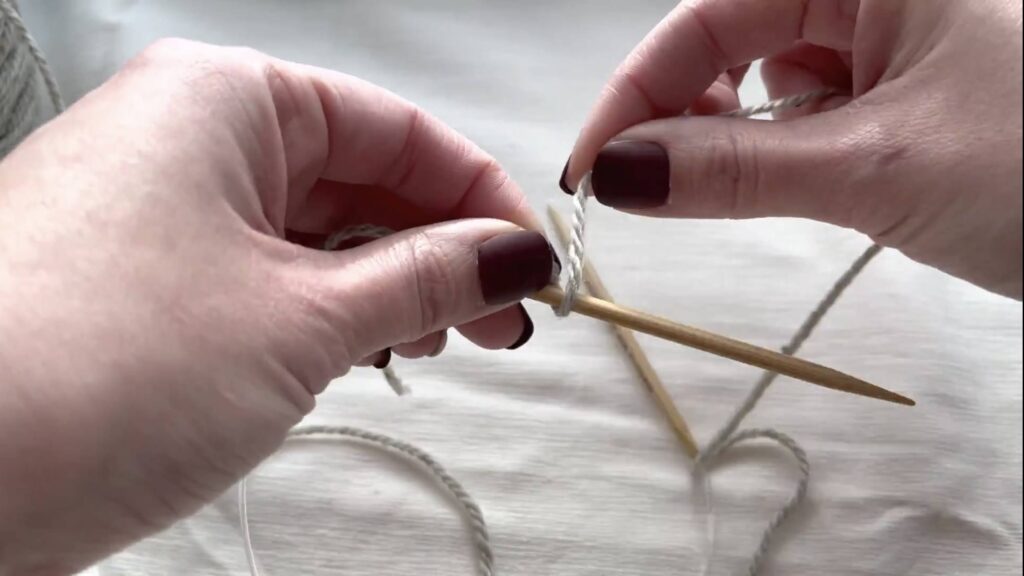
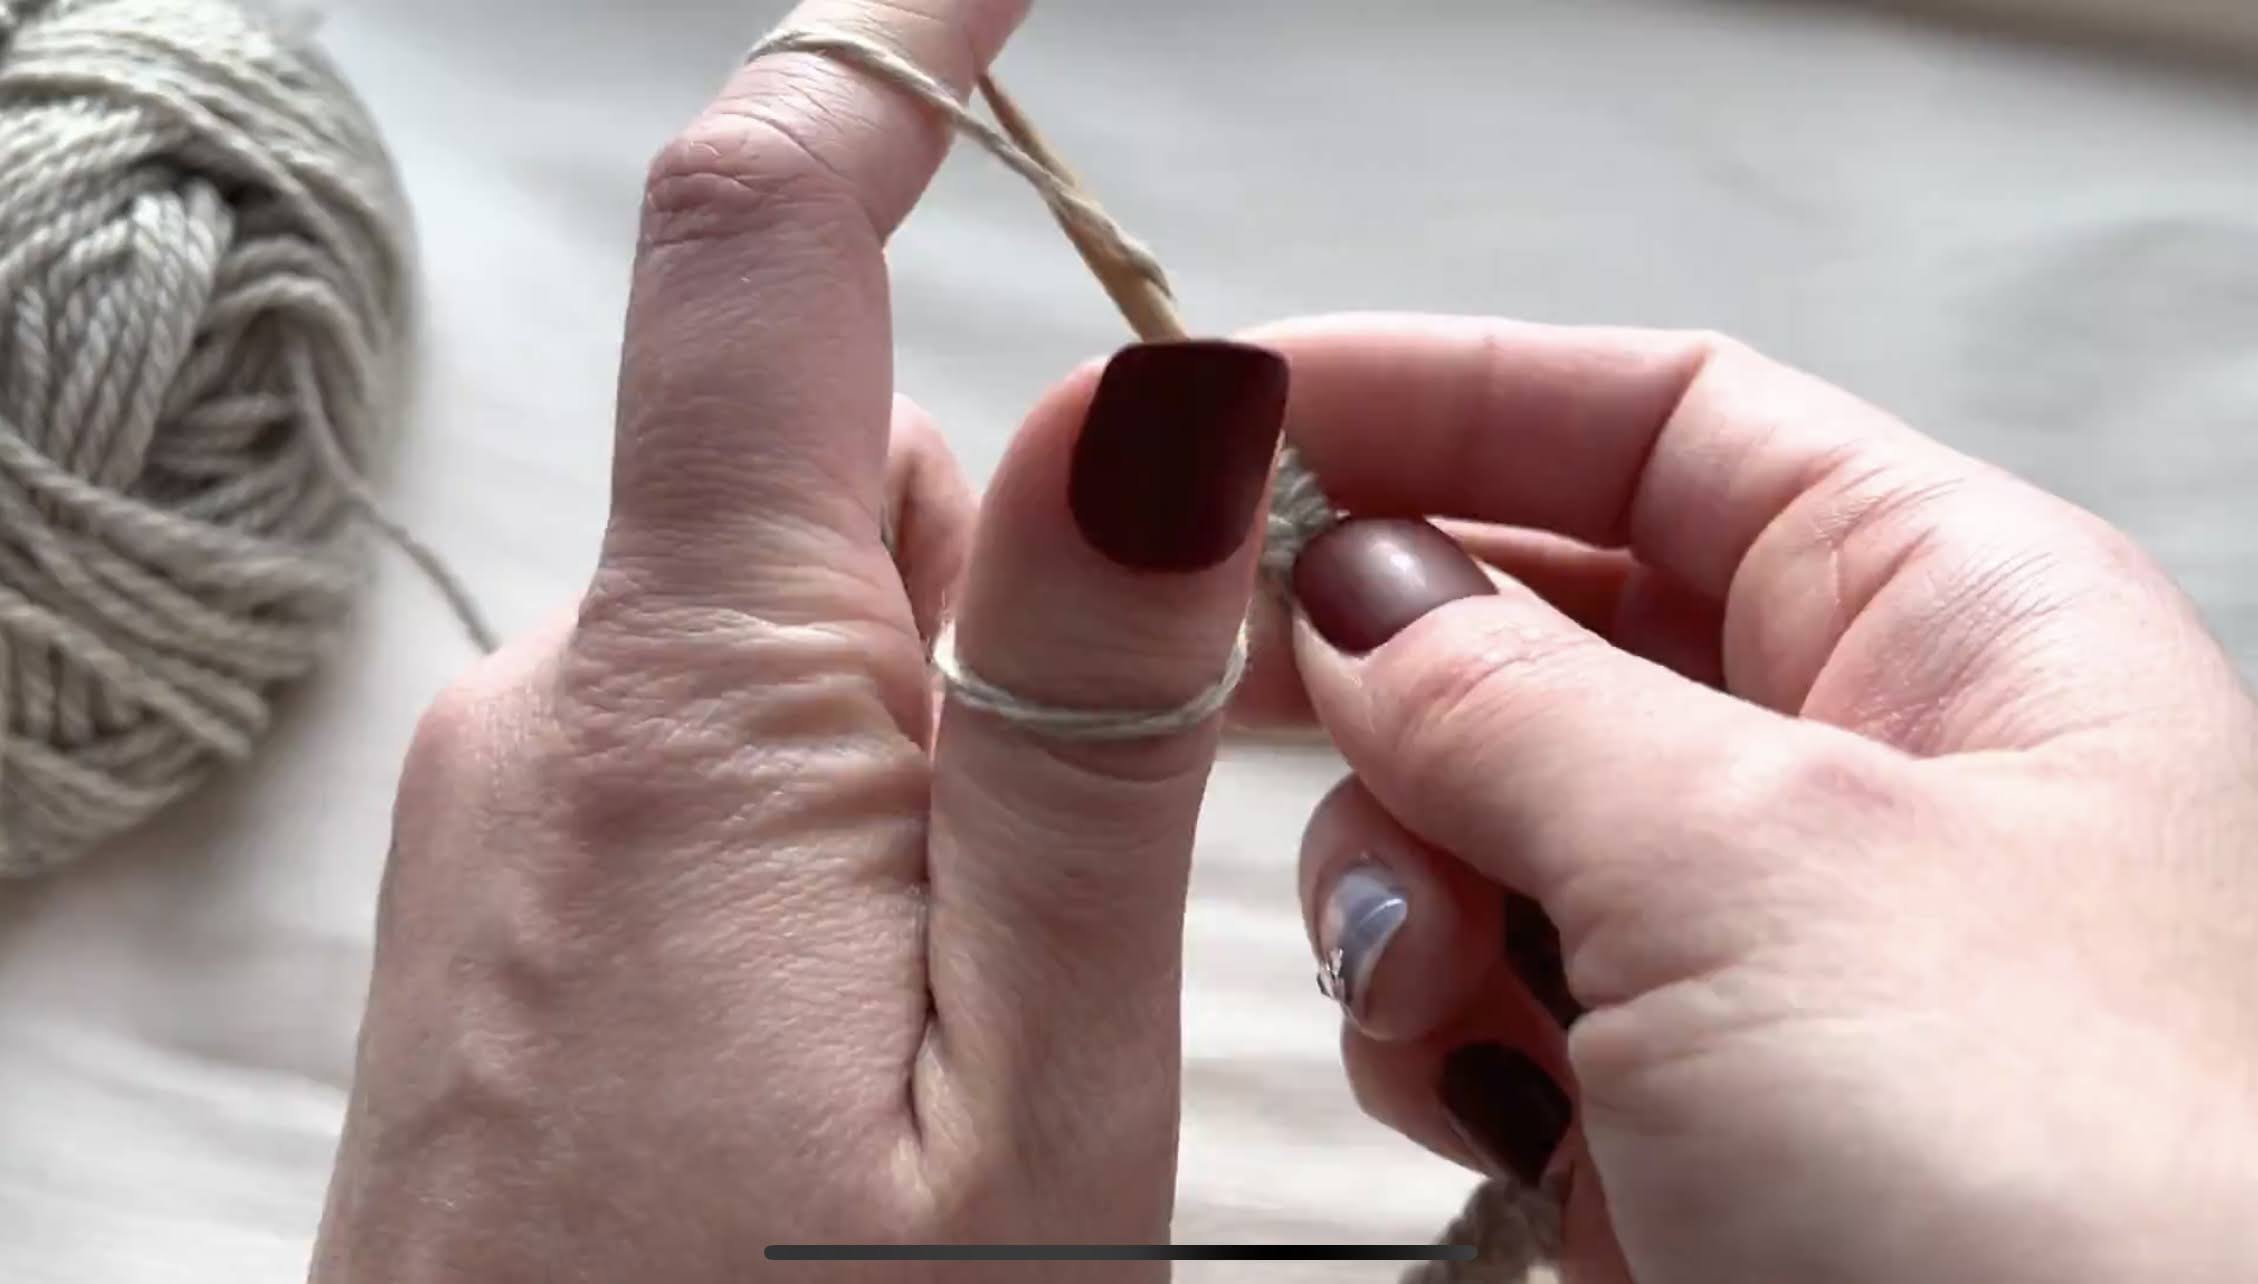
OK, now you’re going to take your needle, twist your hand so that it is holding the strands, and insert your needle into the loop created that is under your thumb (see image).

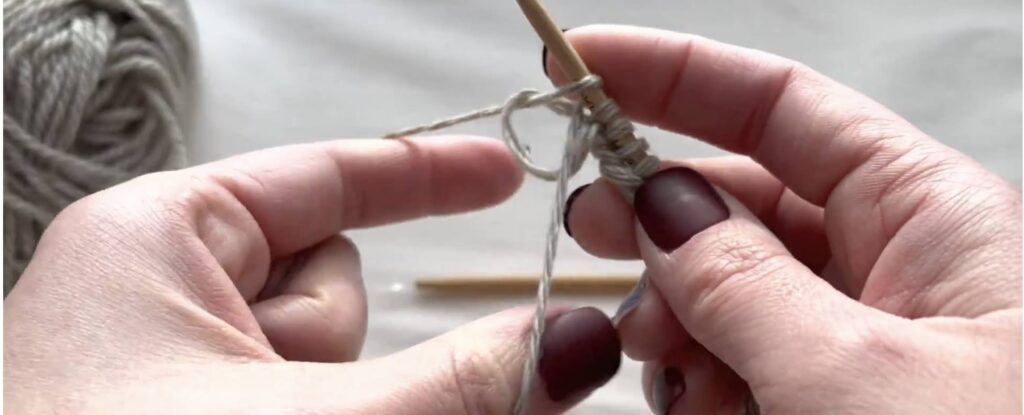
Next, “grab” the yarn from your index finger with the needle (see image).
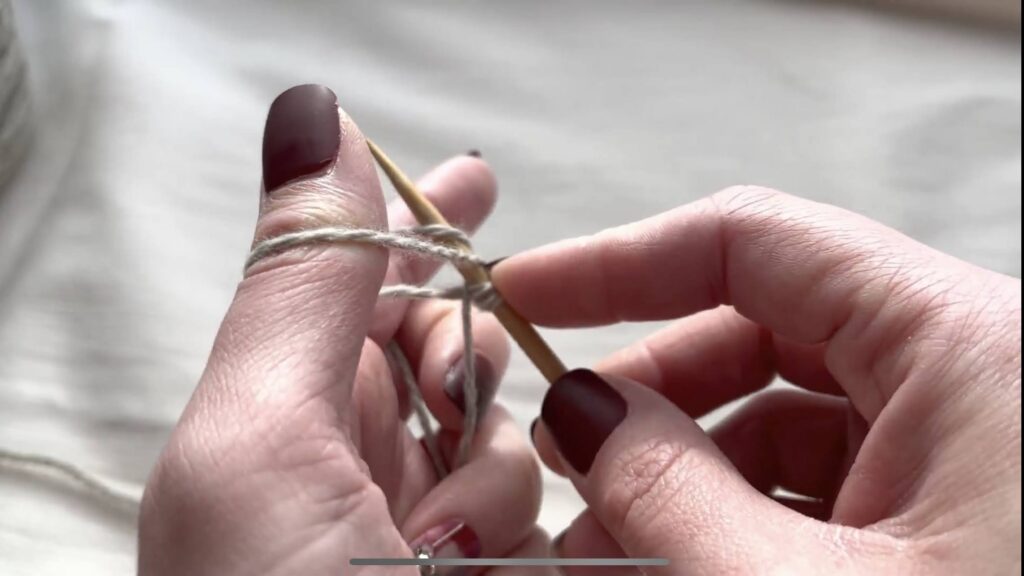
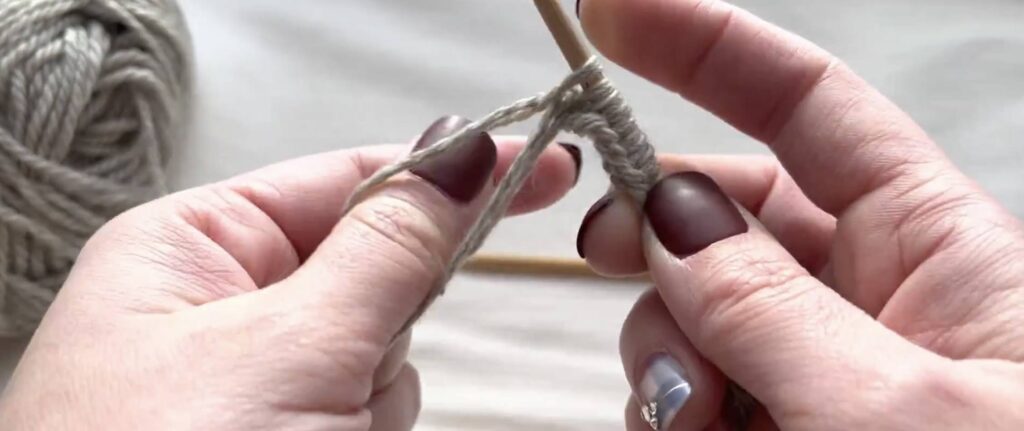
pull the yarn through the loop (see image).
Then tighten by “pulling” the yarn in the front with your thumb ( by hand).
Repeat this to the number of stitches you need.
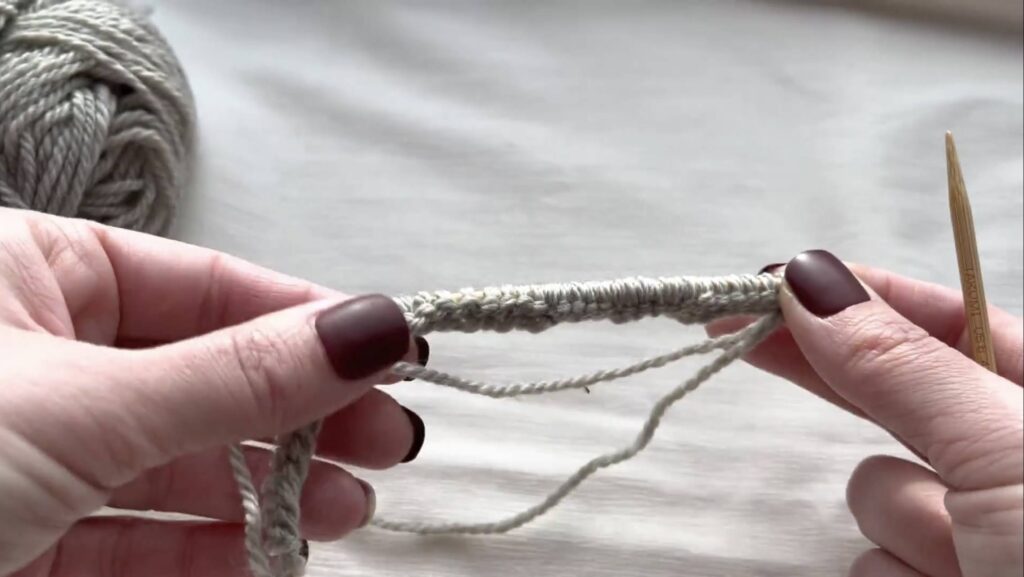
That’s it! For more details check out my YouTube video.

Ready to start using it? Check out these patterns:
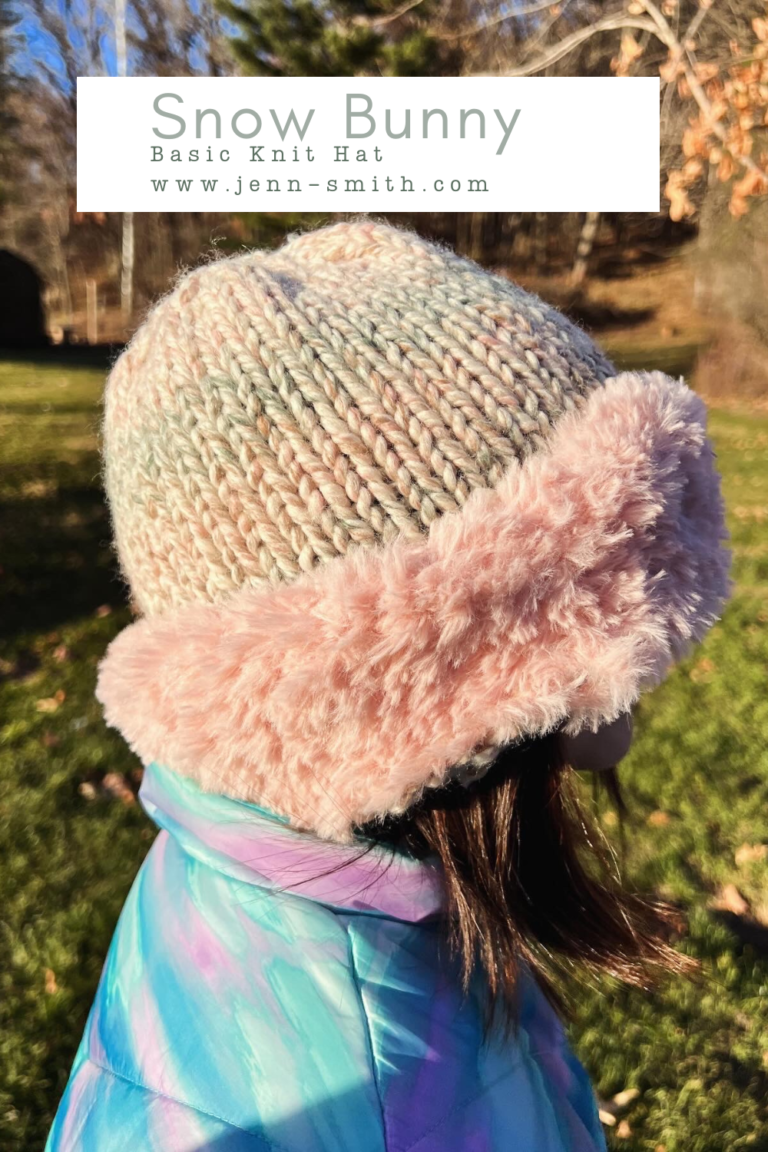
- Free Pattern: The Birch Leaf Beanie (Kid sizes)
- Free Pattern: The Birch Leaf Beanie
- Free Pattern: Hygge-Style Mug Sweater
Want to remember this post? Pin it to your favorite Pinterest Board!
This Video is copyrighted by Always Jenn Smith™; Jenn Smith, LLC (FKA Smith Country, LLC) unless otherwise noted. Please do not (in any way repost) sell, trade, share, redistribute or claim my videos, photos, or this tutorial or any of my content as your own. You may NOT use any of my photographs for your site (unless you are using the title photo in a list post directly linking back to the original blog post/video, or you receive explicit permission from Jenn Smith of Always Jenn Smith™; Jenn Smith, LLC (FKA Smith Country, LLC)).
You may link any blog post to a list post as long as you give credit for the content to Jenn Smith of Always Jenn Smith™; Jenn Smith, LLC (FKA Smith Country, LLC), and link back directly to that blog post.
Feel free to comment below or e-mail me directly if you have any questions.
Thank you for visiting!
This site displays third-party ads and contains affiliate links, See terms and conditions for ALL affiliates.
Jenn Smith of Always Jenn Smith™; Jenn Smith, LLC (FKA Smith Country, LLC) is a participant in the Amazon Services LLC Associates Program, an affiliate advertising program designed to provide a means for sites to earn advertising fees by advertising and linking to amazon.com. As well as the Apple affiliate program, now called the Performance Partners Program.