Mac and Cheese 101: How to Make a Really Good One From Scratch
This post may contain affiliate links, which means that I make a small commission off…
This post may contain affiliate links, which means that I make a small commission off items you purchase at no additional cost to you. Please read my Affiliate Disclosure
My family and I are serious about mac and cheese. When I started working on a simple from-scratch recipe to share here, I realized I’d been skipping the most useful thing I could tell you first: how mac and cheese actually works. Once you understand the three moving parts, you can make any version you want — you’re not locked into someone else’s recipe.
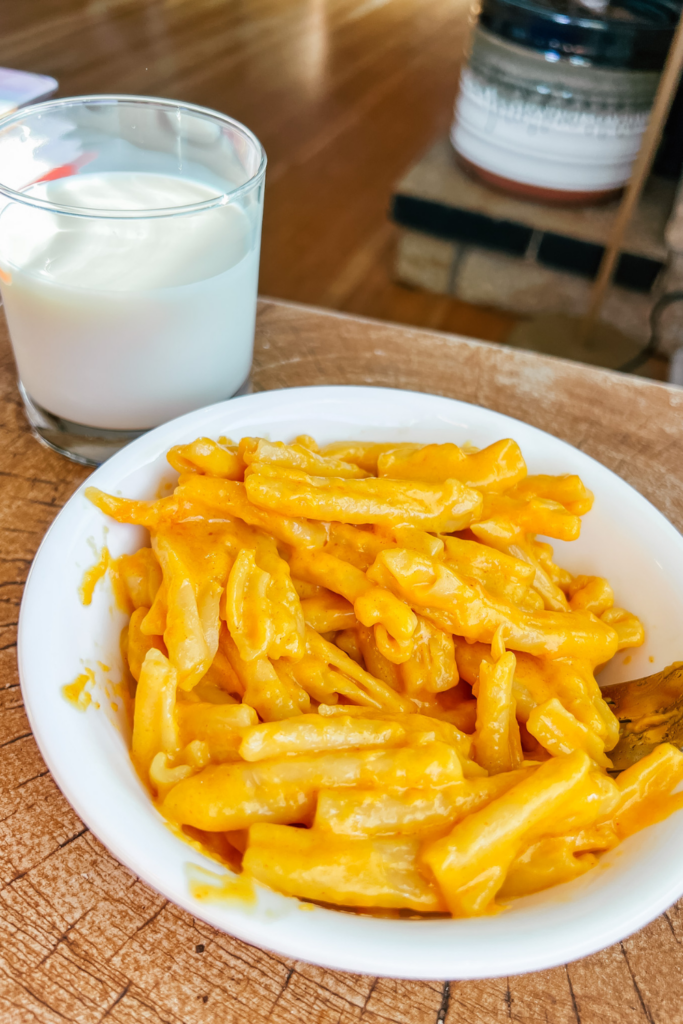
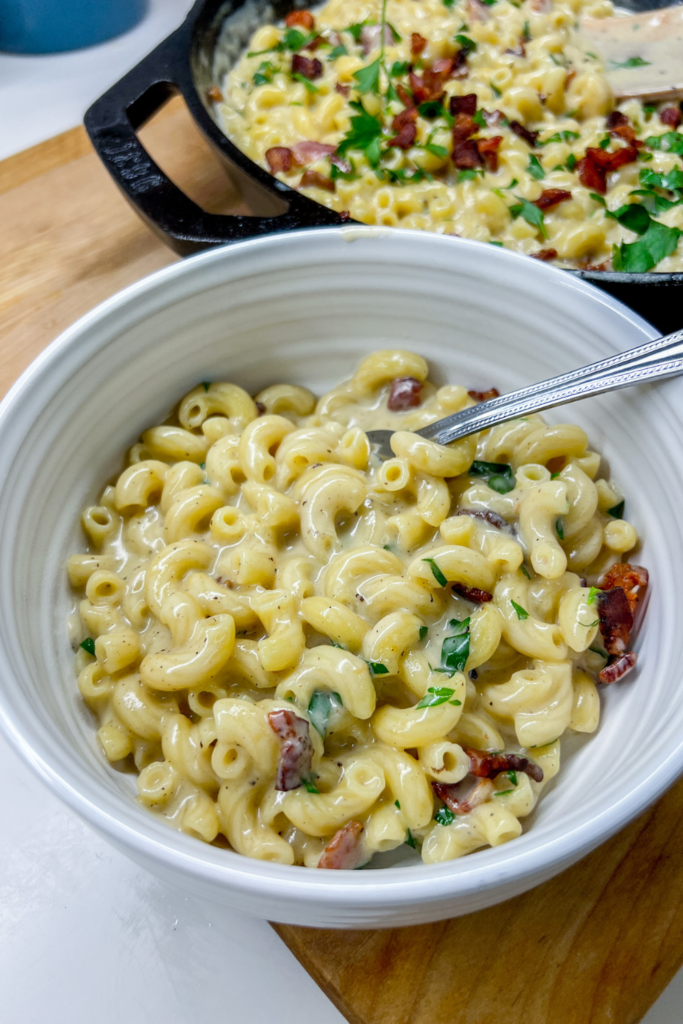
If you just want to dive straight into something, I’ve already got two versions on the blog: my Smoked Gouda and Bacon Mac and Cheese and my Healthy-ish Stovetop Mac and Cheese. But if you want to understand the why behind it all — stick around, because that’s what this post is for.
My dad cooked professionally for over thirty years, and watching him make béchamel — slowly, patiently — is where a lot of my comfort food instincts come from. Mac and cheese is essentially béchamel with cheese melted in. Once you get that in your head, the whole thing clicks.
What You’ll Get From This Post
The three fundamentals — pasta, roux, cheese. How each one works and why it matters.
A cheese guide — which cheeses to choose, which to avoid, and how to blend them.
The golden rules — the two things that make or break your sauce, every time.
A solid base recipe — simple, classic, totally reliable.
An add-ins guide — proteins, vegetables, seasonings, and toppings to make it your own.
The Three Fundamentals
1. The Pasta
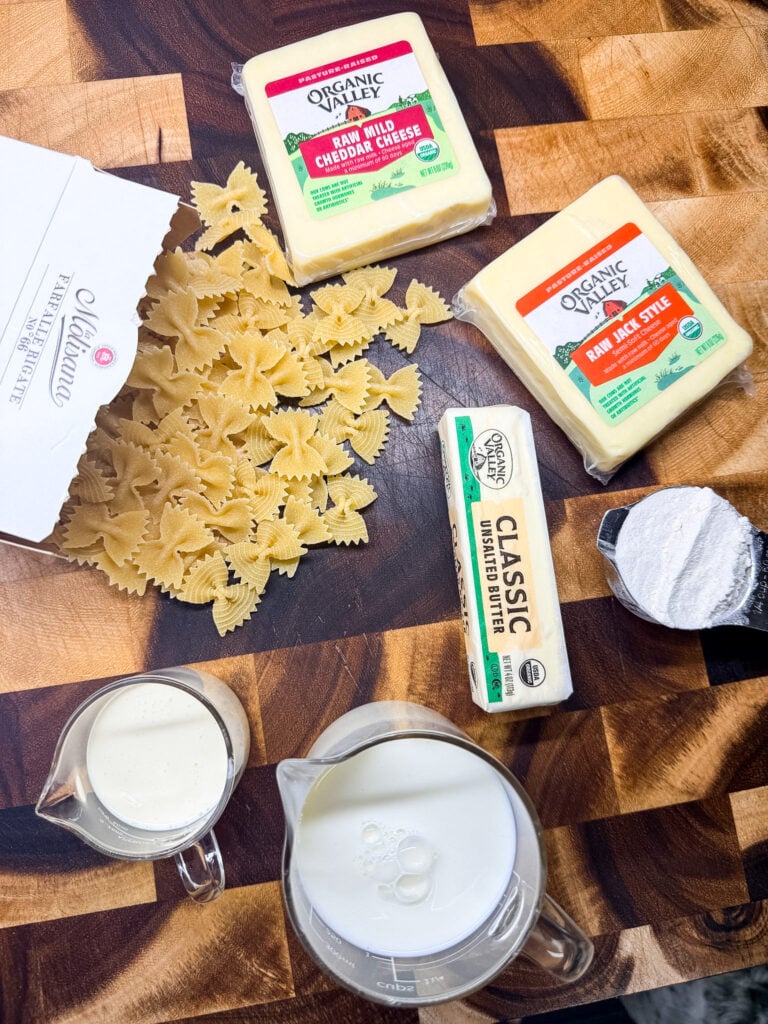
Shape matters more than people think. You want something with ridges, curves, or holes — elbows, cavatappi, shells, rotini. Smooth pasta like penne or rigatoni will work, but ridged shapes grip the sauce and hold it better. That’s what gives you a bite that’s creamy all the way through instead of sauce that slides off.
Cook it al dente — two to three minutes less than the package says. If your pasta is fully cooked before it goes into the sauce, it’ll overcook by the time everything comes together and you’ll end up with mush.
And salt your pasta water well. Heavily salted water seasons the pasta from the inside out, and it matters — under-salted pasta in a rich cheese sauce tastes flat.

2. The Roux
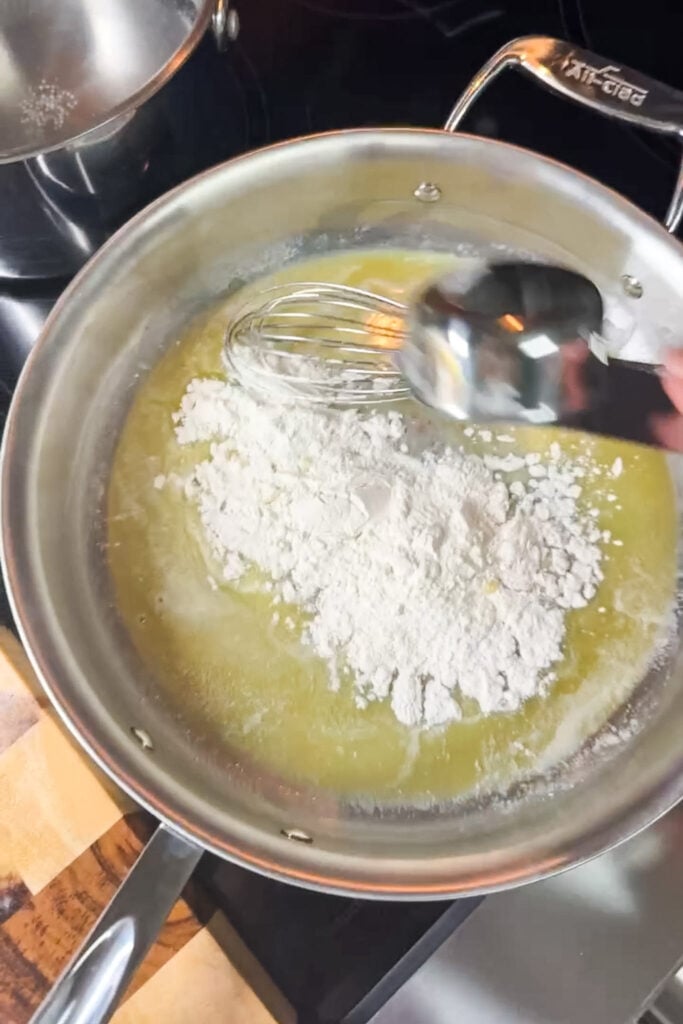
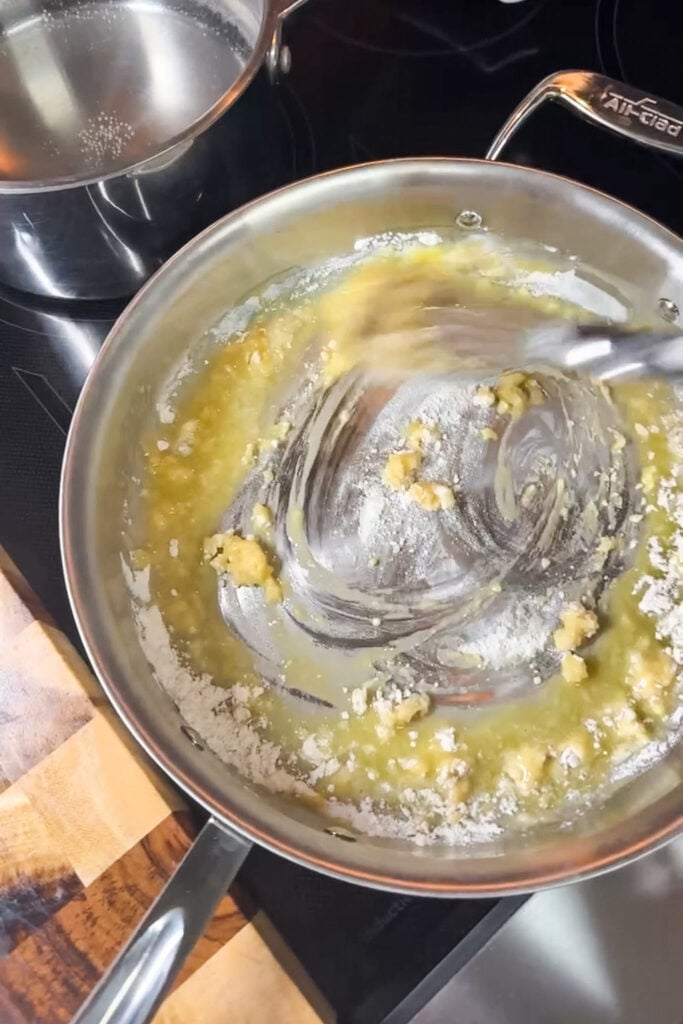
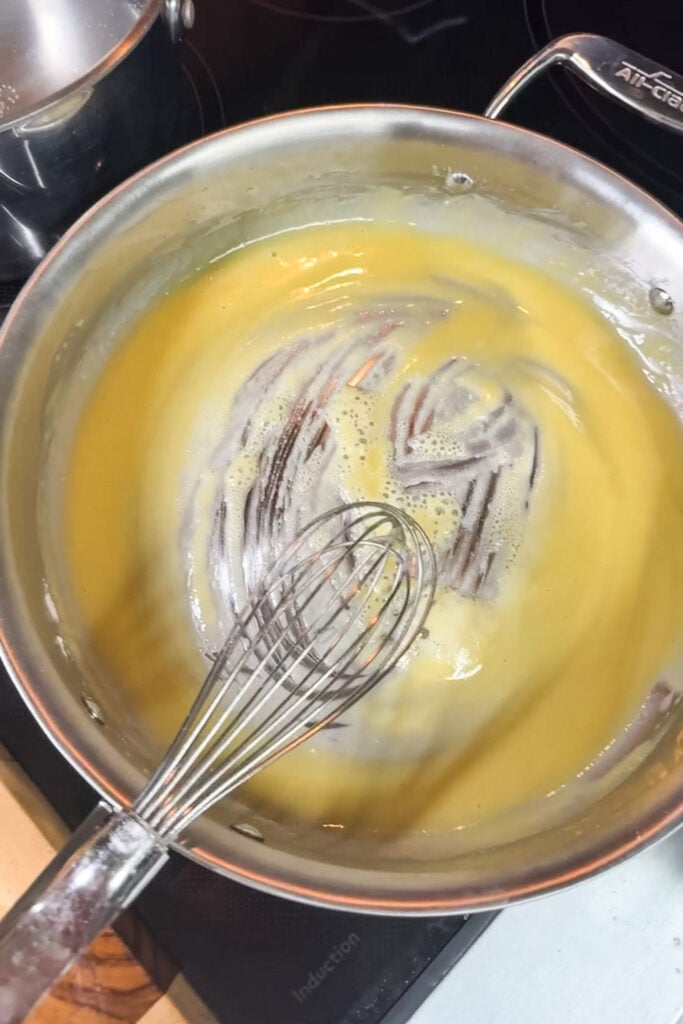
A roux is just butter and flour cooked together, and it’s the base for your cheese sauce. Equal parts by weight — typically four tablespoons each for a pound of pasta. Melt the butter first, then whisk in the flour and cook it for a full minute over medium heat. That minute matters: it cooks out the raw flour taste. Your roux should look pale golden and smell slightly nutty before you add anything else.
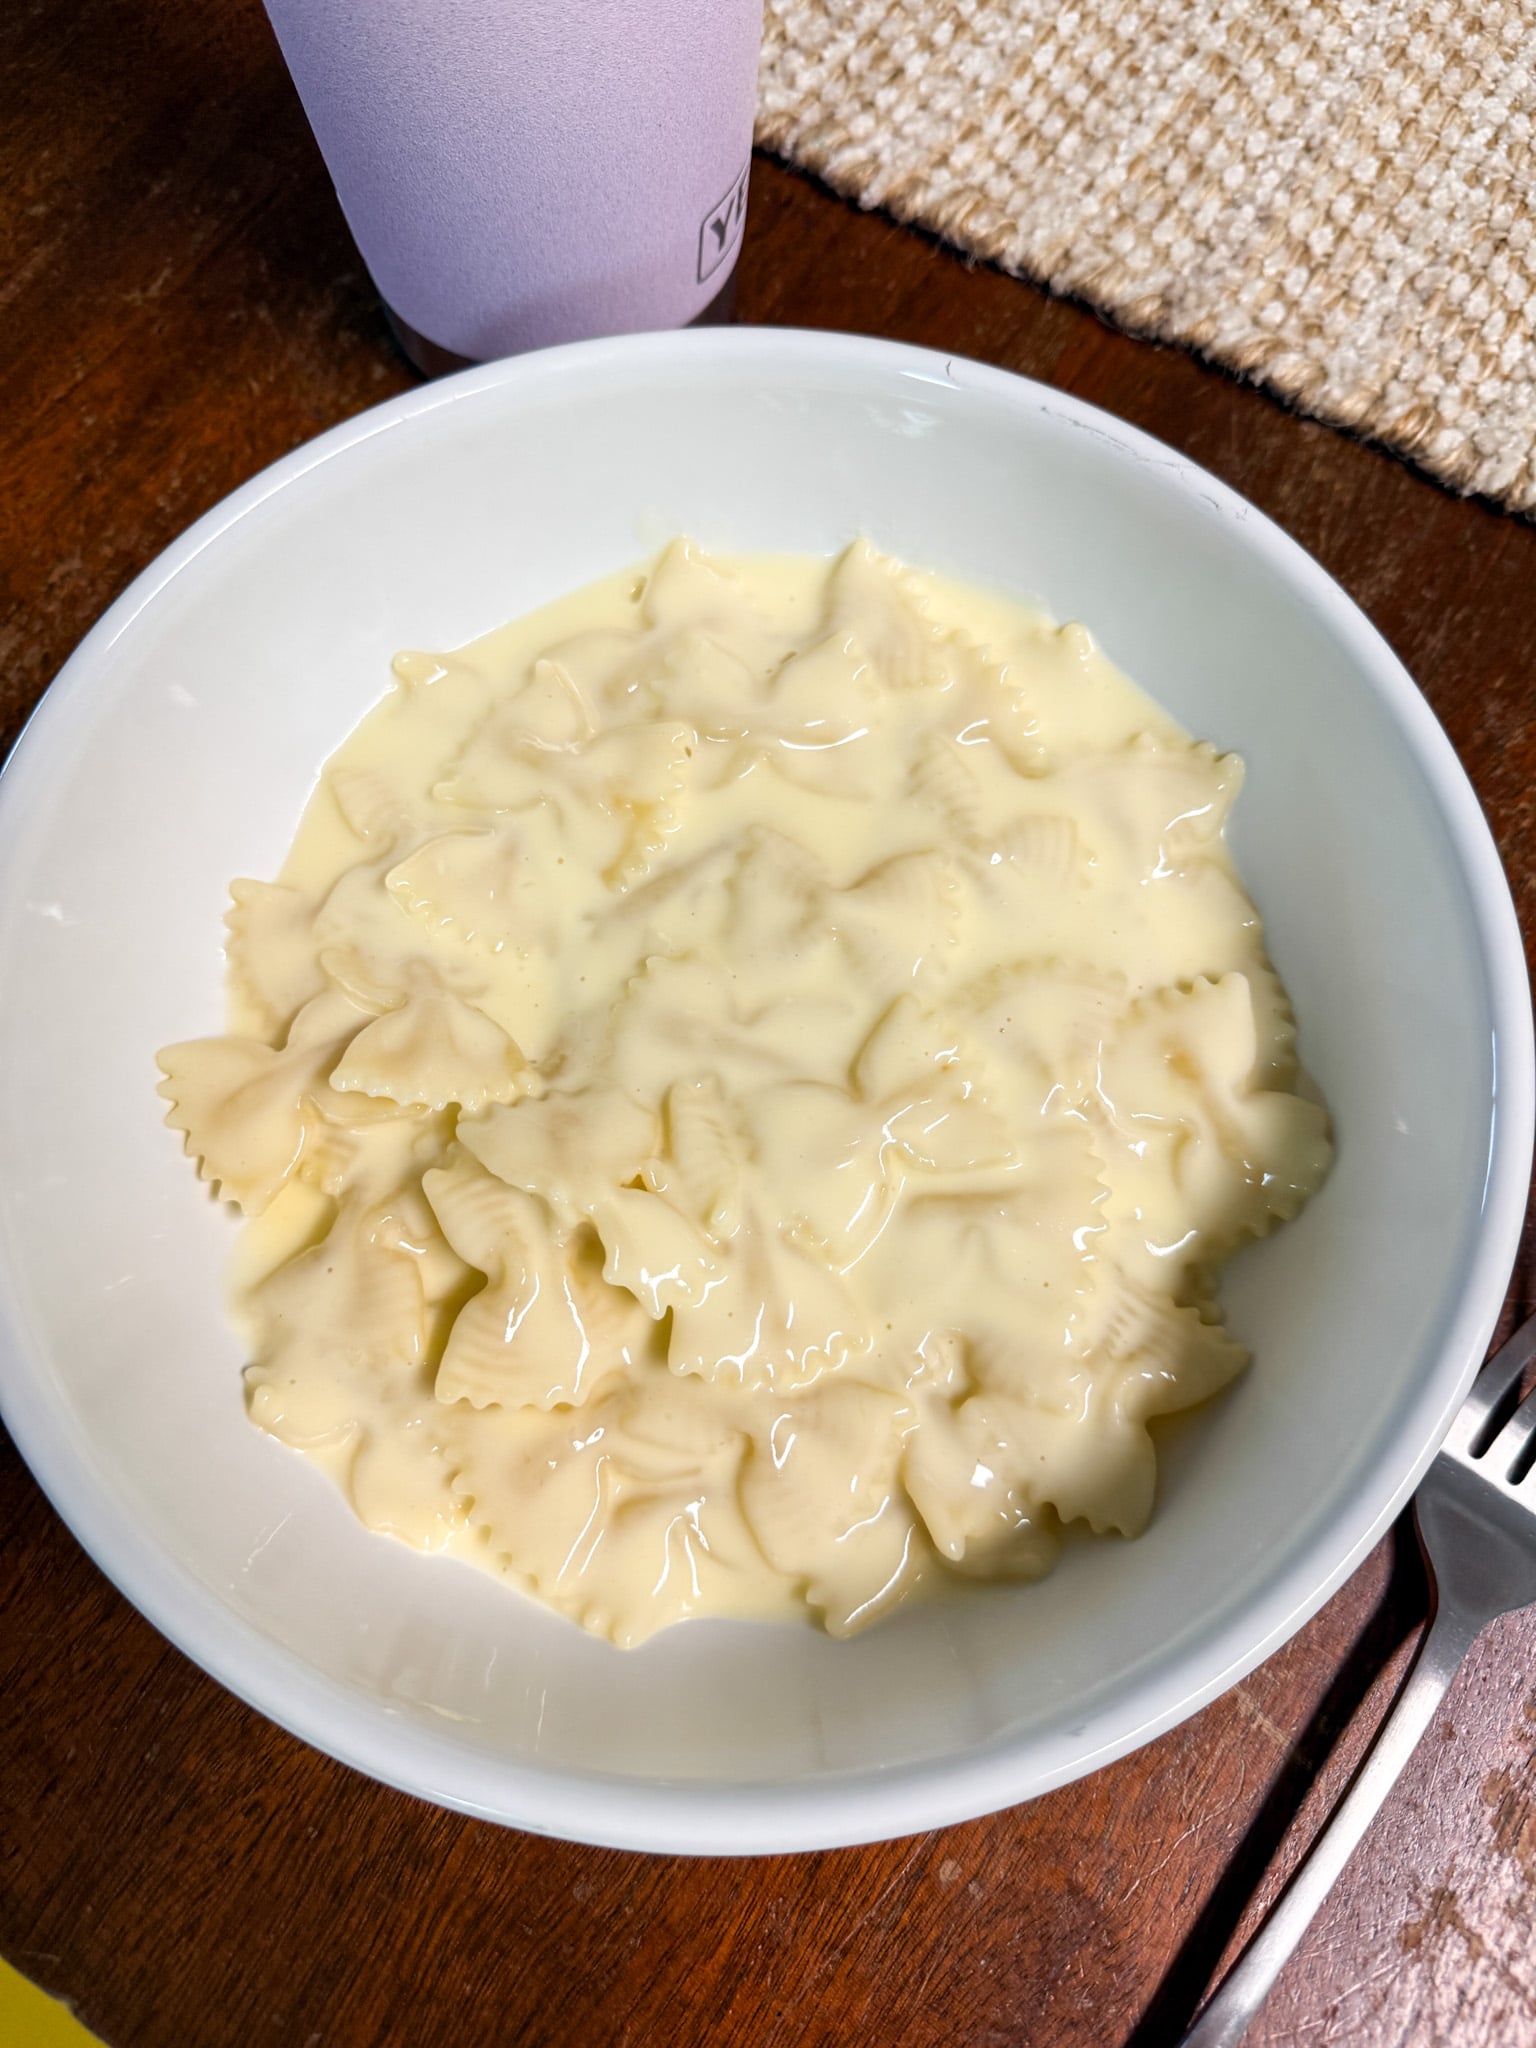
Then comes the milk, and here’s a tip that goes against what you’ll read everywhere else: I actually use cold milk, not warm. Cold milk gives you a smoother, thicker béchamel than room temperature or warmed milk does. The catch is that cold milk added too fast will lump on you — so you have to add it slowly, a little at a time, whisking constantly between each addition rather than pouring it all in at once. Slow and easy wins this race. Once all the milk is in, keep whisking over medium heat until the sauce thickens, about three to four minutes.
Now you have béchamel. Cheese goes in next, off the heat.
Jenn’s Kitchen Trick
Most recipes will tell you to warm your milk before adding it to the roux. In my experience, cold milk actually gives you a smoother, thicker sauce — but add it too fast and it’ll lump on you. Go slow, whisking between each addition, and you get the best of both: thick and smooth.
3. The Cheese
Pull the pot off the heat before any cheese goes in. This is the most important thing in this entire post. Cheese added to boiling liquid seizes up — the proteins tighten, the fat separates, and you get a greasy, grainy sauce instead of a smooth one. Off the heat, always.
Add cheese in a couple of additions and stir as you go. The residual heat in the sauce is enough to melt it through without any drama.
Two Rules That Change Everything
Grate your own cheese. Pre-shredded bagged cheese is coated with cellulose (an anti-caking agent) to keep it from clumping in the bag. That coating doesn’t melt properly — it makes your sauce gritty and rough instead of smooth. Buy a block and spend five minutes grating it yourself. The difference is immediate and obvious.
Off the heat for the melt. Every single time, no exceptions. Once your béchamel is thickened, take the pot off the burner before adding any cheese. The heat already in the sauce will do the work. Boiling cheese breaks the emulsion.
Choosing Your Cheeses
The best mac and cheese uses two or three cheeses — one for flavor, one for melt, and optionally one for insurance. Here’s how to think about each:
Sharp Cheddar
Your foundation. Classic tangy flavor. Stick to sharp or medium — extra-sharp tends to separate and go oily when melted.
Gruyère
The chef’s move. Melts beautifully, adds a nutty, slightly earthy note. This is what makes people ask ‘what’s in this?’
Gouda or Fontina
Pure meltability. Buttery, rich, and silky. Smoked Gouda takes the whole thing in a savory, cozy direction.
Mozzarella or Monterey Jack
Use these when you want a serious cheese pull. Very mild on their own, so pair with a more flavorful cheese.
Cream Cheese
The insurance policy. A couple of ounces keeps your sauce smooth and stable — especially when reheating leftovers.
A classic starting blend: sharp cheddar (flavor) + Gruyère (melt + depth) + a little cream cheese (stability). From there you can swap, add, and adjust based on what you like and what you have.
The Basic Mac and Cheese Recipe
This is the foundation. Simple, classic, and completely reliable. Use this as your starting point and take it wherever you want from there.
- Make the roux. In a medium saucepan, melt ¼ cup butter over medium heat. Whisk in ¼ cup flour and cook, stirring constantly, for 2 minutes. Don’t let it brown — you want pale and nutty, not toasty.
- Add the milk. Gradually whisk in 1½ cups cold milk, a little at a time, whisking constantly between additions — add it too fast and it’ll lump. Slow and easy wins this race. Bring to a gentle boil, still whisking, until the sauce thickens — about 2 to 3 minutes.
- Cook the pasta separately. While the sauce is going, cook your pasta in heavily salted boiling water until al dente (2–3 minutes less than the package says). Reserve ½ cup of pasta water before draining.
- Off the heat — add the cheese. Pull the saucepan off the burner. Add 16 oz of freshly grated cheddar in two additions, stirring until fully melted and smooth after each one. Season with salt, pepper, and a pinch of nutmeg.
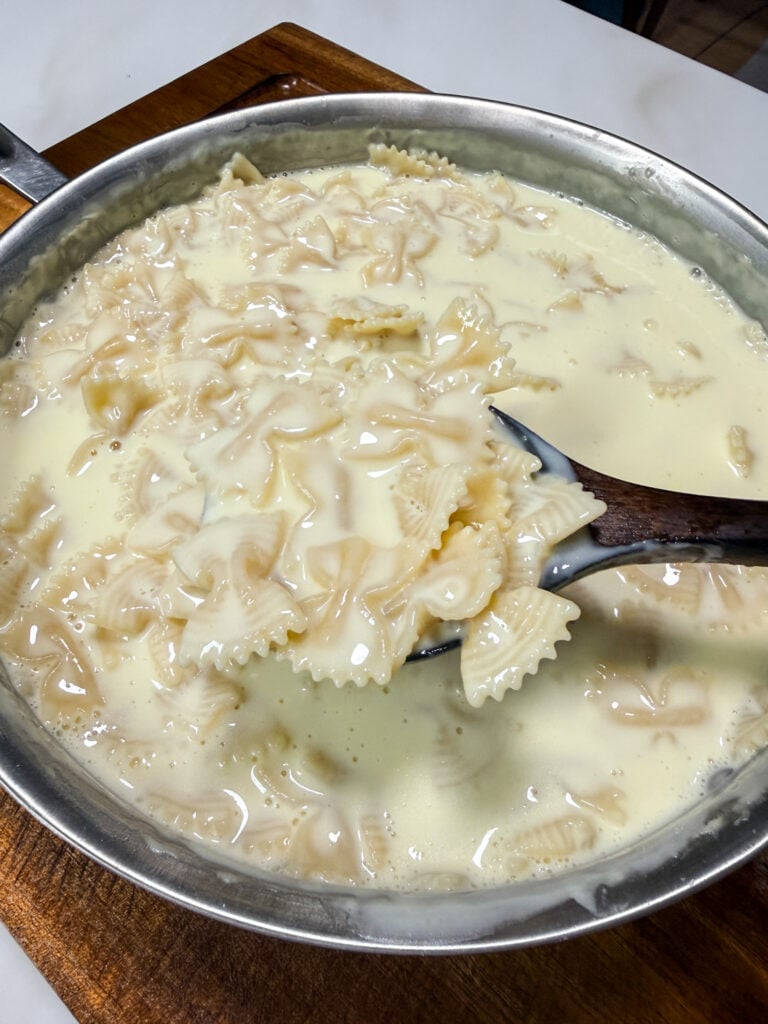
- Combine. Pour the reserved pasta water into the sauce (it helps it cling and stay loose), then add the drained pasta. Stir to coat. The sauce will thicken as it sits — if it gets too thick, a splash more cold milk, added slowly, brings it right back.
- Taste and serve. Adjust salt. Eat immediately, or keep warm over very low heat with a lid on.
Proteins
Crispy bacon (the classic)
Shredded rotisserie chicken + hot sauce
Cooked lobster or crab
Smoked sausage or hot dogs
Vegetables
Broccoli or cauliflower (roast first)
Peas (stir in at the end)
Spinach or kale (wilt into the sauce)
Caramelized onions
Sauces & Seasoning
Hot sauce — Frank’s or Sriracha
A spoonful of pesto
Old Bay (especially with seafood)
Dijon mustard (a small spoonful)
Crunchy Toppings
Crushed Ritz crackers or Goldfish
Crumbled potato chips
Crispy fried onions
Buttered panko, broiled until golden
Cooking With Kids
Ages 4–6: Let them pour in the pasta once the water is boiling (you hold the pot handle). Also great at stirring the finished mac once it’s off the heat.
Ages 7–10: Can help measure and grate the cheese with supervision. Walk them through why you grate your own — it’s a good kitchen lesson and they’ll remember it.
Ages 11+: Can handle the roux and sauce with light guidance. Explaining the off-heat rule and why it works is a great intro to food science. My older kids actually find that stuff interesting once it clicks.
Honest note: The grating is the messiest part. Just embrace it — it is what it is. A grater with a box attached underneath helps a lot for catching the mess.
FAQ
Two likely culprits: pre-shredded cheese (the anti-caking coating doesn’t melt clean) or adding cheese while the sauce is still boiling. Grate from a block, and always pull off the heat first.
Yes — the béchamel (before the cheese goes in) keeps well in the fridge for a couple of days. Reheat gently, add your grated cheese off the heat, then combine with freshly cooked pasta.
Anything with texture — elbows, cavatappi, shells, or medium shells. They grab and hold the sauce better than smooth shapes. Avoid long pasta; it doesn’t work well here.
Low heat with a splash of cold milk, added slowly and stirred in as it warms. Microwaving on high makes it rubbery. If the sauce looks broken, a little cold milk and gentle heat usually brings it back.
Yes. Use a 1:1 GF flour blend for the roux and your preferred GF pasta. The technique is exactly the same.
Mac and cheese is one of those things where understanding the “why” behind each step makes you a better cook beyond just this recipe. The roux logic, the off-heat rule, the cheese choice — these show up all over the place once you start looking for them.
Start with the base, get comfortable with it, and then start playing. I’d love to see what combinations you land on. Tag me at @CheersJennSmith or leave a comment below.
Cheers Mac and cheese is one of those things where understanding the “why” behind each step makes you a better cook beyond just this recipe. The roux logic, the off-heat rule, the cheese choice — these show up all over the place once you start looking for them.
Start with the base, get comfortable with it, and then start playing. I’d love to see what combinations you land on. Tag me at @CheersJennSmith or leave a comment below.
Cheers 🥂,

Mac and Cheese — The Basic Recipe
- Total Time: 30 minutes
- Yield: 6 servings 1x
Ingredients
- 2 tbsp unsalted butter
- 2 tbsp all-purpose flour
- 1 cup whole milk, cold
- 1/2 cup heavy cream
- 8 oz cheese of choice, grated
- 1 tsp kosher salt, plus more to taste
- 1/2 tsp black pepper
- 1 pinch freshly grated nutmeg (optional)
- 1 lb elbow macaroni or pasta of choice
- 1/2 cup reserved pasta water
Instructions
- Melt butter in a medium saucepan over medium heat. Whisk in flour and cook, stirring constantly, for 2 minutes until pale and slightly nutty-smelling.
- Gradually whisk in cold milk, a little at a time, whisking constantly between additions — this is what keeps the sauce smooth and thick. Bring to a gentle boil, whisking frequently, until the sauce thickens — about 2 to 3 minutes.
- Meanwhile, cook pasta in heavily salted boiling water until al dente (2–3 minutes less than the package says). Reserve ½ cup pasta water before draining.
- Remove saucepan from heat. Add grated cheddar in two additions, stirring well after each until fully melted and smooth.
- Season with salt, pepper, and nutmeg. Stir in reserved pasta water, then add drained pasta. Toss to coat. Serve immediately.
Equipment

All-Clad D3 3-Ply Stainless Steel 3 Quart Sauce Pan
Buy Now →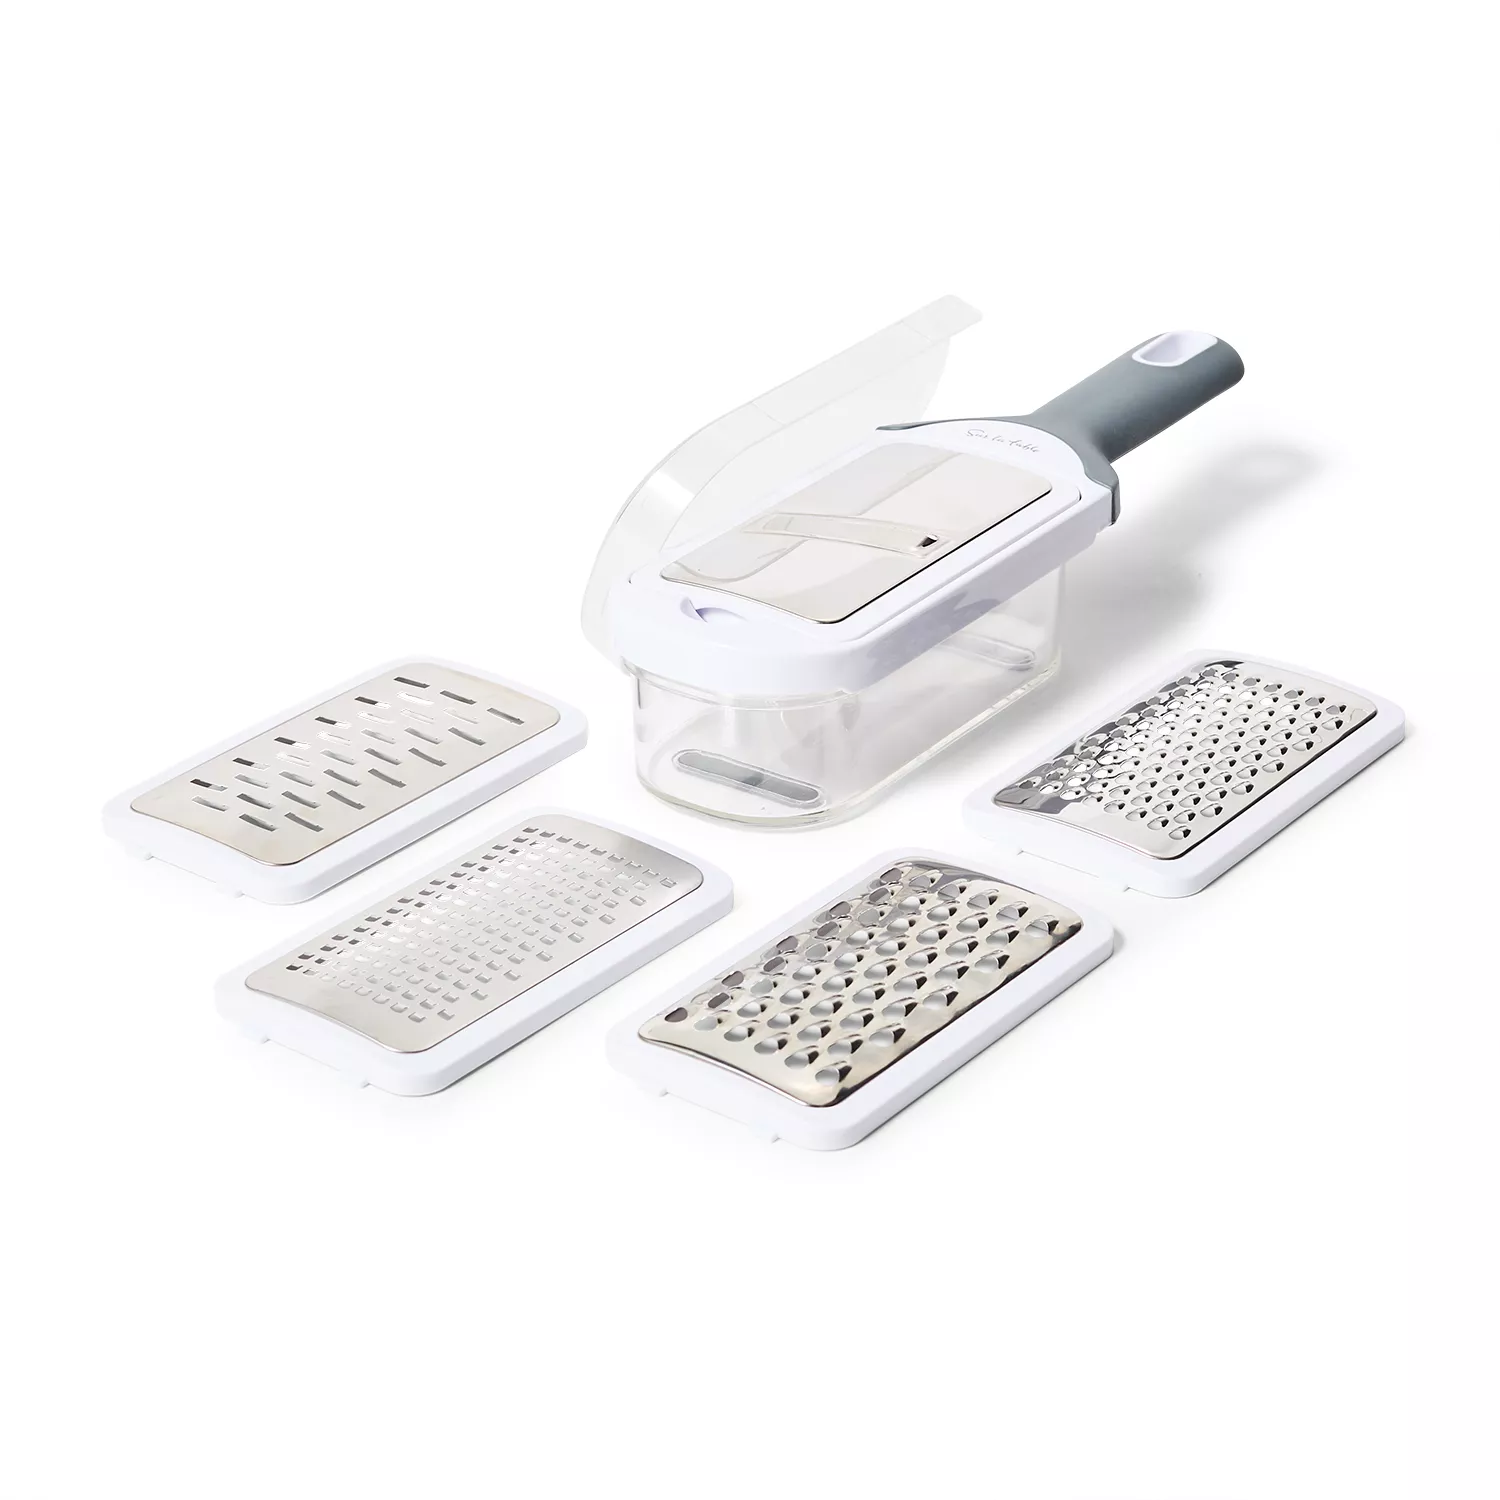
Sur La Table 5-In-1 Grate & Slice Set
Buy Now →Notes
- Always grate from a block. Pre-shredded cheese contains anti-caking agents that make sauce grainy.
- Off the heat for the cheese. Every time — this prevents the sauce from breaking.
- Storage: Refrigerate up to 4 days. Reheat over low heat with a splash of milk.
- GF version: Use 1:1 GF flour and GF pasta. Same technique.
Suggested Add-Ins
- Proteins: Crispy bacon, shredded rotisserie chicken + hot sauce, smoked sausage, cooked lobster or crab
- Vegetables: Roasted broccoli or cauliflower, peas (stirred in at the end), wilted spinach, caramelized onions
- Seasonings: Hot sauce, Dijon mustard (1 tsp), Old Bay, pesto
- Toppings: Crushed Ritz crackers or Goldfish, fried onions, buttered panko broiled until golden
Cheese Upgrade
For a richer version, swap in this blend (same total amount):
- 8 oz sharp cheddar, grated
- 6 oz Gruyère, grated
- 2 oz cream cheese, softened
Recipe & Photo Credit
This recipe and all images are original content created by Jenn Giam Smith for Cheers, Jenn.
You’re welcome to link to this recipe using one photo with proper credit. Please do not copy, republish, or redistribute this recipe or images without permission.
Have a question or want to share how it turned out?
Leave a comment below — I love hearing from you. 💛
MAKE MID-WEEK A LITTLE EASIER
Sign up below, and I’ll send you a FREE E-BOOK featuring six of my all-time favorite mid-week recipes!