What Is a Roux? (And Why Every Cook Should Know How to Make One)
This post may contain affiliate links, which means that I make a small commission off…
This post may contain affiliate links, which means that I make a small commission off items you purchase at no additional cost to you. Please read my Affiliate Disclosure
If you’ve ever made a cheese sauce that came out thin and sad, or a gravy that just wouldn’t thicken, there’s a good chance a roux could have saved you. It’s one of those foundational techniques that sounds fancier than it is — and once you understand what’s happening in the pan, a whole category of recipes clicks into place.
Roux came up in our house from two directions. My dad talked about it as a culinary foundation — something every cook needed in their toolkit before anything else made sense. But it was my mom and my mamaw who really showed me how it worked. Being Southerners, they had years of gravy-making behind them, and they took it seriously. My mom was the one who drilled in the equal fat-to-flour ratio, who taught me that patience wasn’t optional here — it was the whole point. Those early lessons are what eventually led me to béchamel, which is really just a roux taken somewhere beautiful. (More on that soon.)
A roux is nothing more than fat and flour cooked together. That’s it. But how long you cook it — and what you cook it in — changes everything about the flavor, the color, and what you use it for. This post will walk you through all of it, from the basics to the stages, so you actually understand what you’re doing next time you pull out the whisk.
Why You’ll Love Understanding This
- It’s the foundation behind mac and cheese, gumbo, béchamel, country gravy, and dozens of other recipes you already love
- Once you understand roux, sauces stop being intimidating — you’ll see the logic behind them
- A properly made roux has zero raw flour taste (this is the #1 thing people get wrong)
- It keeps you from reaching for cornstarch in situations where a roux gives you way more flavor
- You can make it with butter, bacon grease, oil, or lard — works with what you have
- The darker you take it, the nuttier and more complex your dish becomes
The Basics of a Roux
A roux is cooked fat + flour in roughly equal parts by weight. That’s your formula. You melt the fat, whisk in the flour until it forms a paste, and then cook that paste over heat. The point is to cook out the raw, starchy taste of the flour while giving it time to develop flavor. You’re building a thickening base that will dissolve into liquid — stock, milk, cream — and give it body.
About the Ingredients
The fat: Butter is the most common choice for lighter rouxs — it adds flavor and browns beautifully. For Cajun and Creole cooking, you’ll often see oil used instead, because butter’s milk solids can burn before you reach the dark stage you need. Bacon grease and lard are excellent if you’re making a Southern gravy and want that flavor in the foundation. Use what makes sense for the dish.
All-purpose flour: Standard AP flour is what you want. Bread flour has too much protein; cake flour is too soft. Stick with all-purpose and you’ll be fine. If you need a gluten-free option, sweet rice flour (mochiko) is the most reliable substitute — it thickens cleanly and has a similar texture.
The ratio: 1:1 by weight. That’s roughly 1 tablespoon of butter to 1 tablespoon of flour for a small batch. You can eyeball it, but if you’re new to this, measuring helps. The consistency you’re after is a thick paste — not dry, not greasy.
The Four Stages of a Roux
Here’s where it gets interesting. As a roux cooks, the flour toasts and the color deepens. Each stage has its own flavor and its own purpose.
WHITE ROUX
Cook time: 2–5 minutes
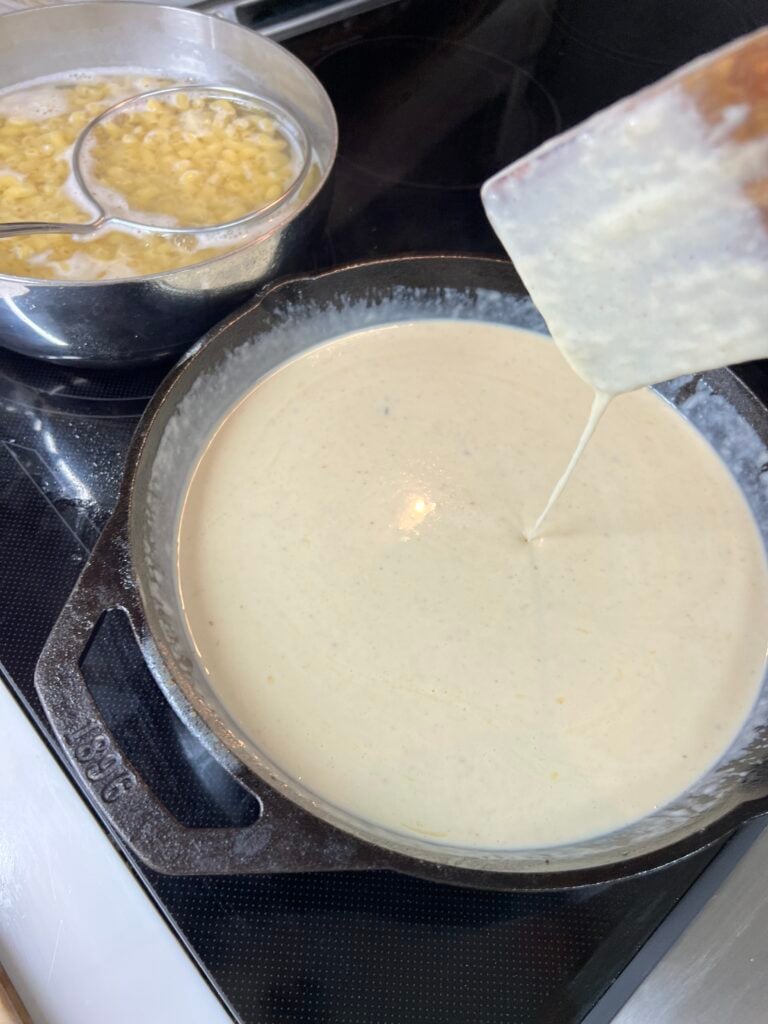
Just past the raw flour smell, still pale and creamy. This is your base for béchamel, mac and cheese sauce, and cream soups where you want a neutral, milky flavor. It thickens well and doesn’t add any color to your dish.
WHITE ROUX
Cook time: 2–5 minutes
Just past the raw flour smell, still pale and creamy. This is your base for béchamel, mac and cheese sauce, and cream soups where you want a neutral, milky flavor. It thickens well and doesn’t add any color to your dish.
BLONDE ROUX
Cook time: 5–10 minutes
Light golden-tan, starts to smell a little nutty. Good for velouté sauces, chicken pot pie filling, and lighter gravies where you want a little more depth without a dark color. This is my most-used stage for everyday cooking.
BROWN ROUX
Cook time: 15–45 minutes
Peanut butter to milk chocolate in color, with a deep, toasty, nutty aroma. The signature of gumbo and many Cajun dishes. Worth noting: the darker the roux, the less thickening power it has — you’ll use more of it to get the same consistency, but the flavor payoff is significant.
DARK (BRICK) ROUX
Cook time: 45 minutes to 1 hour+
Deep reddish-brown, almost like dark chocolate. This is what traditional Louisiana gumbo calls for. The flavor is intensely nutty and complex. You need patience here — and constant attention. It goes from perfect to burned very quickly near the end. Not all recipes need this stage, but if you’re making a proper gumbo, it’s worth the time.
How to Make a Roux
1. Choose your fat and your pan
A heavy-bottomed pan — stainless, cast iron, or enameled cast iron — distributes heat more evenly and gives you more control. Thin pans create hot spots, which leads to burning. Start over medium-low to medium heat depending on your stovetop.
2. Melt the fat
For butter, let it melt completely and start to foam slightly before adding flour. If you’re using oil, let it heat up until it shimmers. You want the fat hot enough to start cooking the flour immediately when it hits the pan.
3. Add flour and whisk immediately
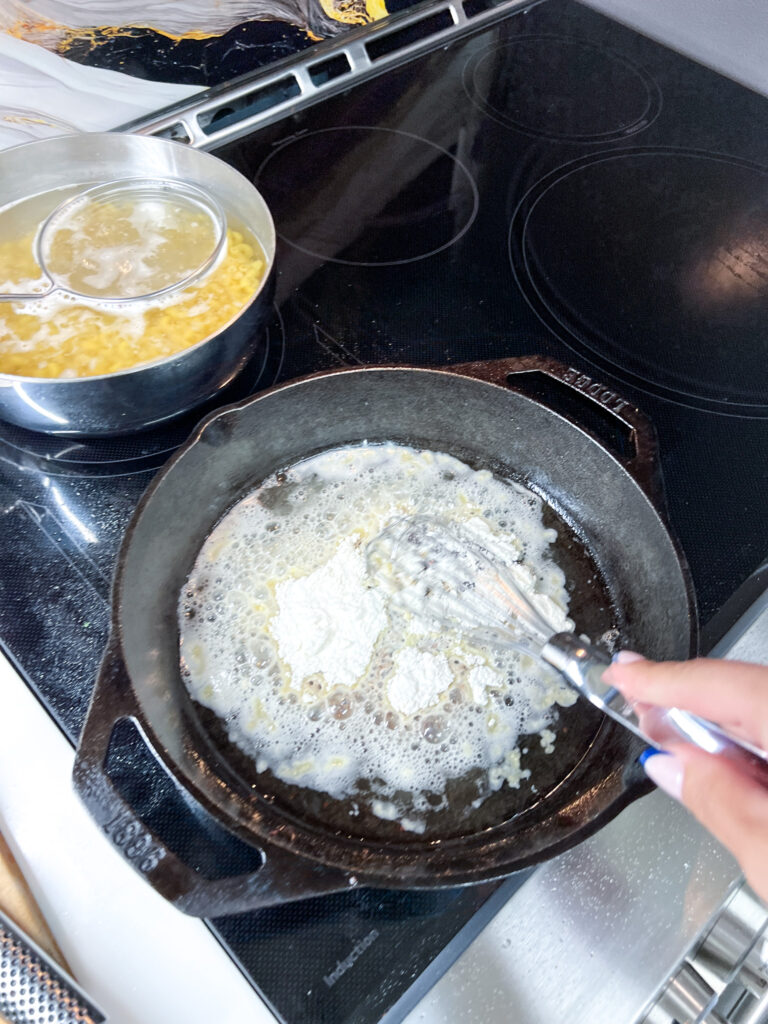
Add your flour all at once and start whisking right away. You’re looking for a smooth, cohesive paste. If it looks dry and crumbly, add a tiny bit more fat. If it looks greasy, add a touch more flour. This should come together quickly.

4. Cook, stir, and watch
Keep the heat at medium to medium-low and stir constantly — or at least very frequently. A roux left alone will burn on the bottom. You’ll see it change color gradually. Follow the stage guide above for how long to cook based on what you’re making.
5. Add your liquid
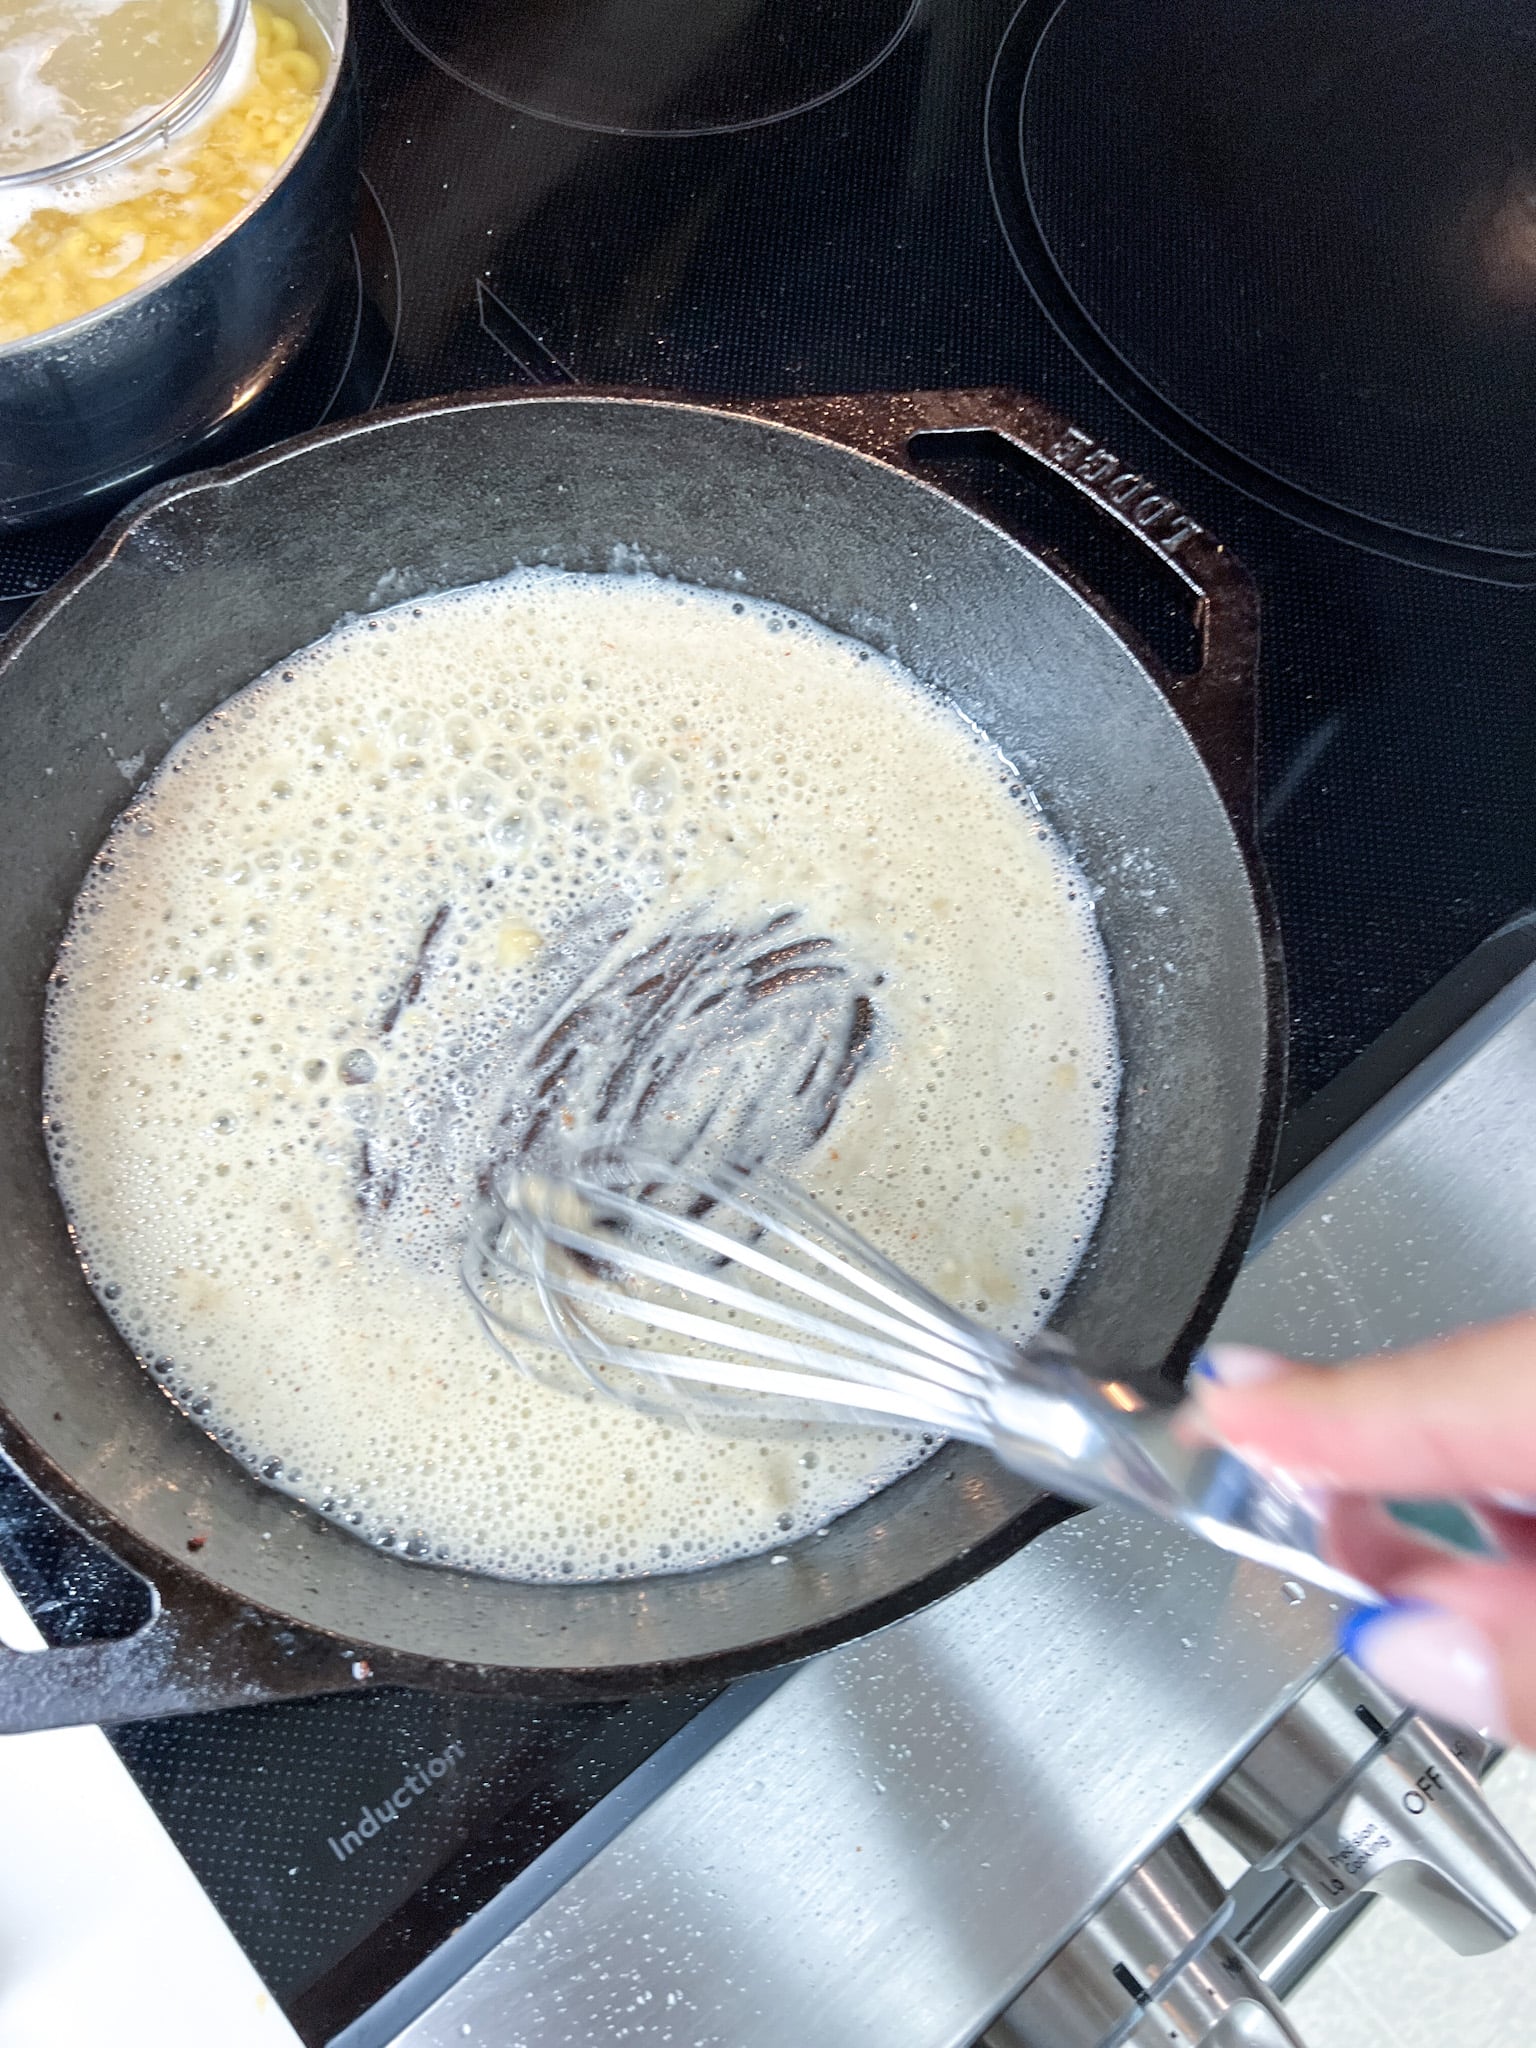
Once the roux is at your desired stage, add your liquid — warm milk for béchamel, warm stock for gravy — gradually and whisk as you go. Adding cold liquid to hot roux can cause lumps. Pour slowly, keep whisking, and it will smooth out into a silky sauce. This step is not part of the roux itself, but it’s where the roux does its job.
Cooking With Kids
- Ages 8+: Have kids measure and add the flour — pouring slowly while you whisk is a great way to teach them what’s happening in the pan. Talk about what “cooked flour” smells like versus raw.
- Ages 10+: Let them do the whisking for the first few minutes of a white or blonde roux. Constant stirring is a good, low-stakes task that keeps them engaged.
- All ages: The color change is genuinely cool to watch — this is a great opportunity to talk about how heat changes food at a chemical level, even in simple terms.
- Heads up: A dark roux gets very hot and splatters. Keep younger kids at a safe distance once you’re past the blonde stage.
Jenn’s Kitchen Tip
- If your roux has lumps when you add liquid, don’t panic — keep whisking over heat and most lumps will dissolve. If they don’t, strain the sauce. It’s not ruined.
- For a dark roux, switch from butter to a neutral oil or lard. Butter’s milk solids will burn before you reach the color you need.
- Keep your liquid warm (not boiling, just warm) before adding it to your roux. This is the single biggest thing you can do to prevent lumps.
- A finished roux can be stored in the refrigerator for up to a week, or frozen in tablespoon-sized portions for months. Make a big batch, freeze it flat, and break off what you need.
- The smell is your guide. Raw flour has a distinct starchy, almost chalky smell. Once that’s gone and you start getting a nutty, toasty aroma, you’re cooking.
Frequently Asked Questions
Usually this happens when the liquid is too cold, added too fast, or both. Add warm liquid gradually — a splash at a time — while whisking constantly. If you still get lumps, keep the heat on medium and keep whisking. Most of the time they’ll work themselves out.
Yes, and honestly it’s a great move. Let it cool completely and store it in an airtight container in the fridge for up to a week, or freeze it in tablespoon portions for up to three months. Reheat gently before using.
Sweet rice flour (mochiko) is the best substitute — it behaves the most like all-purpose flour in a roux. Regular rice flour can work but sometimes gives a grittier texture. Avoid cornstarch or arrowroot in this context; those are direct-to-liquid thickeners, not roux ingredients.
Smell and taste. Raw flour smells starchy and almost powdery. Once the roux smells neutral or slightly toasty, the raw taste is gone. For a white roux, this usually takes 2–3 minutes of active cooking.
Yes, in terms of flavor and how dark you can take it. Butter adds richness but burns at high heat, so it’s best for white and blonde rouxs. Oil (vegetable, canola, or lard) gives you more flexibility for dark rouxs because it has a higher smoke point. Each fat also contributes its own flavor — bacon grease in a gravy tastes different from butter.
The longer a roux cooks, the more the starch granules in the flour break down. This is what gives you flavor — but it also reduces thickening power. A dark roux might need to be used in larger quantities, or paired with other thickeners, to get the same consistency as a white roux
A roux really is one of those things you’ll use for the rest of your cooking life once it’s in your toolkit. Mac and cheese, gumbo, pot pie, country gravy — so many of the most comforting things come back to this one simple technique. Once you’ve made it a few times, it becomes instinct.
If you try this and have questions, drop them in the comments — I read every one. And if you use your roux knowledge to make something delicious, I always love seeing it. Tag me on Instagram so I can cheer you on.
Print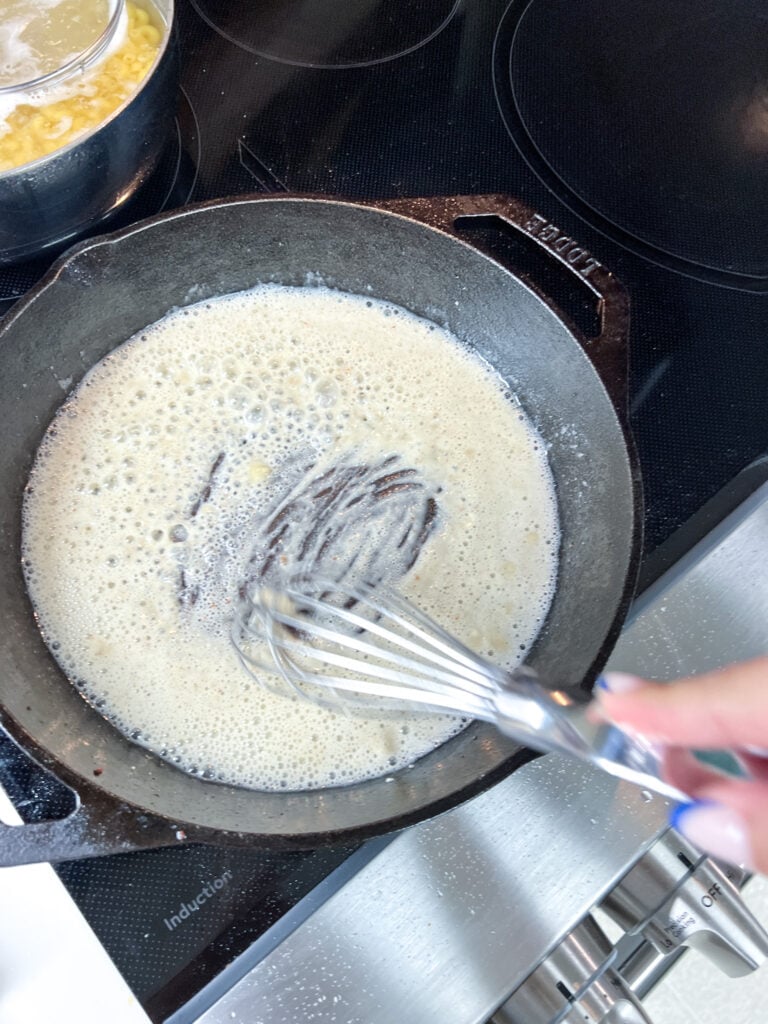
How to Make a Roux
- Total Time: 5–65 min
- Yield: ~3 tbsp
Ingredients
- 2 tbsp unsalted butter (or neutral oil for dark roux) Use oil or lard if taking roux to brown/dark stage
- 2 tbsp all-purpose flour Measure by spoon and level, not scoop
Instructions
- Heat the pan. Use a heavy-bottomed saucepan or skillet over medium to medium-low heat.
- Melt the fat. Add butter and let it melt completely until it just begins to foam. If using oil, heat until shimmering.
- Add flour all at once. Whisk immediately to form a smooth paste. Adjust fat or flour by tiny amounts if needed — the consistency should be thick but not dry.
- Cook to your desired stage. White roux: 2–5 minutes, just until the raw flour smell is gone. Blonde roux: 5–10 minutes until light golden and nutty. Brown roux: 15–45 minutes until peanut butter colored. Dark roux: 45–60+ minutes, deep reddish-brown. Stir constantly.
- Add warm liquid. Gradually whisk in warm milk, cream, or stock — a small splash at a time — until incorporated and smooth. This step begins the sauce, not the roux itself.
Equipment

All-Clad D3 3-Ply Stainless Steel 3 Quart Sauce Pan
Buy Now →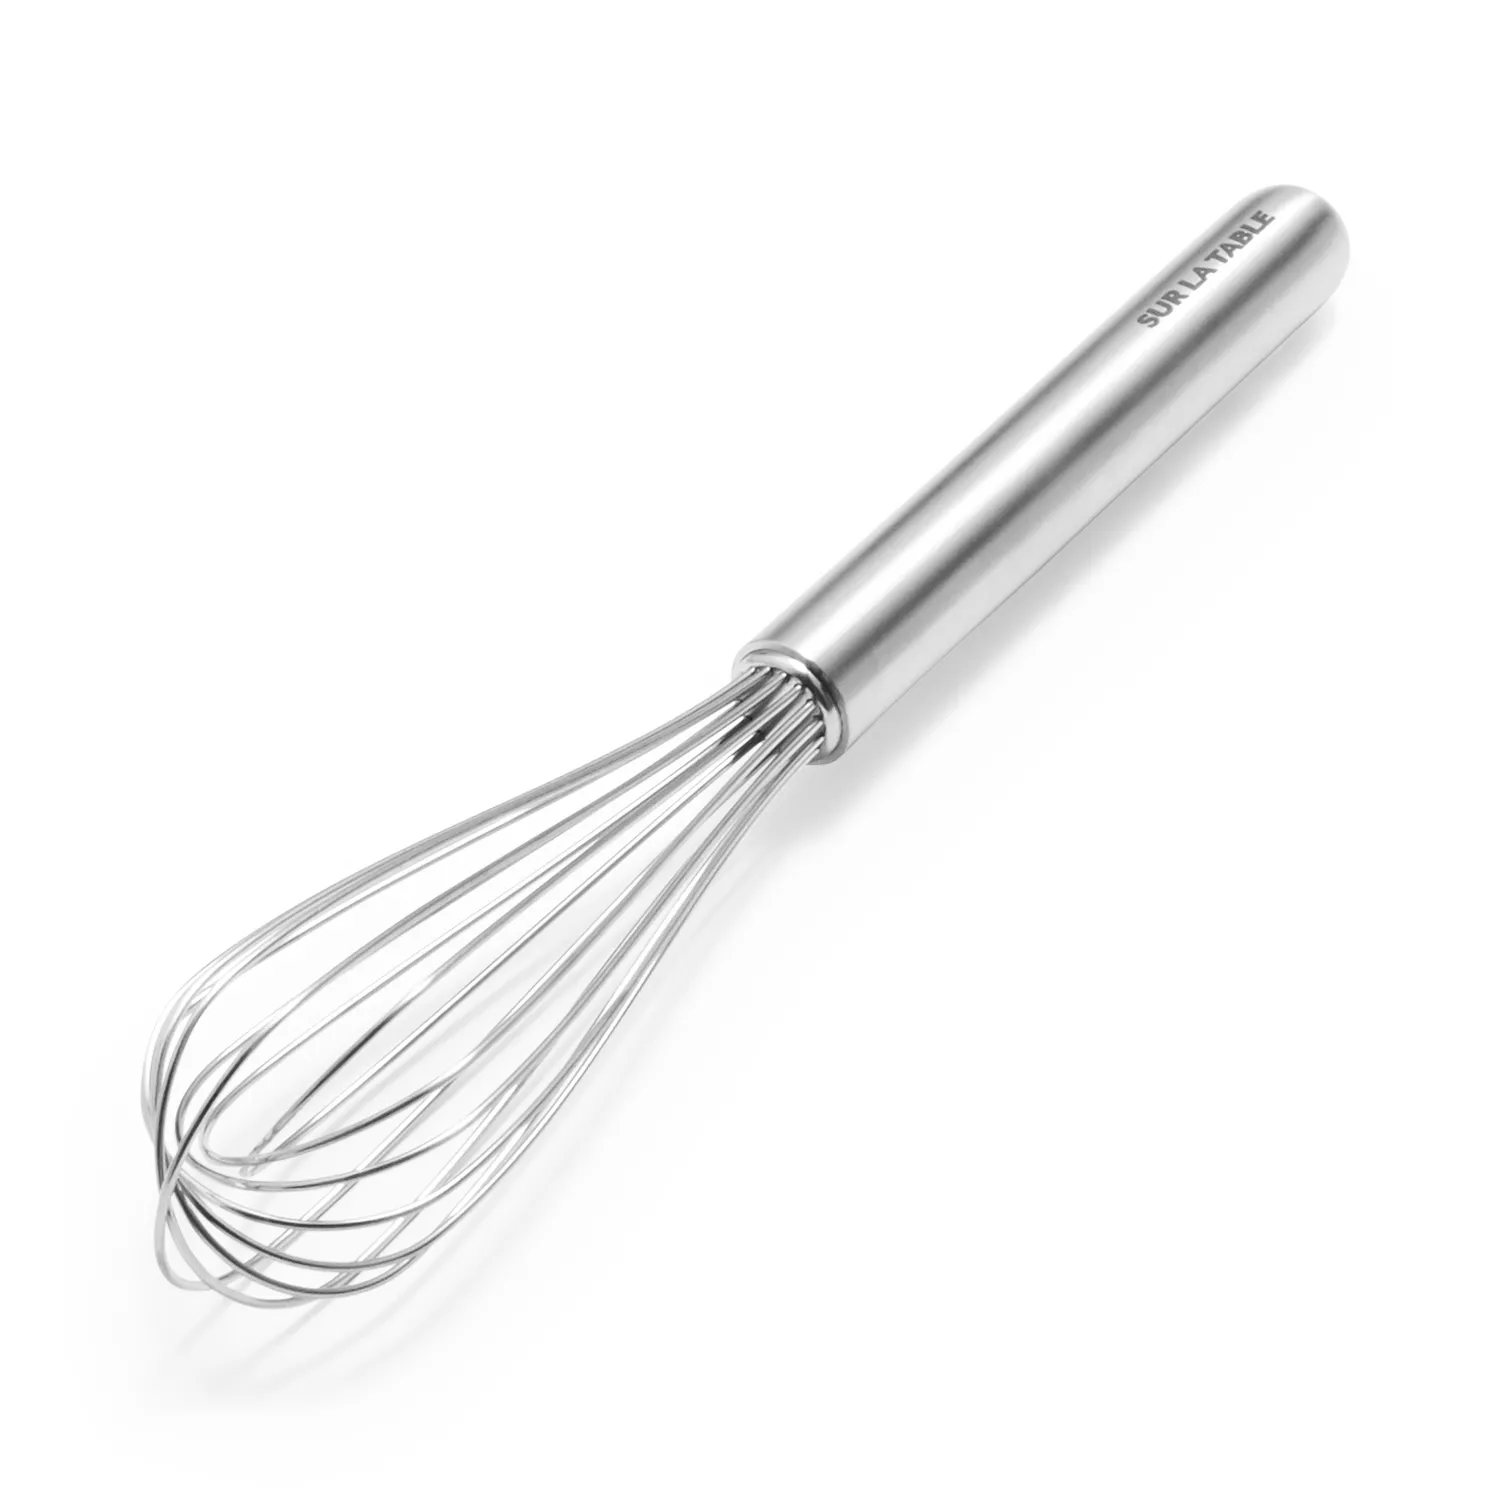
Sur La Table Stainless Steel French Whisk
Buy Now →Notes
Storage: Cool completely. Store in an airtight container in the refrigerator for up to 1 week, or freeze in tablespoon-sized portions for up to 3 months.
Gluten-free: Sweet rice flour (mochiko) is the best substitute. Use the same ratio.
For dark roux: Switch butter to neutral oil, vegetable oil, or lard — butter’s milk solids will burn before you reach the dark stage.
Equipment: A heavy-bottomed pan is important here. Thin pans create hot spots. Stainless, cast iron, or enameled cast iron all work well.
Lumps: Keep warm liquid warm (not cold), add slowly, and whisk constantly. If lumps persist, strain the finished sauce — the roux is not ruined.
Thickening note: A dark roux thickens less than a white roux because the starch breaks down during the longer cook. Use more roux per cup of liquid for a darker stage.
- Prep Time: 2 min
- Cook Time: 2 -60 min
- Category: cooking school, Technique
- Method: stove top
- Cuisine: American, Cajun, French
- Diet: dairy-free adaptable, Gluten-Free adaptable, Vegetarian
Recipe & Photo Credit
This recipe and all images are original content created by Jenn Giam Smith for Cheers, Jenn.
You’re welcome to link to this recipe using one photo with proper credit. Please do not copy, republish, or redistribute this recipe or images without permission.
Have a question or want to share how it turned out?
Leave a comment below — I love hearing from you. 💛
MAKE MID-WEEK A LITTLE EASIER
Sign up below, and I’ll send you a FREE E-BOOK featuring six of my all-time favorite mid-week recipes!