Free Pattern: The Nod (Extra Slouchy Hat)
this post Who’s ready for a super easy knit project???? This hat is perfect for…

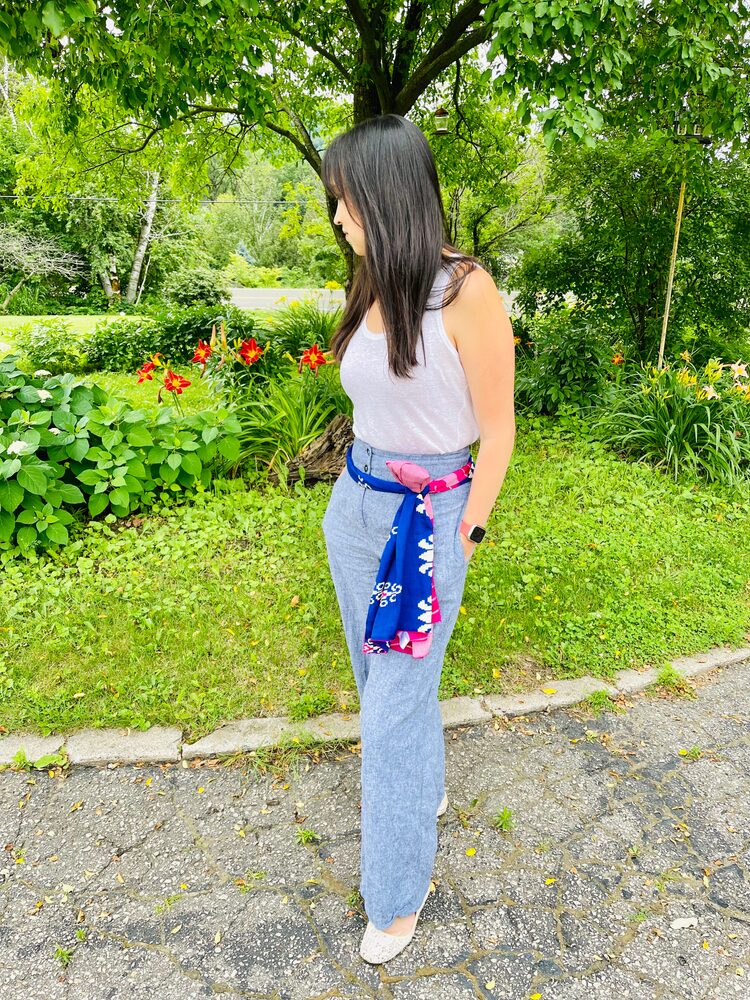
Who’s ready for a super easy knit project???? This hat is perfect for beginners. Not only is this one easy to follow, but makes up pretty quickly. The finished hat looks like it would be complicated, but I promise, it’s not.
n

nn
You can purchase an INEXPENSIVE AD & COMMENT FREE PDF version. Look For The Nod Super Slouchy Hat in the Shop
n

Or add it to your LoveCrafts or Ravelry projects by clicking the links below (the patterns on both sites do NOT include the tags).
n
Remember, any purchase you make from my affiliates, my shop, and or my designs on Lovecraft’s or Ravelry helps support my small business and helps me to create other awesome patterns for you.
n
OK, ON TO THE PATTERN!
This pattern is written using standard U.S. terms. Basic stitch knowledge is assumed.
n
Yarn
- n
- 3-Light | DK Weight Yarn (8 ply) – I used ,Universal Yarn: Classic Shades, Sequin Lite (comet) 1.9oz of yarn – Sadly, this yarn is discontinued now, but I’m including the link to ,Yarn Subs to help you find a reasonable substitution, if you want something similar. ,Check out the suggested substitutes courtesy of Yarn Subs
- For project: approximately 142 yards (129.8 meters)
n
n
nn
Knitting needle
- n
- 1-,US 6 (4.00 mm) 16” circular knitting needles
- 1-,US 8 (5.00mm) 16” circular knitting needles
- ,US 8 (5.00mm) Double Pointed Needles (DPN)
- Or needles needed to achieve proper gauge
n
n
n
n
Notions
- n
- ,Stitch/Place marker
- ,Pom Pom (Faux Fur or yarn) Pictured is the ,Cherry Faux Pom Pom in Large
- ,Leather tag (Optional) Mine come from ,The Beam City
- ,Finishing needle for weaving in ends
- ,Scissors for cutting off at the end.
n
n
n
n
n
Gauge nUsing the, 5mm needles
n
CO on 20, knit in garter stitch for 20 rows.
n
Within the swatch, you should be able to measure a 2” square that has 8 stitches across and 16 rows.n
Notes
- n
- If you have to change the needle size to adjust for the gauge, make sure you have a smaller set that is 1.00 mm smaller than the size you used to achieve the gauge for the brim.
n
nn
Terms to Know
n
CO: cast on
n
PM: Place Maker
n
1X1 twisted Ribbing: Knit one by one twisted Ribbing
n
K: Knit
n
K2tog: knit 2 together
n
P: Purl
n
P2tog: Purl 2 Together
n
St(s): stitch(es)
nn
* * = Repeat instructions between * and * the number of times indicated
n
Stitches
- n
- 1X1 twisted Ribbing: Knit 1 in the back loop, Purl 1
n
- n
- Knit: Insert right needle into the first stitch, bottom to top; push right needle into the stitch; grab the yarn attached to the ball of yarn; wrap the yarn around the needle, back to front; pull yarn down. Gently pull the needle down and pick out the yarn on the needle; Push the right needle into the loop; pull the right needle off the left needle; pull yarn attached to the ball of yarn to tighten the stitch (if needed).
n
- n
- K2Tog: Insert the right-hand needle knitwise into the next 2 stitches on the left-hand needle. Then wrap yarn (attached to the ball) around the right-hand needle. Pull the right-hand needle through the loop (just as you would with one).
n
n
- n
- Purl: Insert right needle into stitch from top to bottom; wrap working yarn around the right needle from front to back; wrap the yarn all the way around the right needle creating a loop. Pull the loop under and through the stitch on the left needle; push the right needle through the loop; then all the way into the stitch; Pull the stitch off of the left needle. Then pull yarn attached to the ball of yarn to tighten the stitch (if needed).
n
- n
- P2tog: Insert the right-hand needle purlwise into the next 2 stitches on the left-hand needle. Then wrap yarn (attached to the ball) around the right-hand needle. Pull the right-hand needle through the loop (just as you would with one).
n
Directions:
n
Brim
n
Starting with the smaller circular knitting needles:
- n
- Co on 84. Place the stitch marker at the end before joining. Straighten your stitches, being careful not to twist the stitches, join round. 1×1 in twisted ribbing until approximately 2”
n
n
Hat
n
Switch to larger circular knitting needles
n
Rounds 1 – 4: * Knit 4, purl 2*; repeat from * to * around
n
Rounds 5 – 8: Knit 2, * purl 2, knit 4*; repeat from * to * until last 4 sts, purl 2, knit 2.
n
Rounds 9 – 12: * Purl 2, knit 4*; repeat from * to * around
n
Rounds 13-48: Repeat Rounds 1- 12 (three more times)
nnn
Decrease
n
*switch to DPN when needed
n
Round 49: *Knit 4, purl 2*; repeat from * to * around
n
Round 50: *k1, k2tog, k1, p2* repeat from * to * around
n
Round 51: *K3, p2* repeat from * to * around
n
Round 52: *K1, k2tog, p2* repeat from * to * around
Round 53: *p2, K2* repeat from * to * around
n
Round 54: *p2, k2tog* repeat from * to * around
n
Round 55: *p2, k1*, repeat from * to * around
n
Round 56: *k1, p2tog* repeat from * to * around
n
Round 57: *p1, k1* repeat from * to * around
Round 58: K2tog around
nn
Almost done…
n
Weave yarn in stitches and pull to tighten.
nn
Add Pom Pom (optional)
n
Done! Enjoy!
n
Making it as a gift? Don’t forget the ,gift tag! If you share it on Social Media, make sure you tag me! @thesmithcountry #thesmithcountry I LOVE Seeing your makes!
nn
With a Grateful Heart,
n

Please be respectful
Do not sell or distribute this pattern in any way, including as your own. Instead, share the original blog post link! You can sell finished products made from this pattern. I do ask that you give credit to Jenn Smith; The Smith Country, LLC as the pattern designer and link to the blog post. If you have any questions regarding distribution or translation of this pattern, please see my Terms and Conditions or e-mail me directly. Thank you for your consideration!
n


All images © 2020 Jenn Smith of Smith Country, LLC